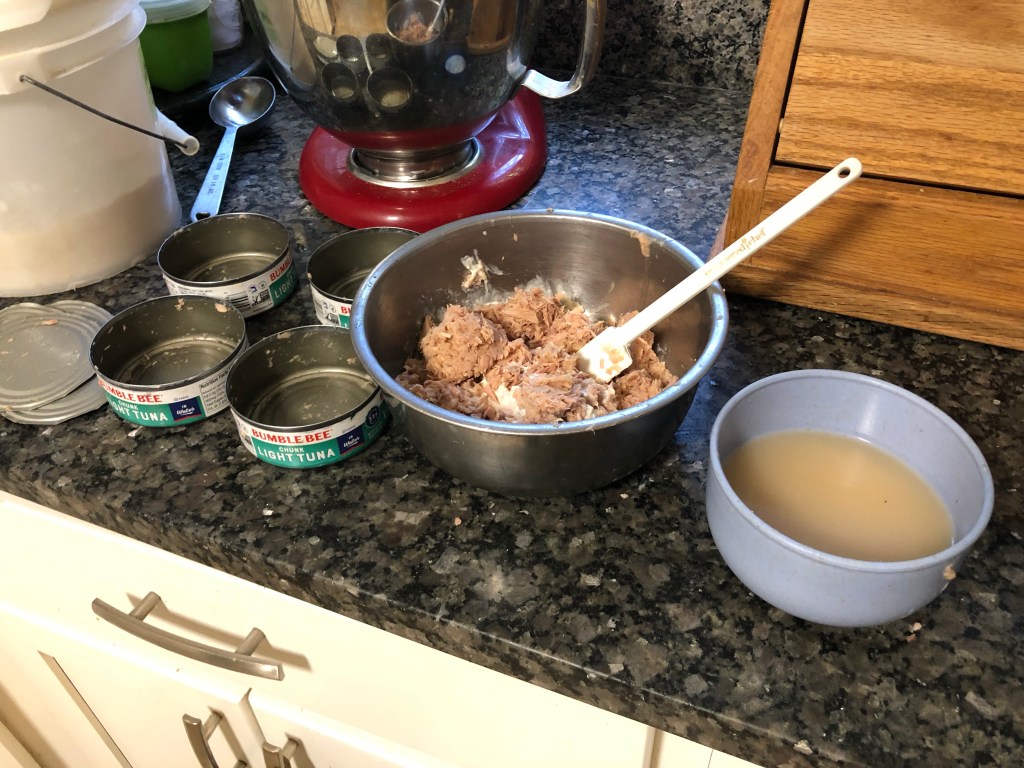
This week the focus is going to be little things that we either do on a daily basis or ways the kids get creative. Zeb made tuna fish today for lunch. He took the drained liquid and fed it to the cats. Then he took the empty cans and let the dogs lick them clean.
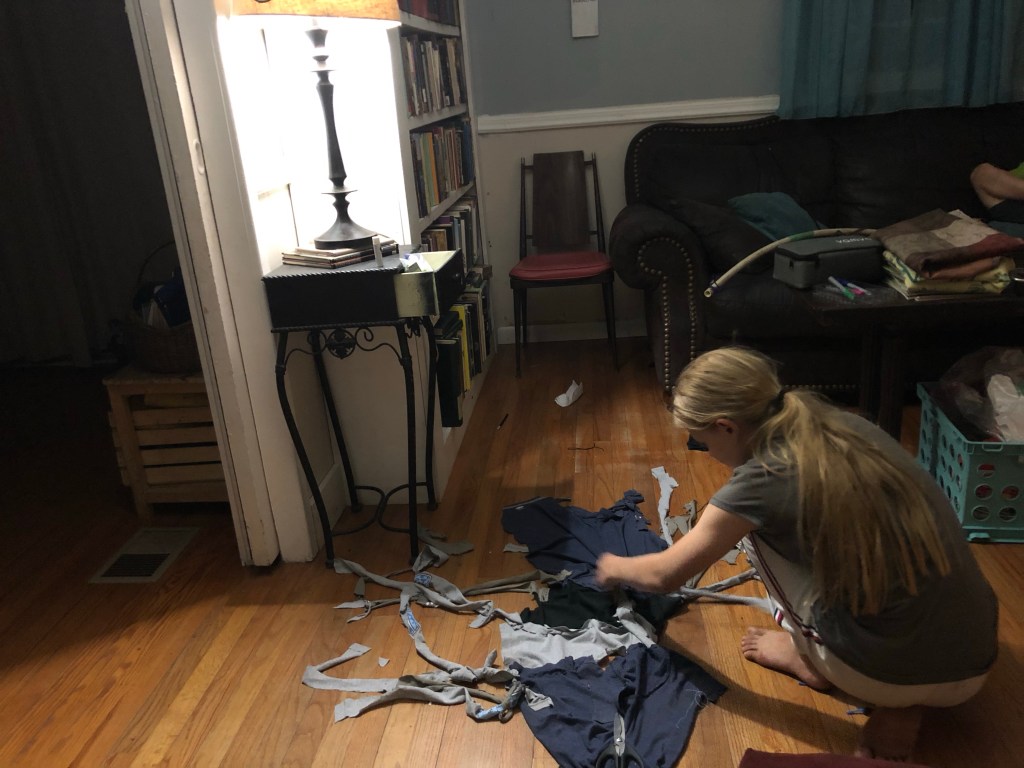
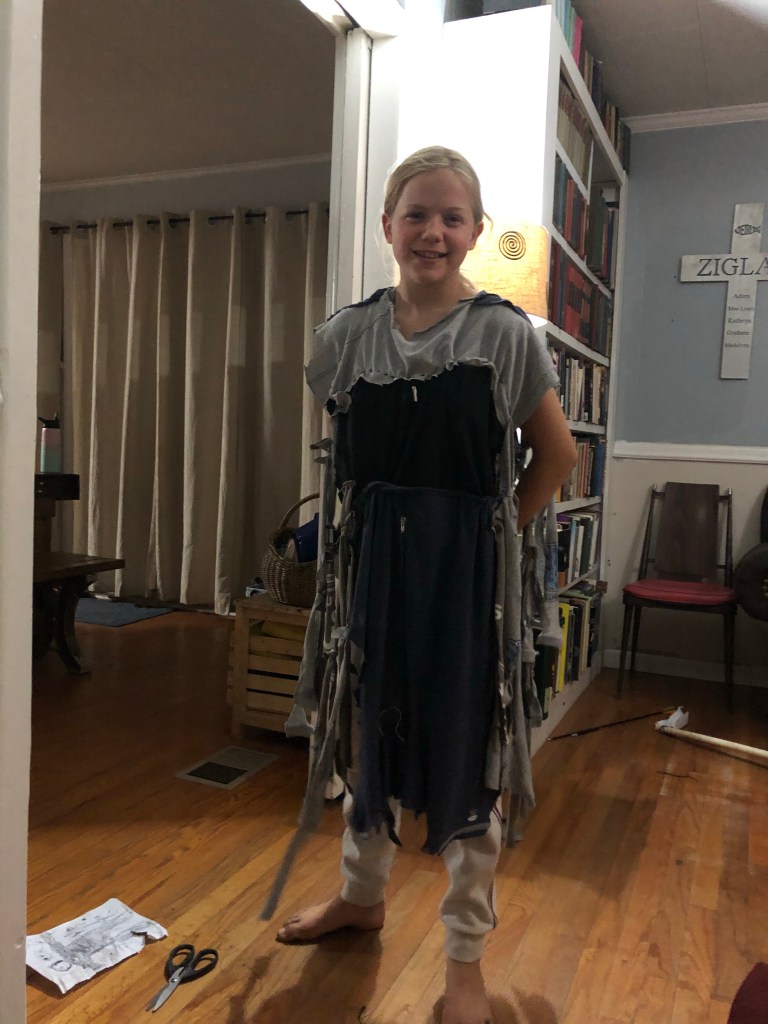
Kathryn is reading a book series called The Ranger’s Apprentice. The kids have been playing “Ranger” and making bows and arrows and practicing their archery in the backyard. She wanted a cape like the Ranger in the book. She found old t-shirts of hers that were too small or that she didn’t wear and she made a cape. She pulled out her embroidery needles and floss, cut the shirts how she needed them and sewed the pieces together. (Her sewing stuff is at her grandparents house).
She finished it!
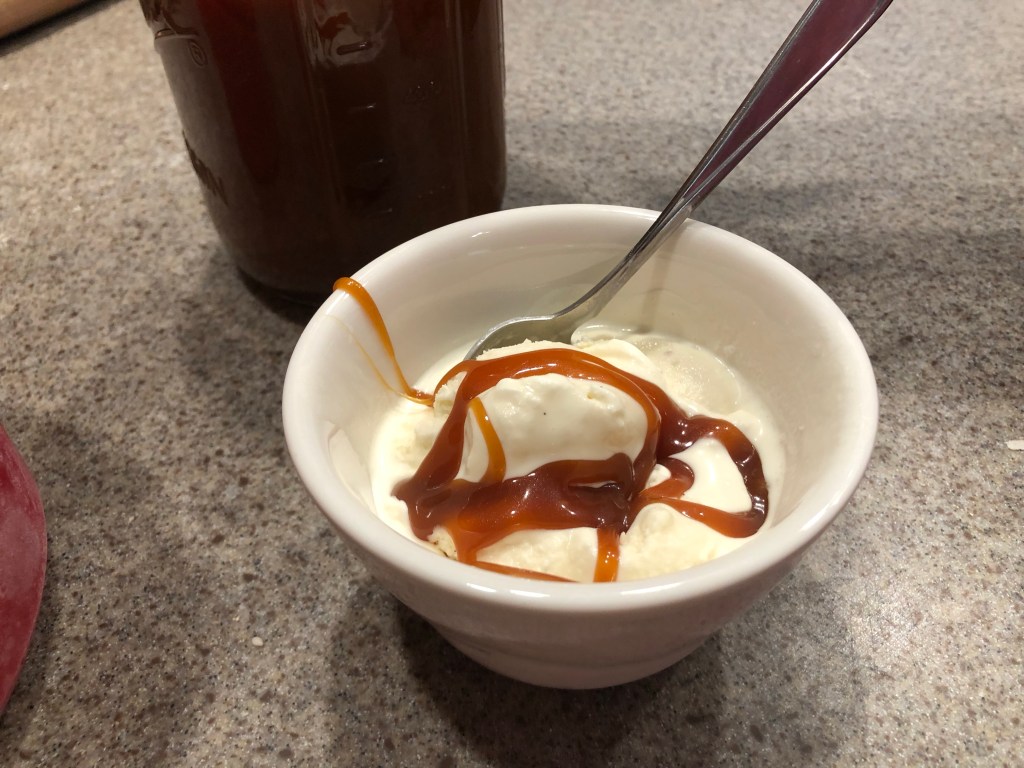
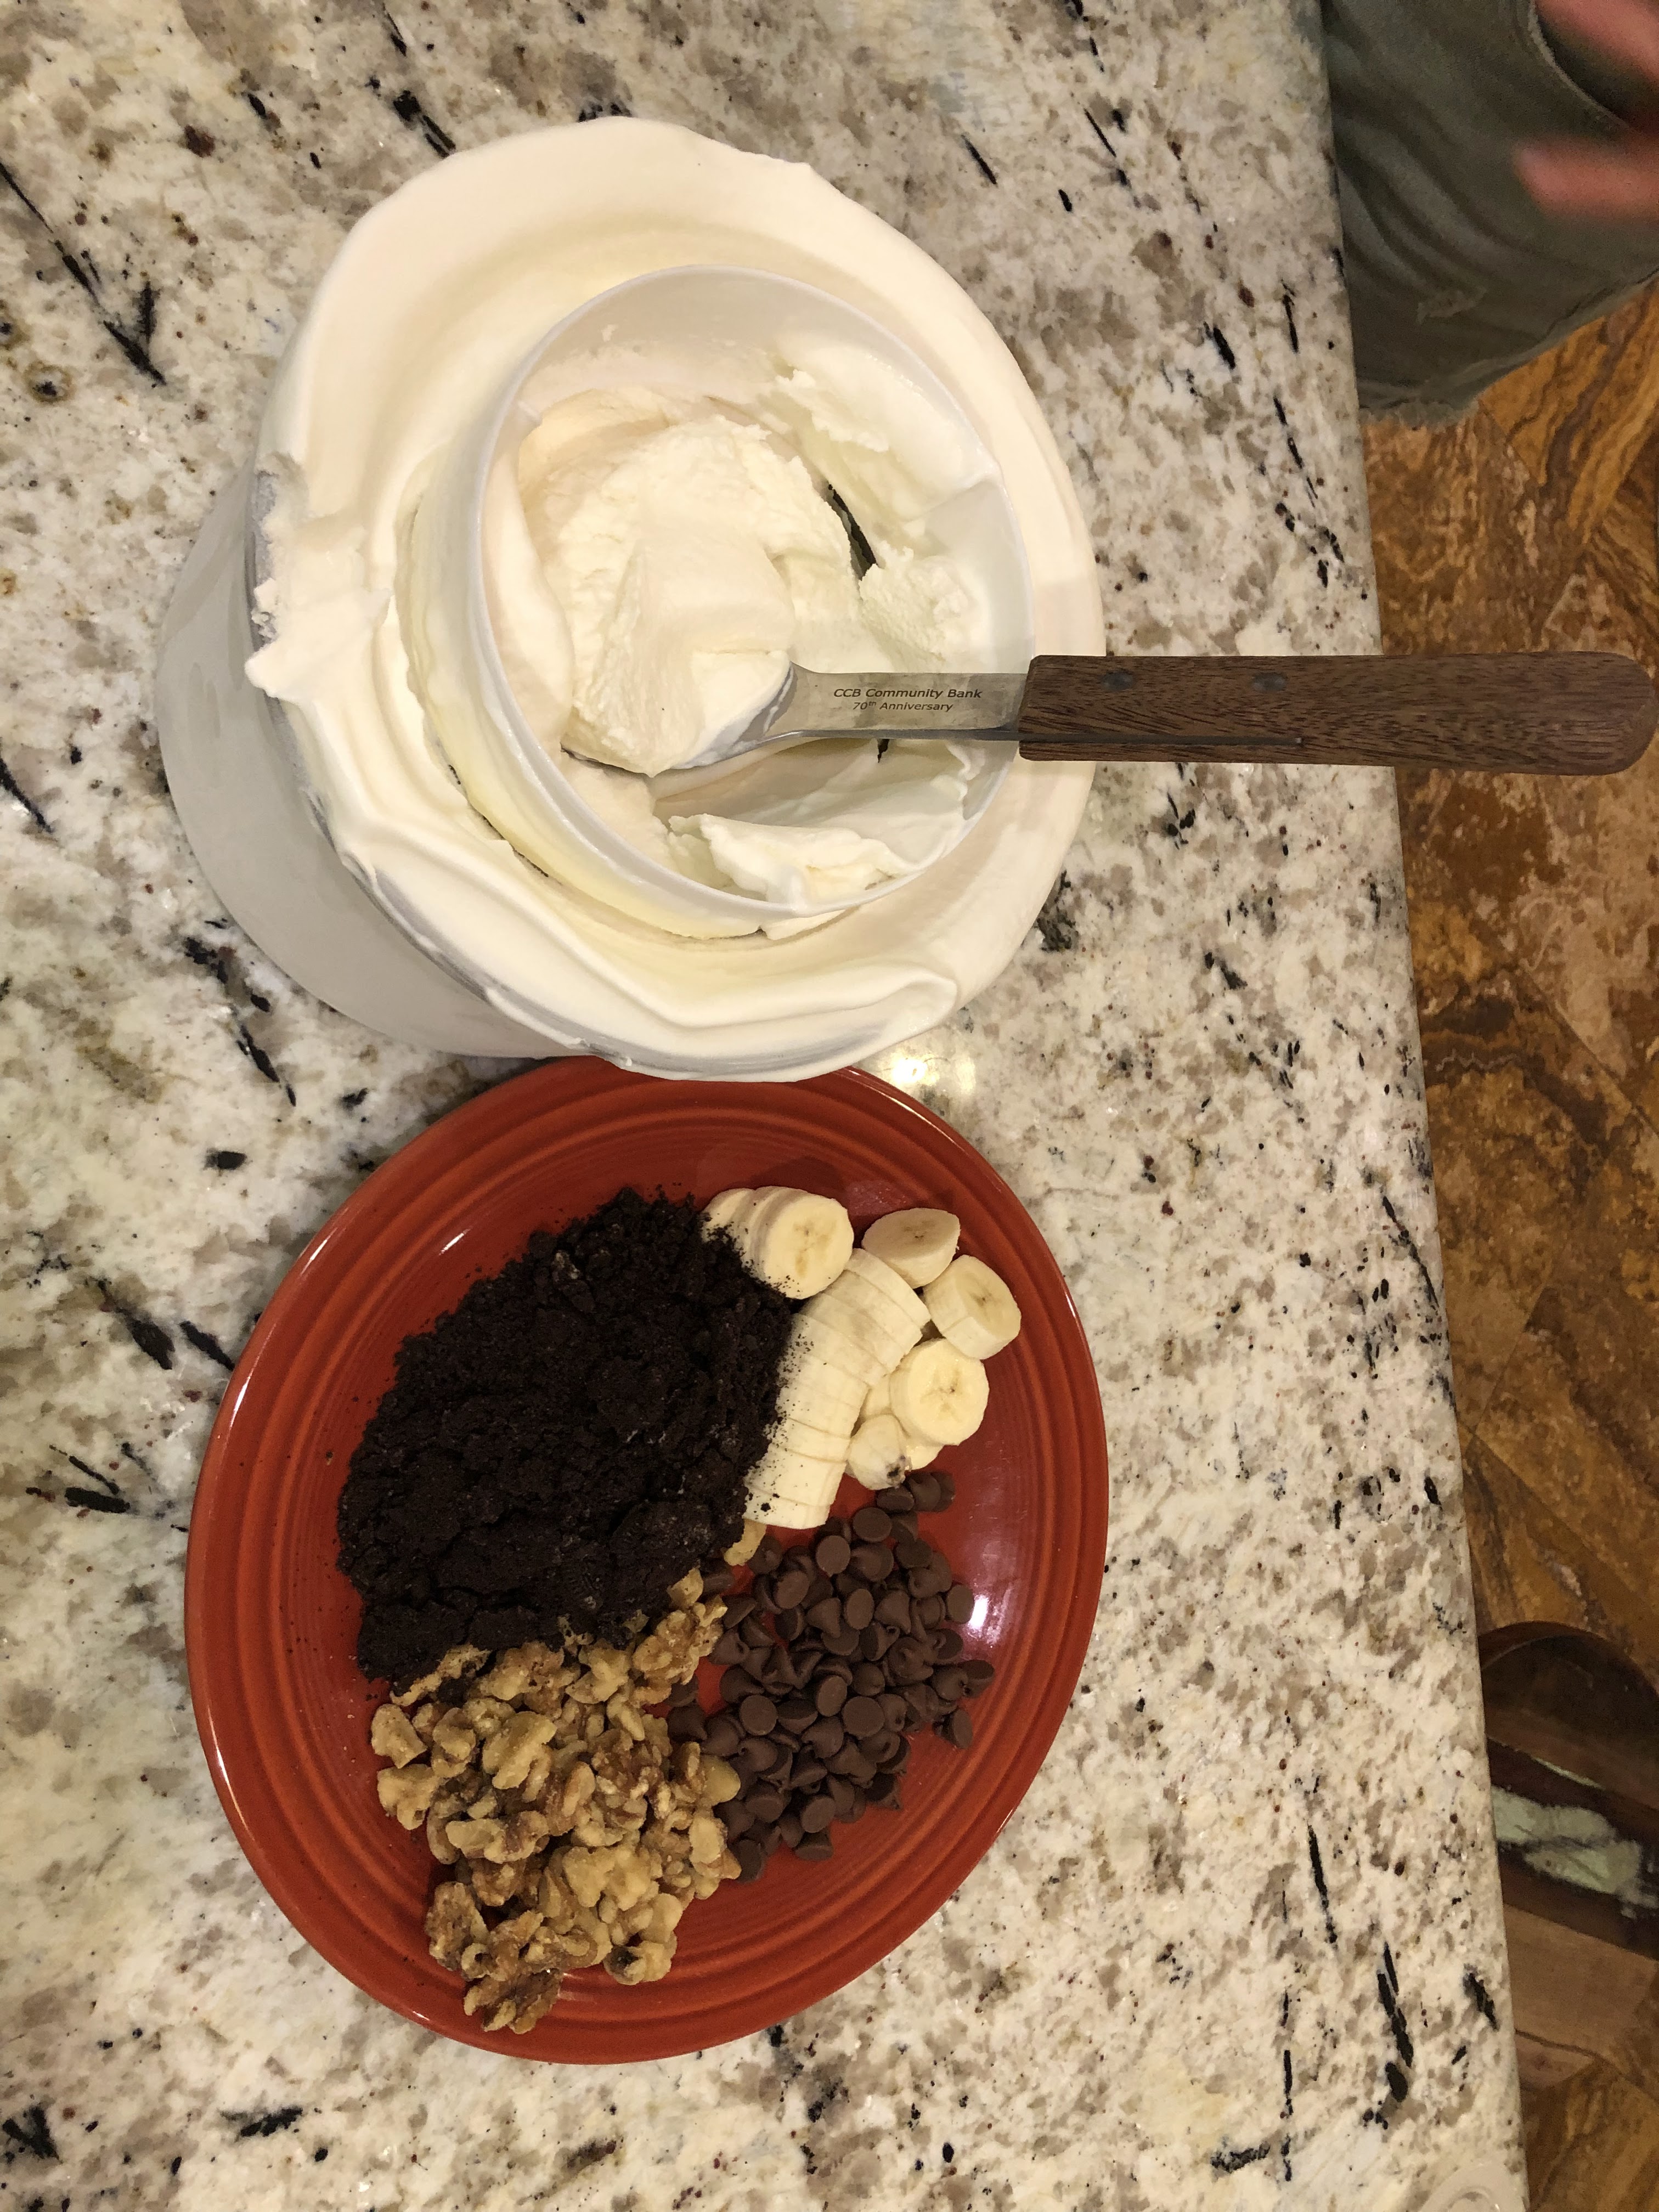
A few weeks ago, my yogurt didn’t set quite right. It tasted delicious but it was the consistency of buttermilk. Instead of throwing it out and giving it to animals, we used some for baking. Then I had a great idea: if it’s the consistency of thick milk, why not make ice cream? We made it and it’s the most delicious ice cream we have ever eaten. From now on, we will use more liquid yogurt for ice cream! And of course, homemade caramel sauce!
See you next Wednesday!
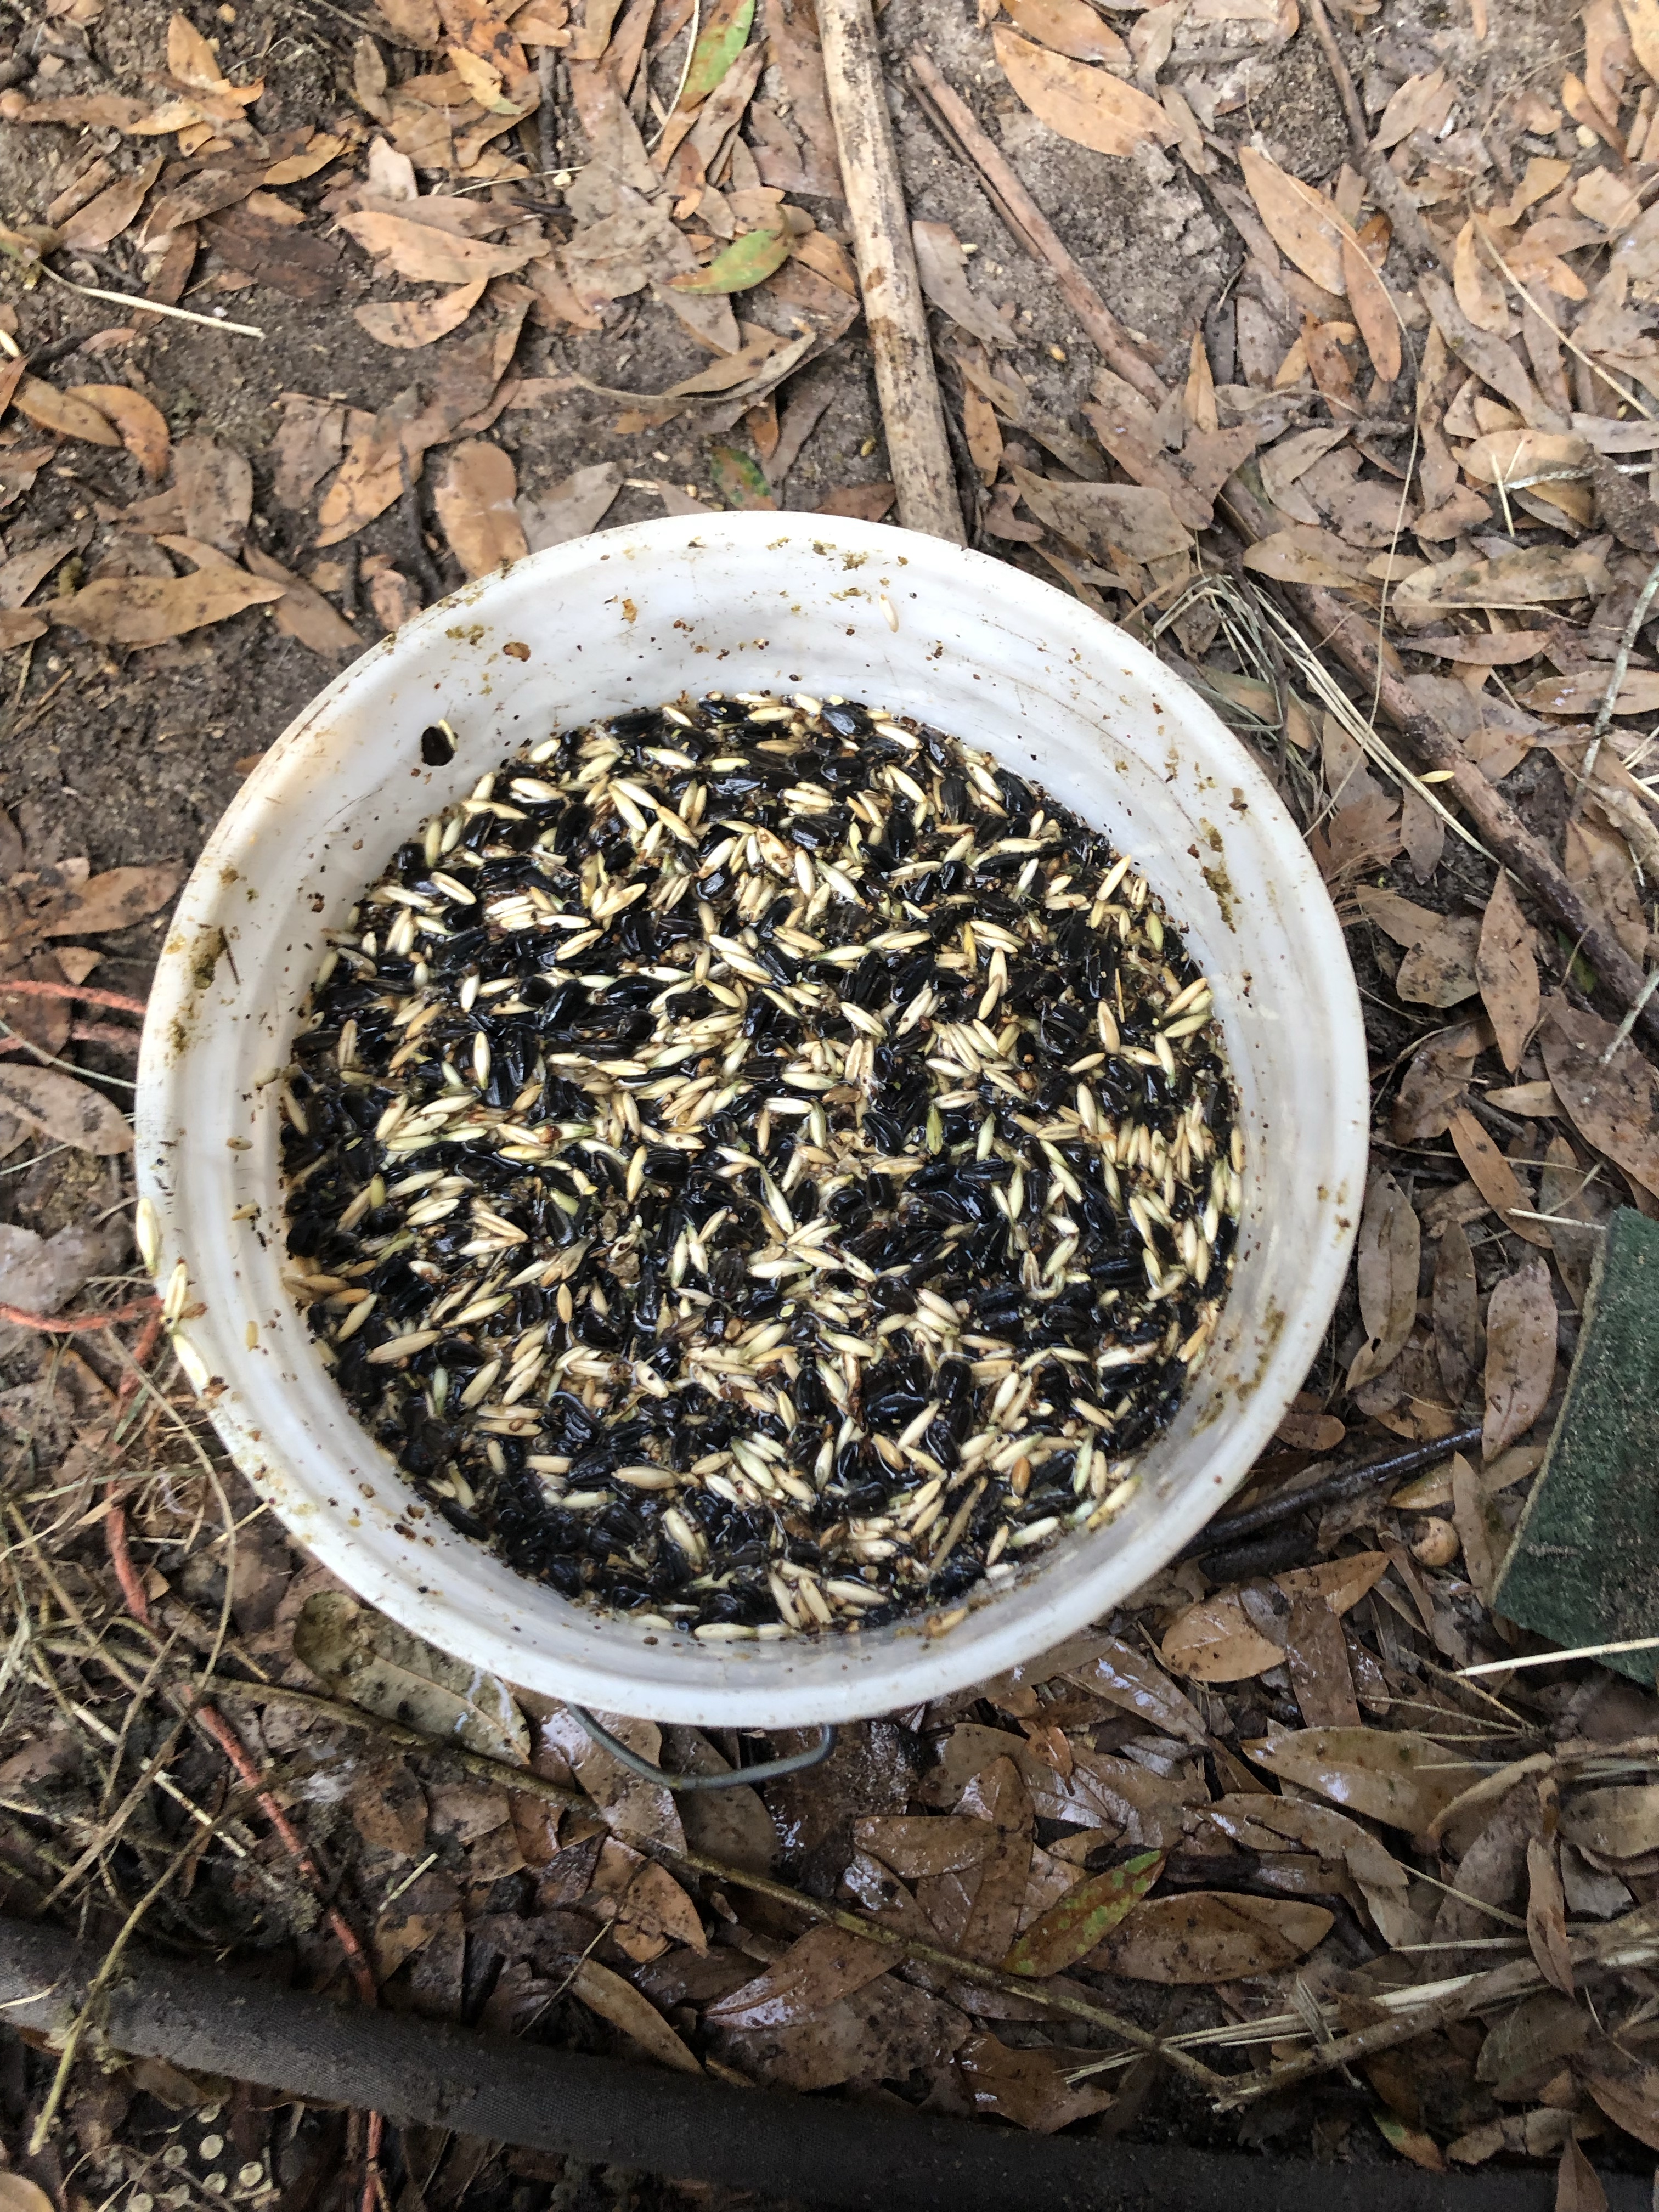
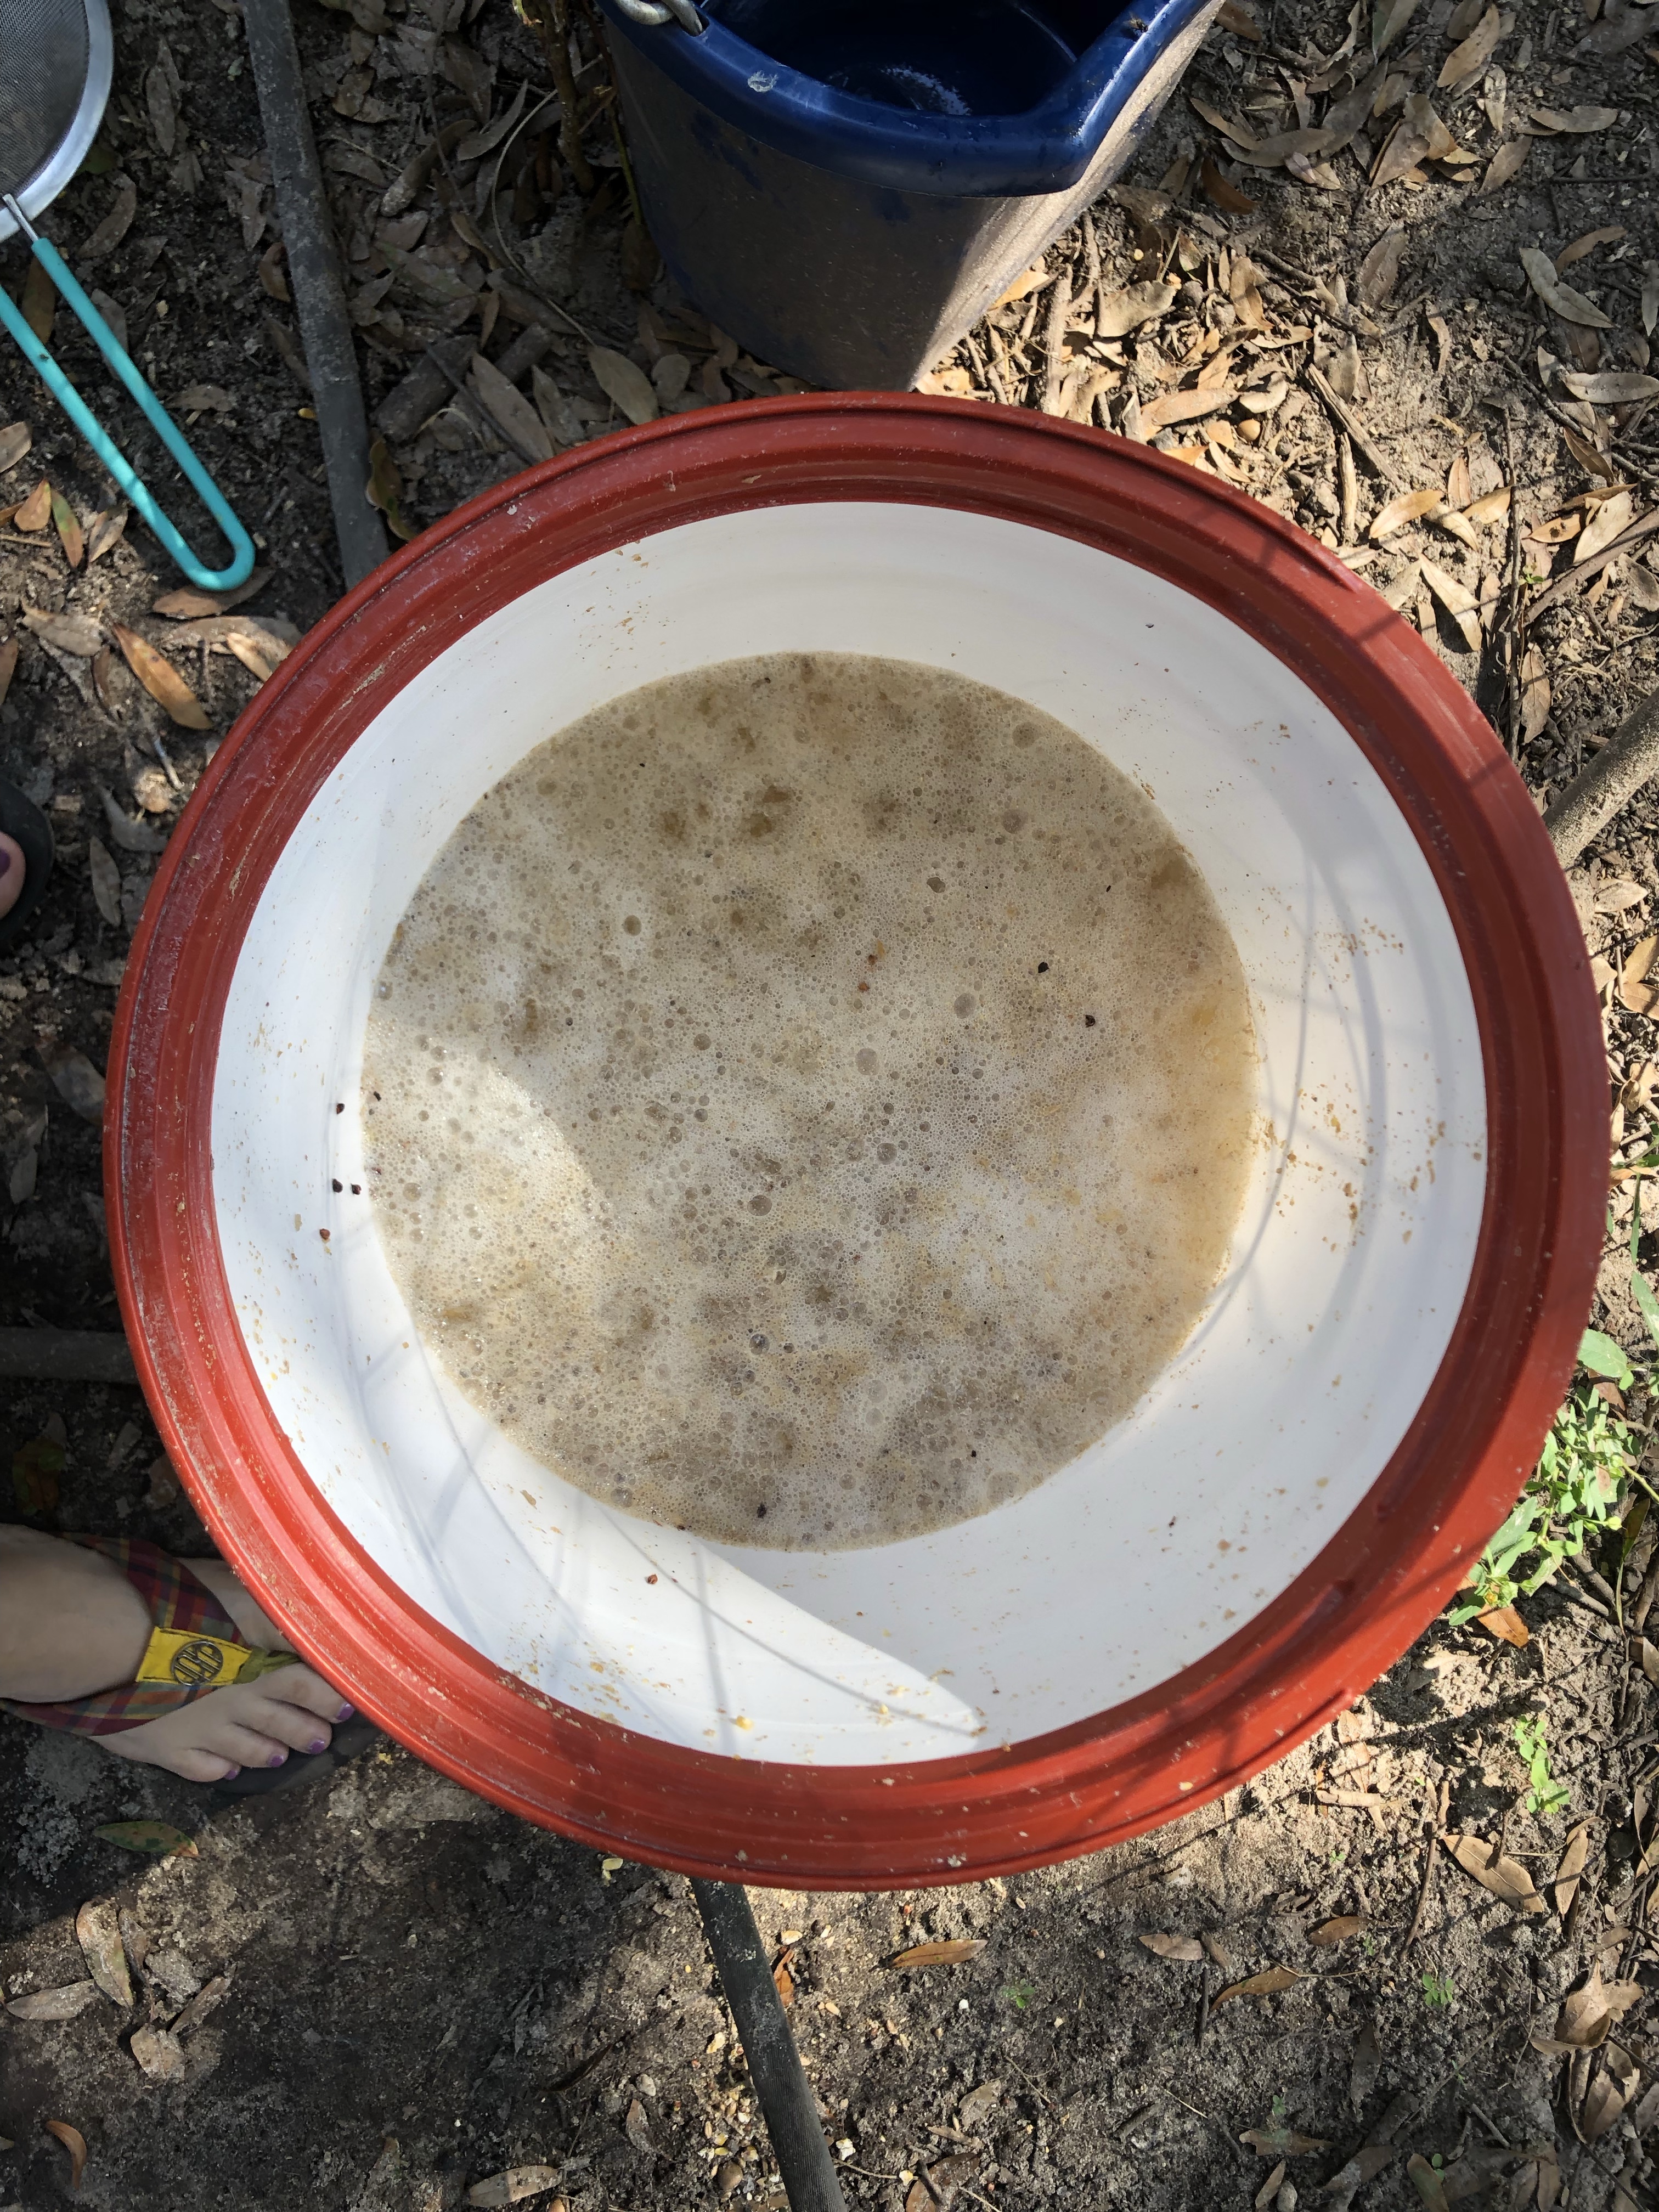
We started fermenting the animal feed. It soaks for two days (being stirred twice a day) and then I strain it. The pigs get the liquid that is strained off in addition to their fermented feed. We have happy animals!!!!!
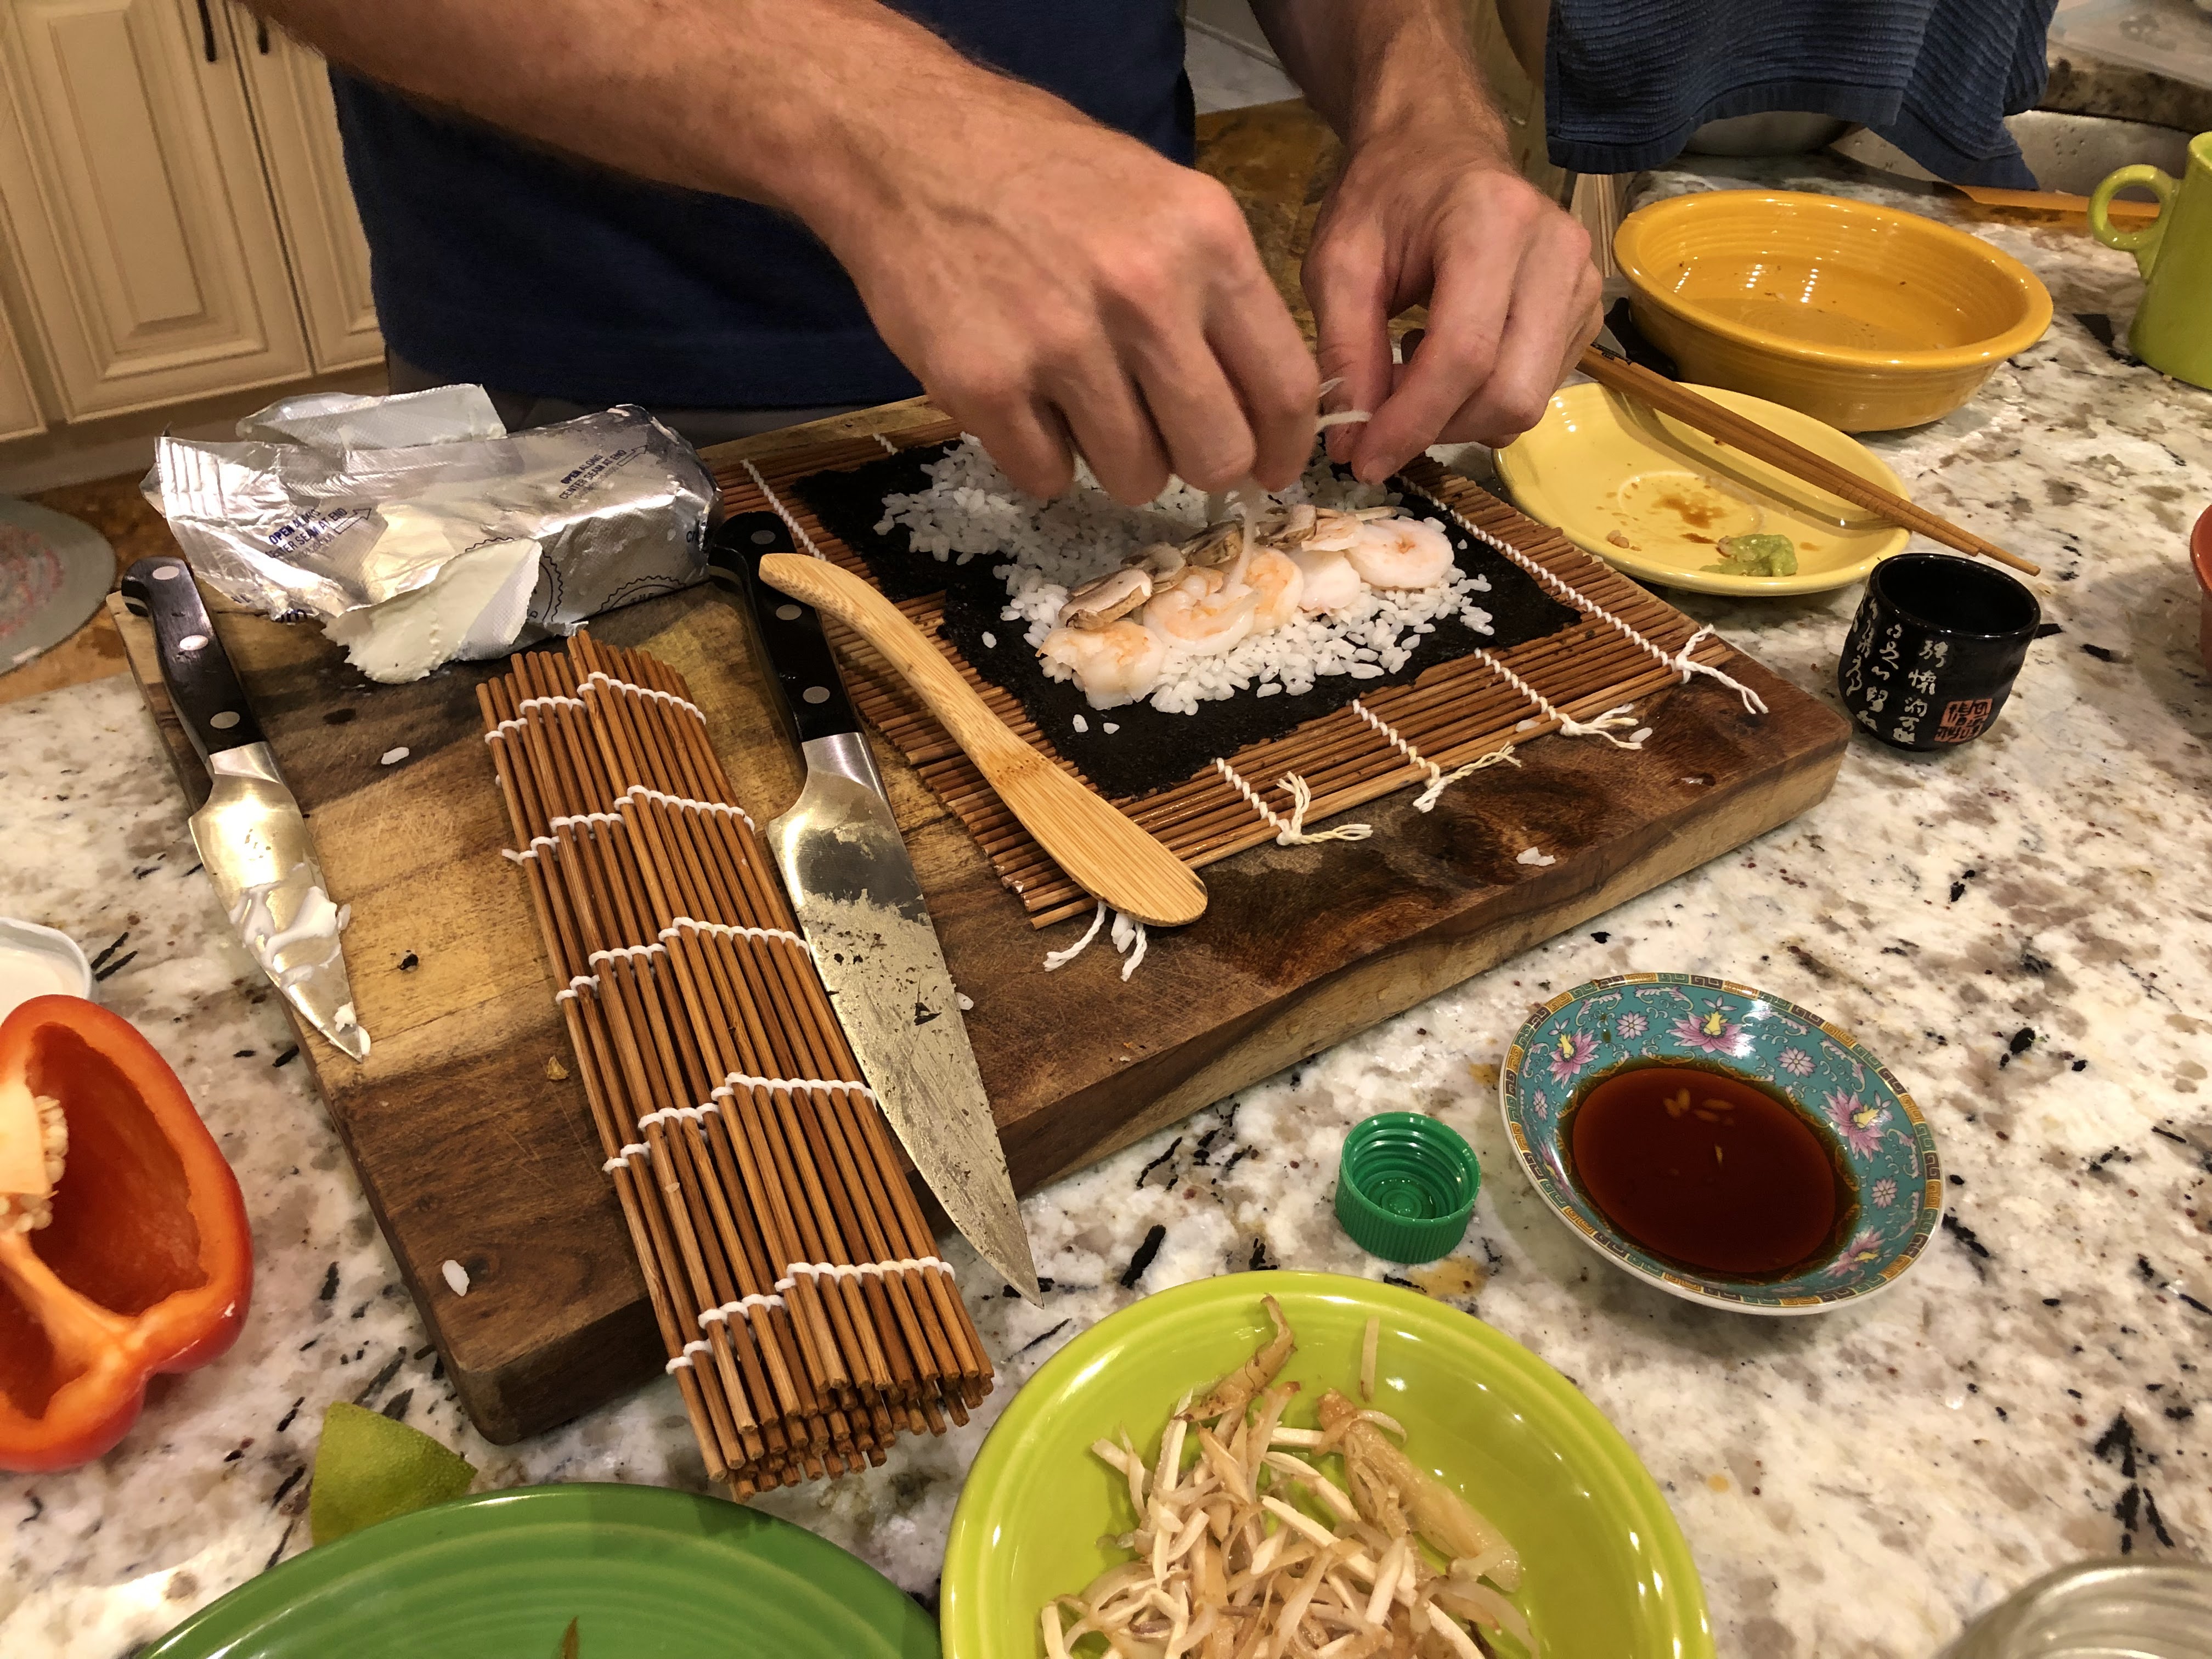
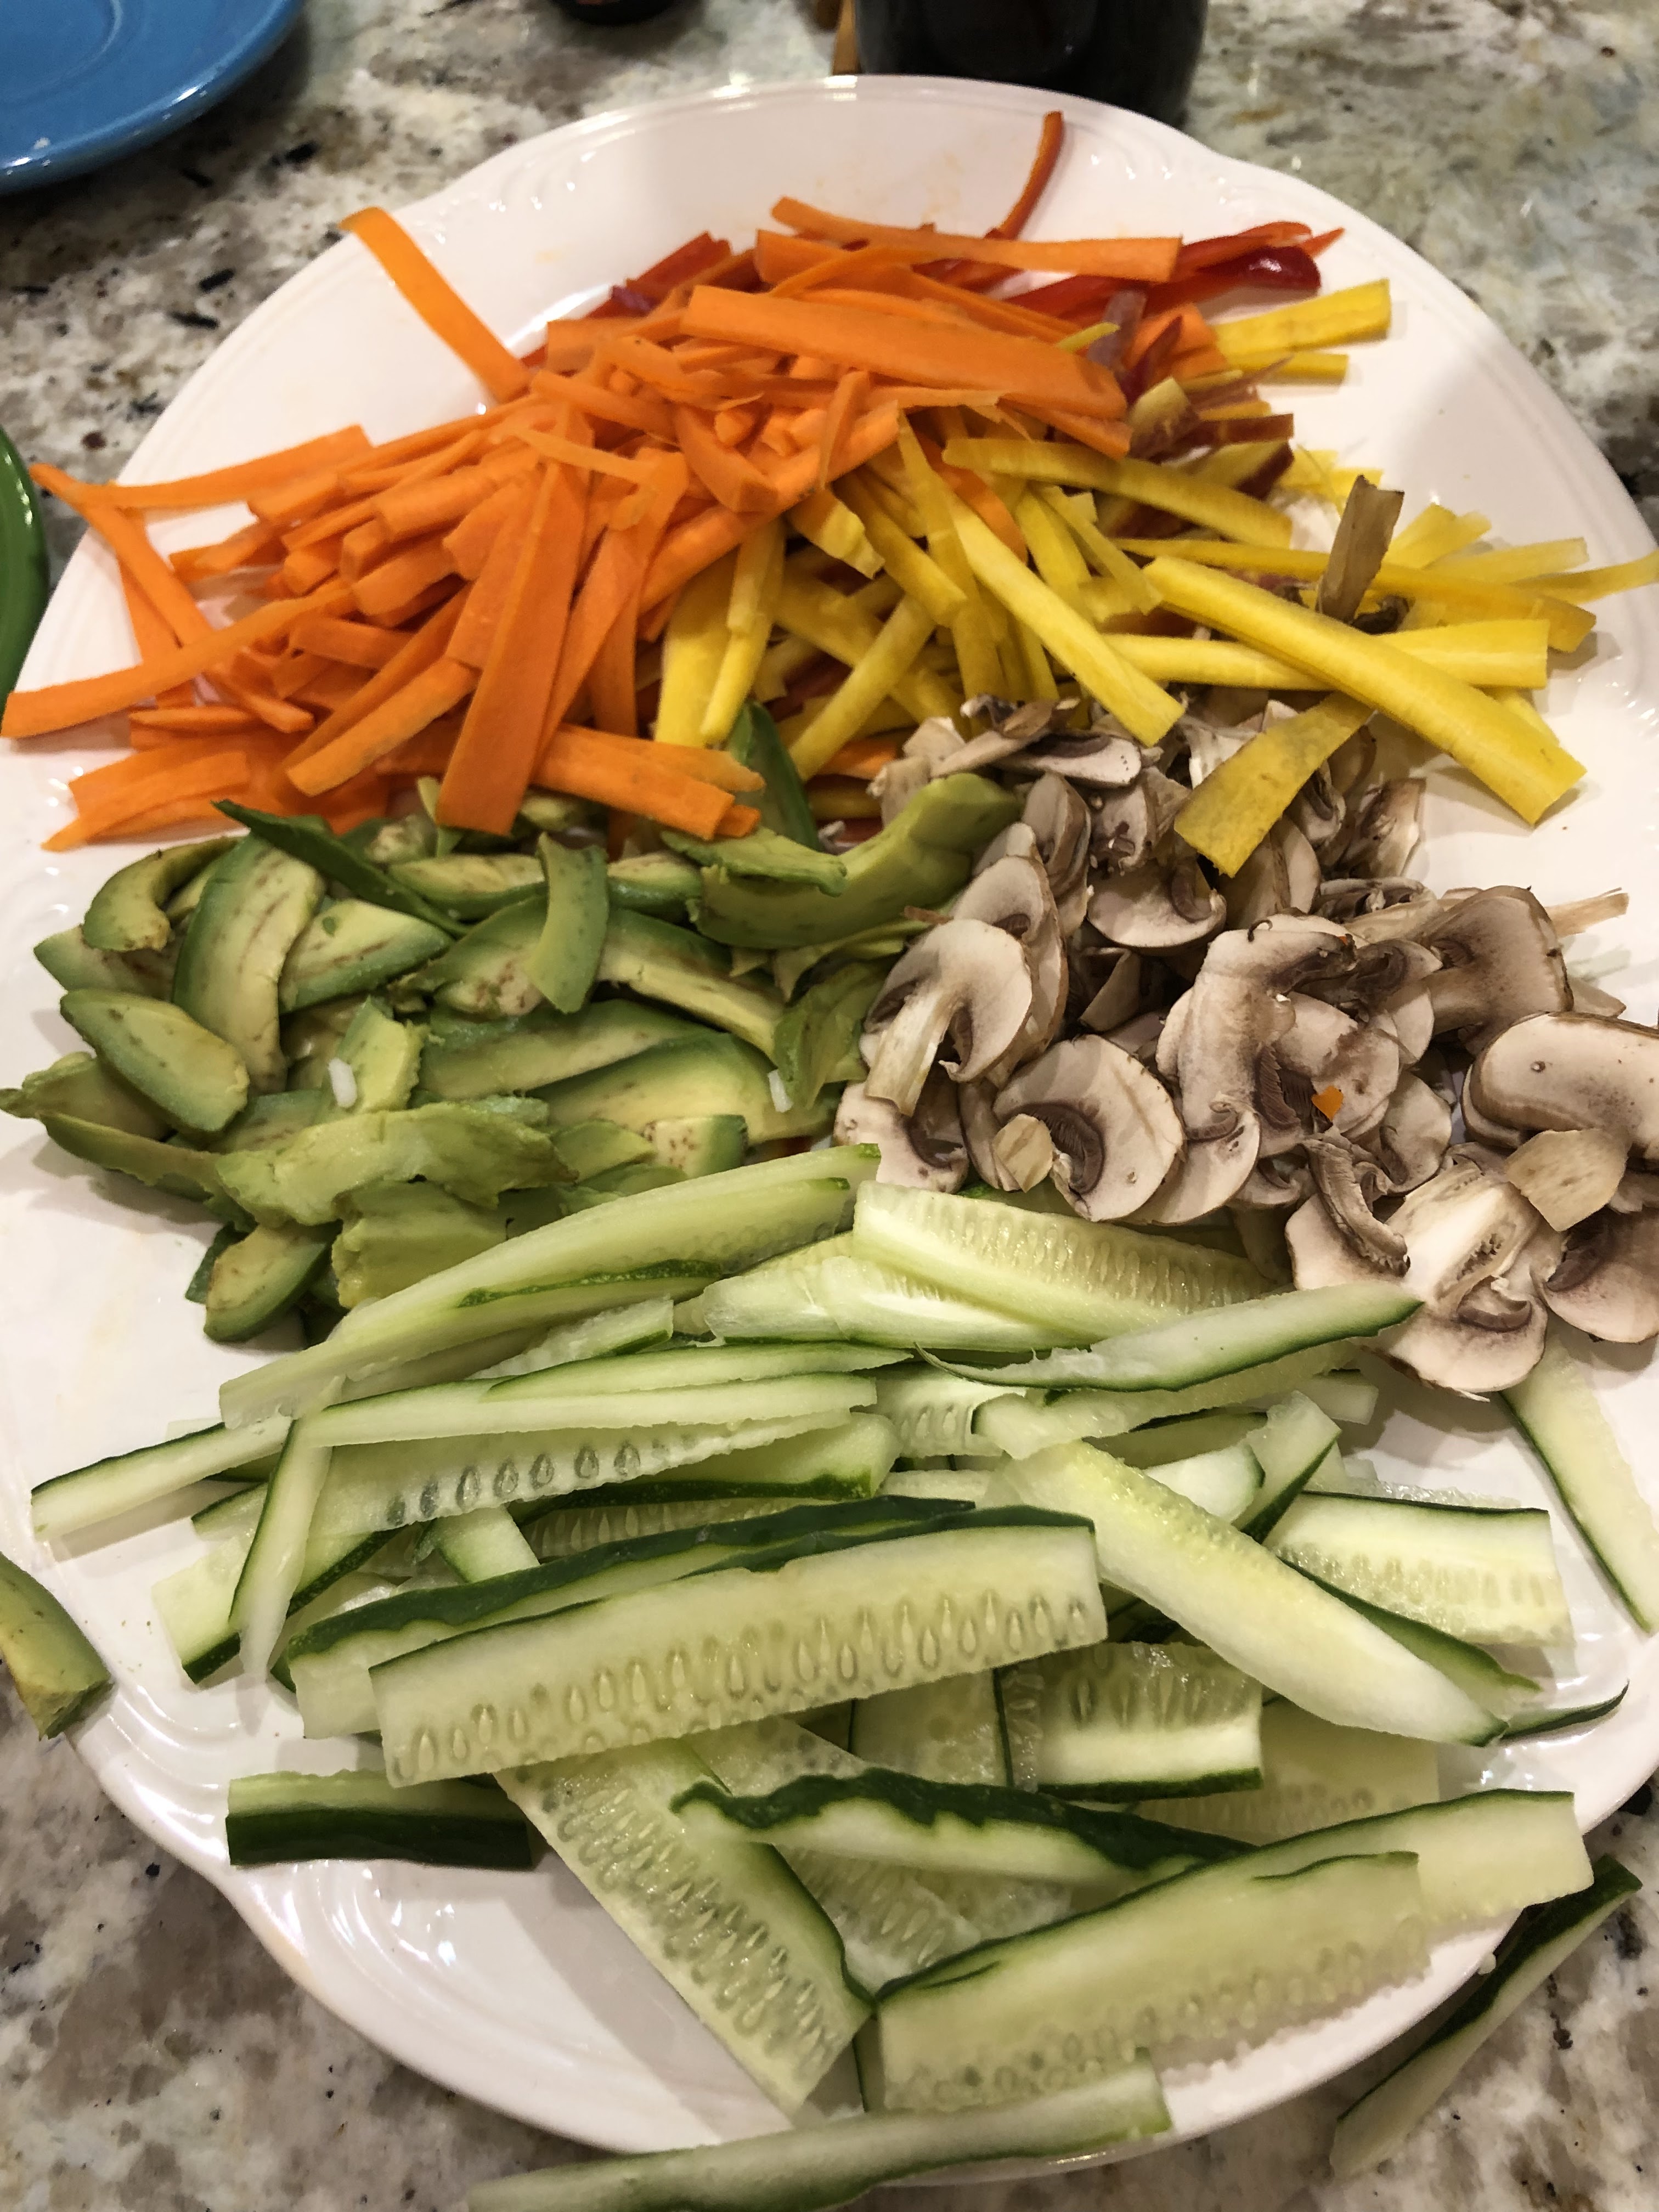
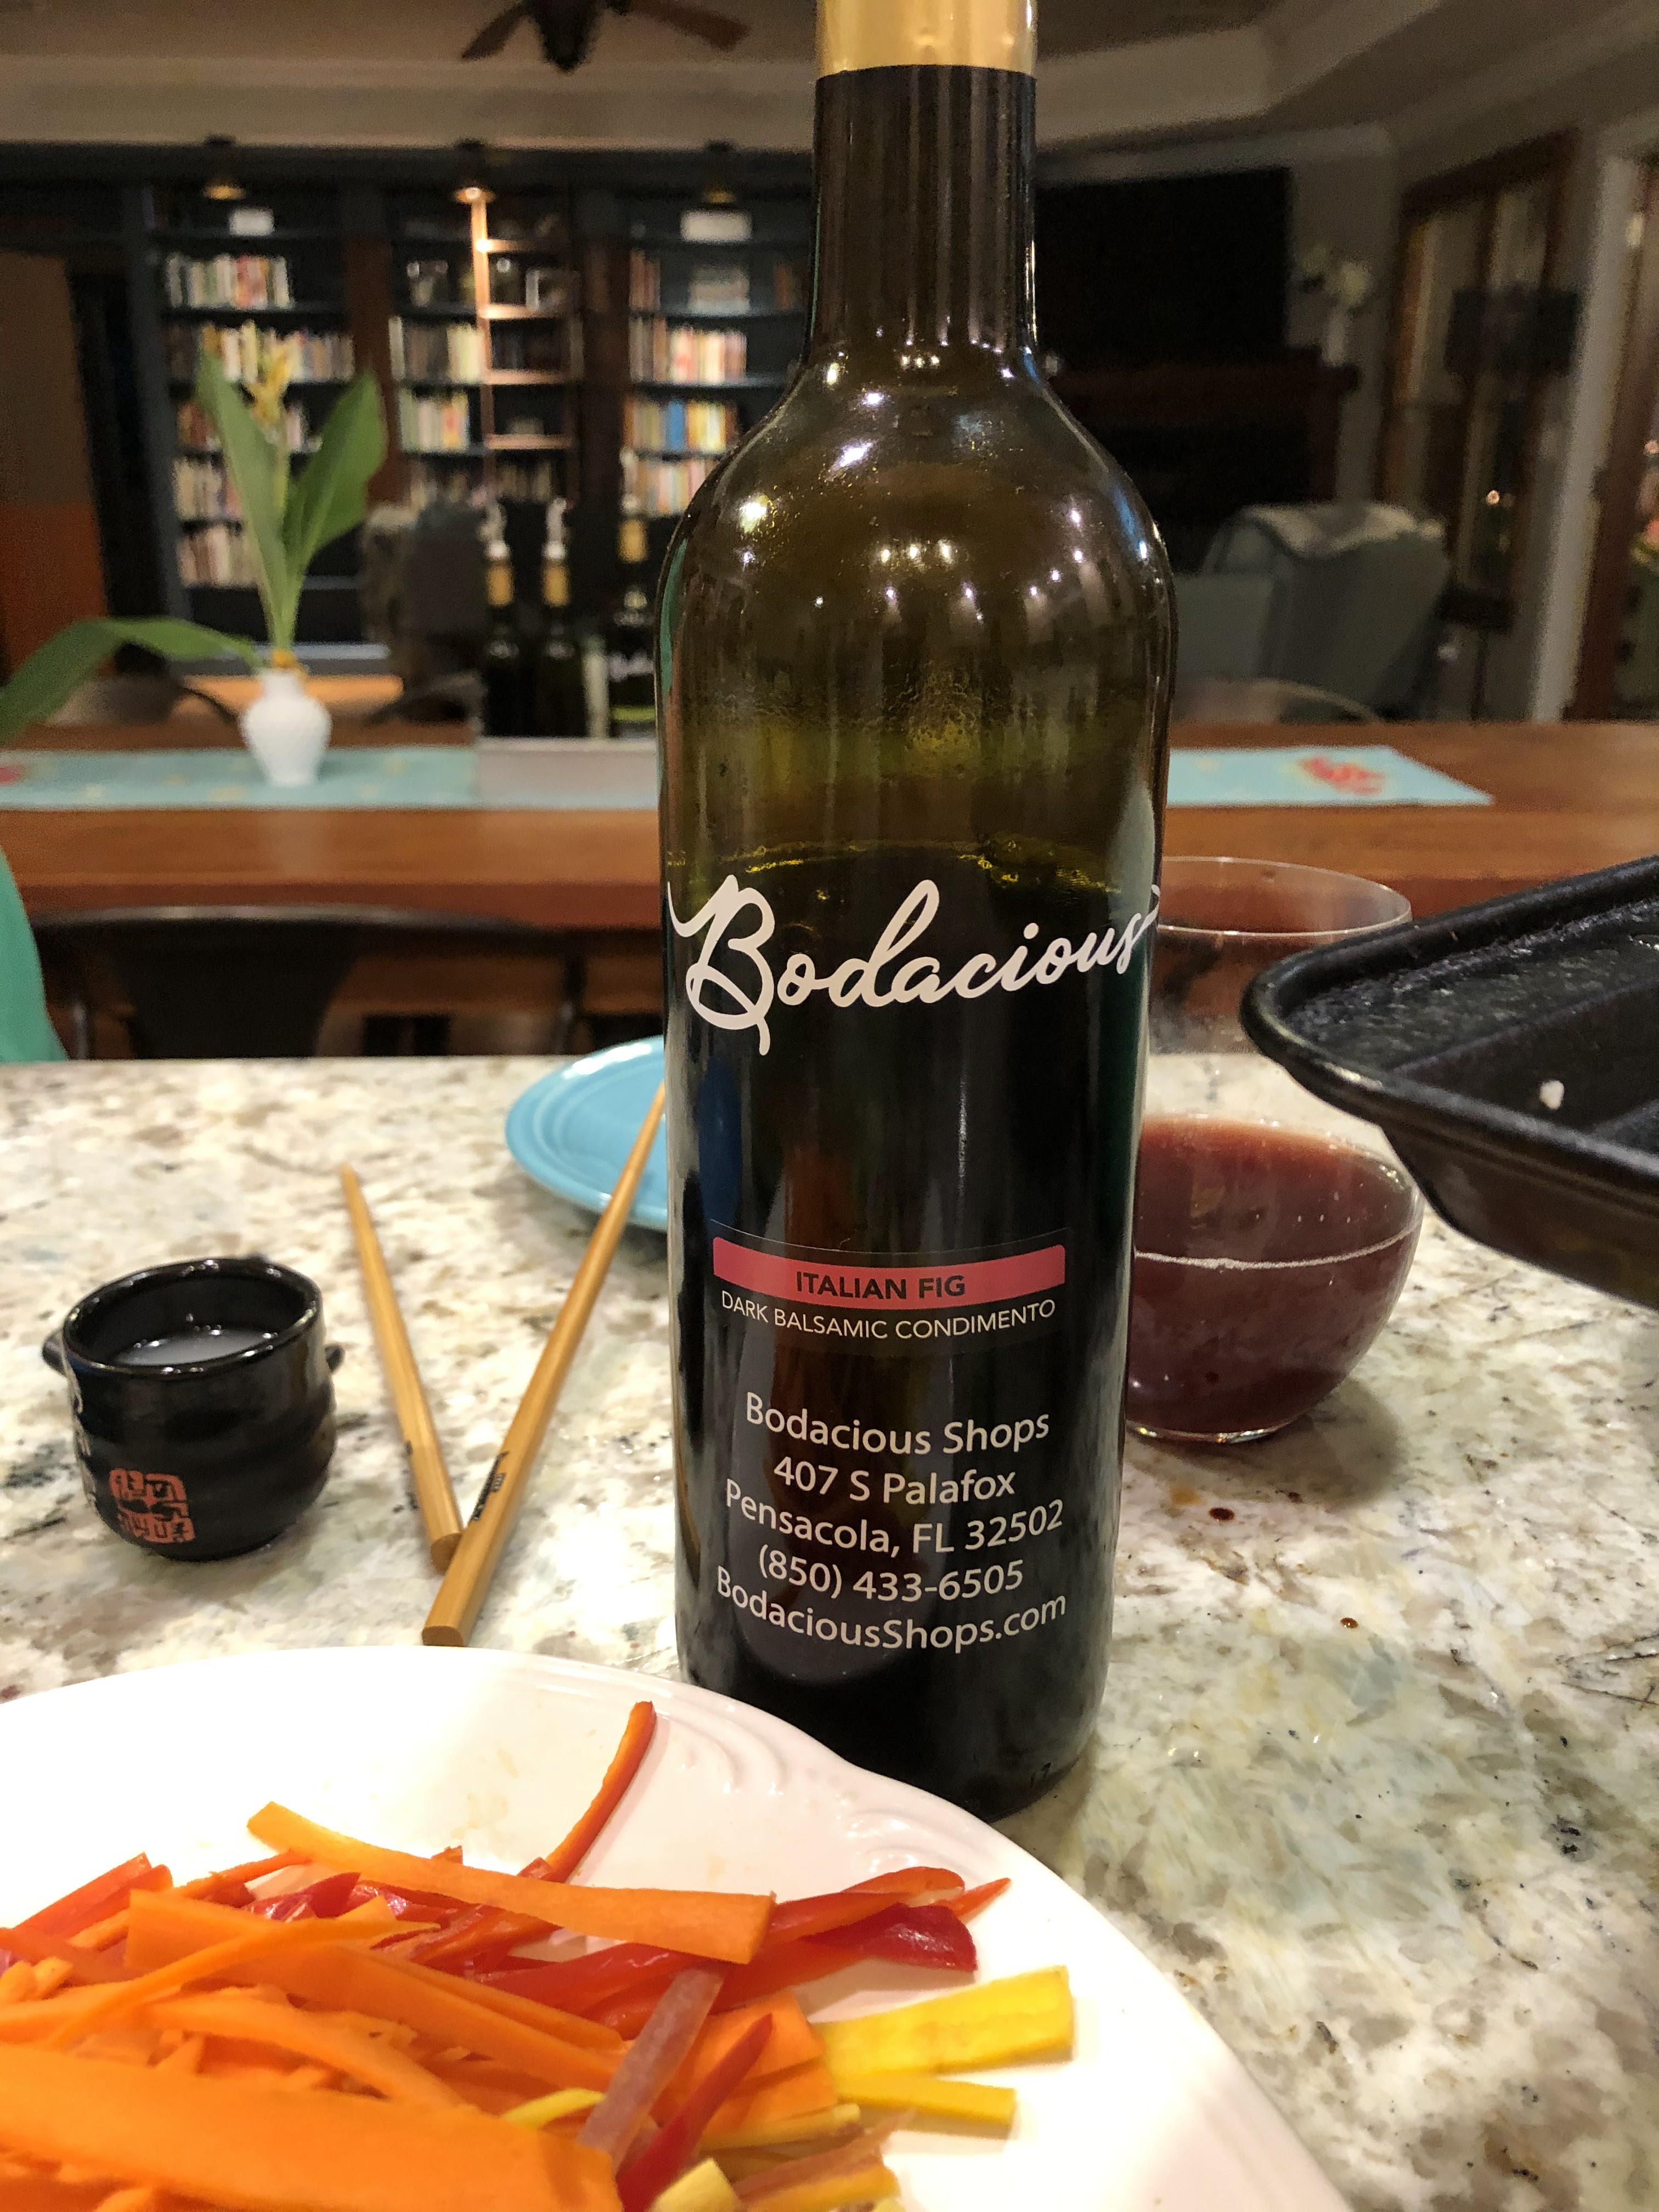
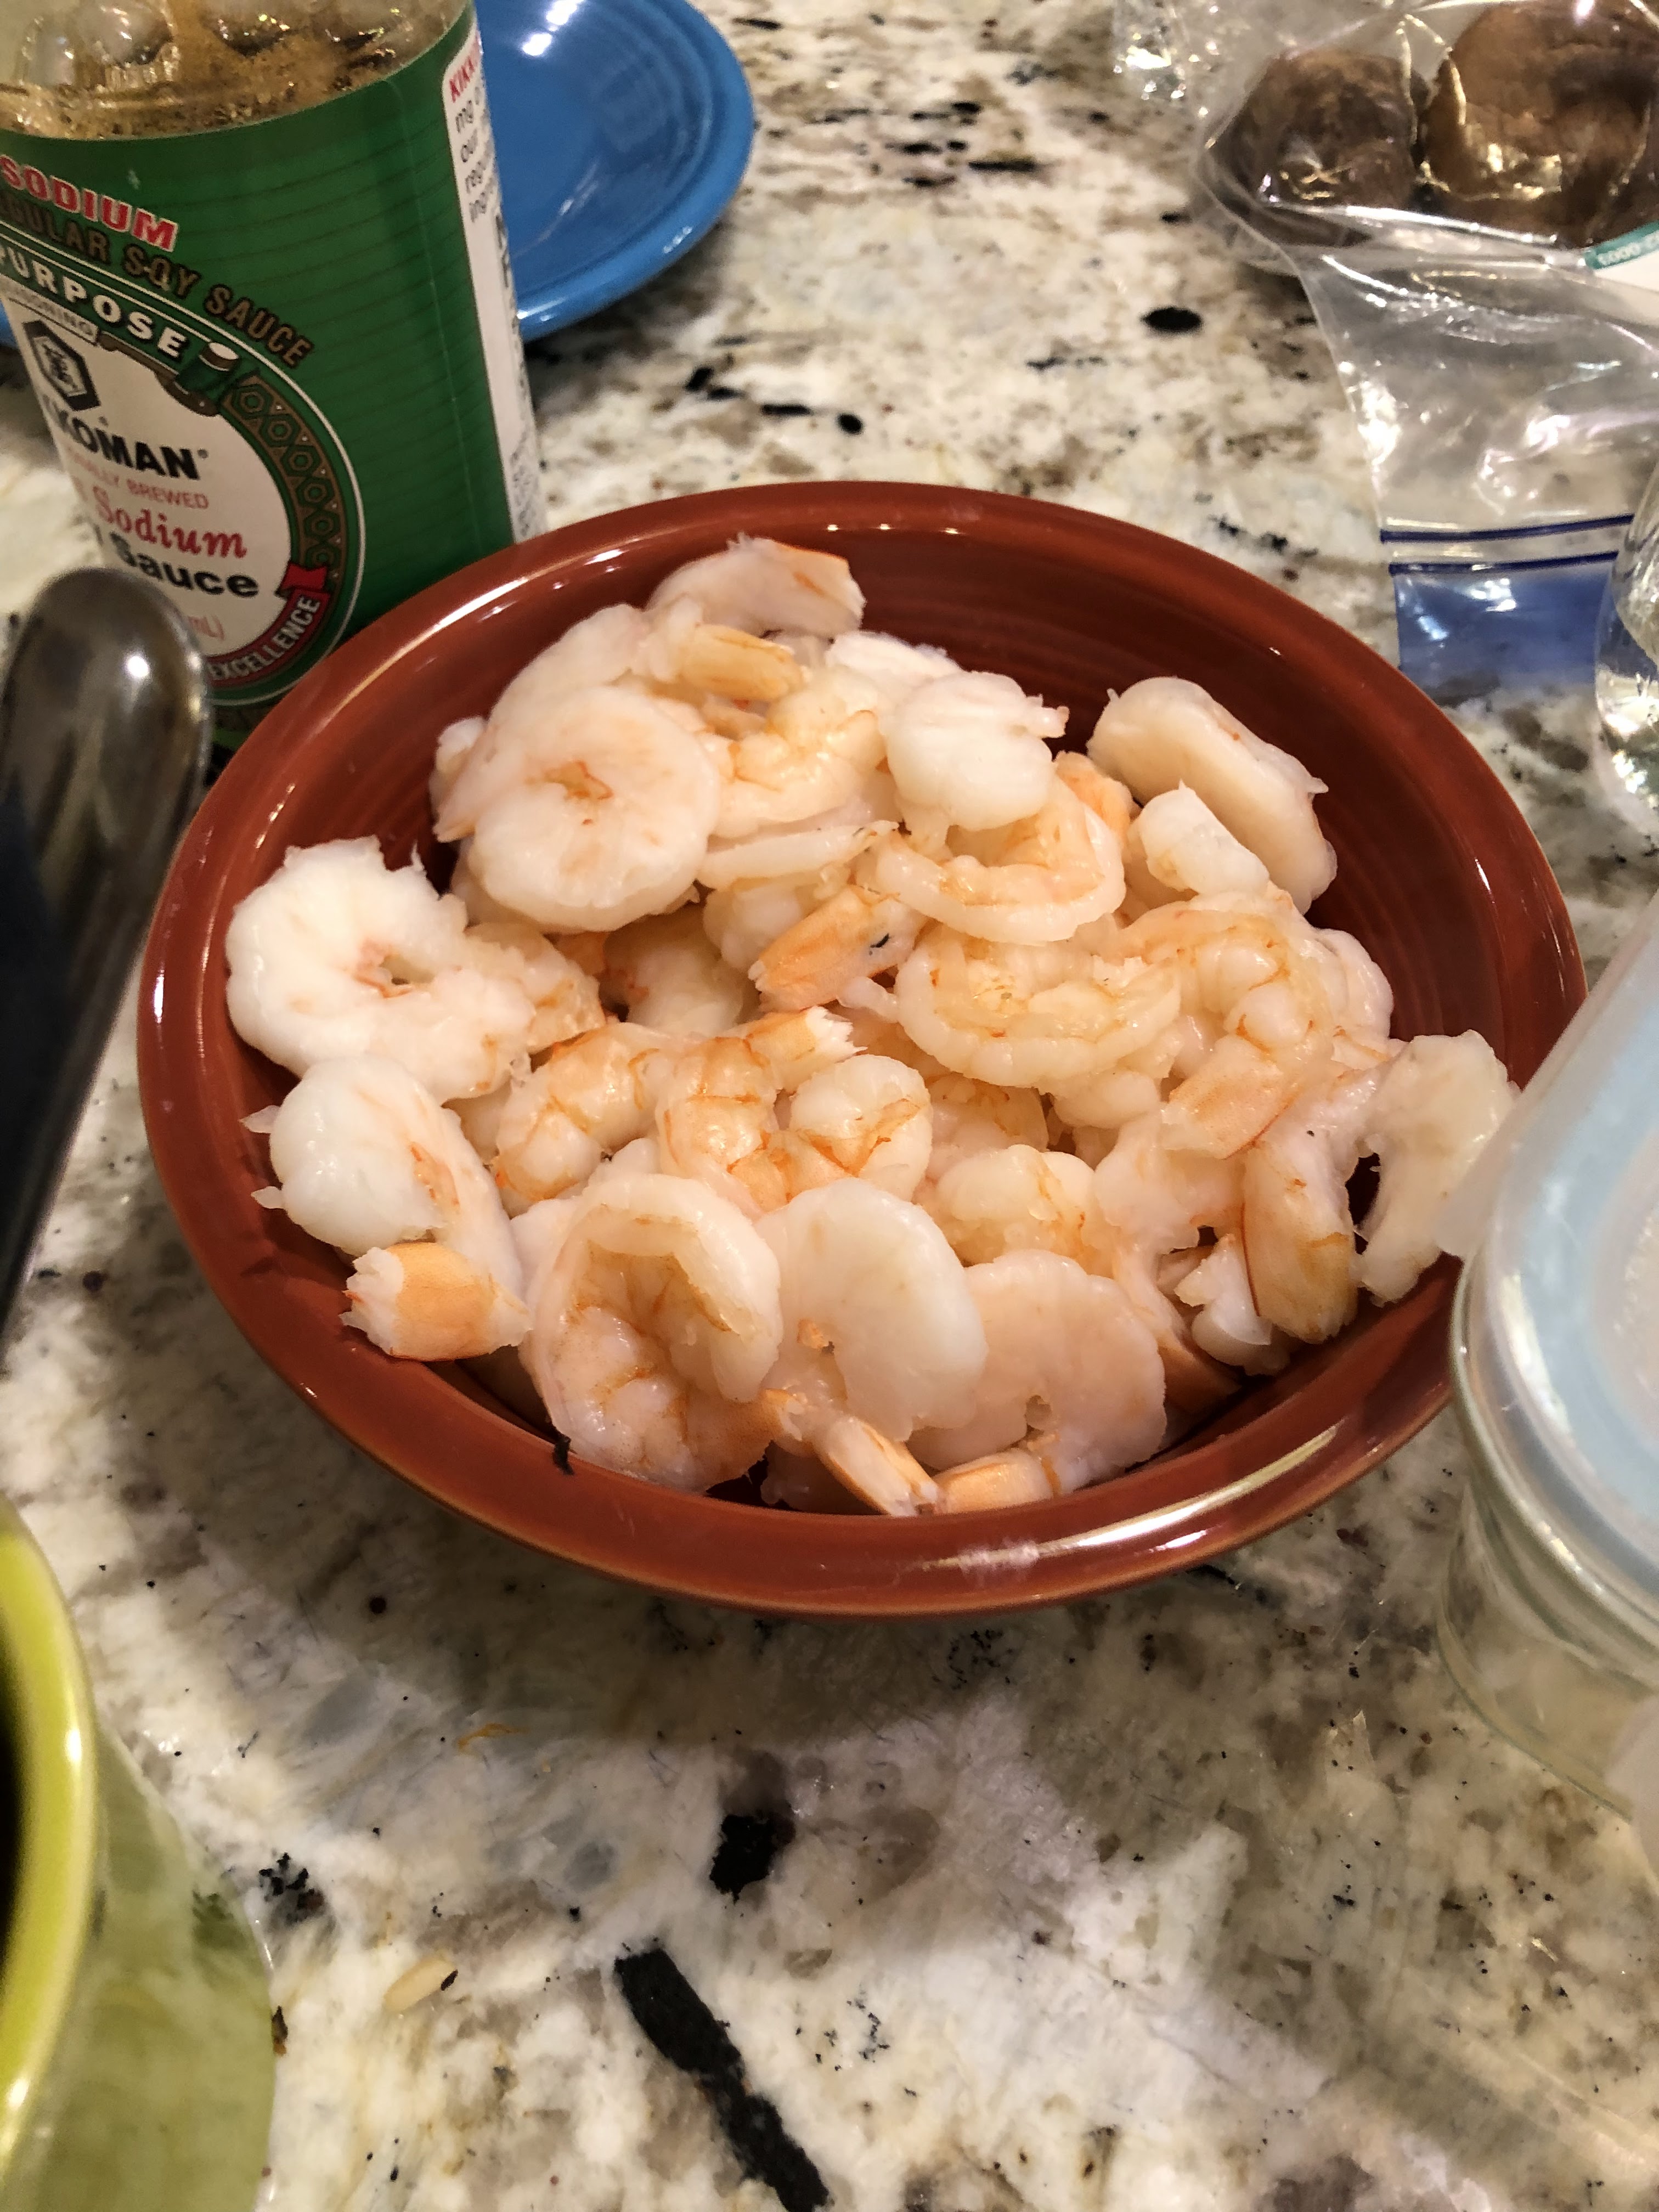
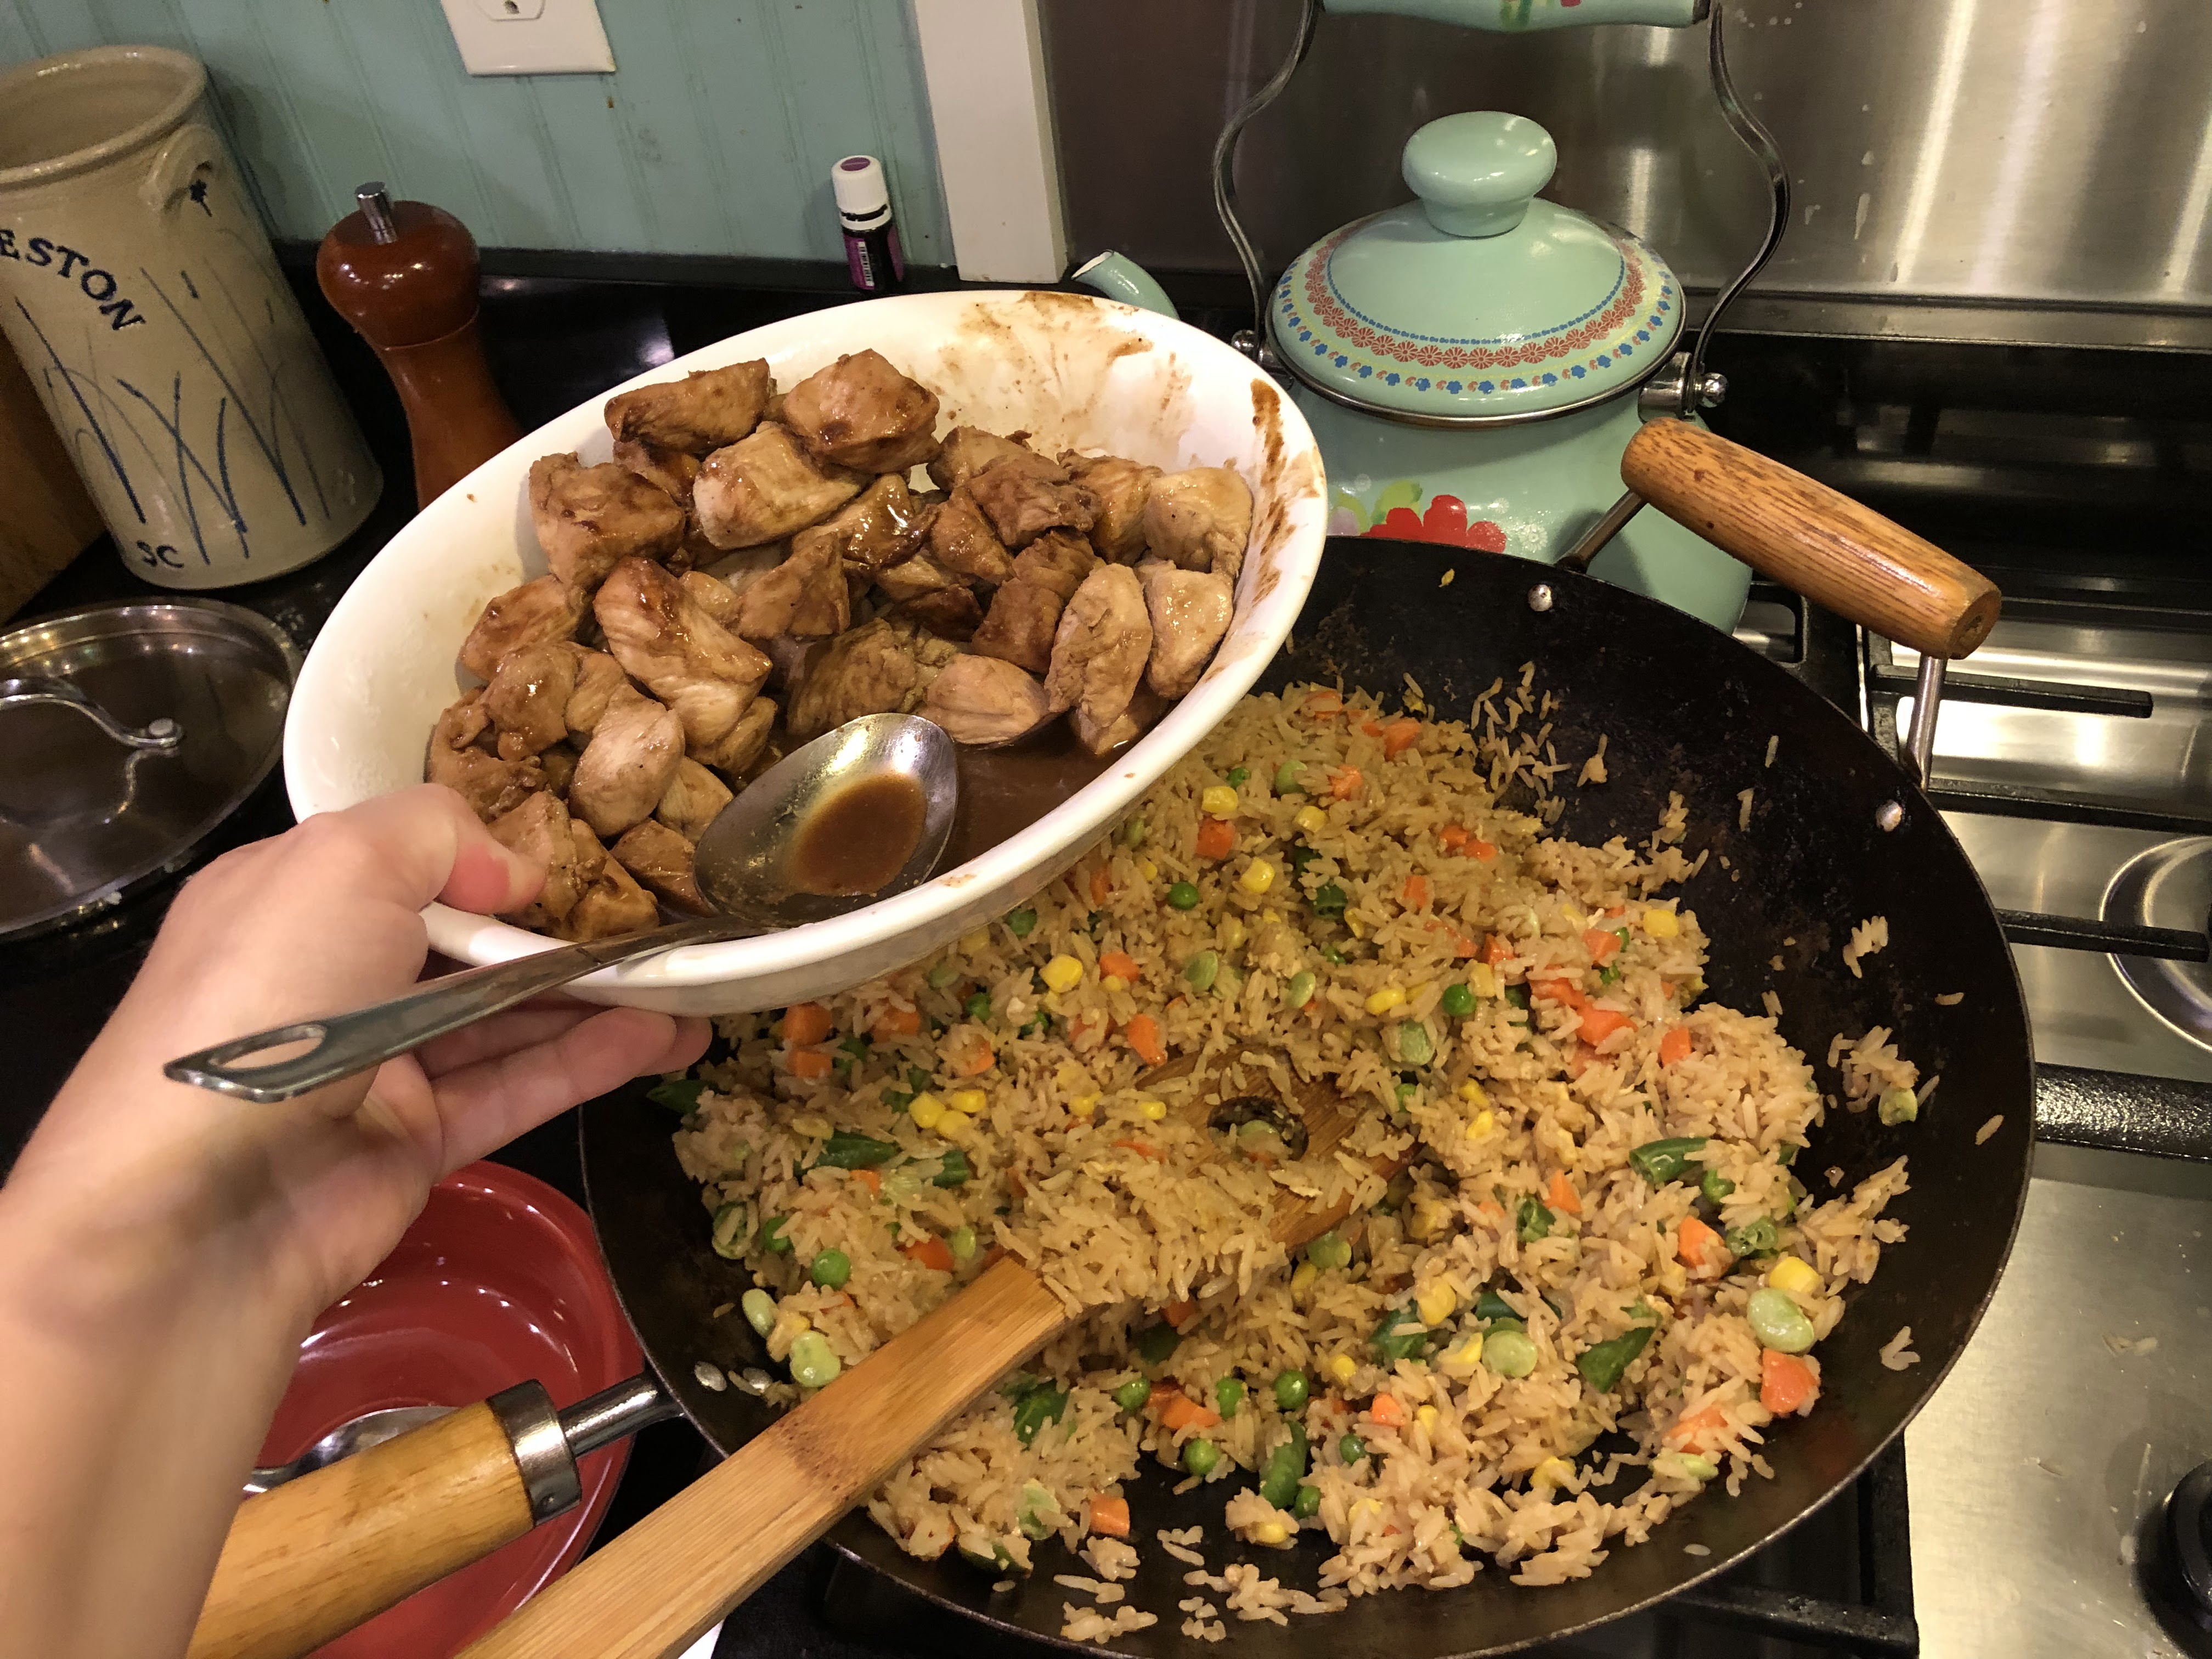
We have dear friends that our evenings together are always centered around really good food. We grill meat together, have pizza nights and most recently we had a sushi night. It was such a fun night of trying new things and even the kids were open to trying new things.
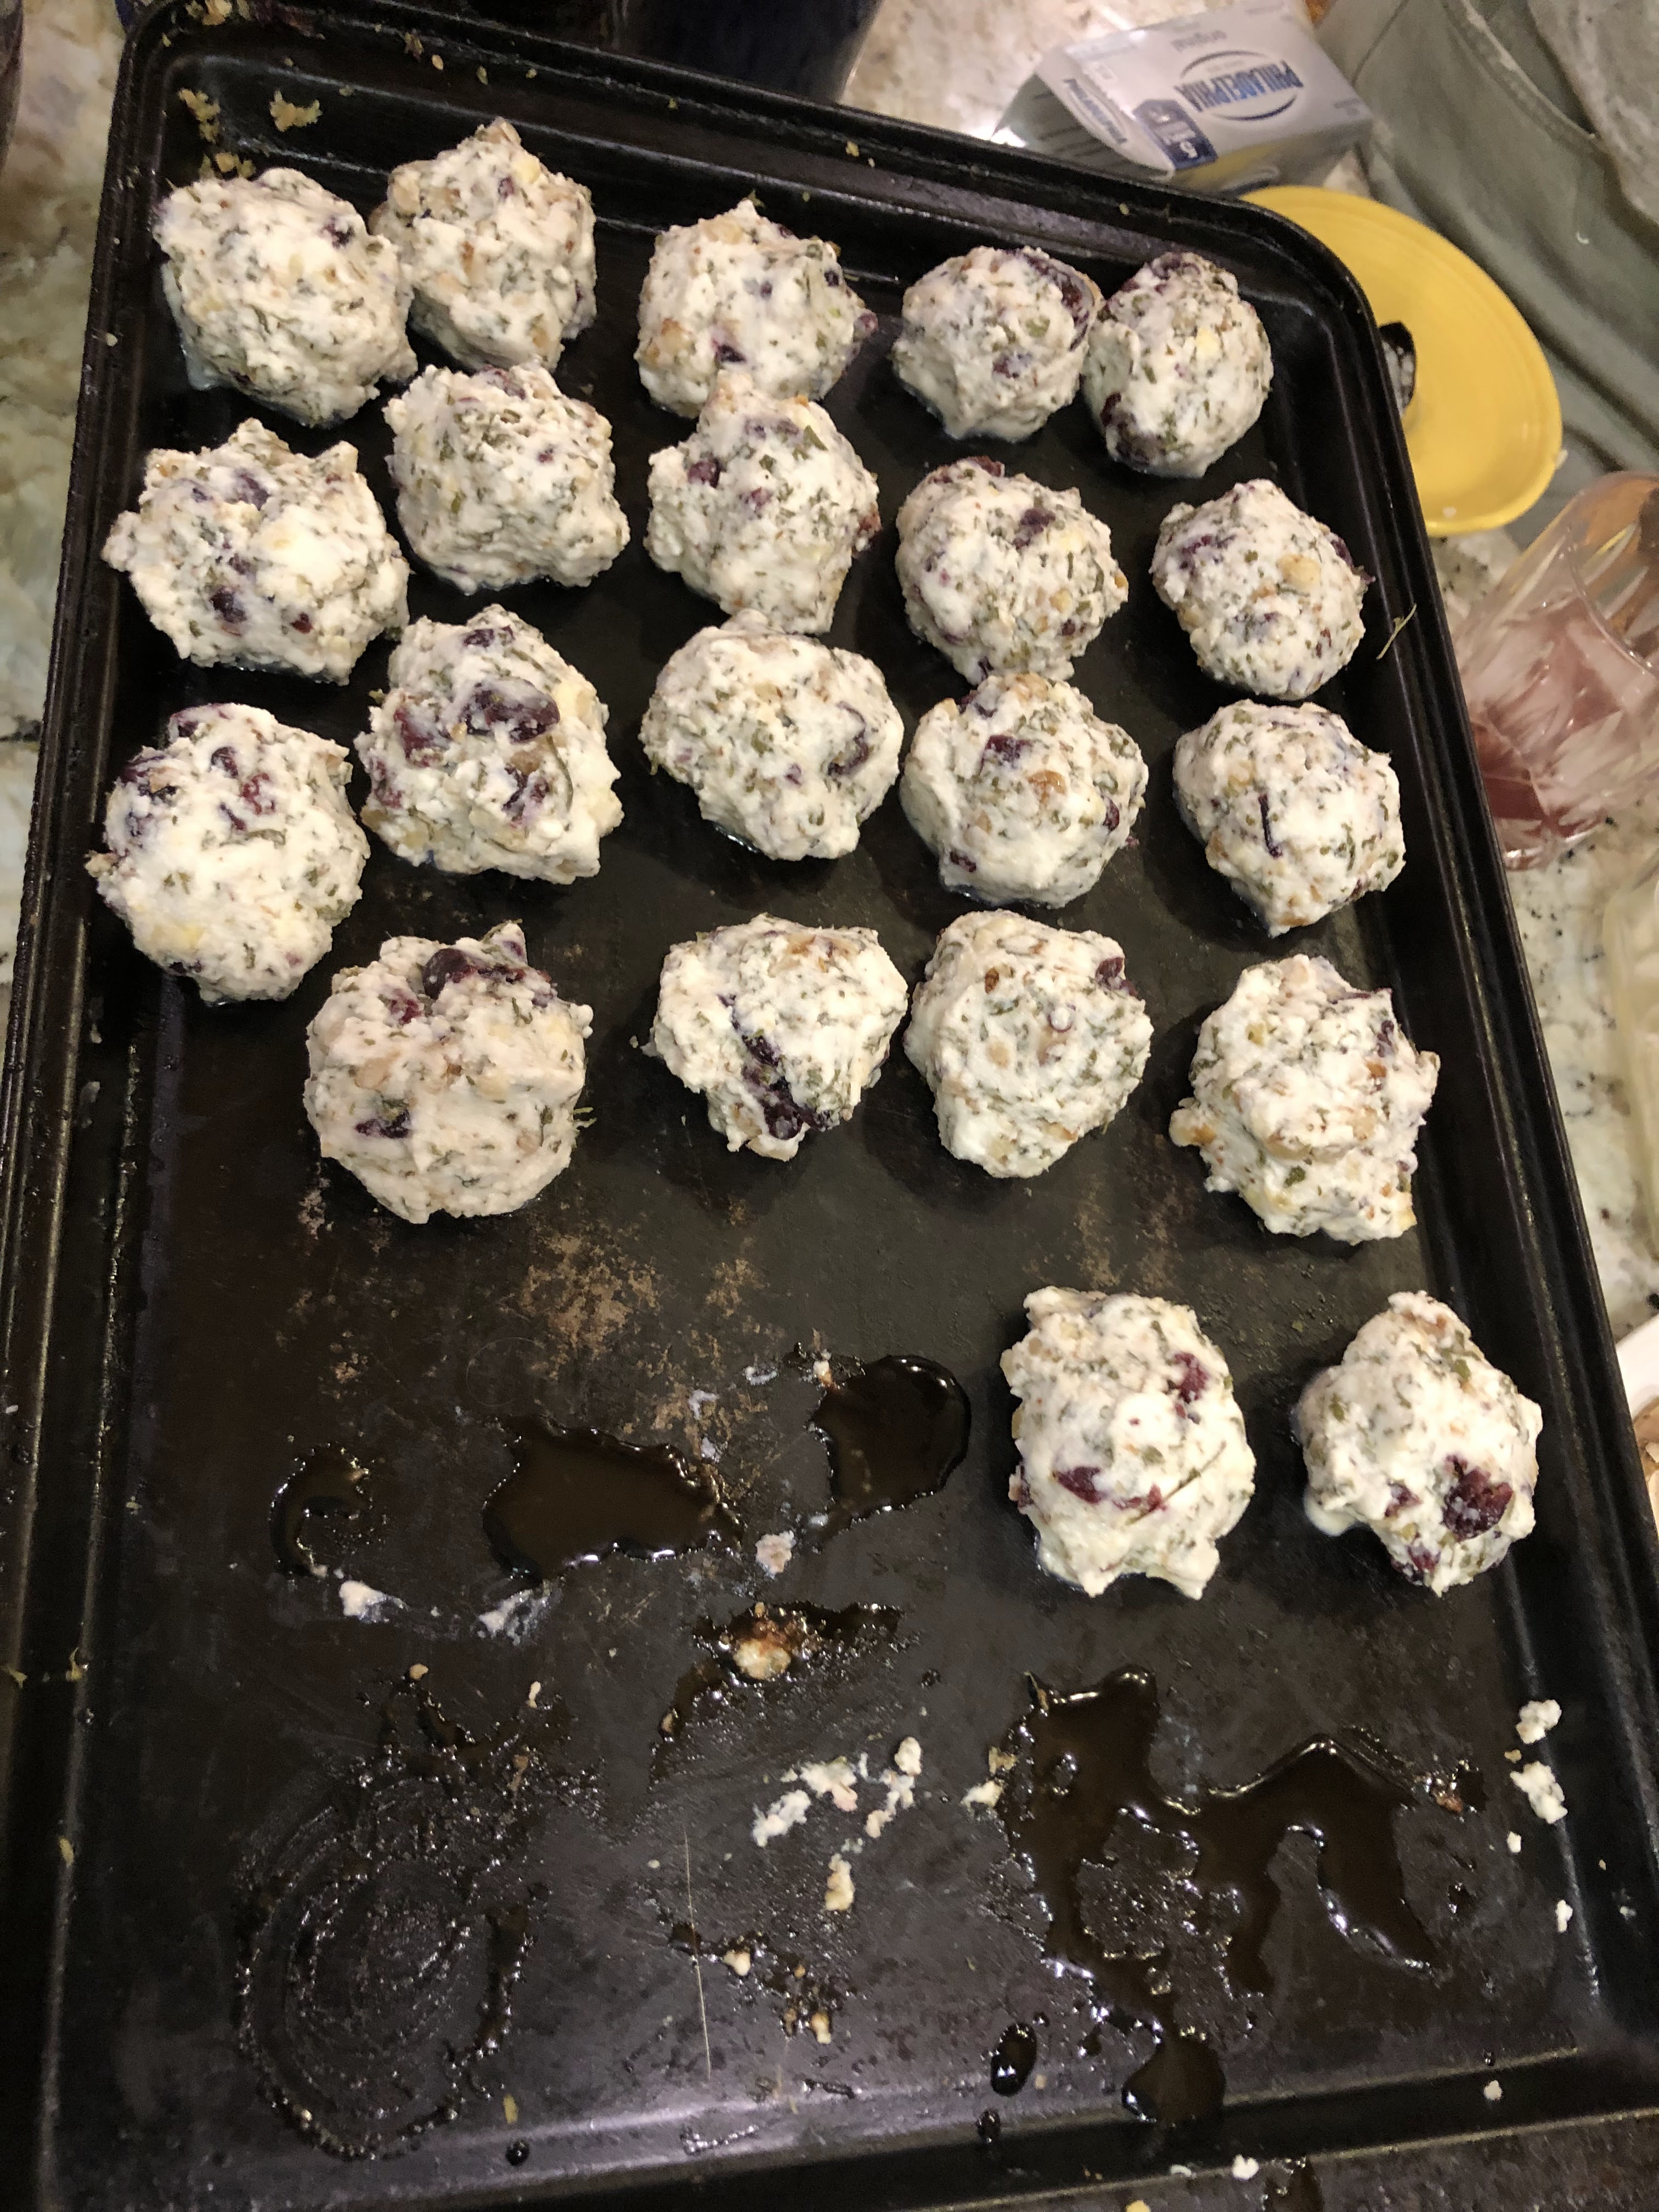
Delicious veggiesBest Balsamic everLocal shrimpTeriyaki chicken with fried riceWe topped these goat cheese bites with the fig balsamicHomemade goat milk ice cream
As you can see, we love cooking with friends. Adam and I also love cooking together. Breaking bread with friends is wonderful but it is so rewarding to spend an evening not just eating with friends, but creating beautiful food with wonderful friends. At then end of the evening, the kitchen is a mess, the kids are running around playing, the adults are content and enjoying conversation….it’s a beautiful thing. I would encourage you to try it! Get some friends together and enjoy making and eating delicious food.
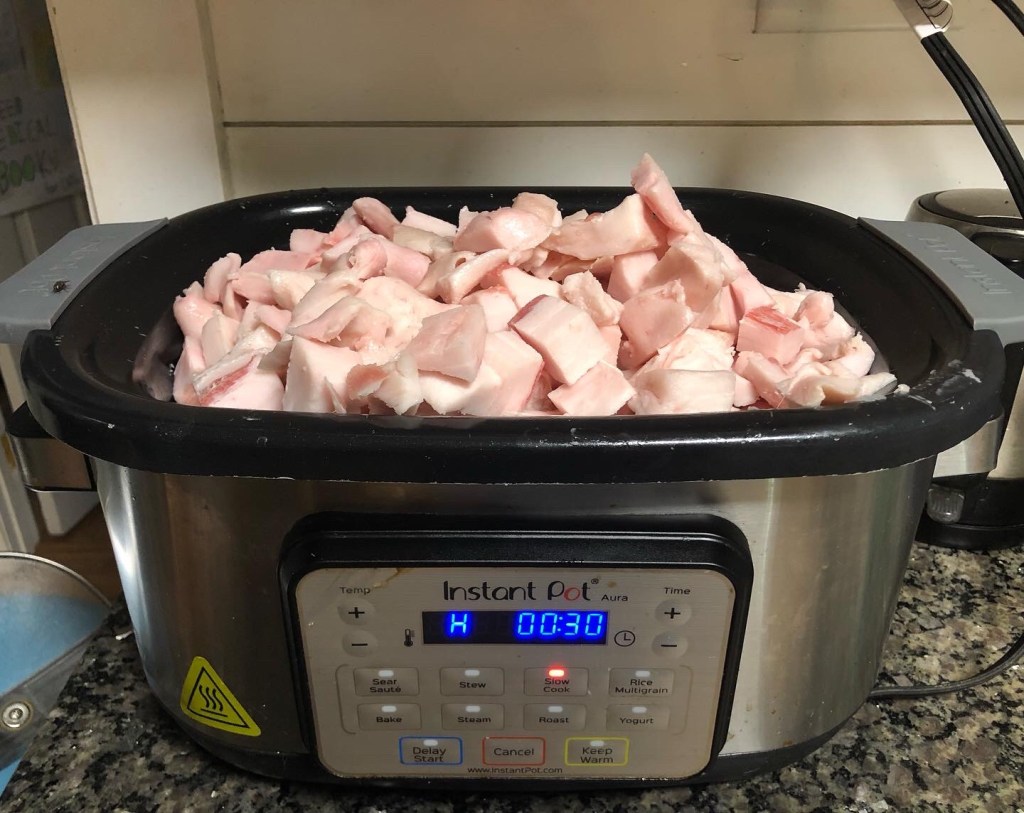
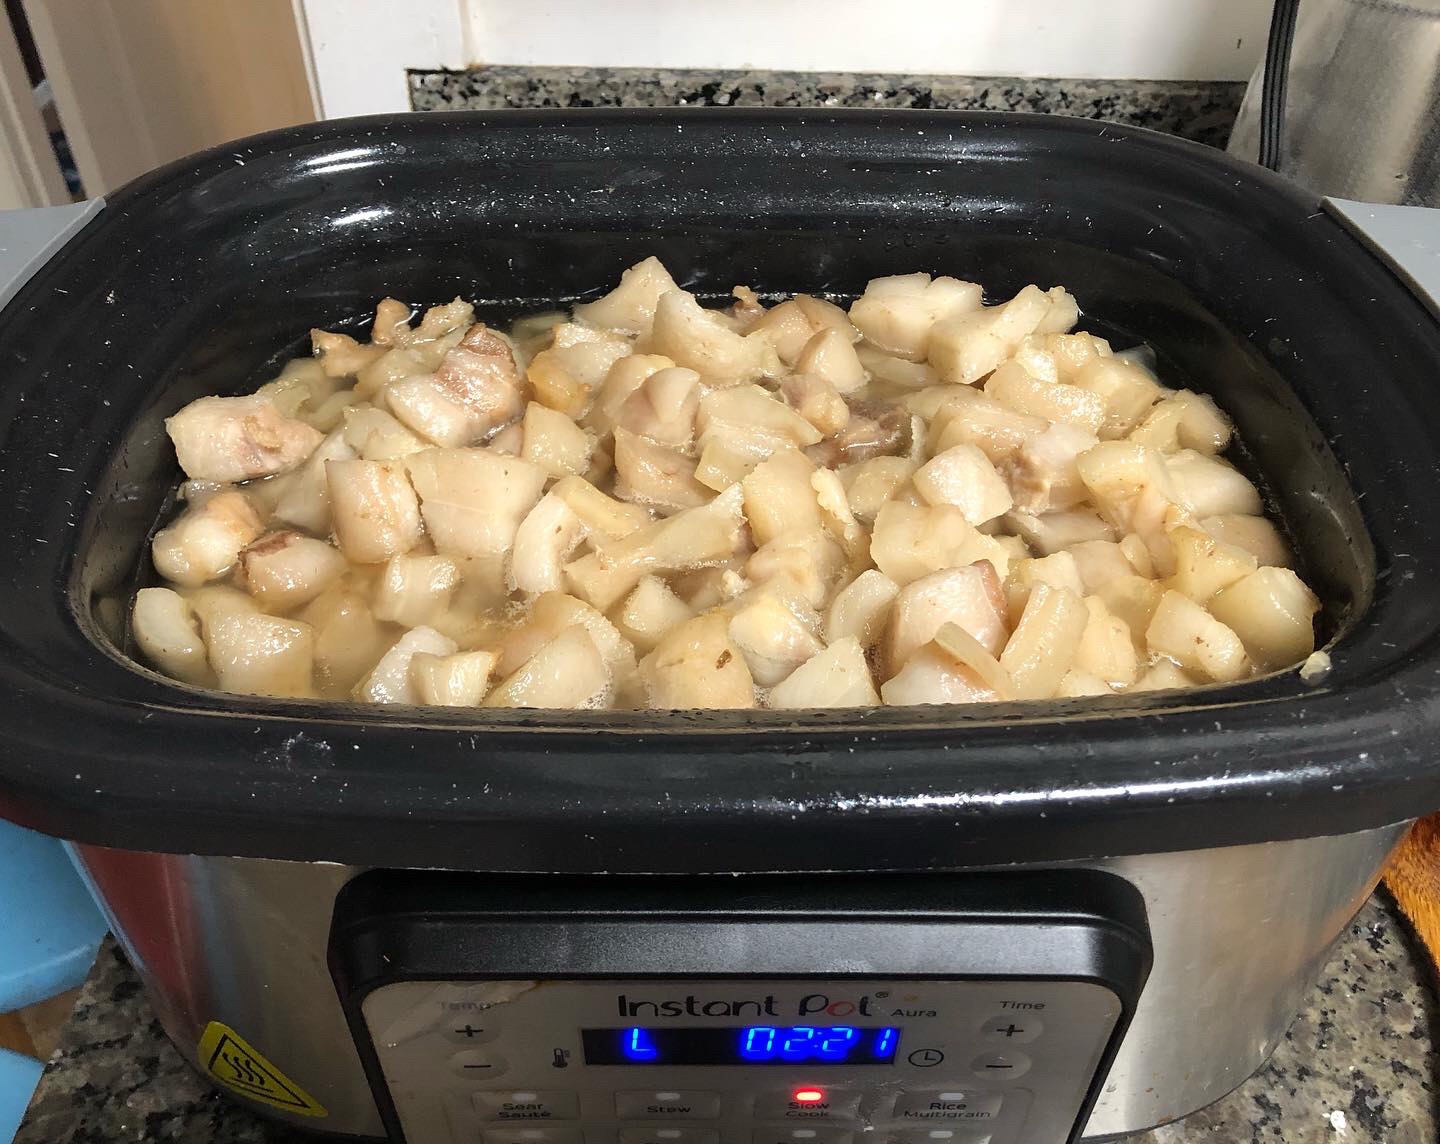
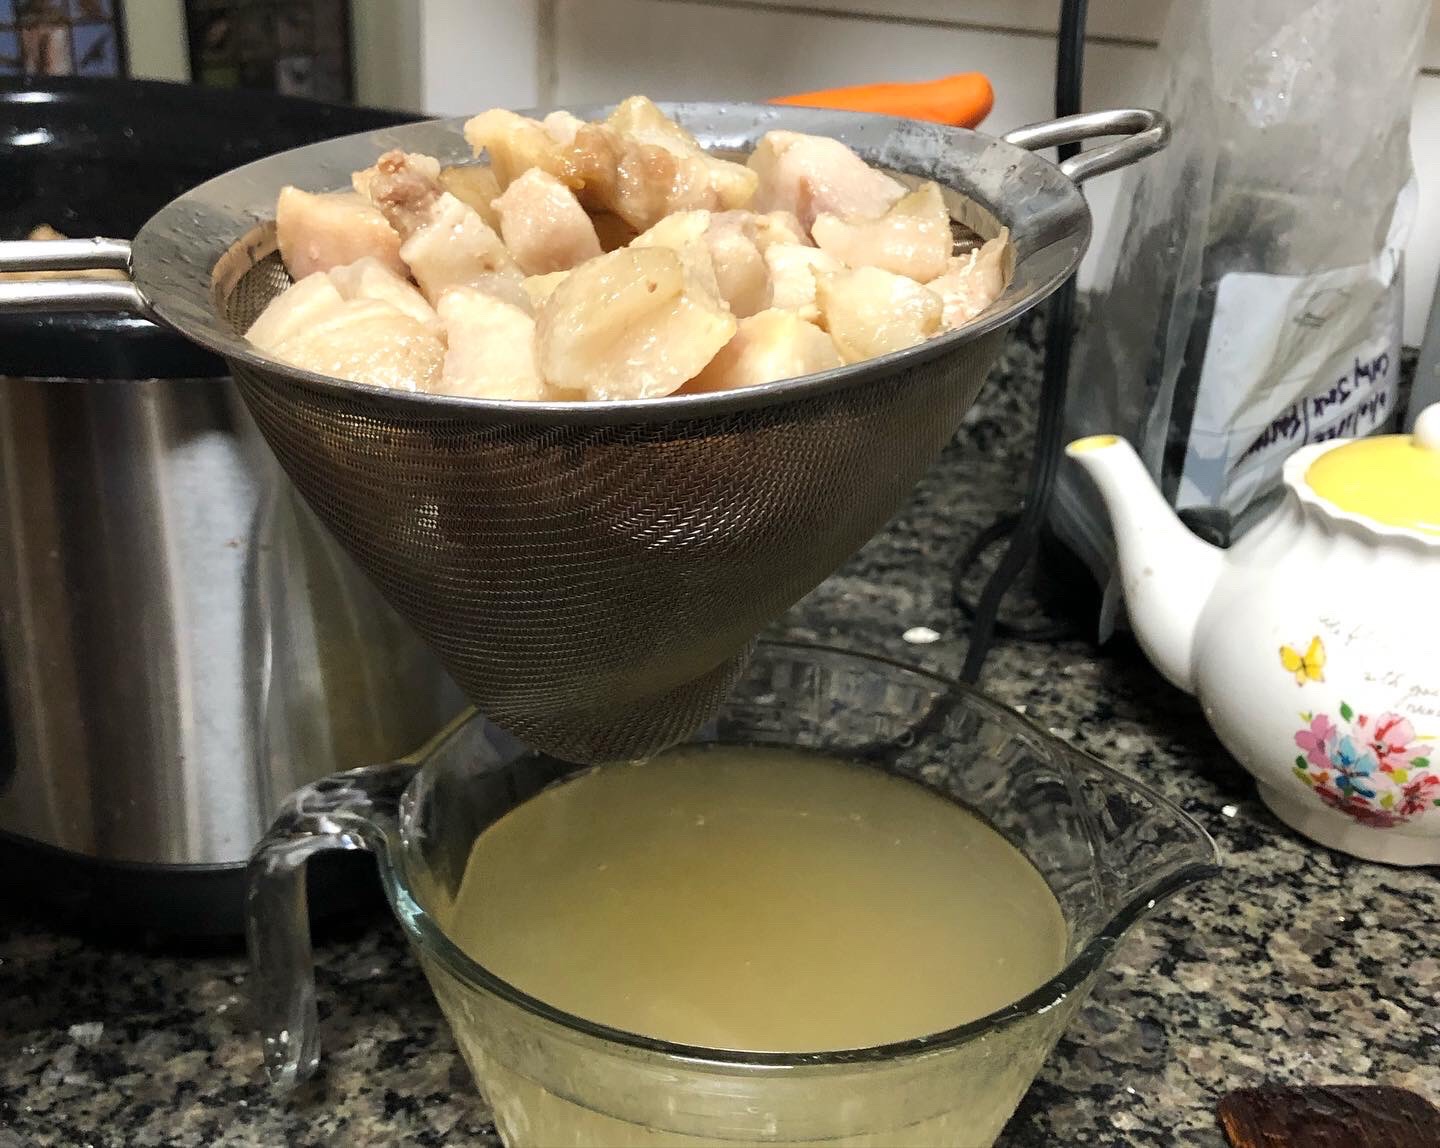
Rendering lard has been on my to-do list for many months. I moved this up to priority for this week. It takes several days and you need to be home most of the time. Lard is beneficial in many ways. Before Crisco, lard was a staple in every home for baking and cooking. If you ever have time, look up the story behind Crisco and the ingredients. Anyway, I digress. I did three different renderings because it becomes more “porky” as it cooks down.
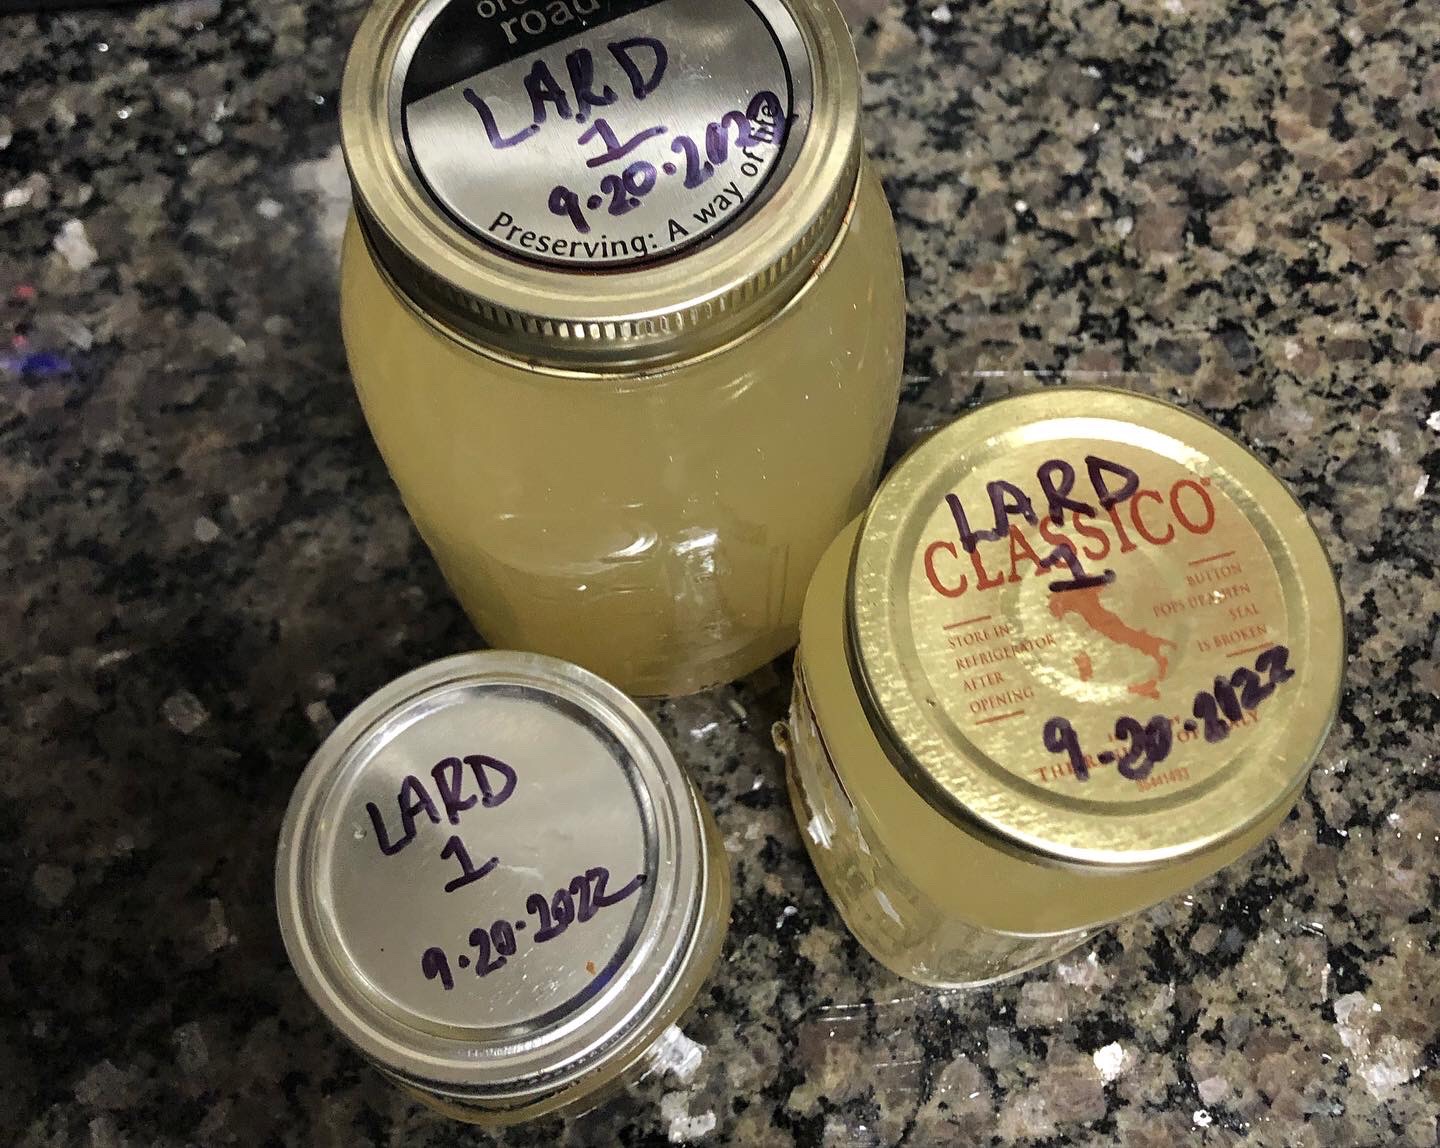
The first rendering is the most mild and I will use it as shortening when baking. It can also be used in candles (I mix it with beeswax) and other things. The second rendering is great for homemade tortillas or crackers. And the third rendering (mine is still in the pot) will be used in dishes that need extra flavor and fat. When we cook rabbit or venison, lard is a great addition because rabbit is such a lean meat.
The second rendering hasn’t finished hardening yet
We desire to have no waste of the animals we raise. Rendering lard is one of the ways we try to use very part of the animal.
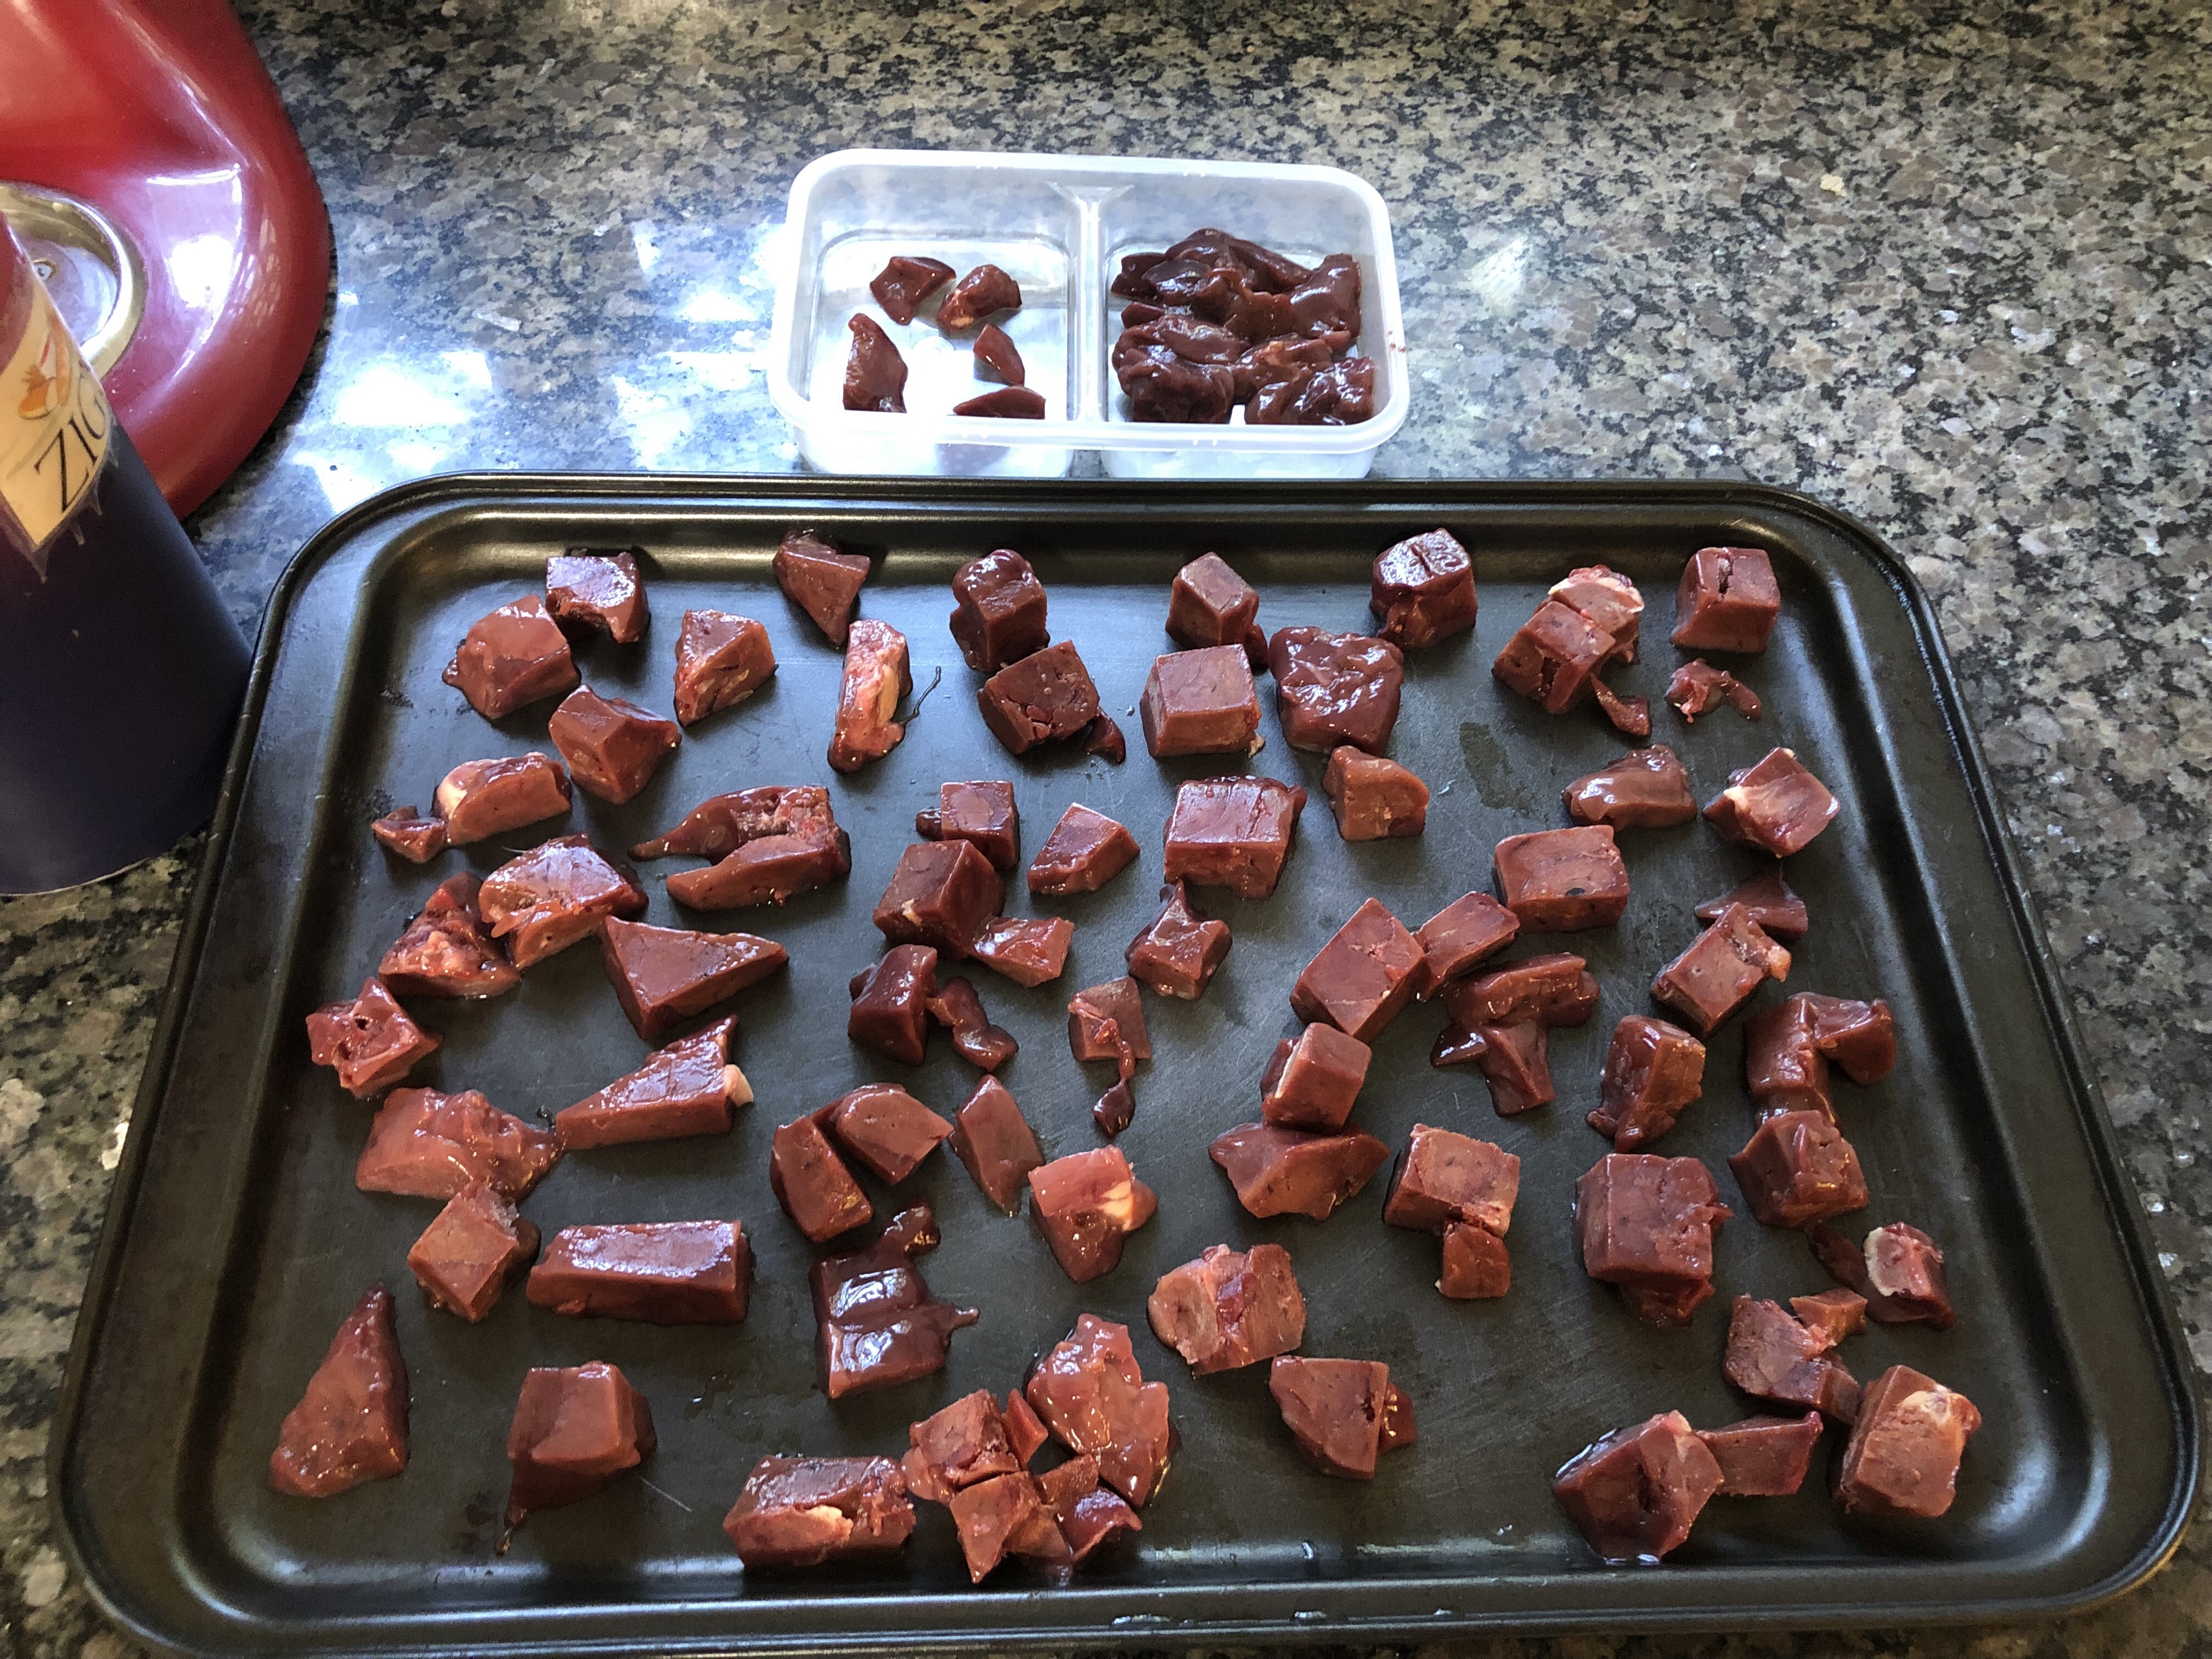
On another note, Kathryn and I started taking raw liver shots today. We add liver to most of our ground meat meals and soups but she and I felt like we needed it on a daily basis. We cut it in small portions, placed it on the back of our tongue and washed it down with water. We didn’t taste anything and we both noticed enhanced mood and energy today! Now to convince the rest of the family….
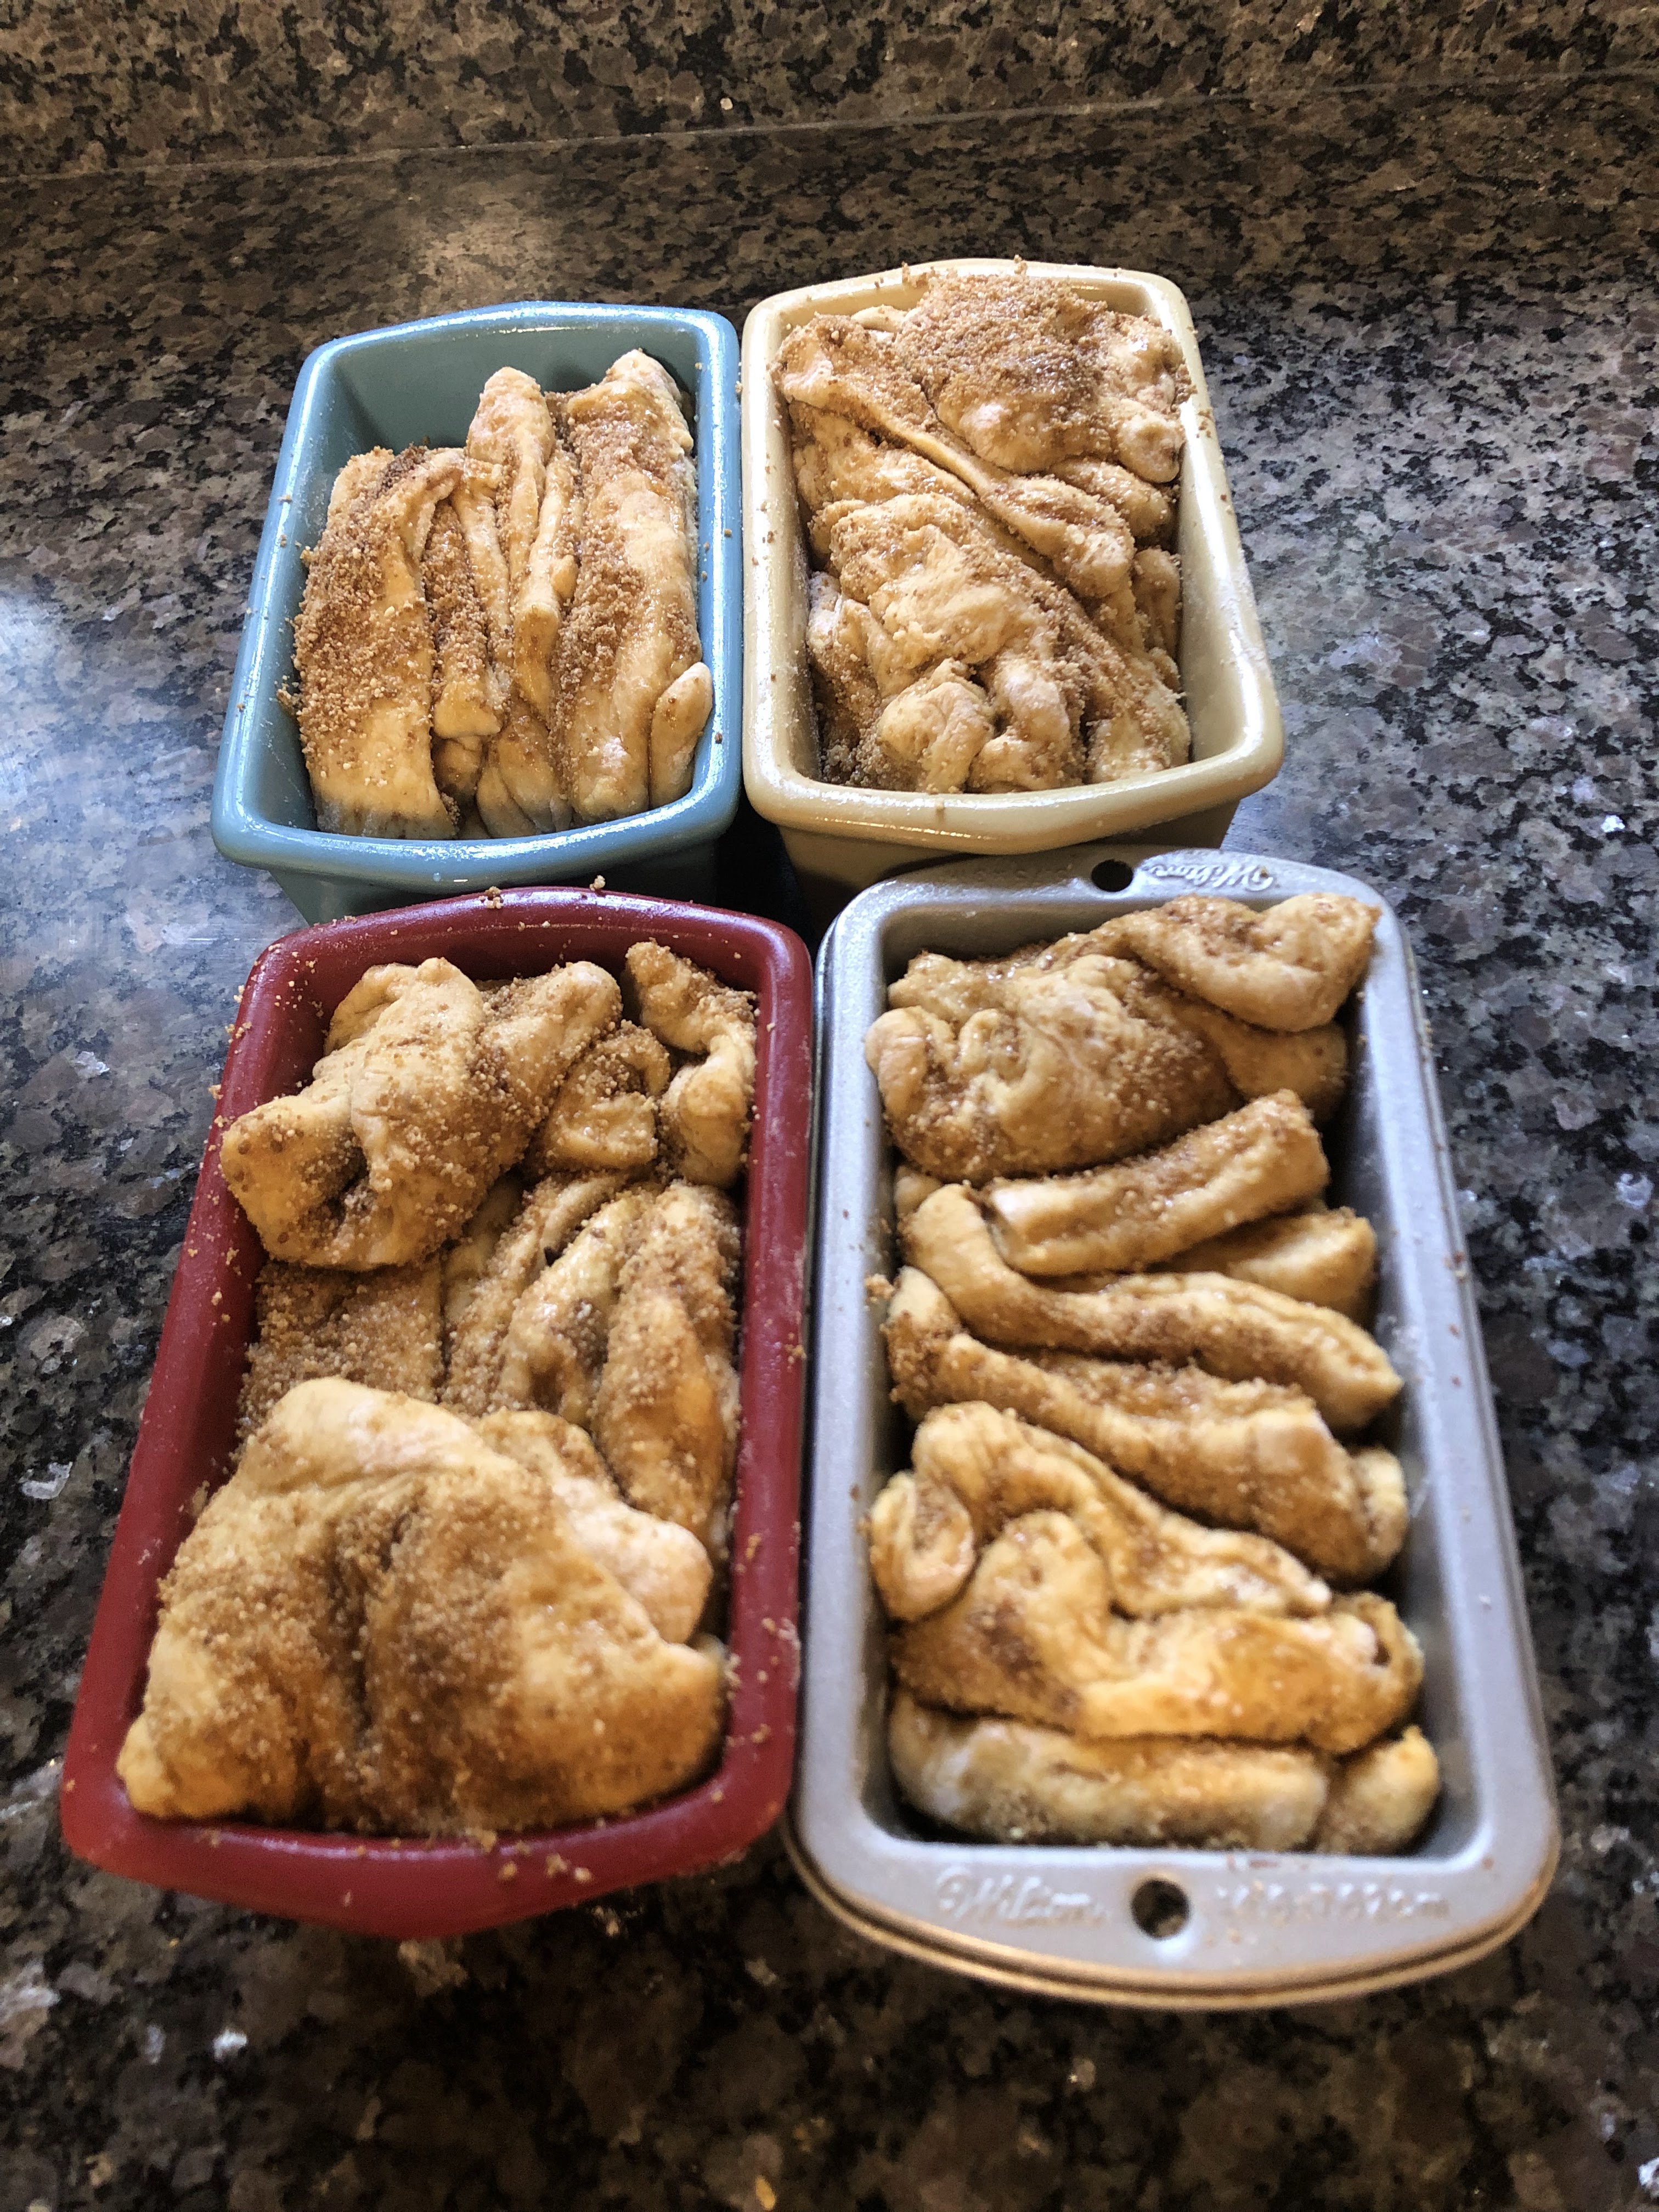
I have been working with sourdough and milling my own flour for at least eight years. I have always shied away from baking anything besides bread. I haven’t been able to perfect “baking” (besides bread) because most recipes called for store bought all purpose flour. For those of you that aren’t familiar with milled flour versus store bought flour, I will give a brief explanation. All flour is milled from some kind of grain and there many different varieties. When the grain is crushed or milled, the nutrients in the grain are exposed to air (oxidized). Once oxidized the nutrients lose any benefit after approximately 72 hours. Flour can also become rancid especially if the bran and the germ remain in the flour. Flour you buy at the store, no matter what kind, has had the bran and the germ removed. The bran and the germ is where all the nutrients are stored. Flour companies sell the bran and the germ to companies to use as nutrients and then the flour company “enriches” their flour with “nutrients,” because their removed all of the nutrients that were naturally found in the grain. I explained all of this because store bought flour is light and fluffy and makes beautiful baked goods. I don’t sift my flour (I want the bran and the germ!) so my flour is much more dense. It is difficult to make beautiful baked goods with freshly milled flour unless you have a specific recipe. Thankfully as more and more people are investing in milling their own flour, there are more recipes and cookbooks available.
Second riseFresh out of the oven
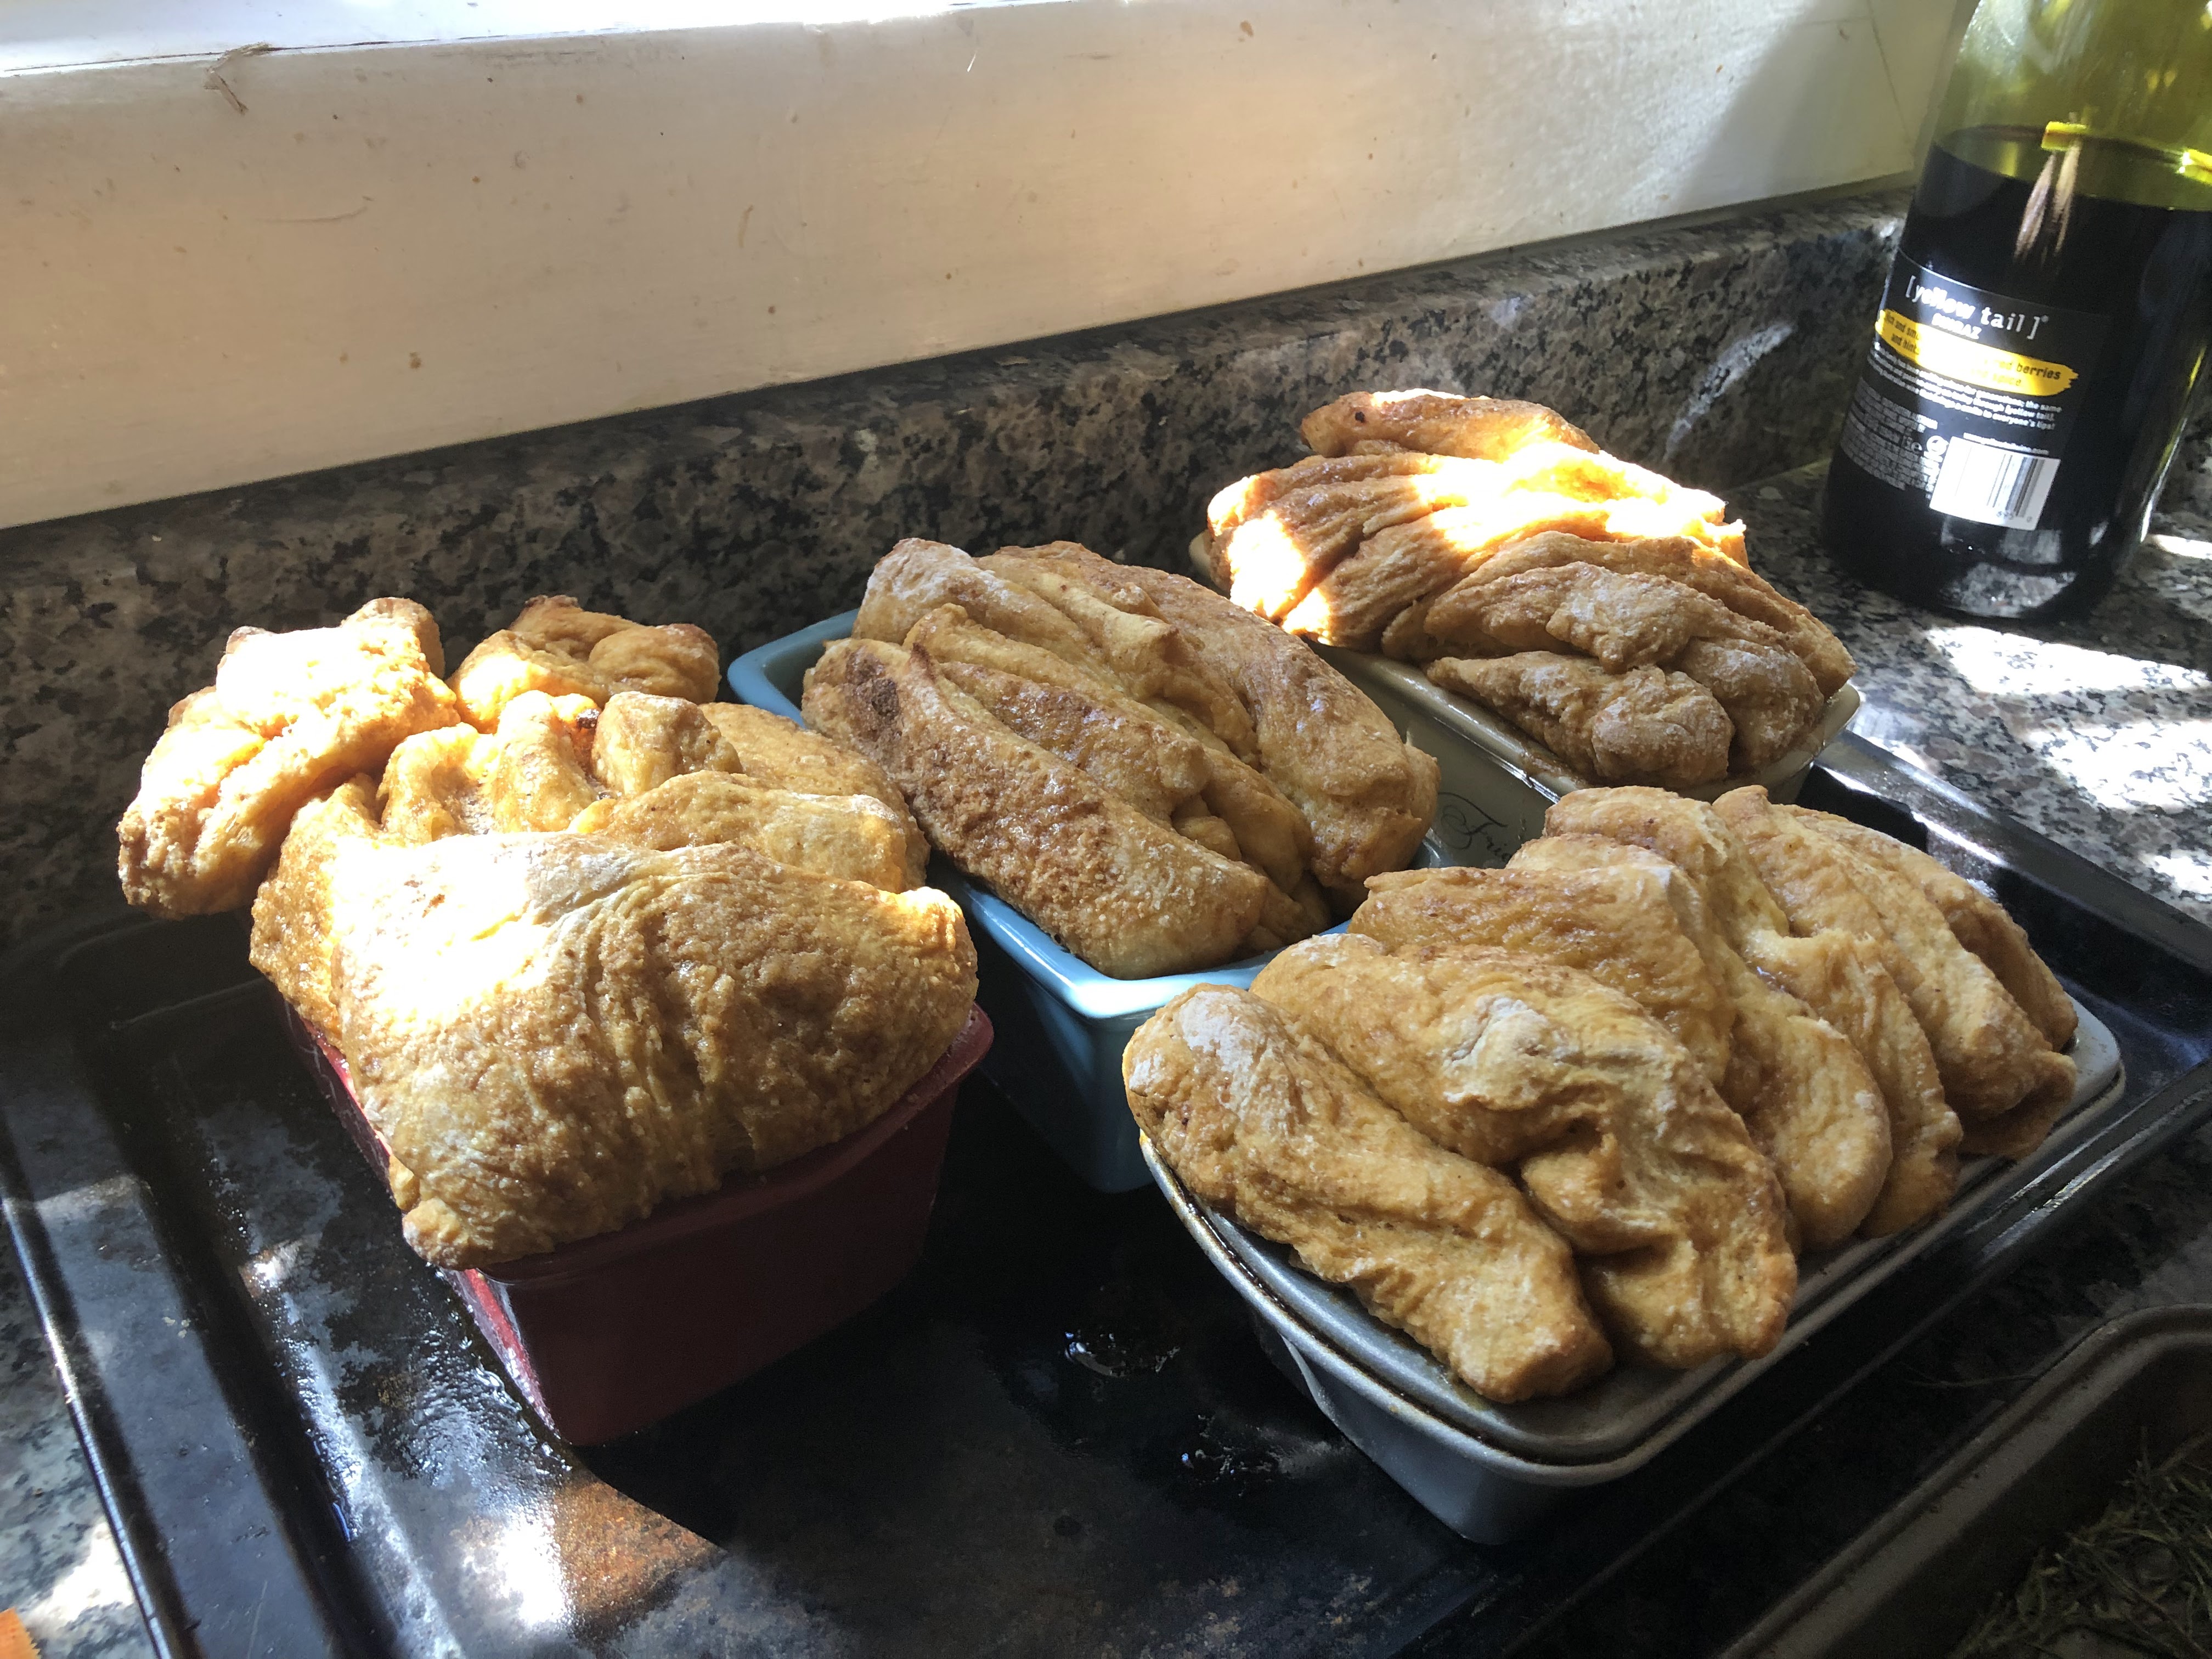
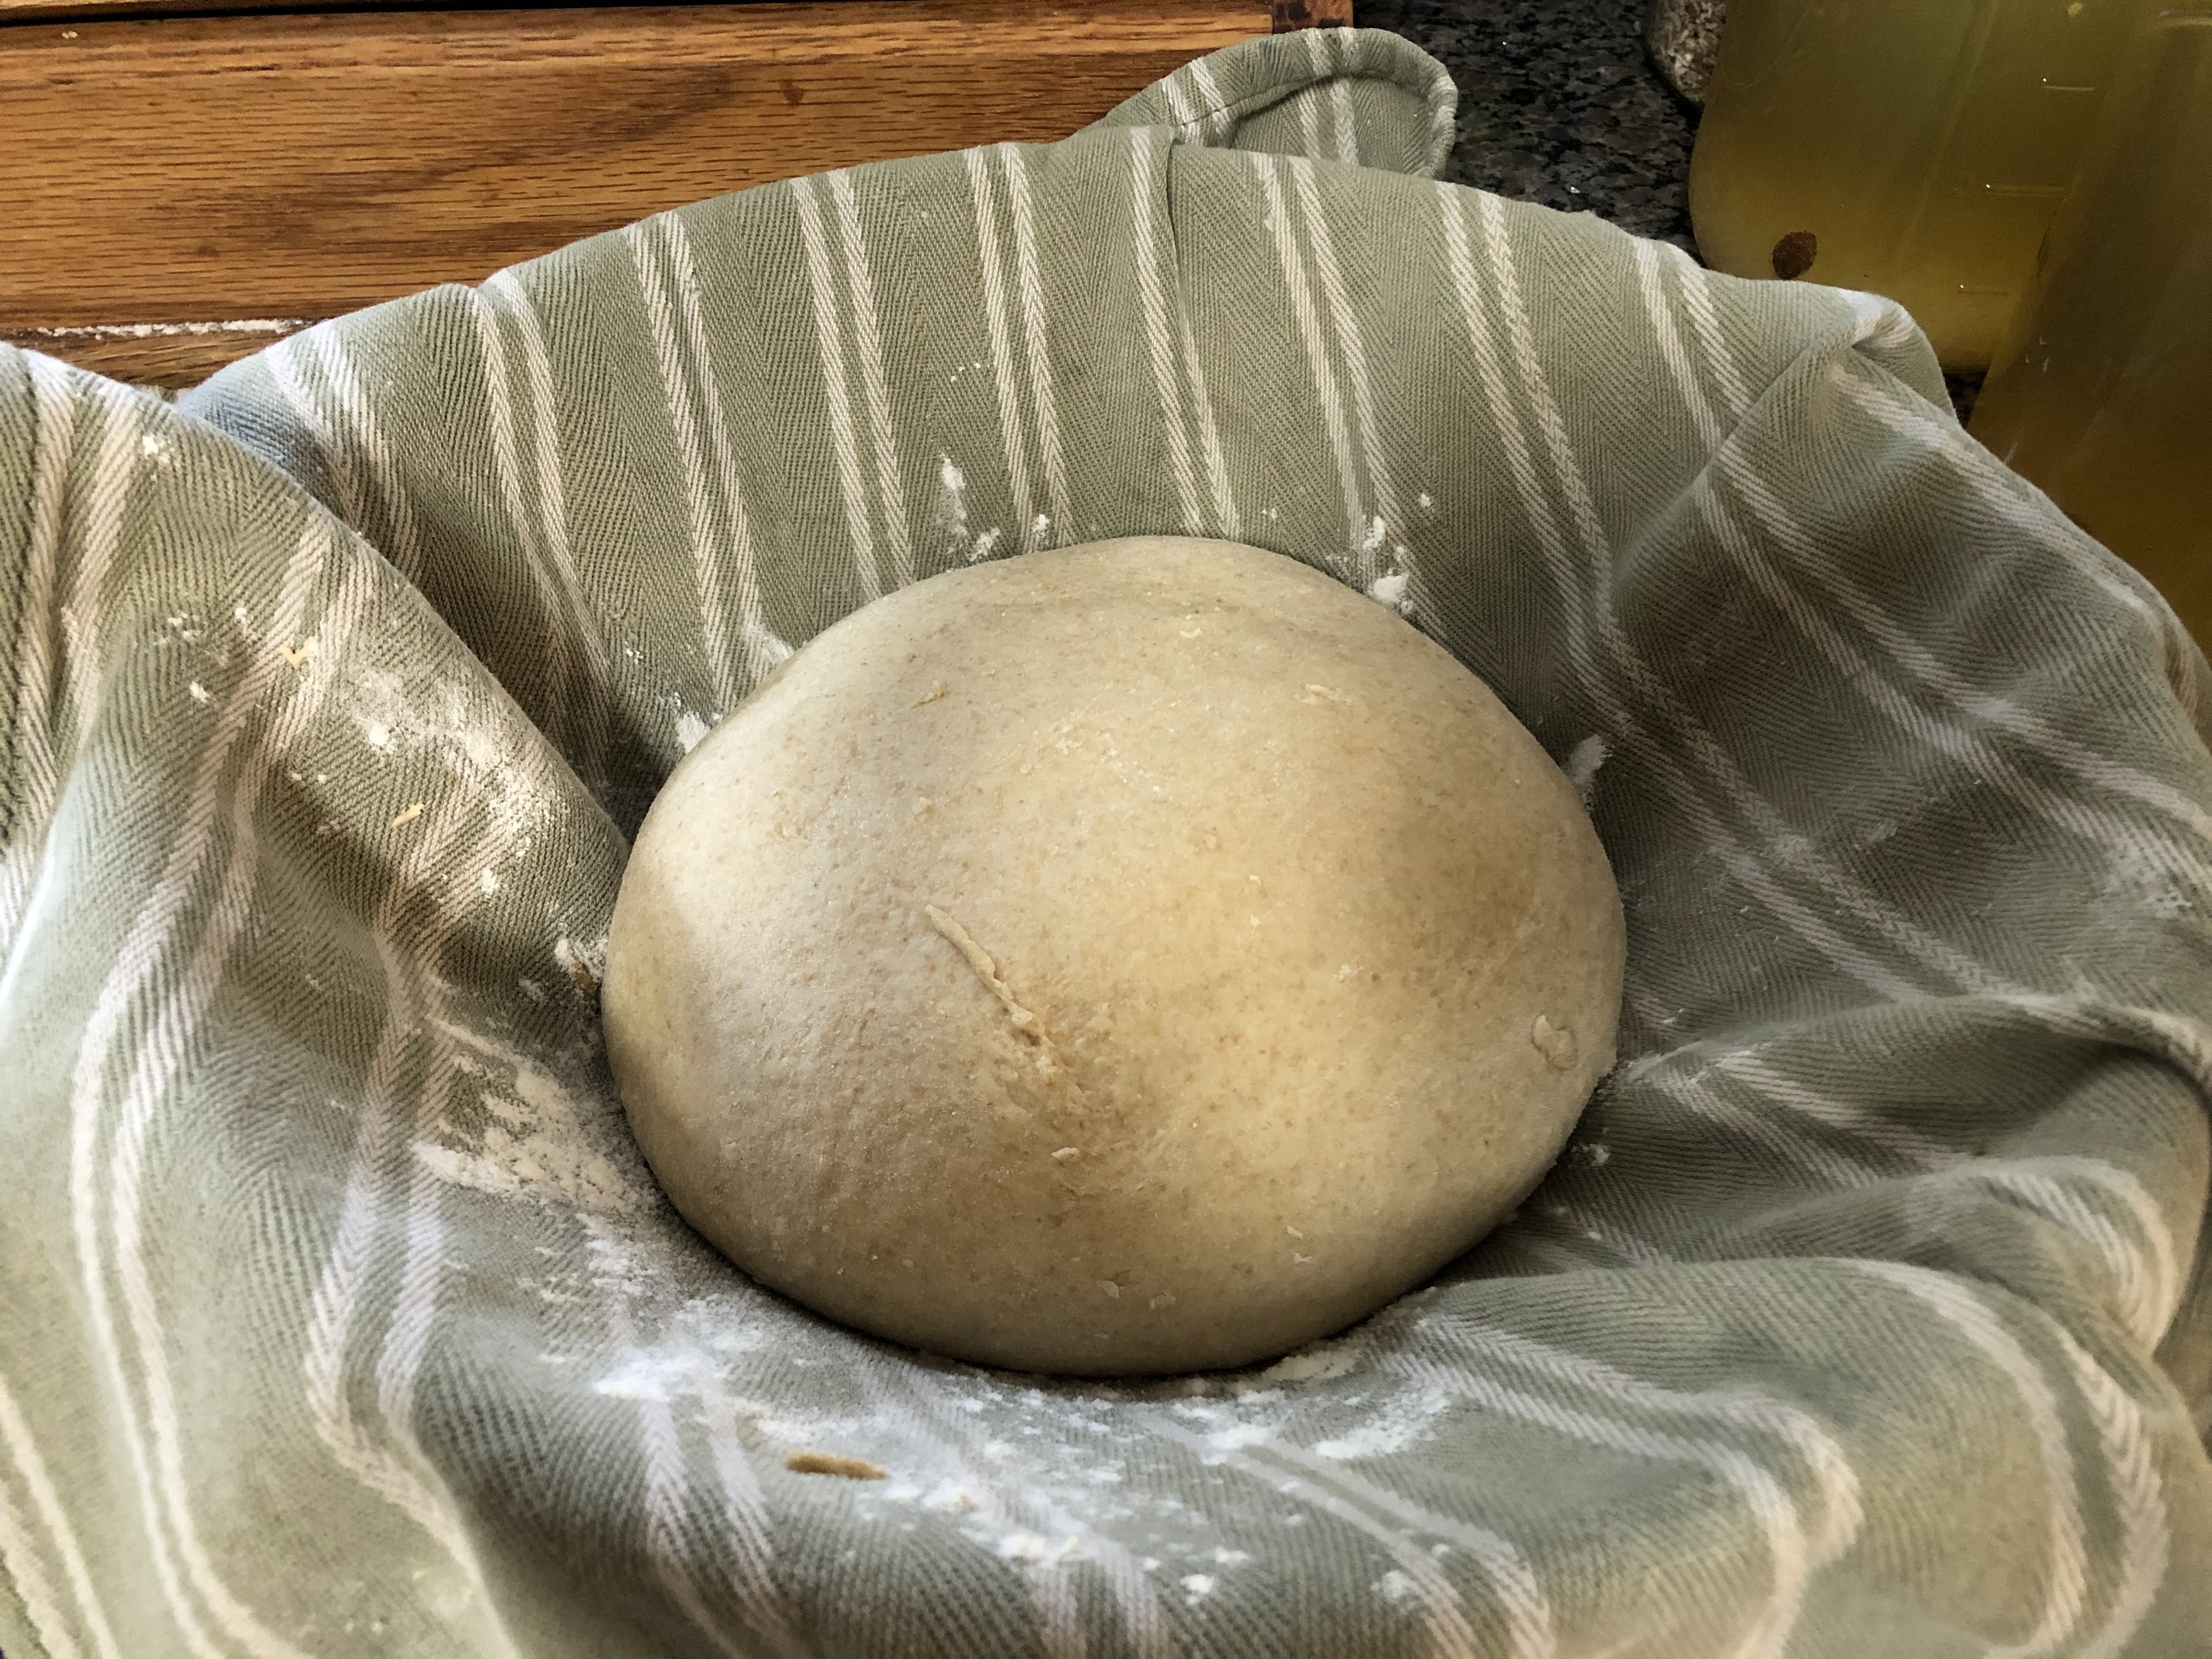
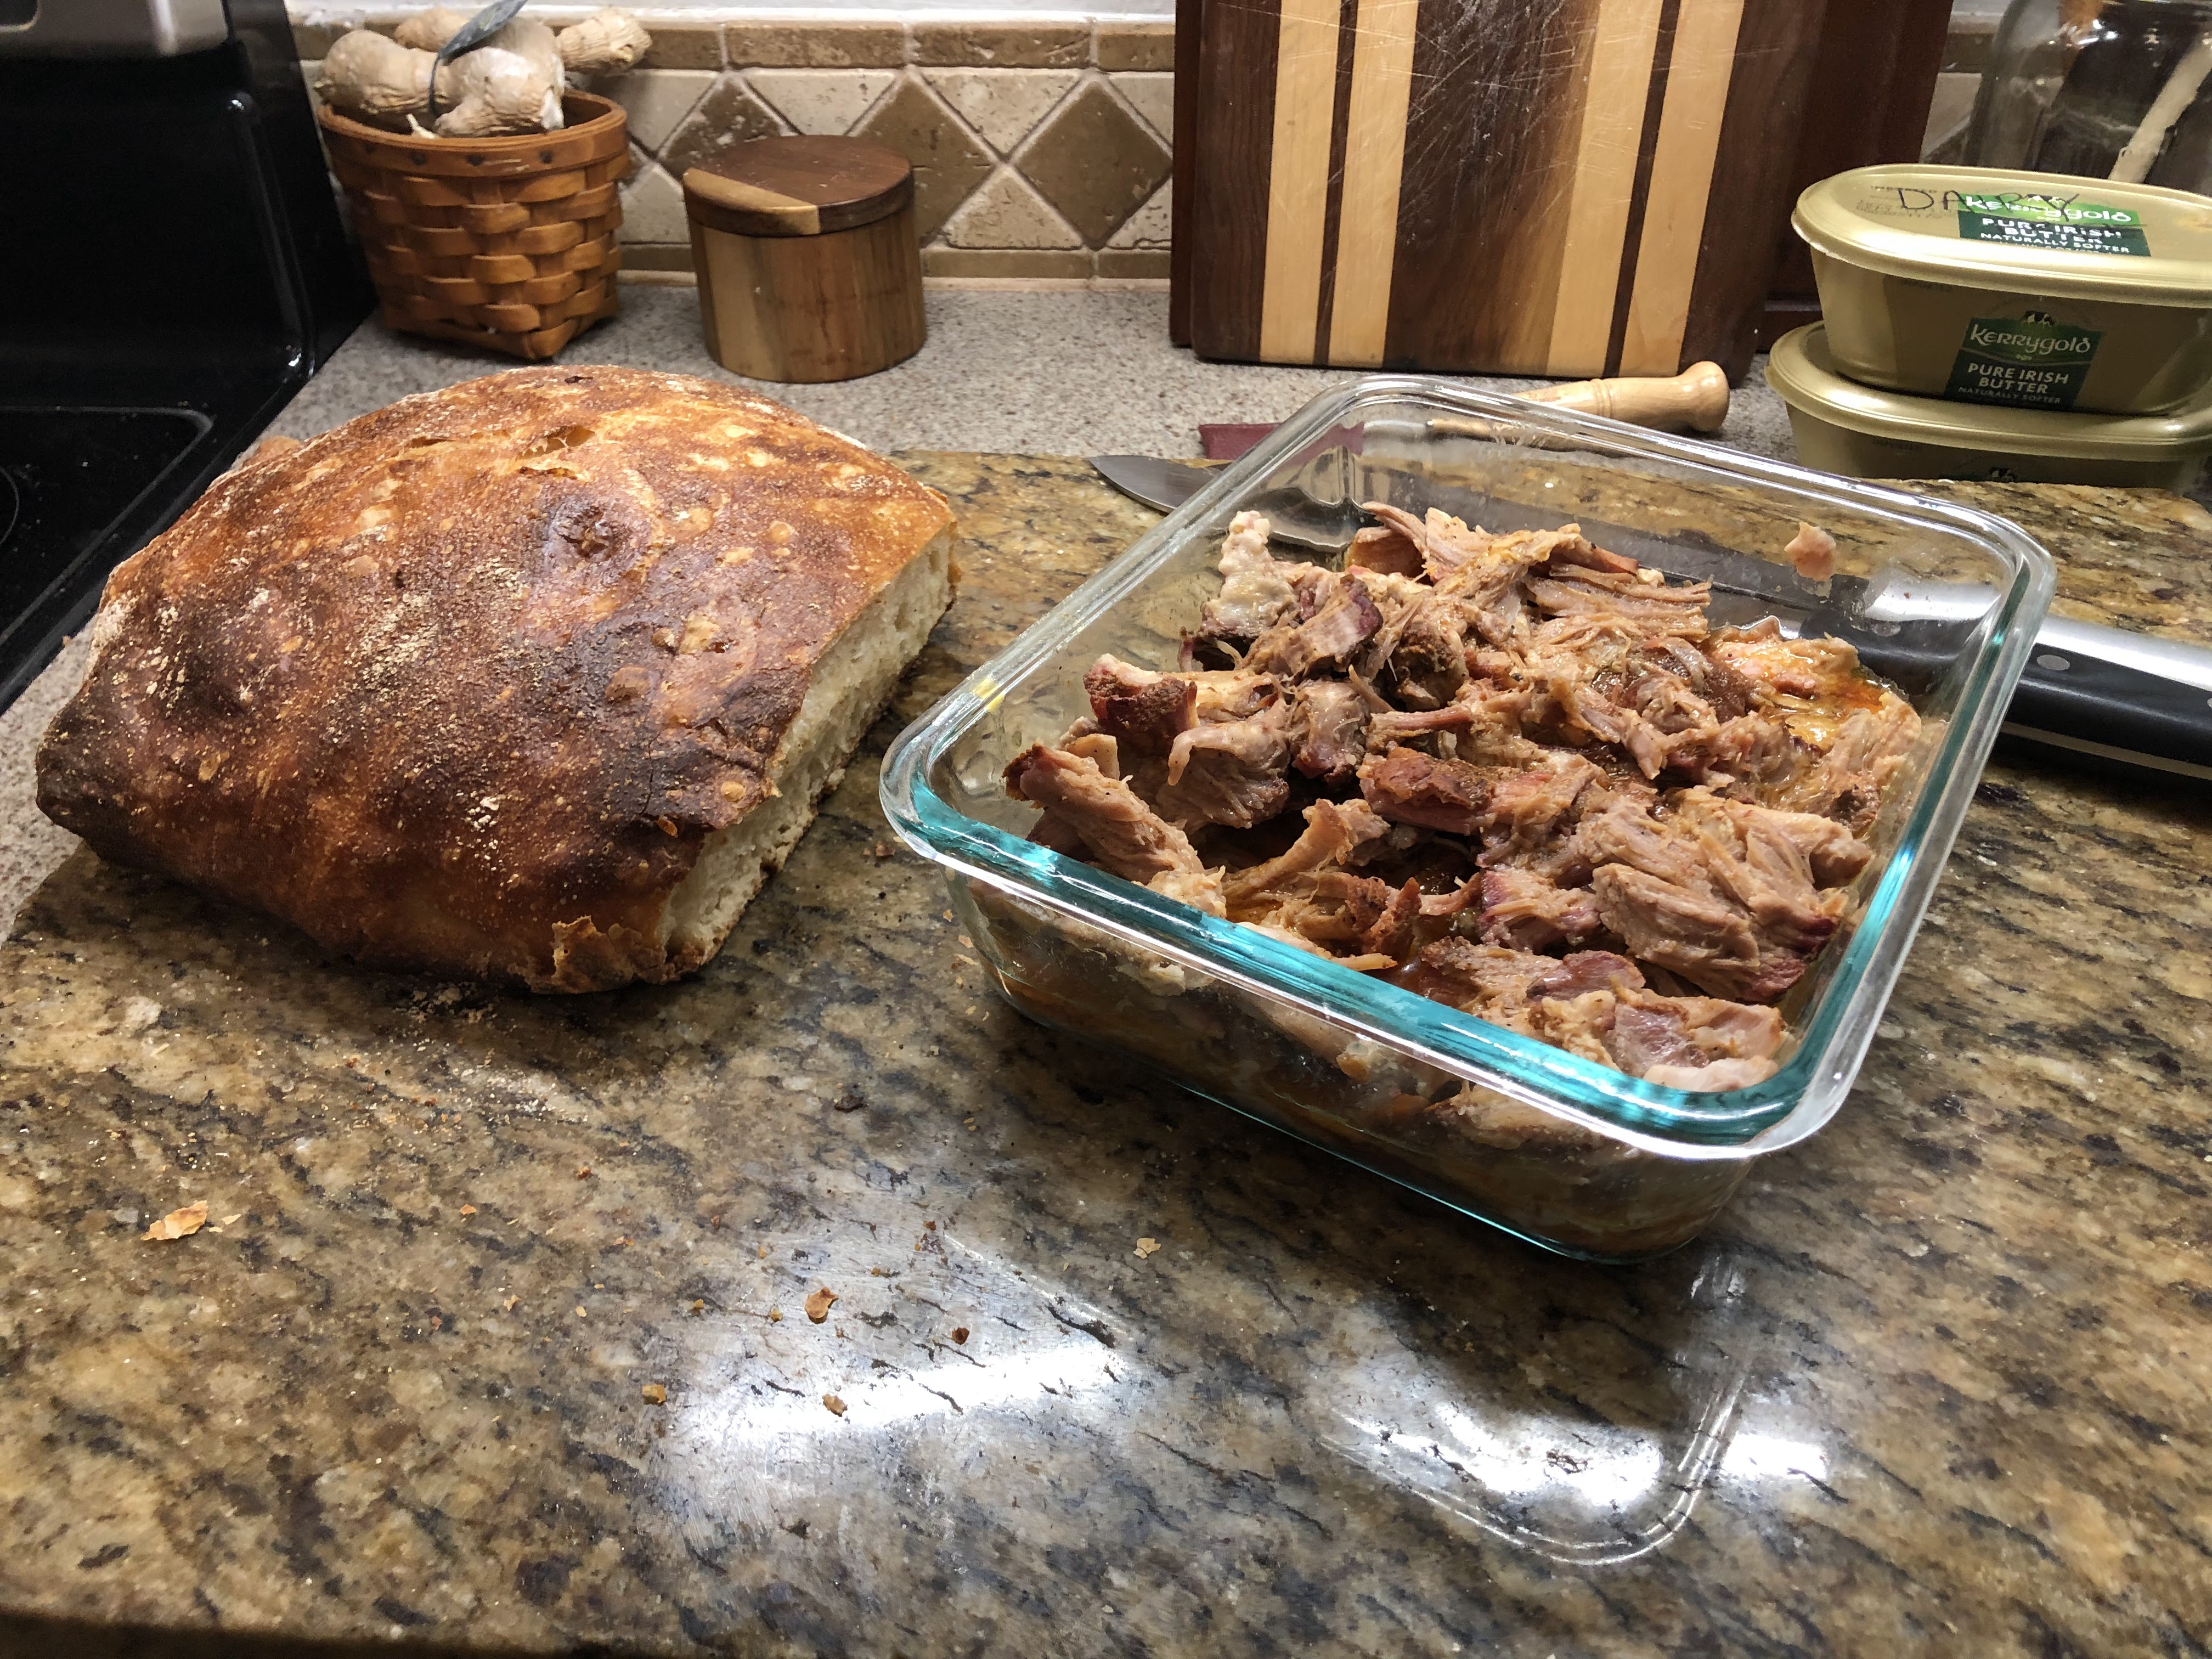
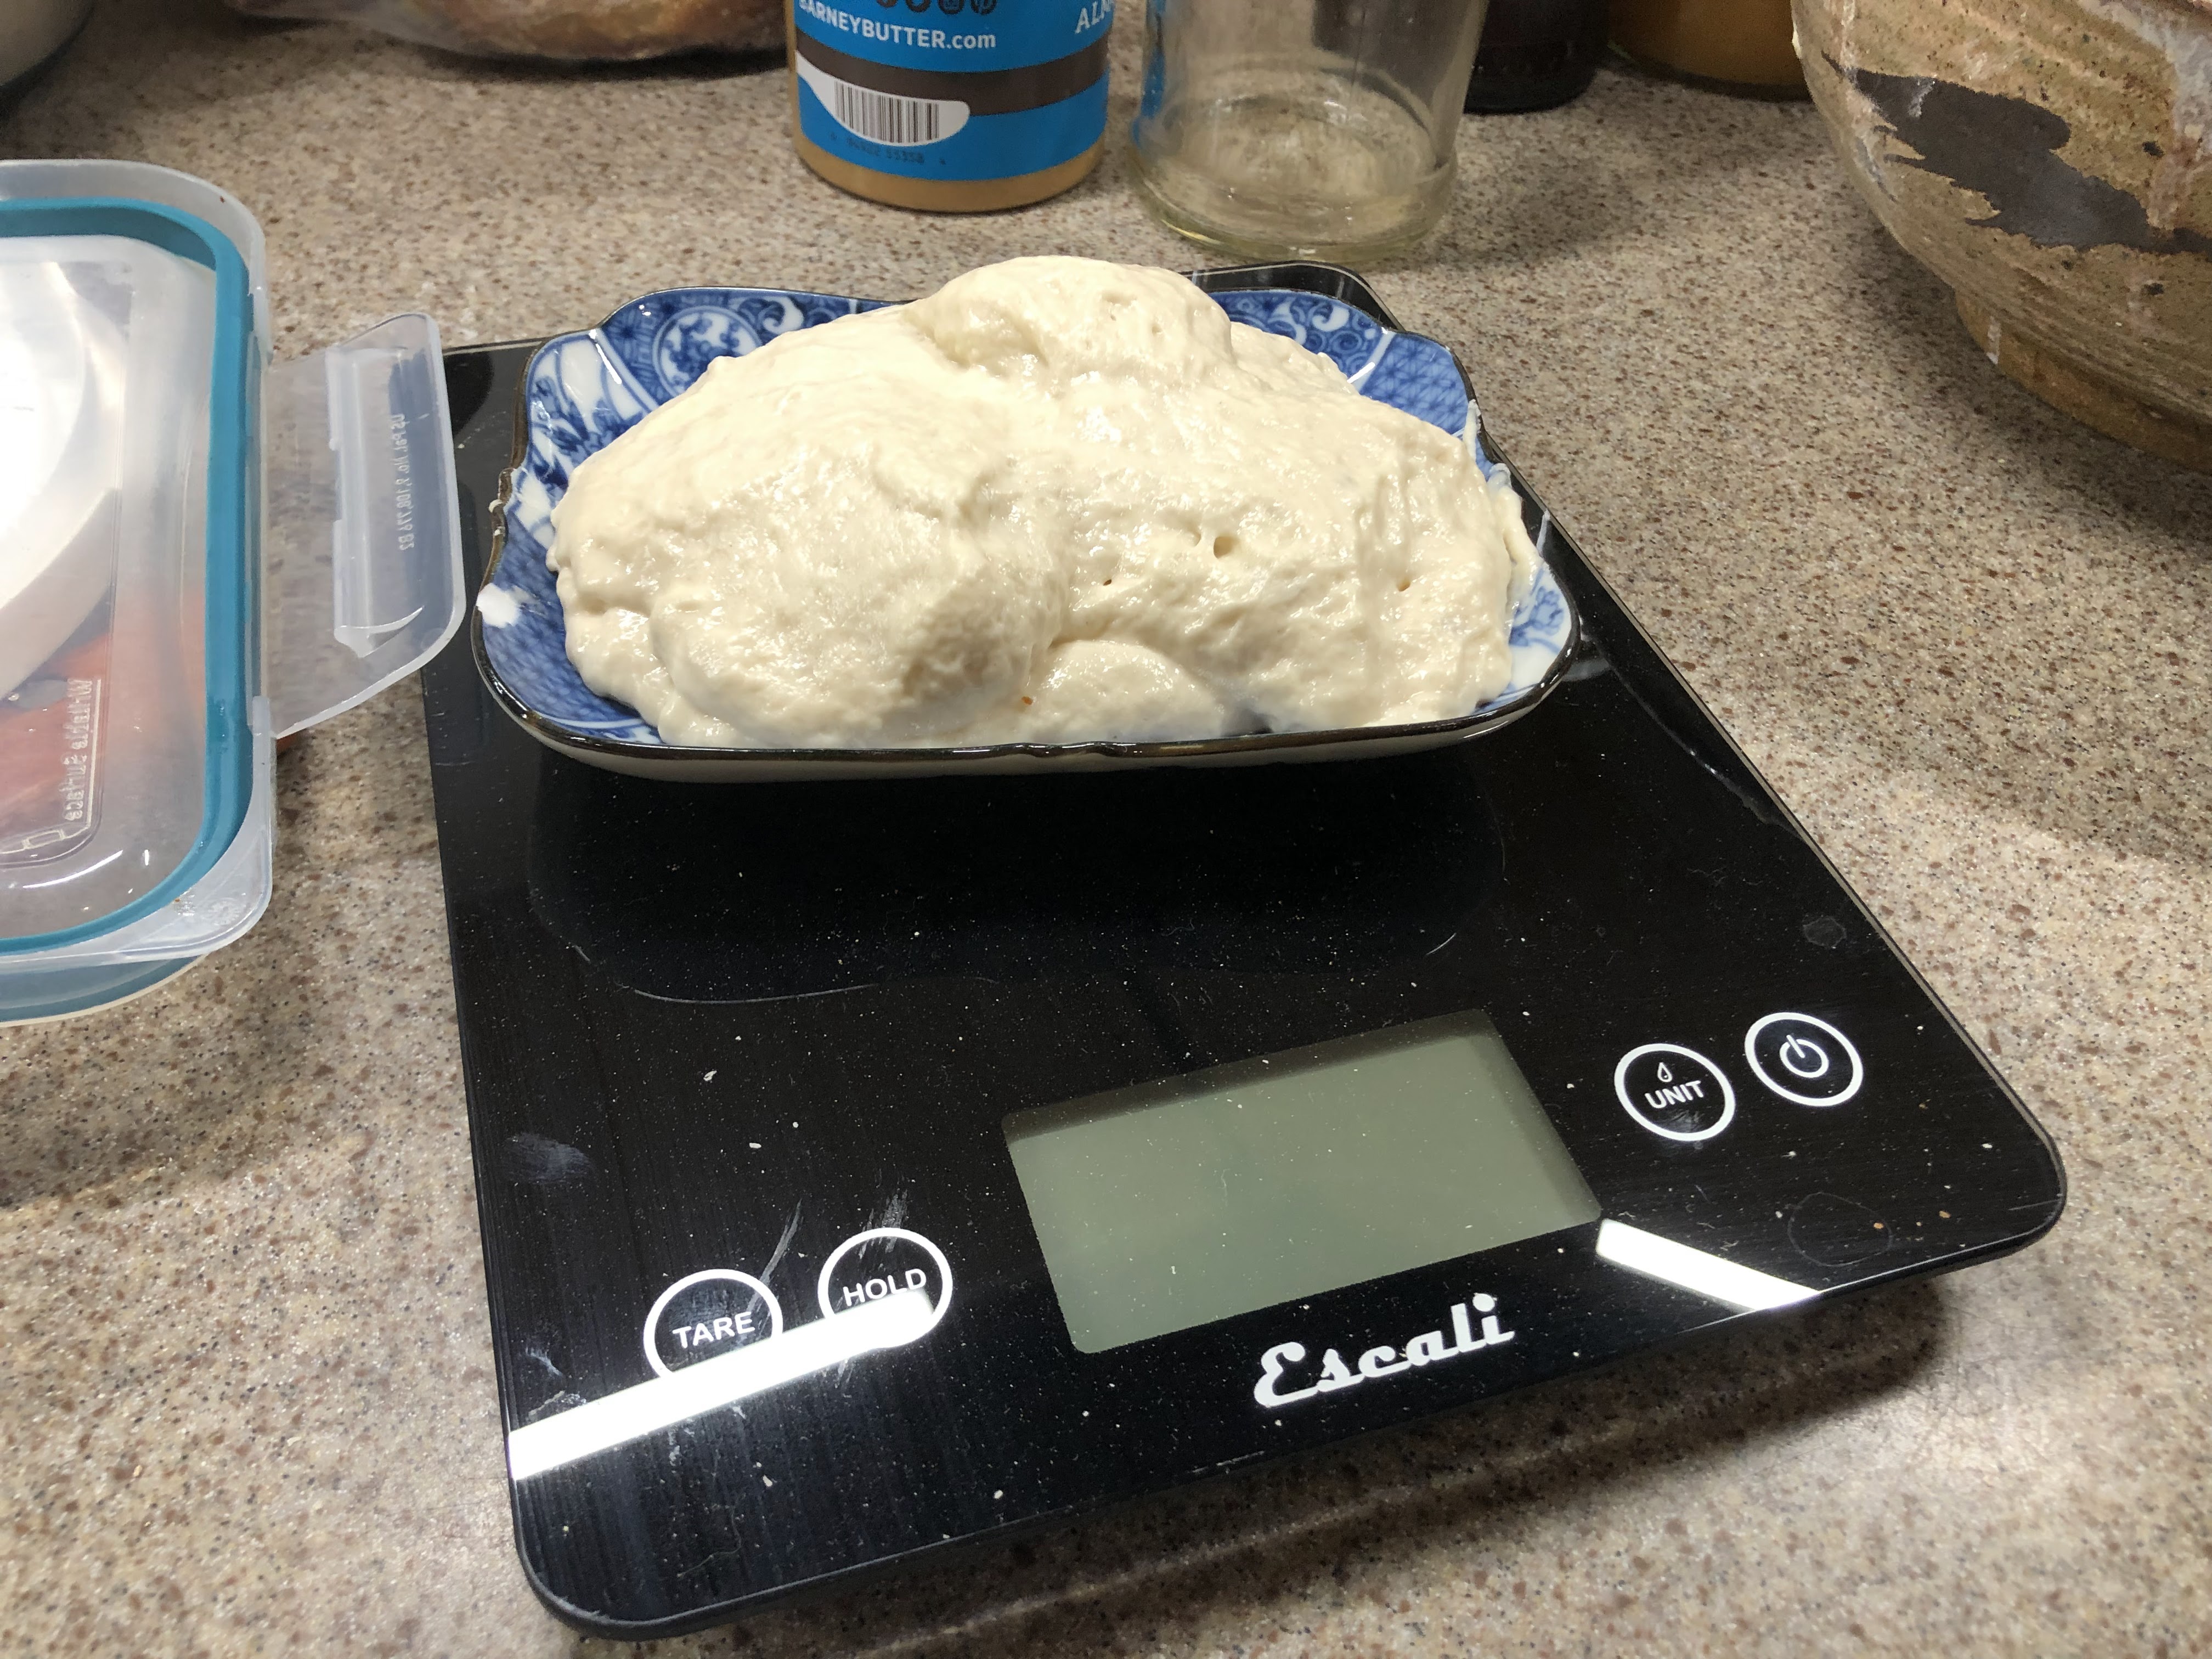
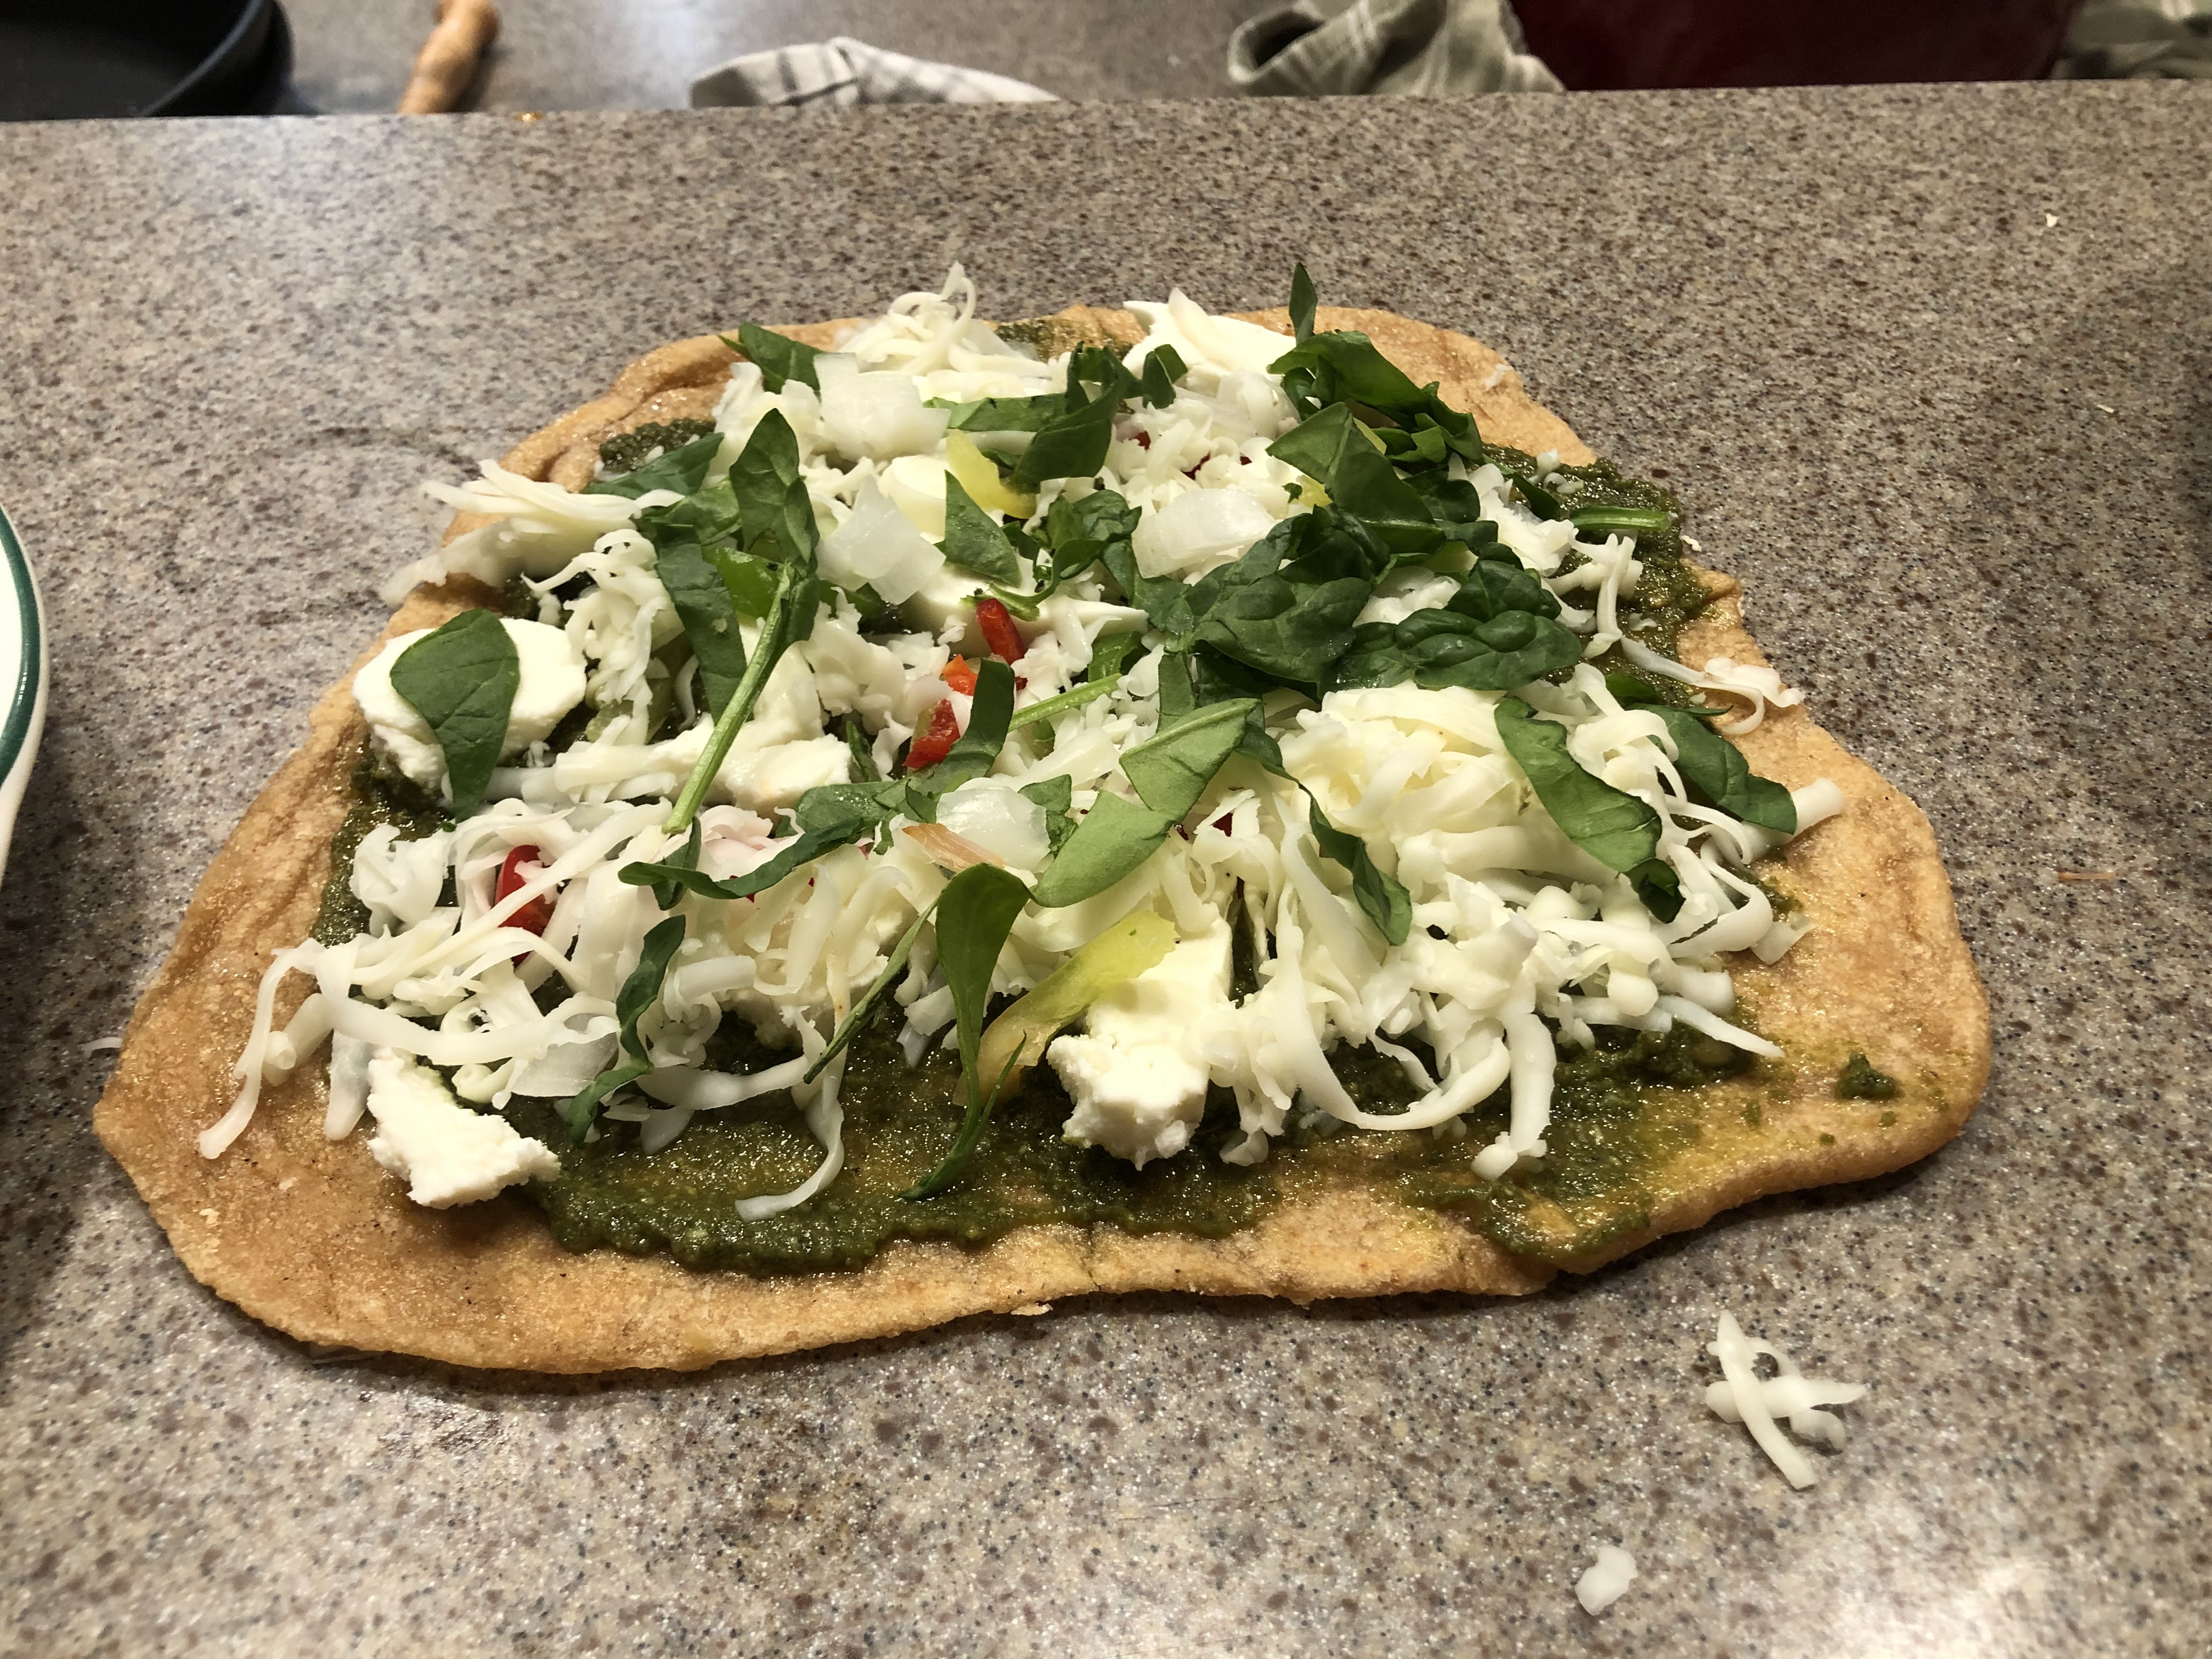
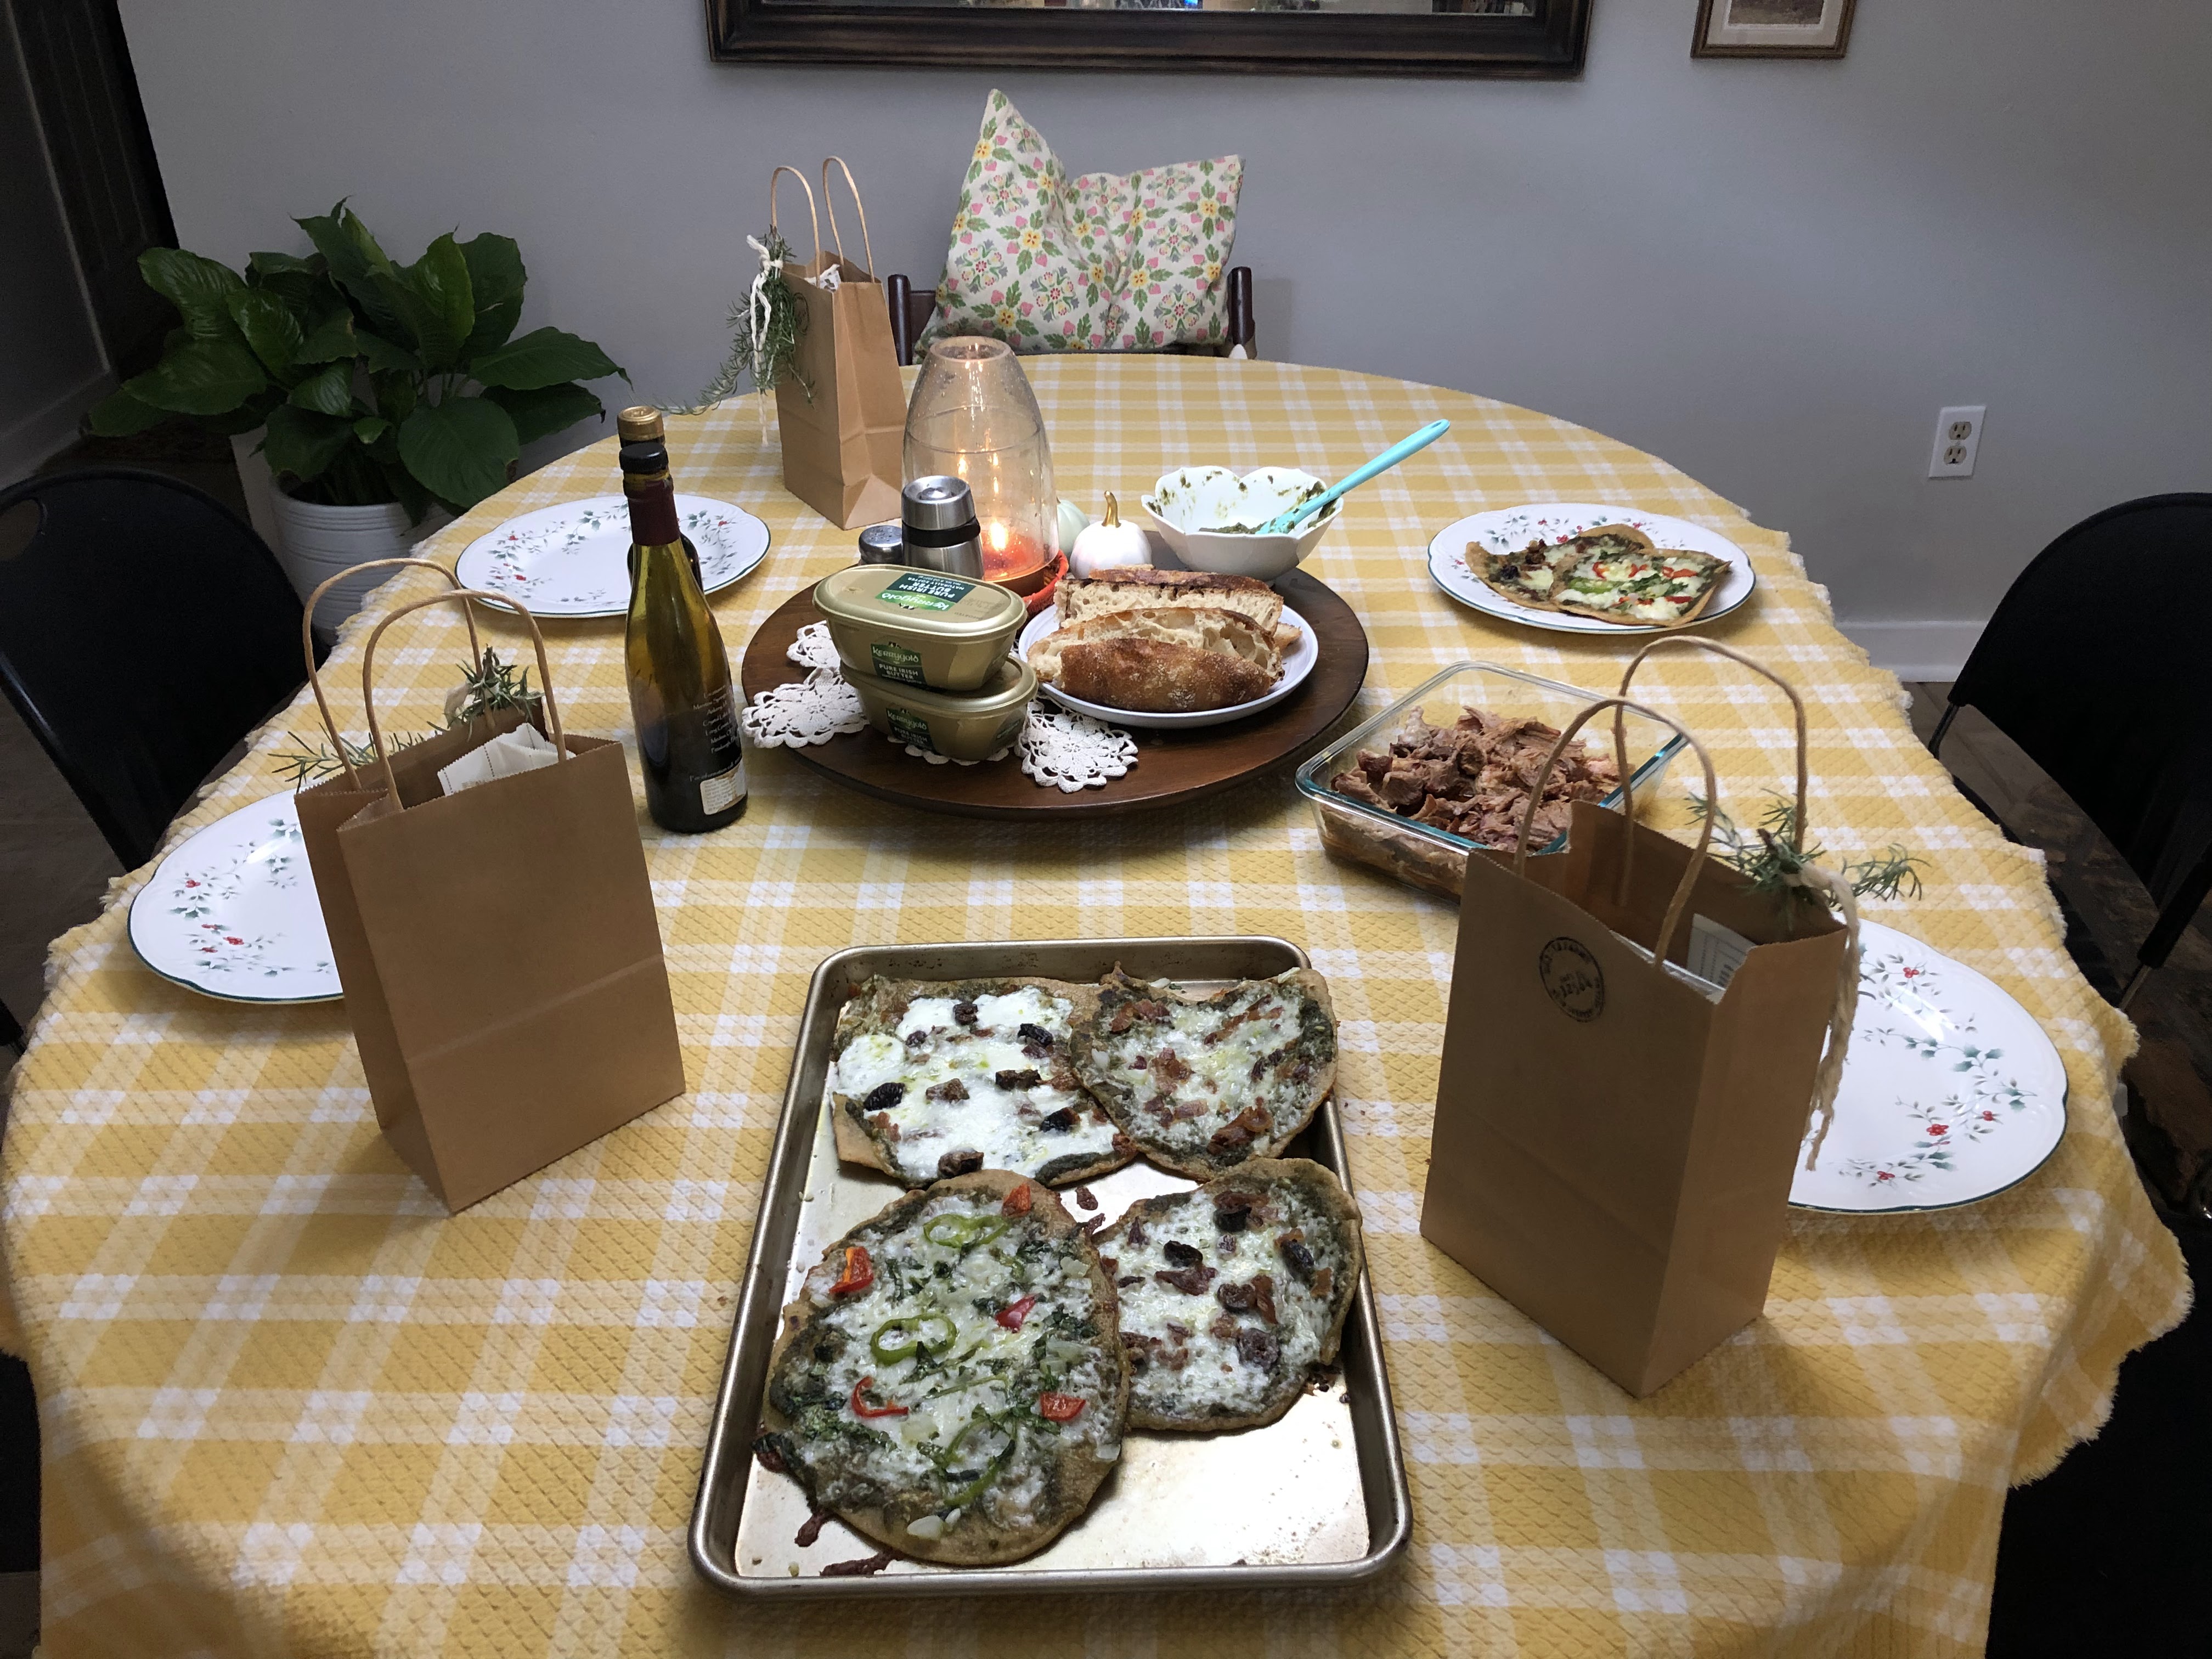
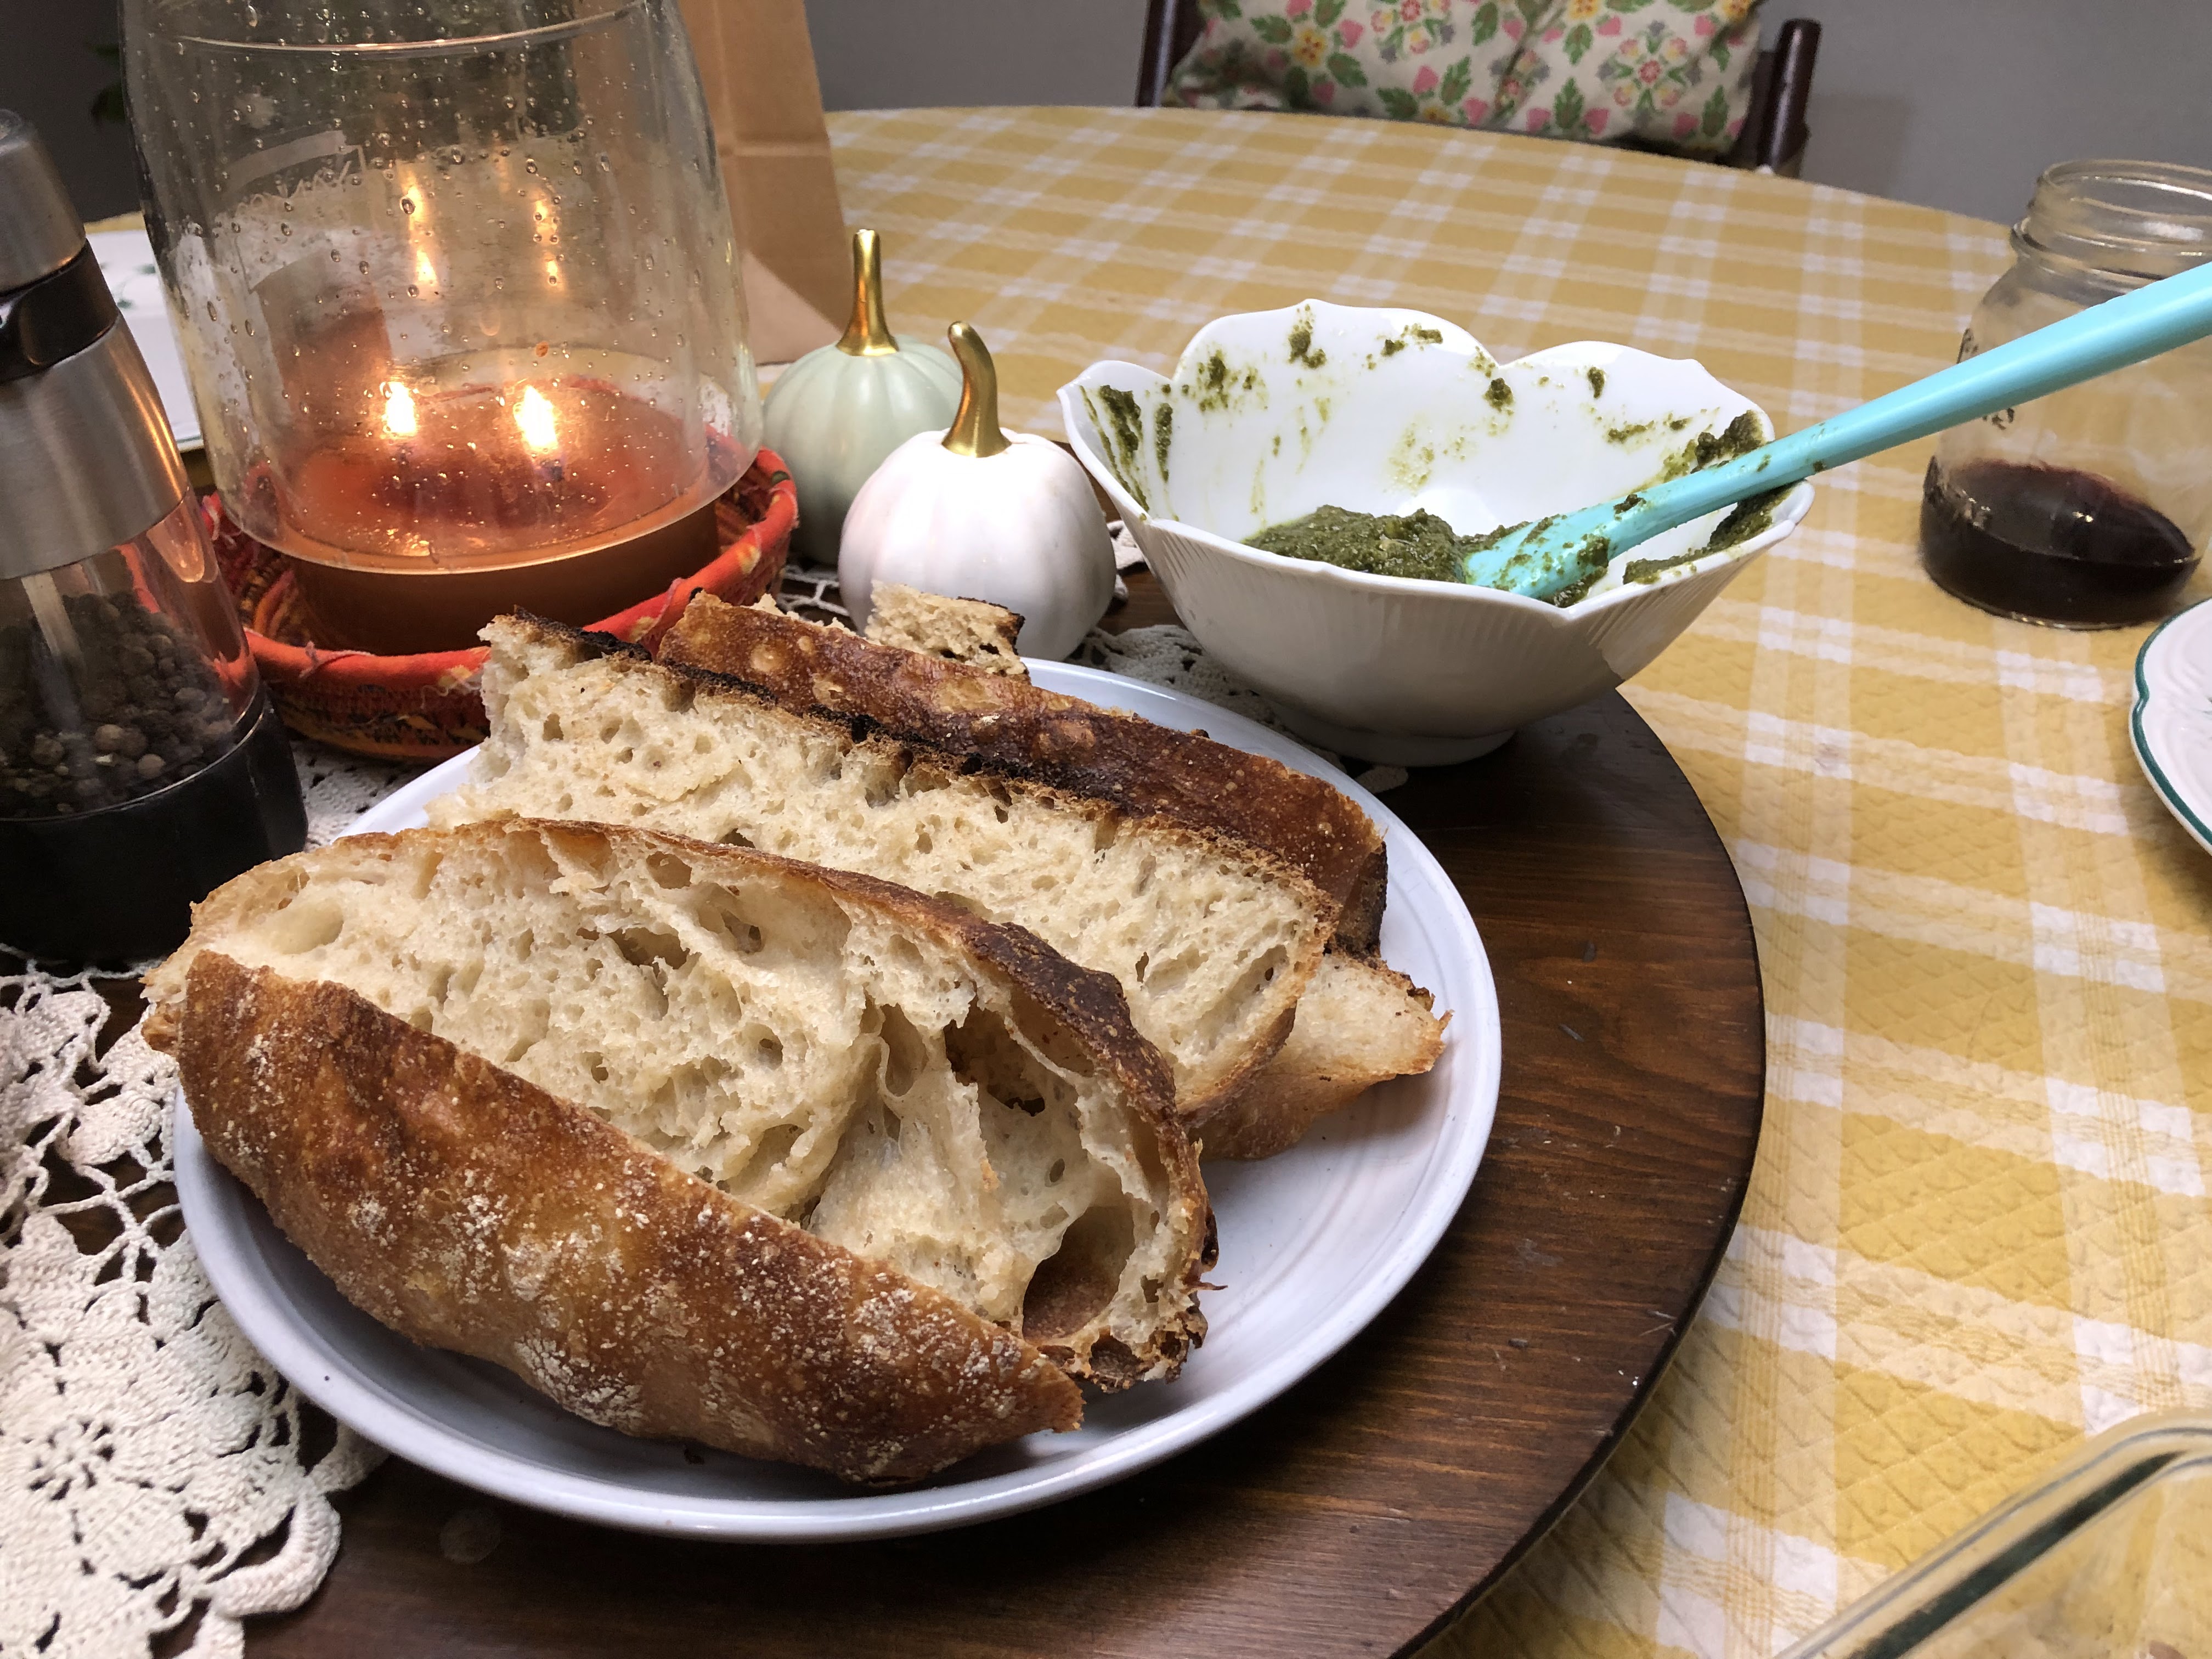
Two dear friends and I got together and decided we wanted to dive deeper with sourdough and how to best use our milled flour. We started with tortillas and a basic Einkorn sourdough loaf. We had so much fun and learned so much. Not only that, it has inspired each of us in the kitchen to be learning and studying on our own. I can’t wait until our next girls night to see what we learn next.
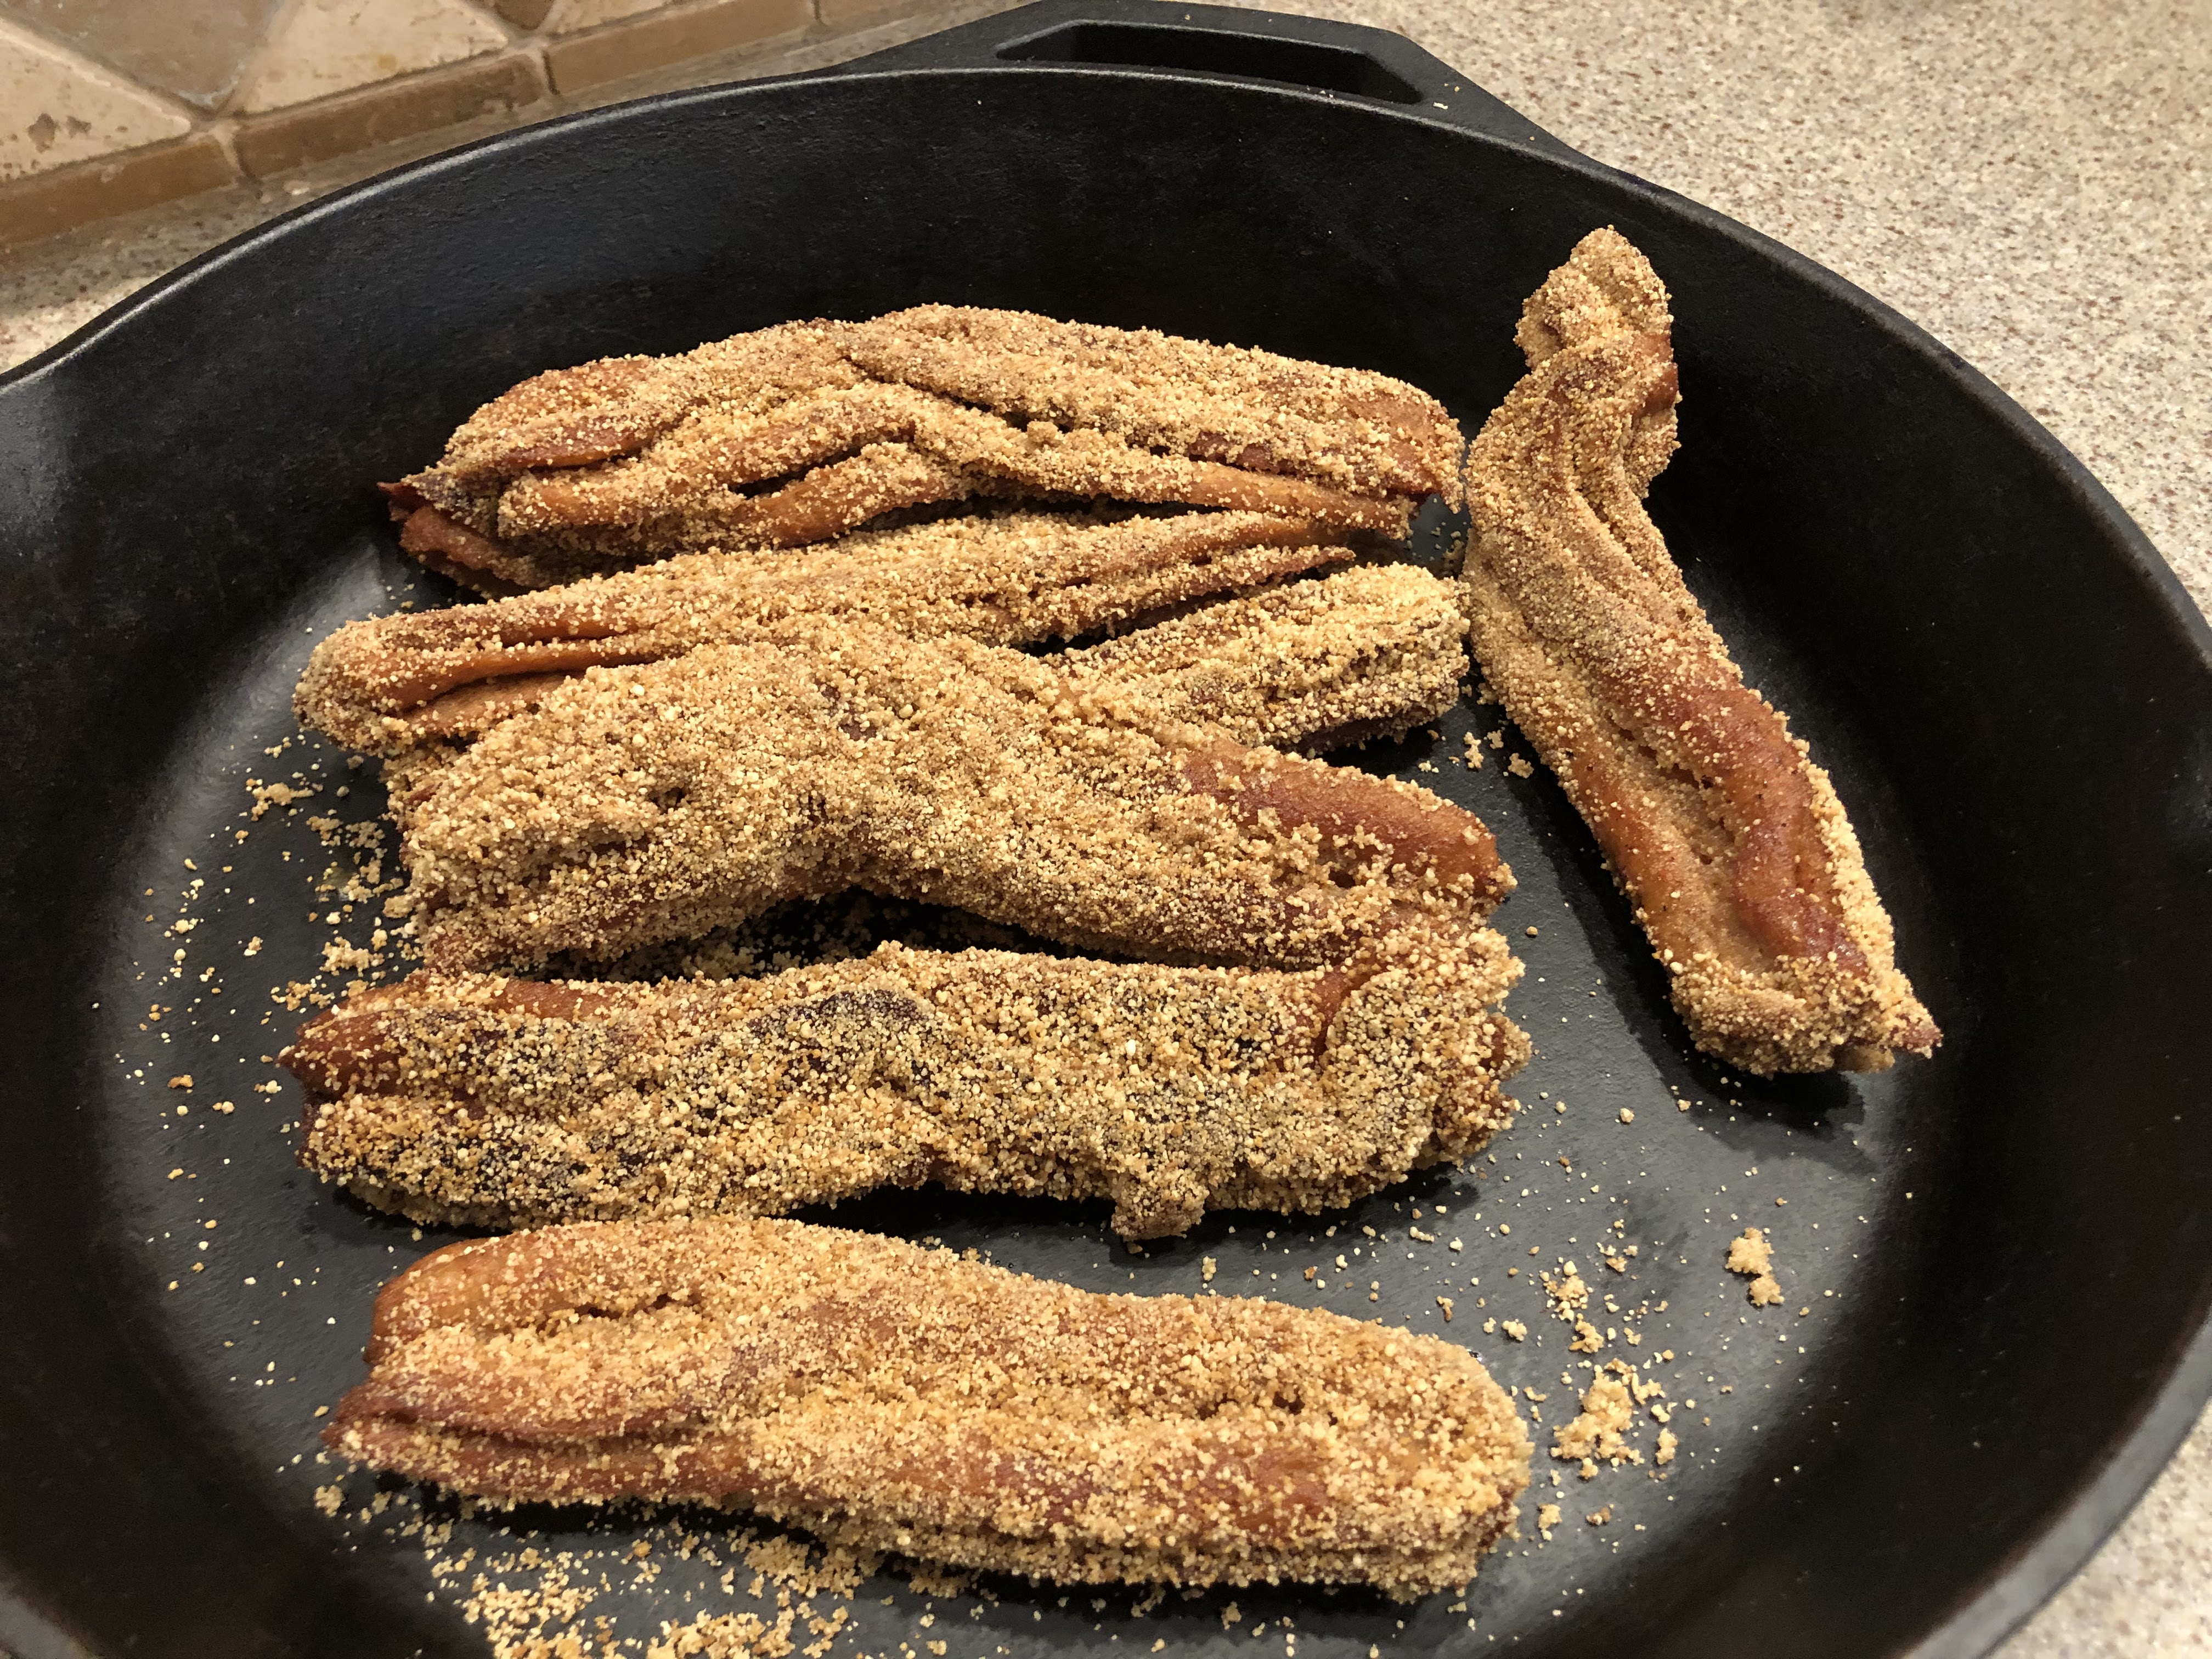
Einkorn loaf rising. It’s an all day processEinkorn loaf and pulled porkSourdough starterWe each took home a starterTortilla pizzaWhat a lovely spreadEinkorn loaf with homemade pestoHomemade Einkorn churros
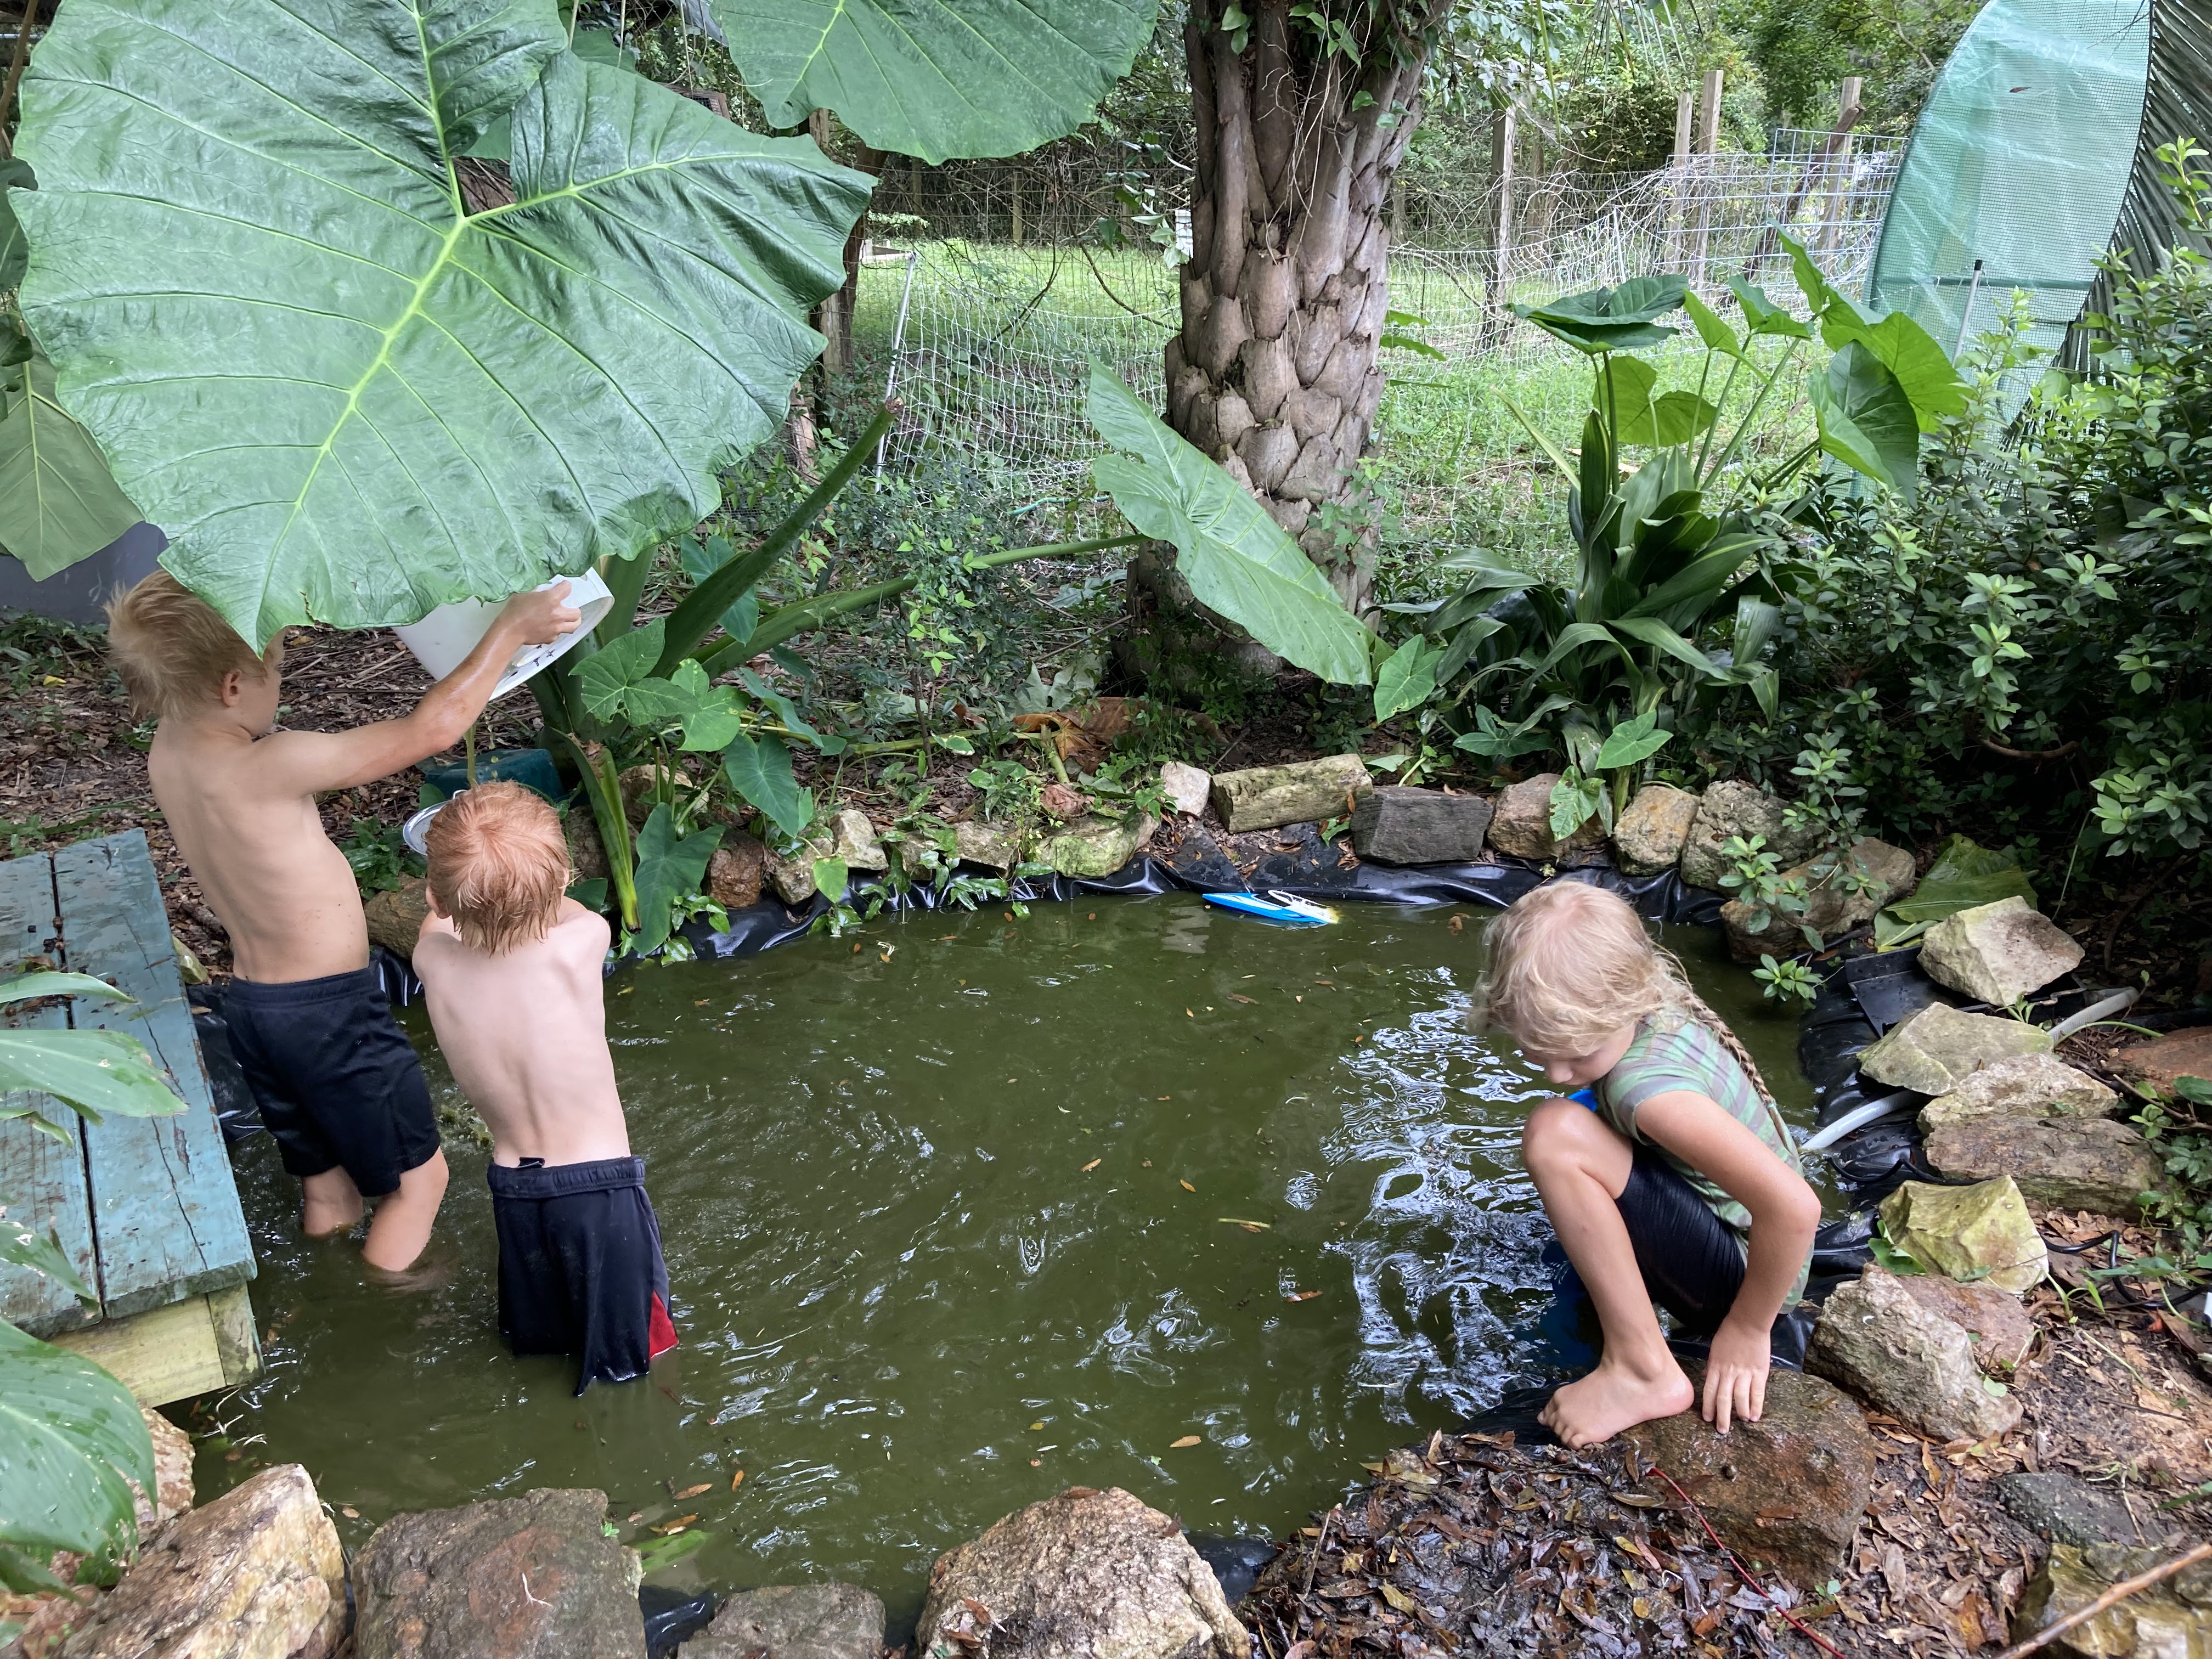
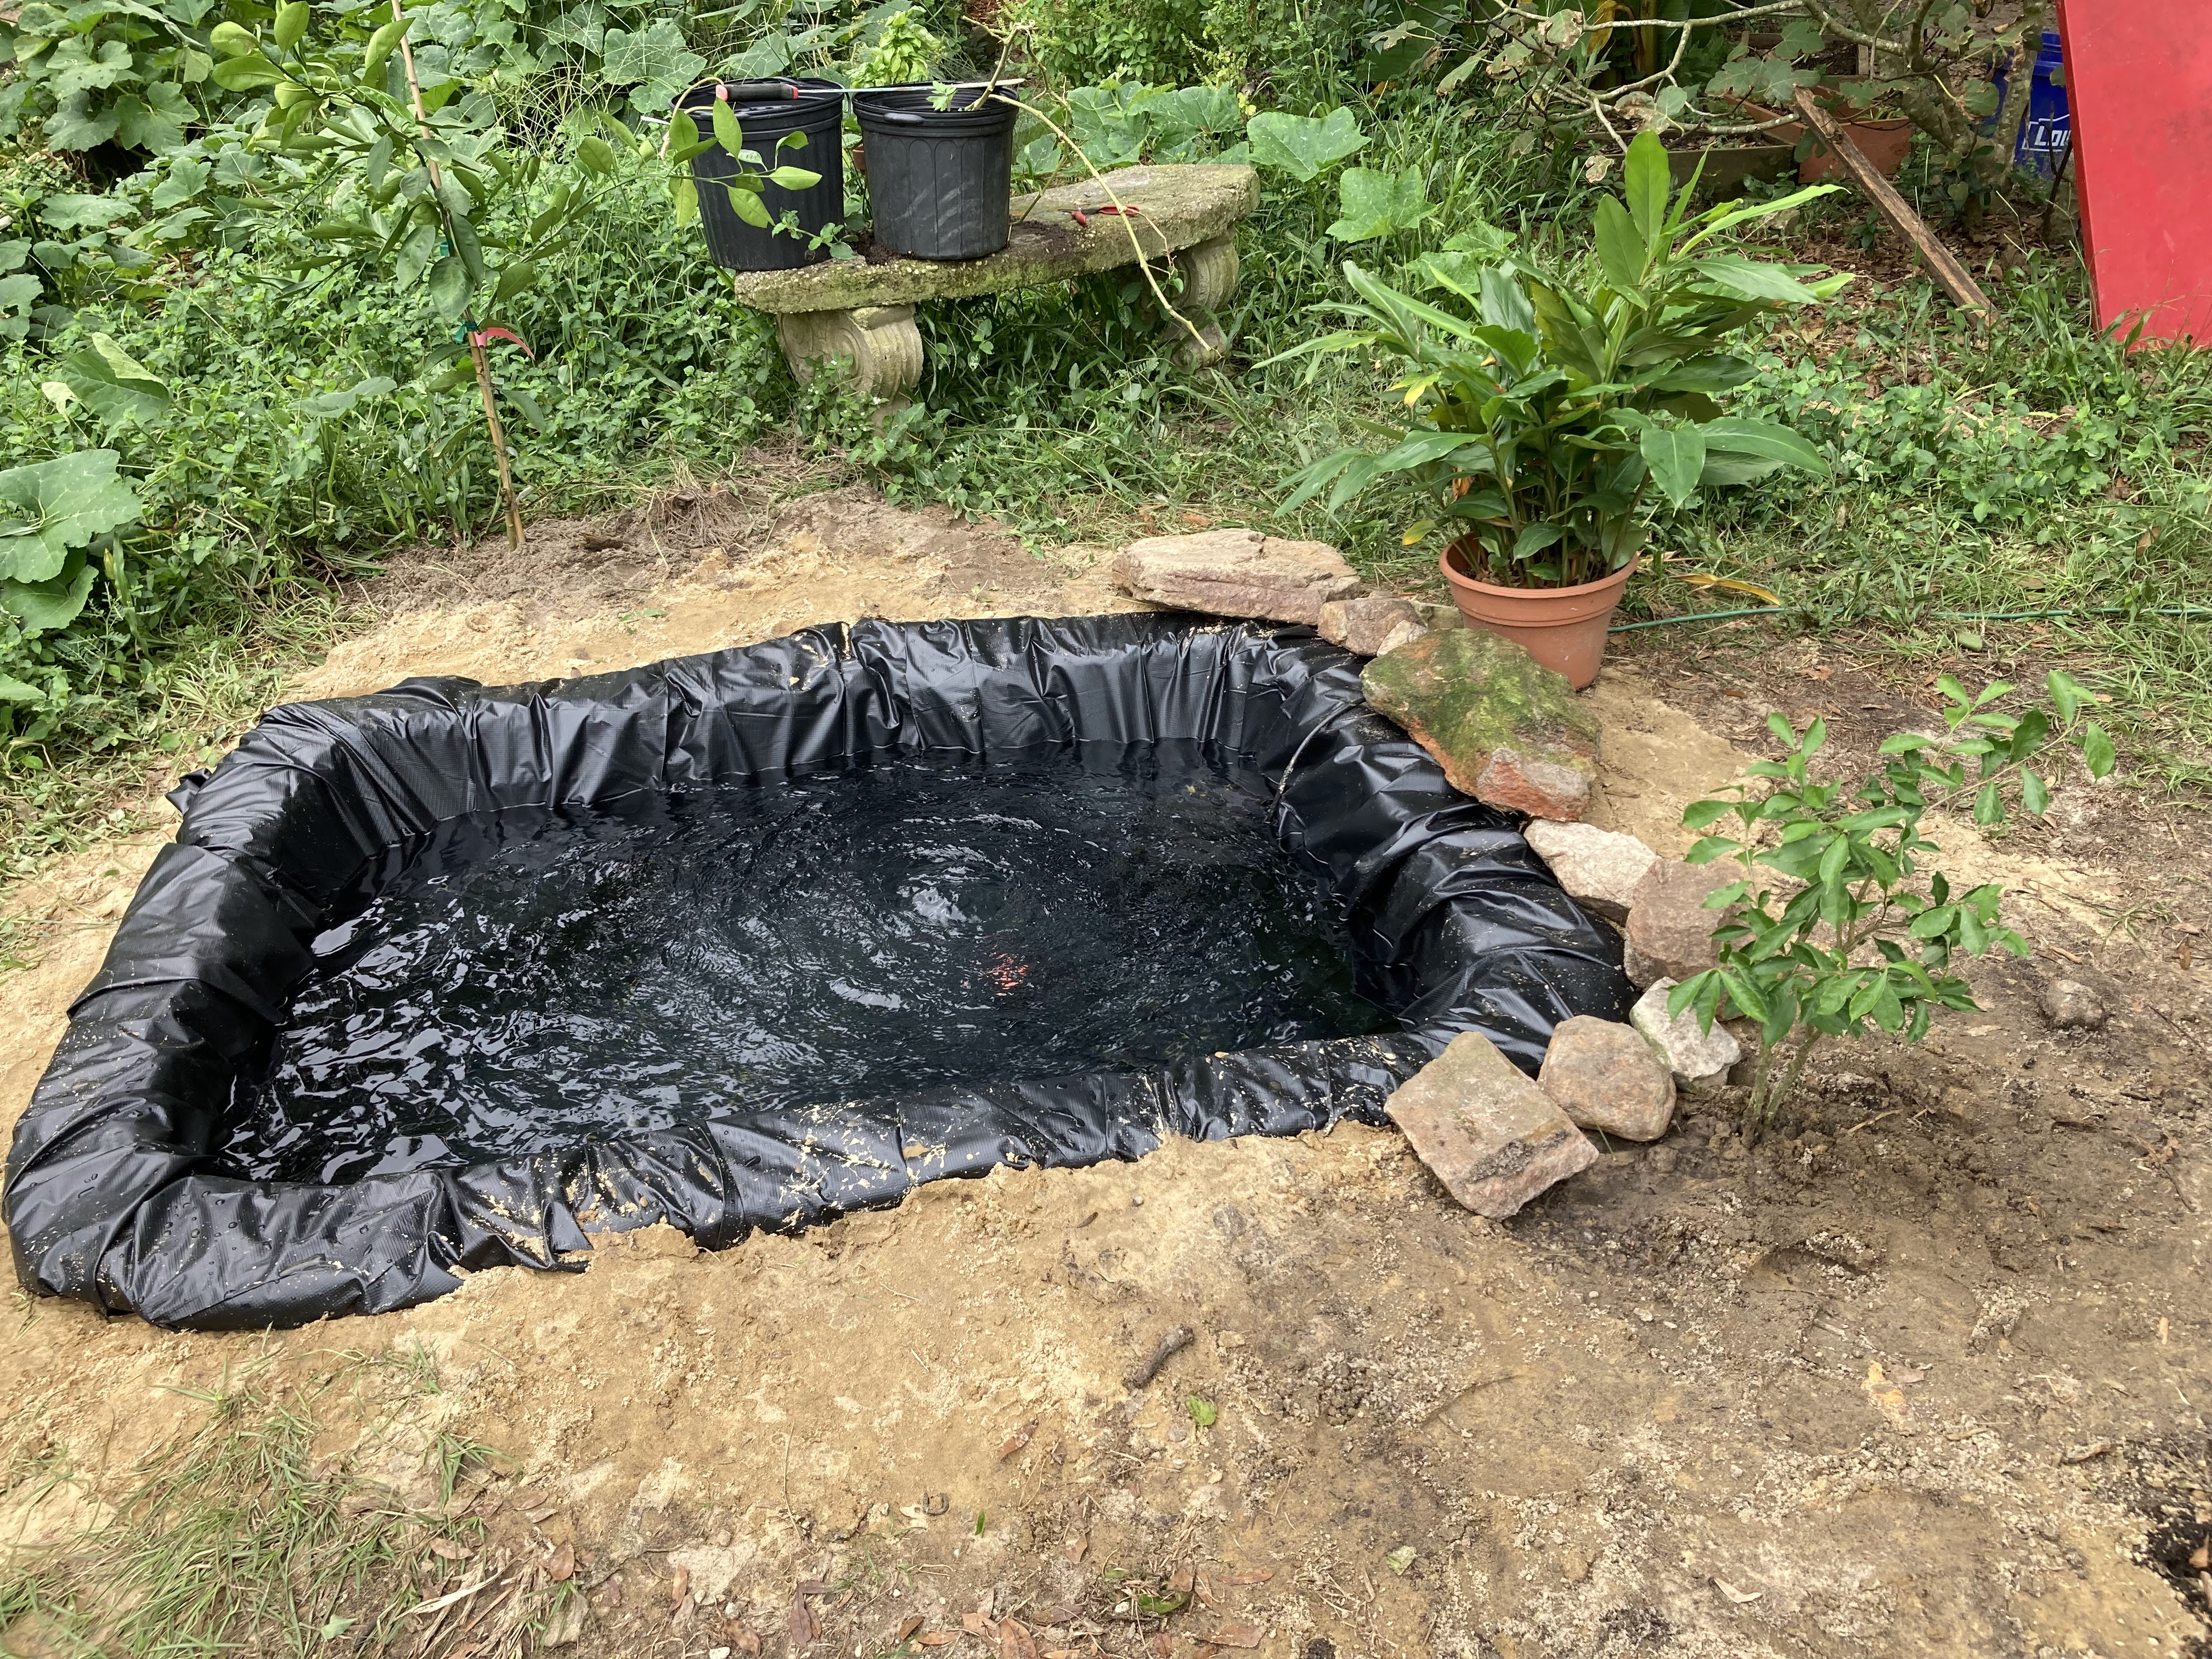
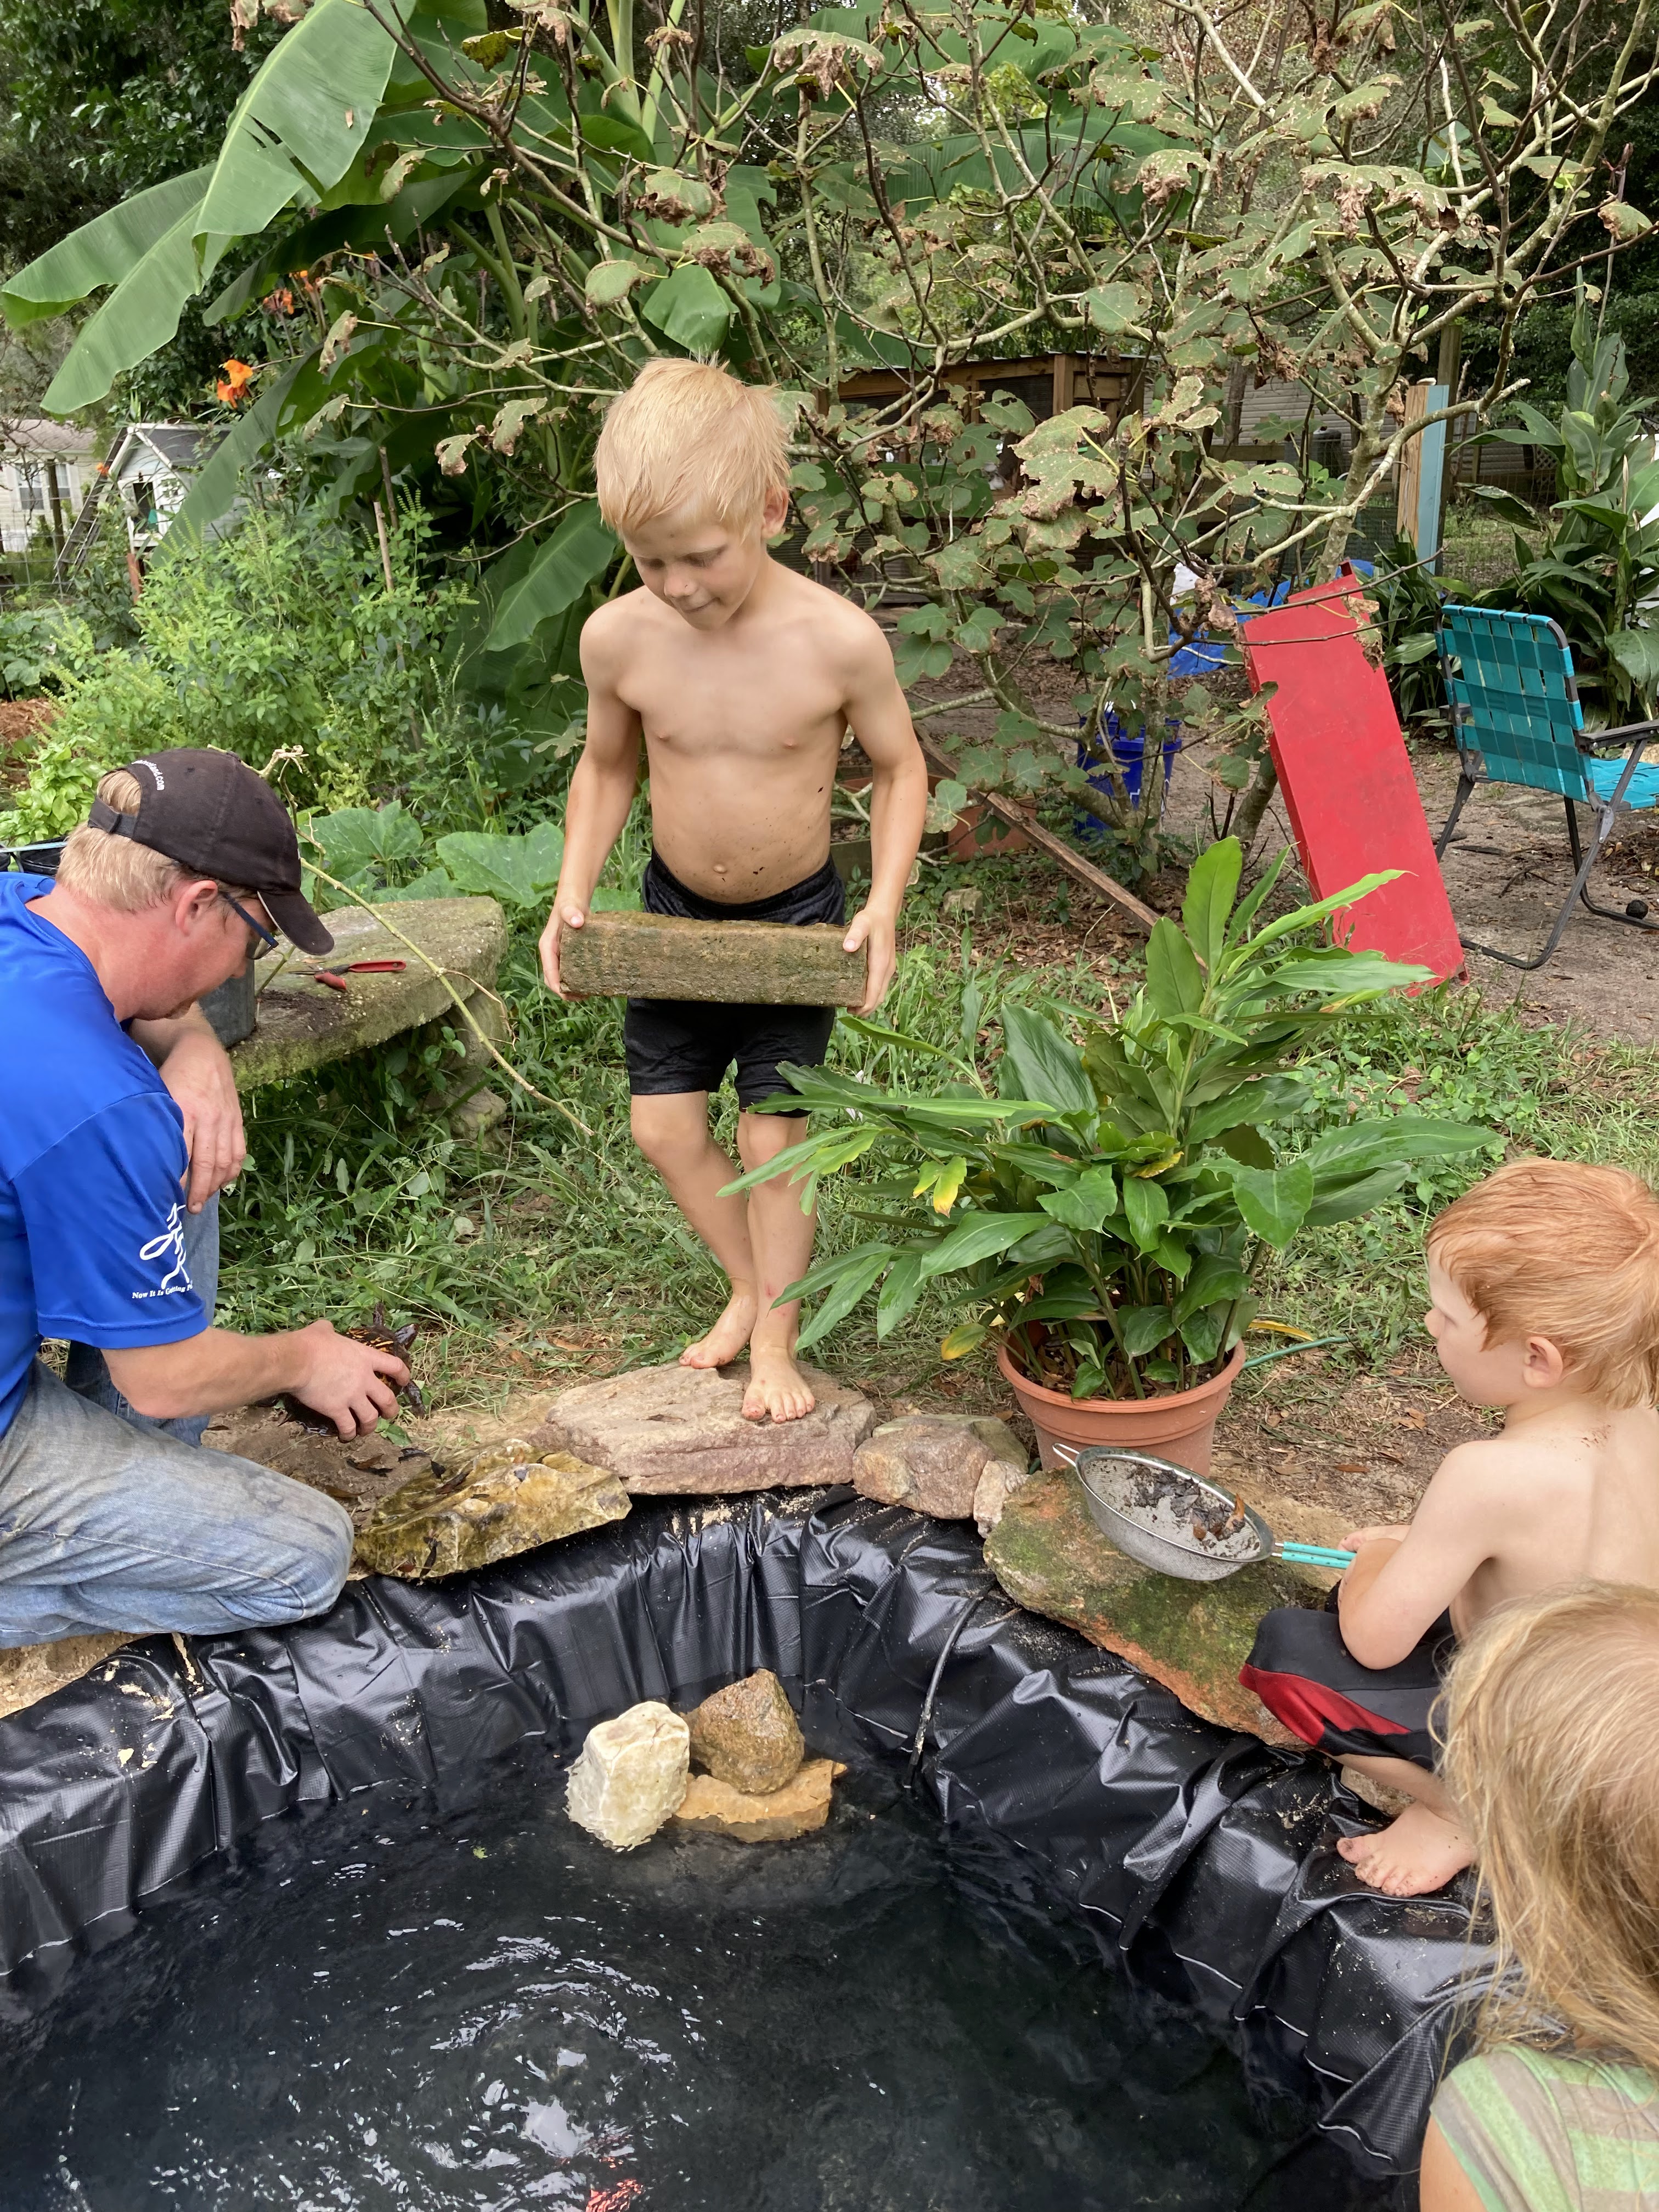
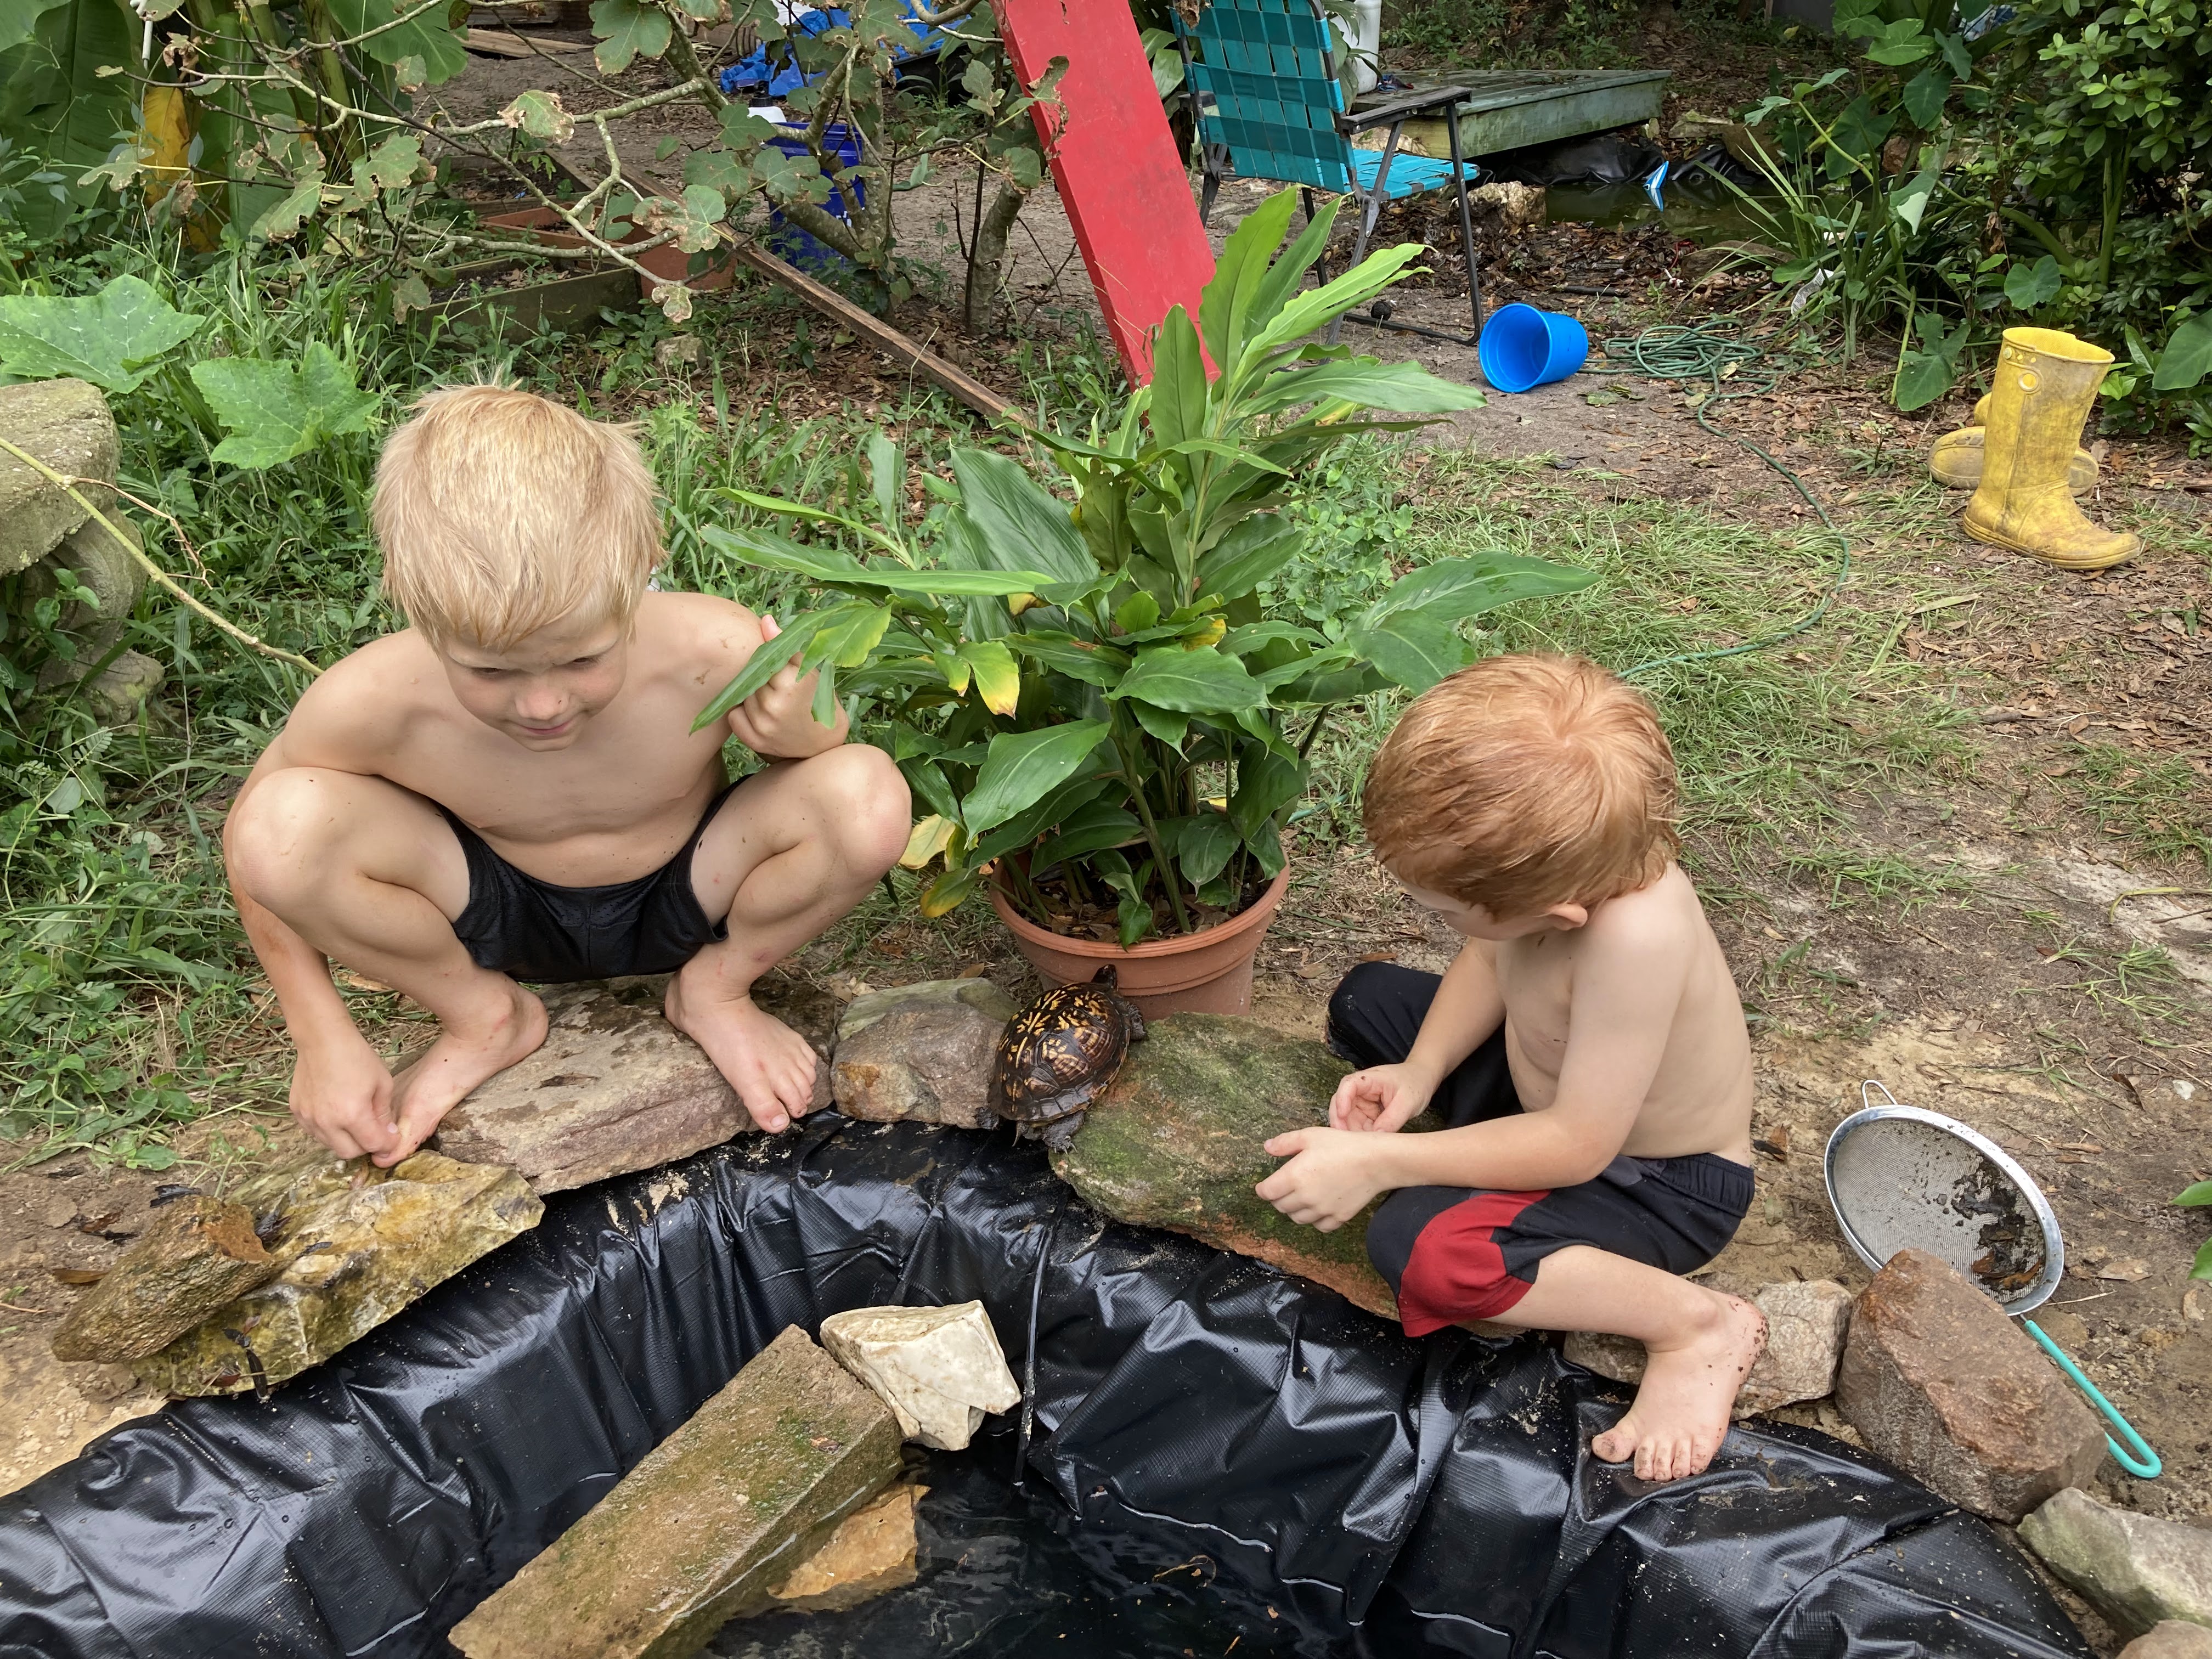
Those elephant ears are my favorite part of the pond
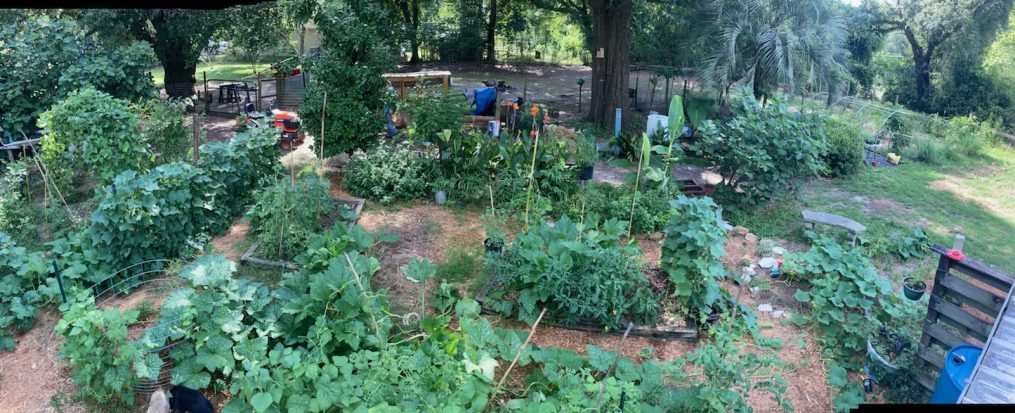
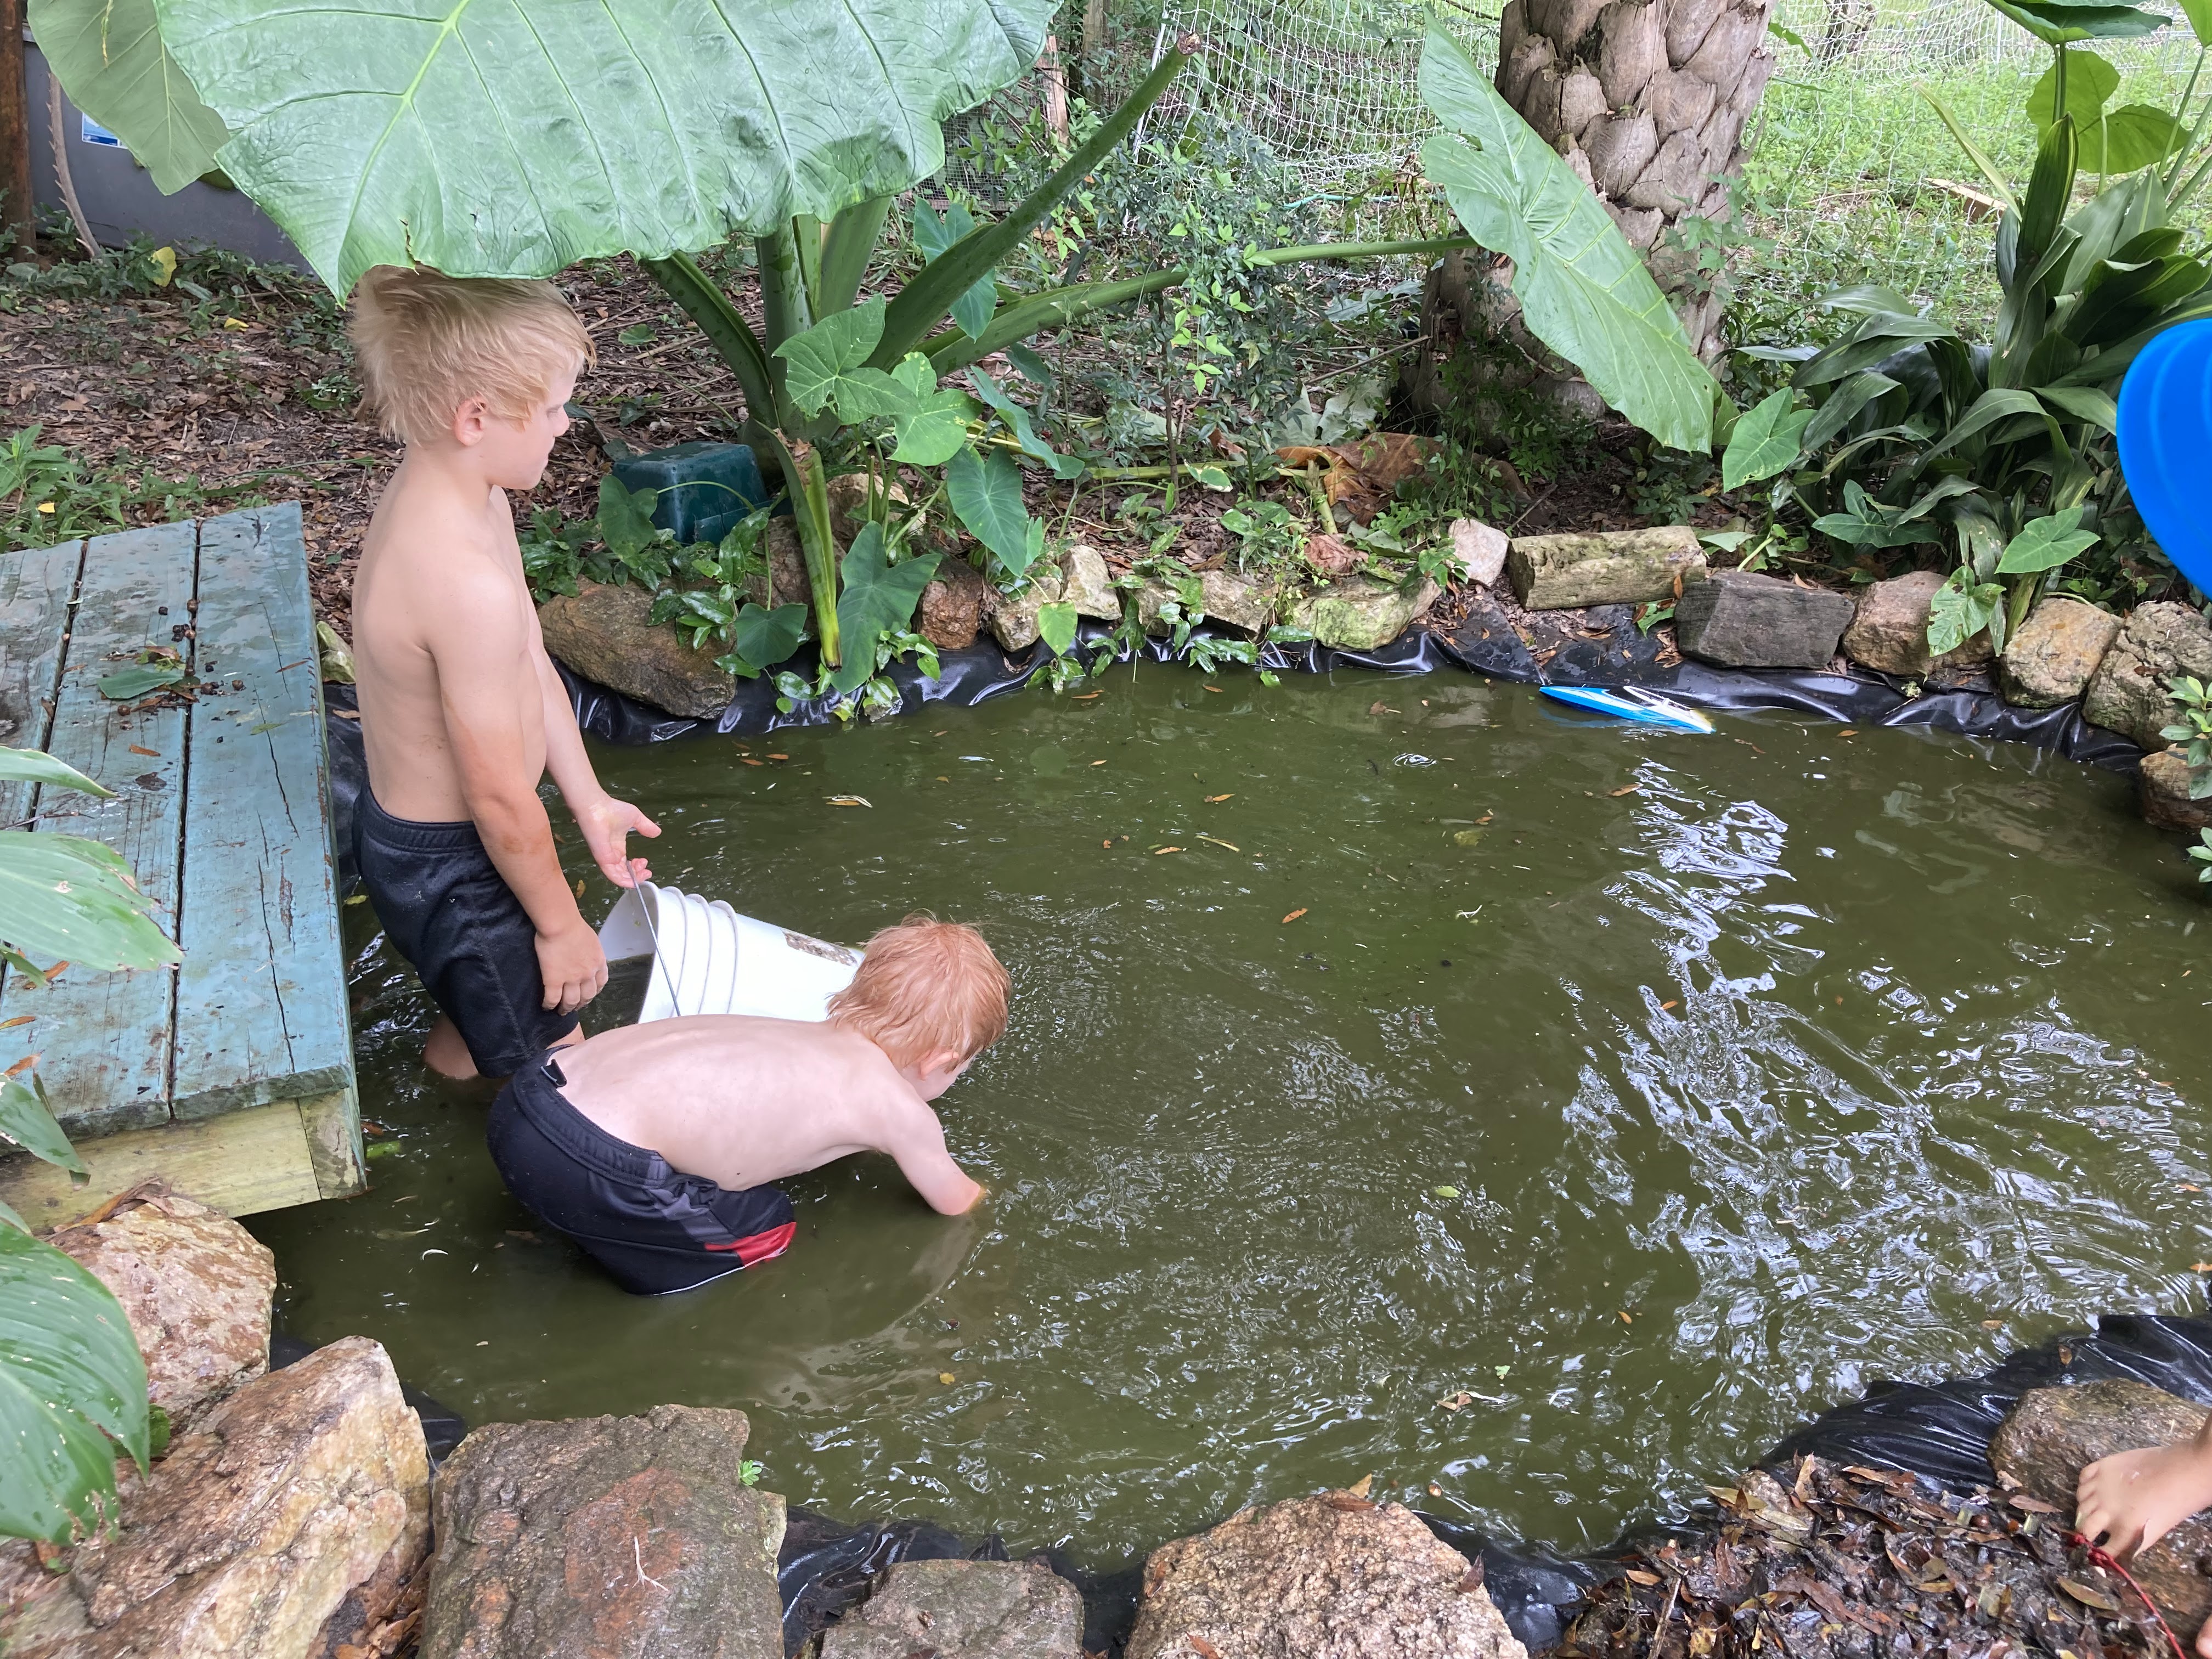
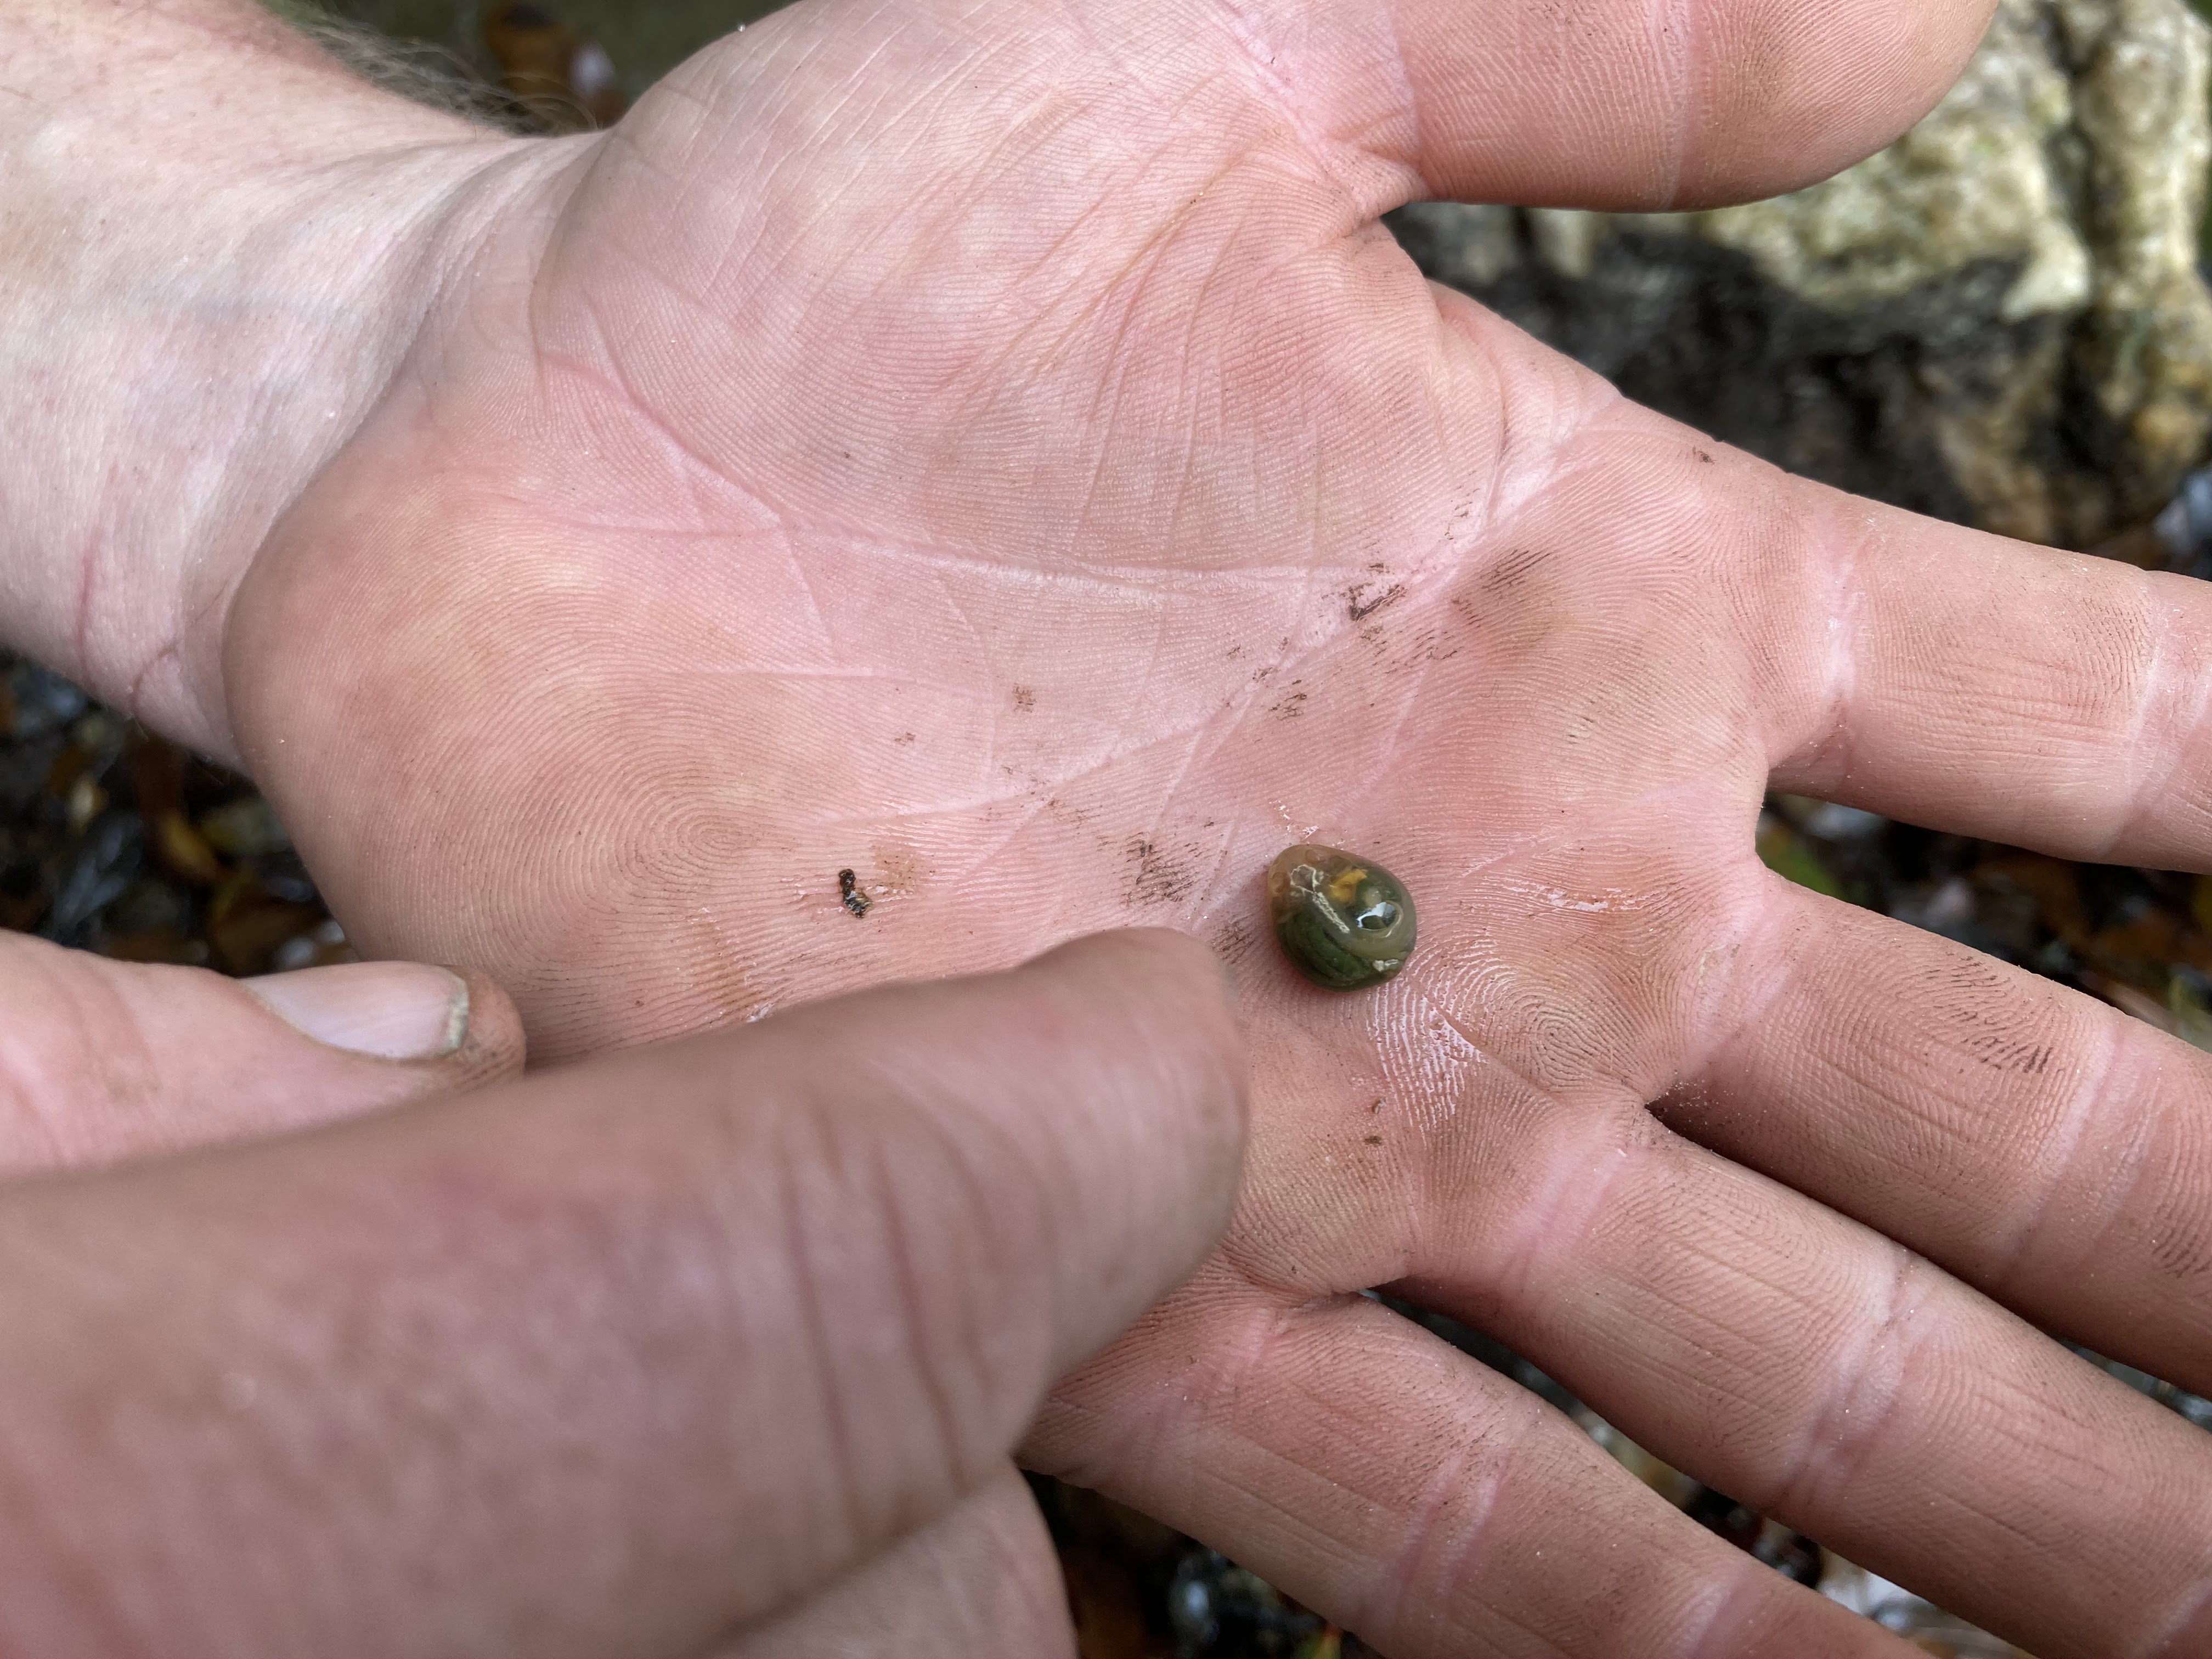
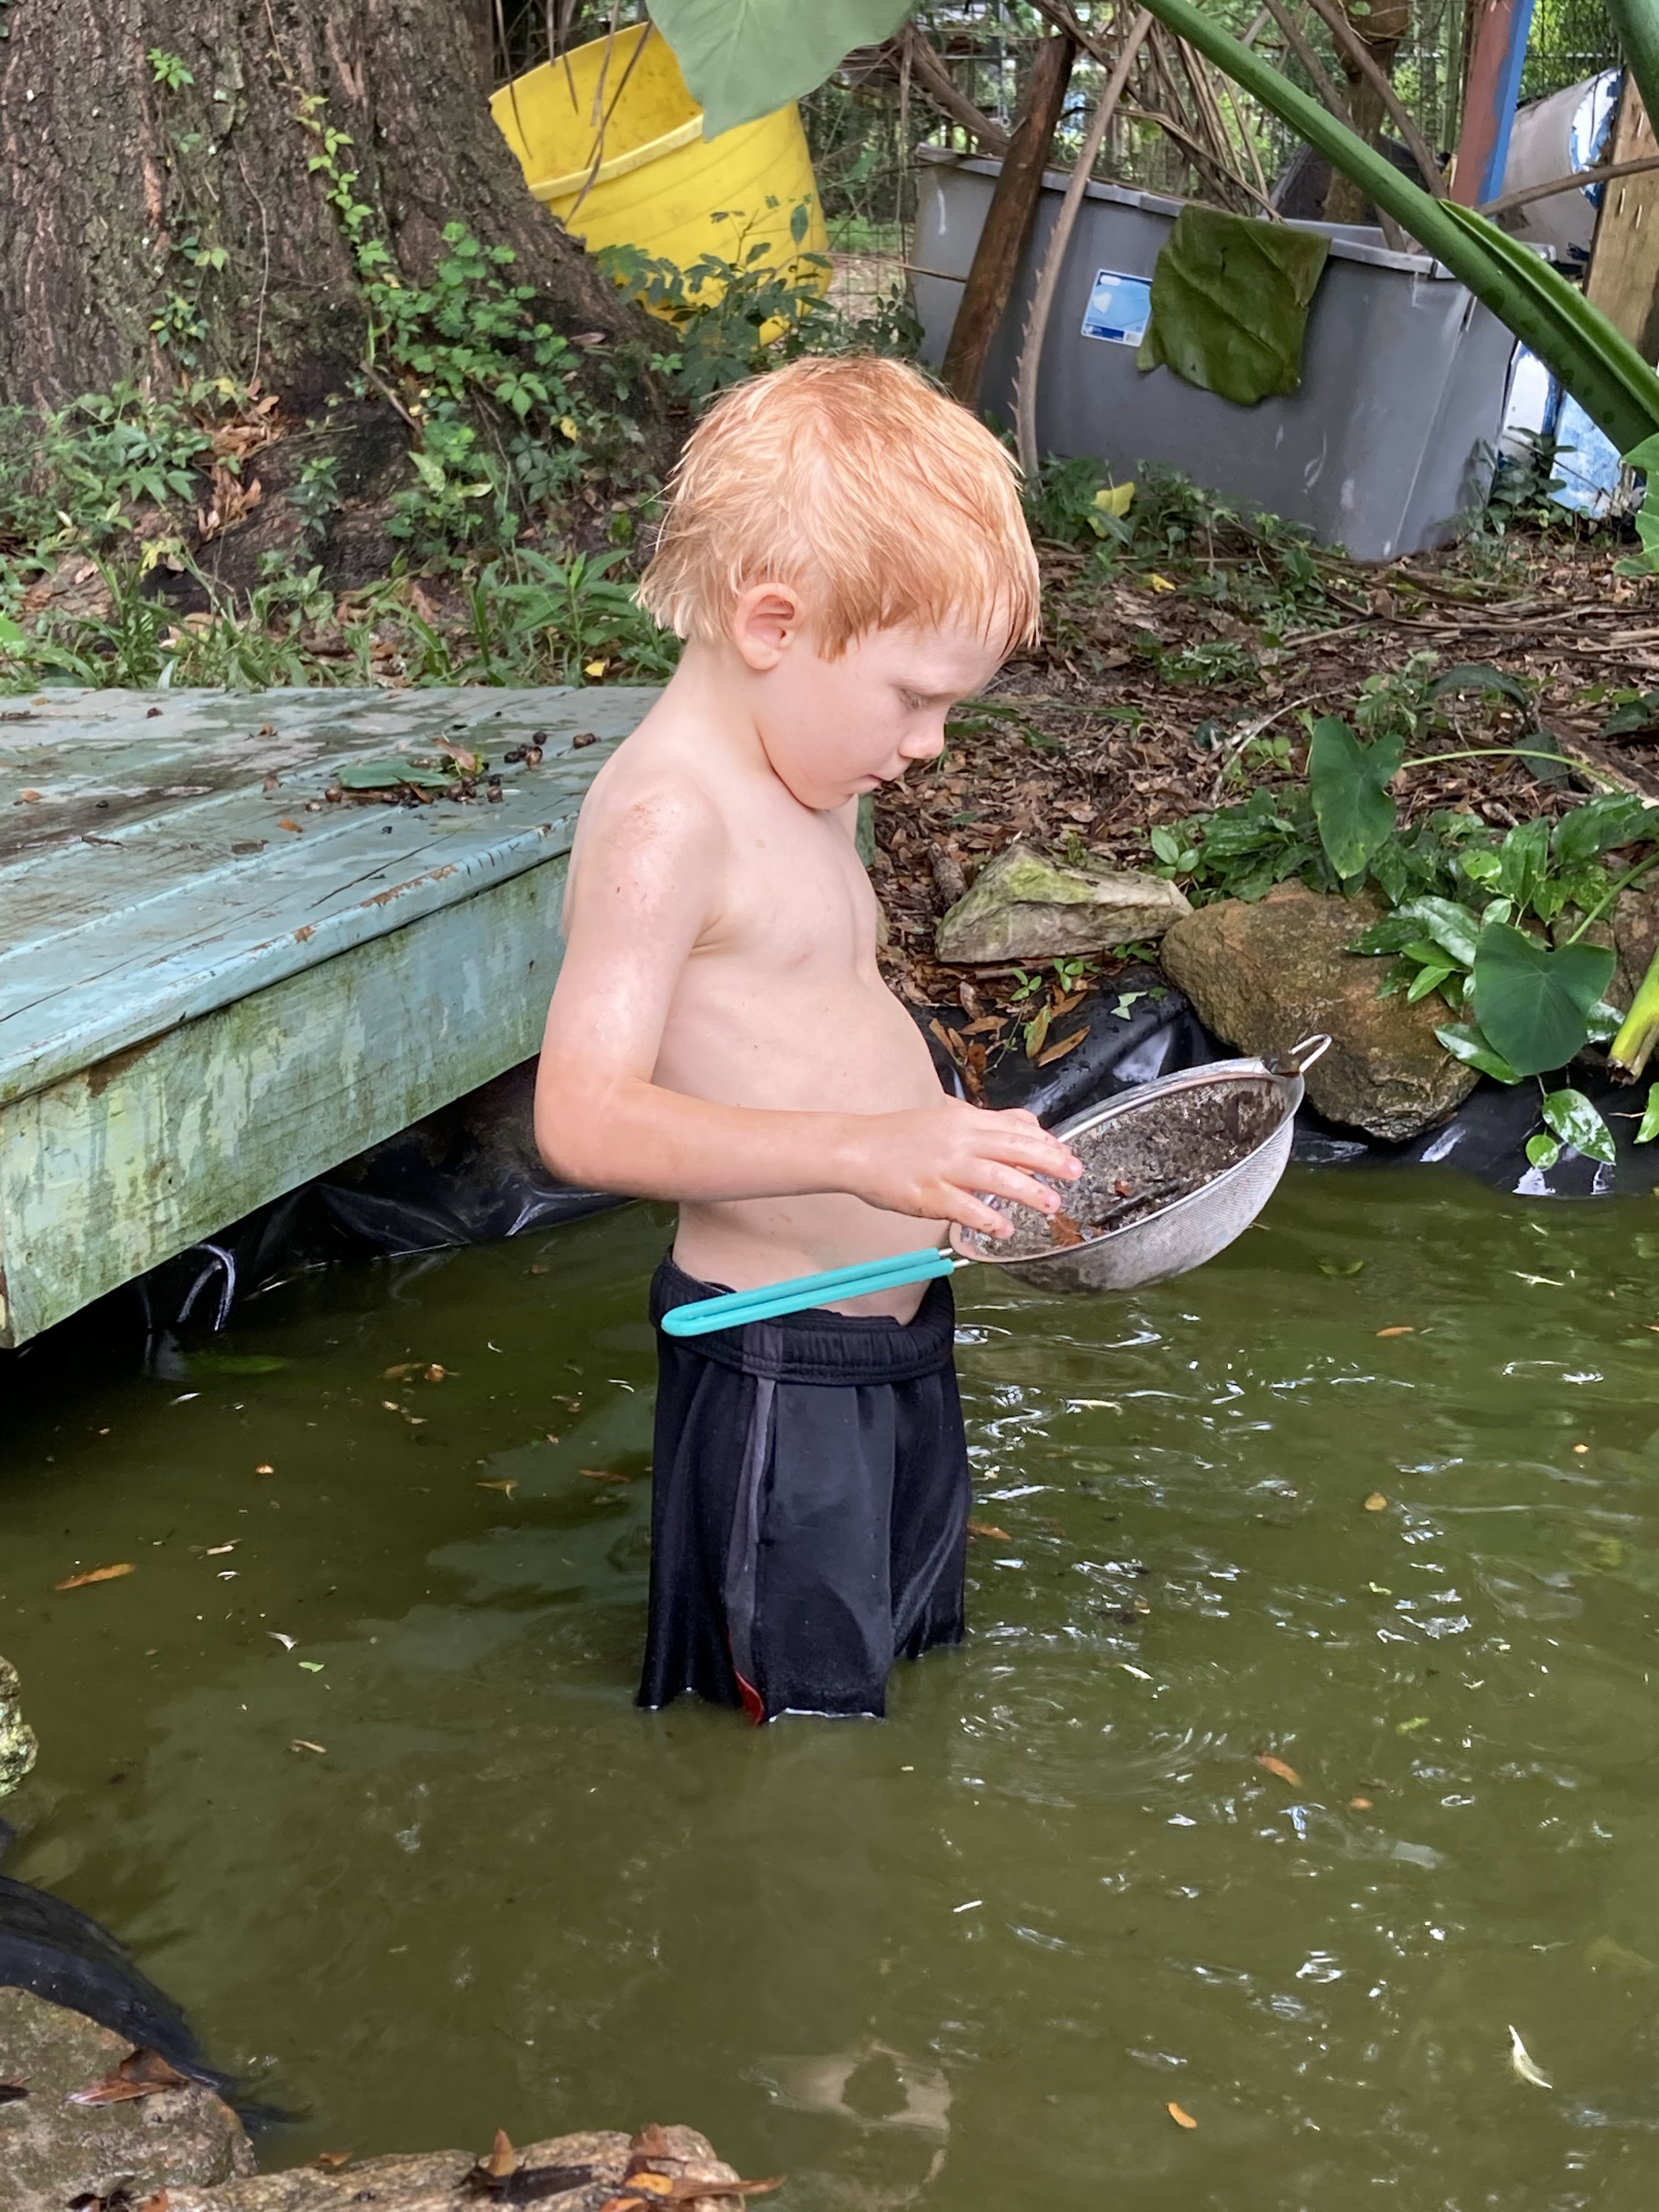
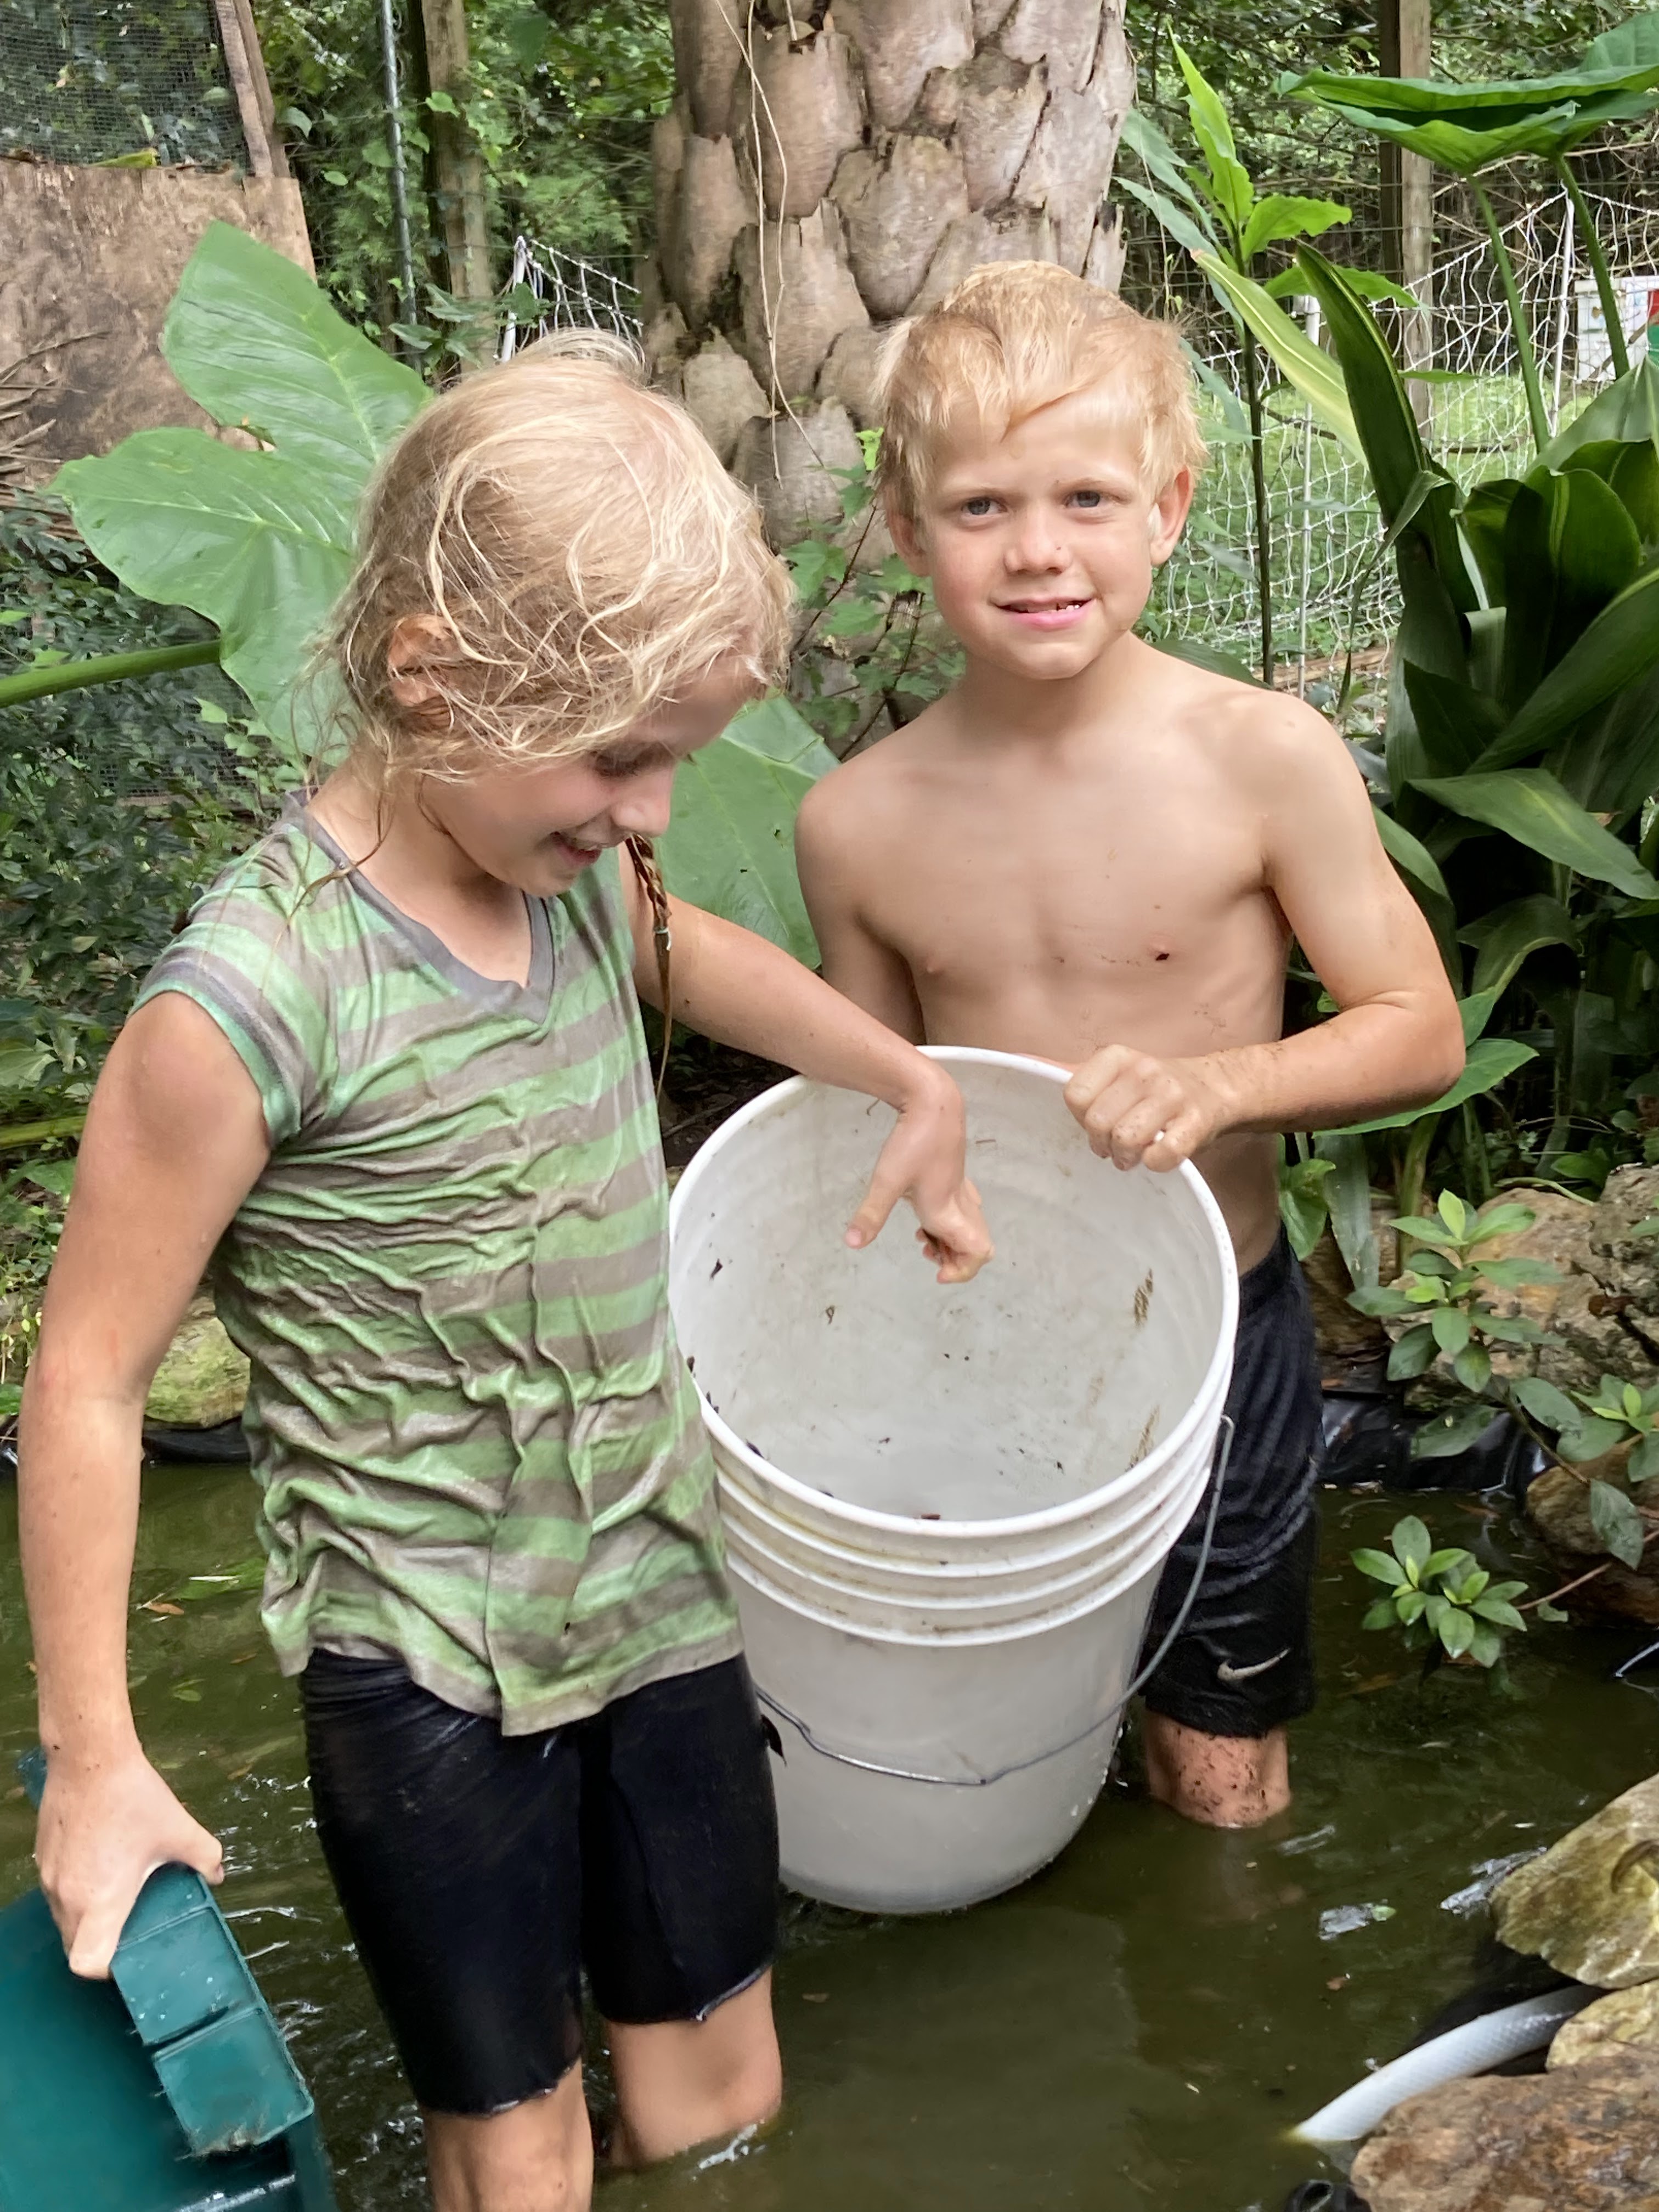
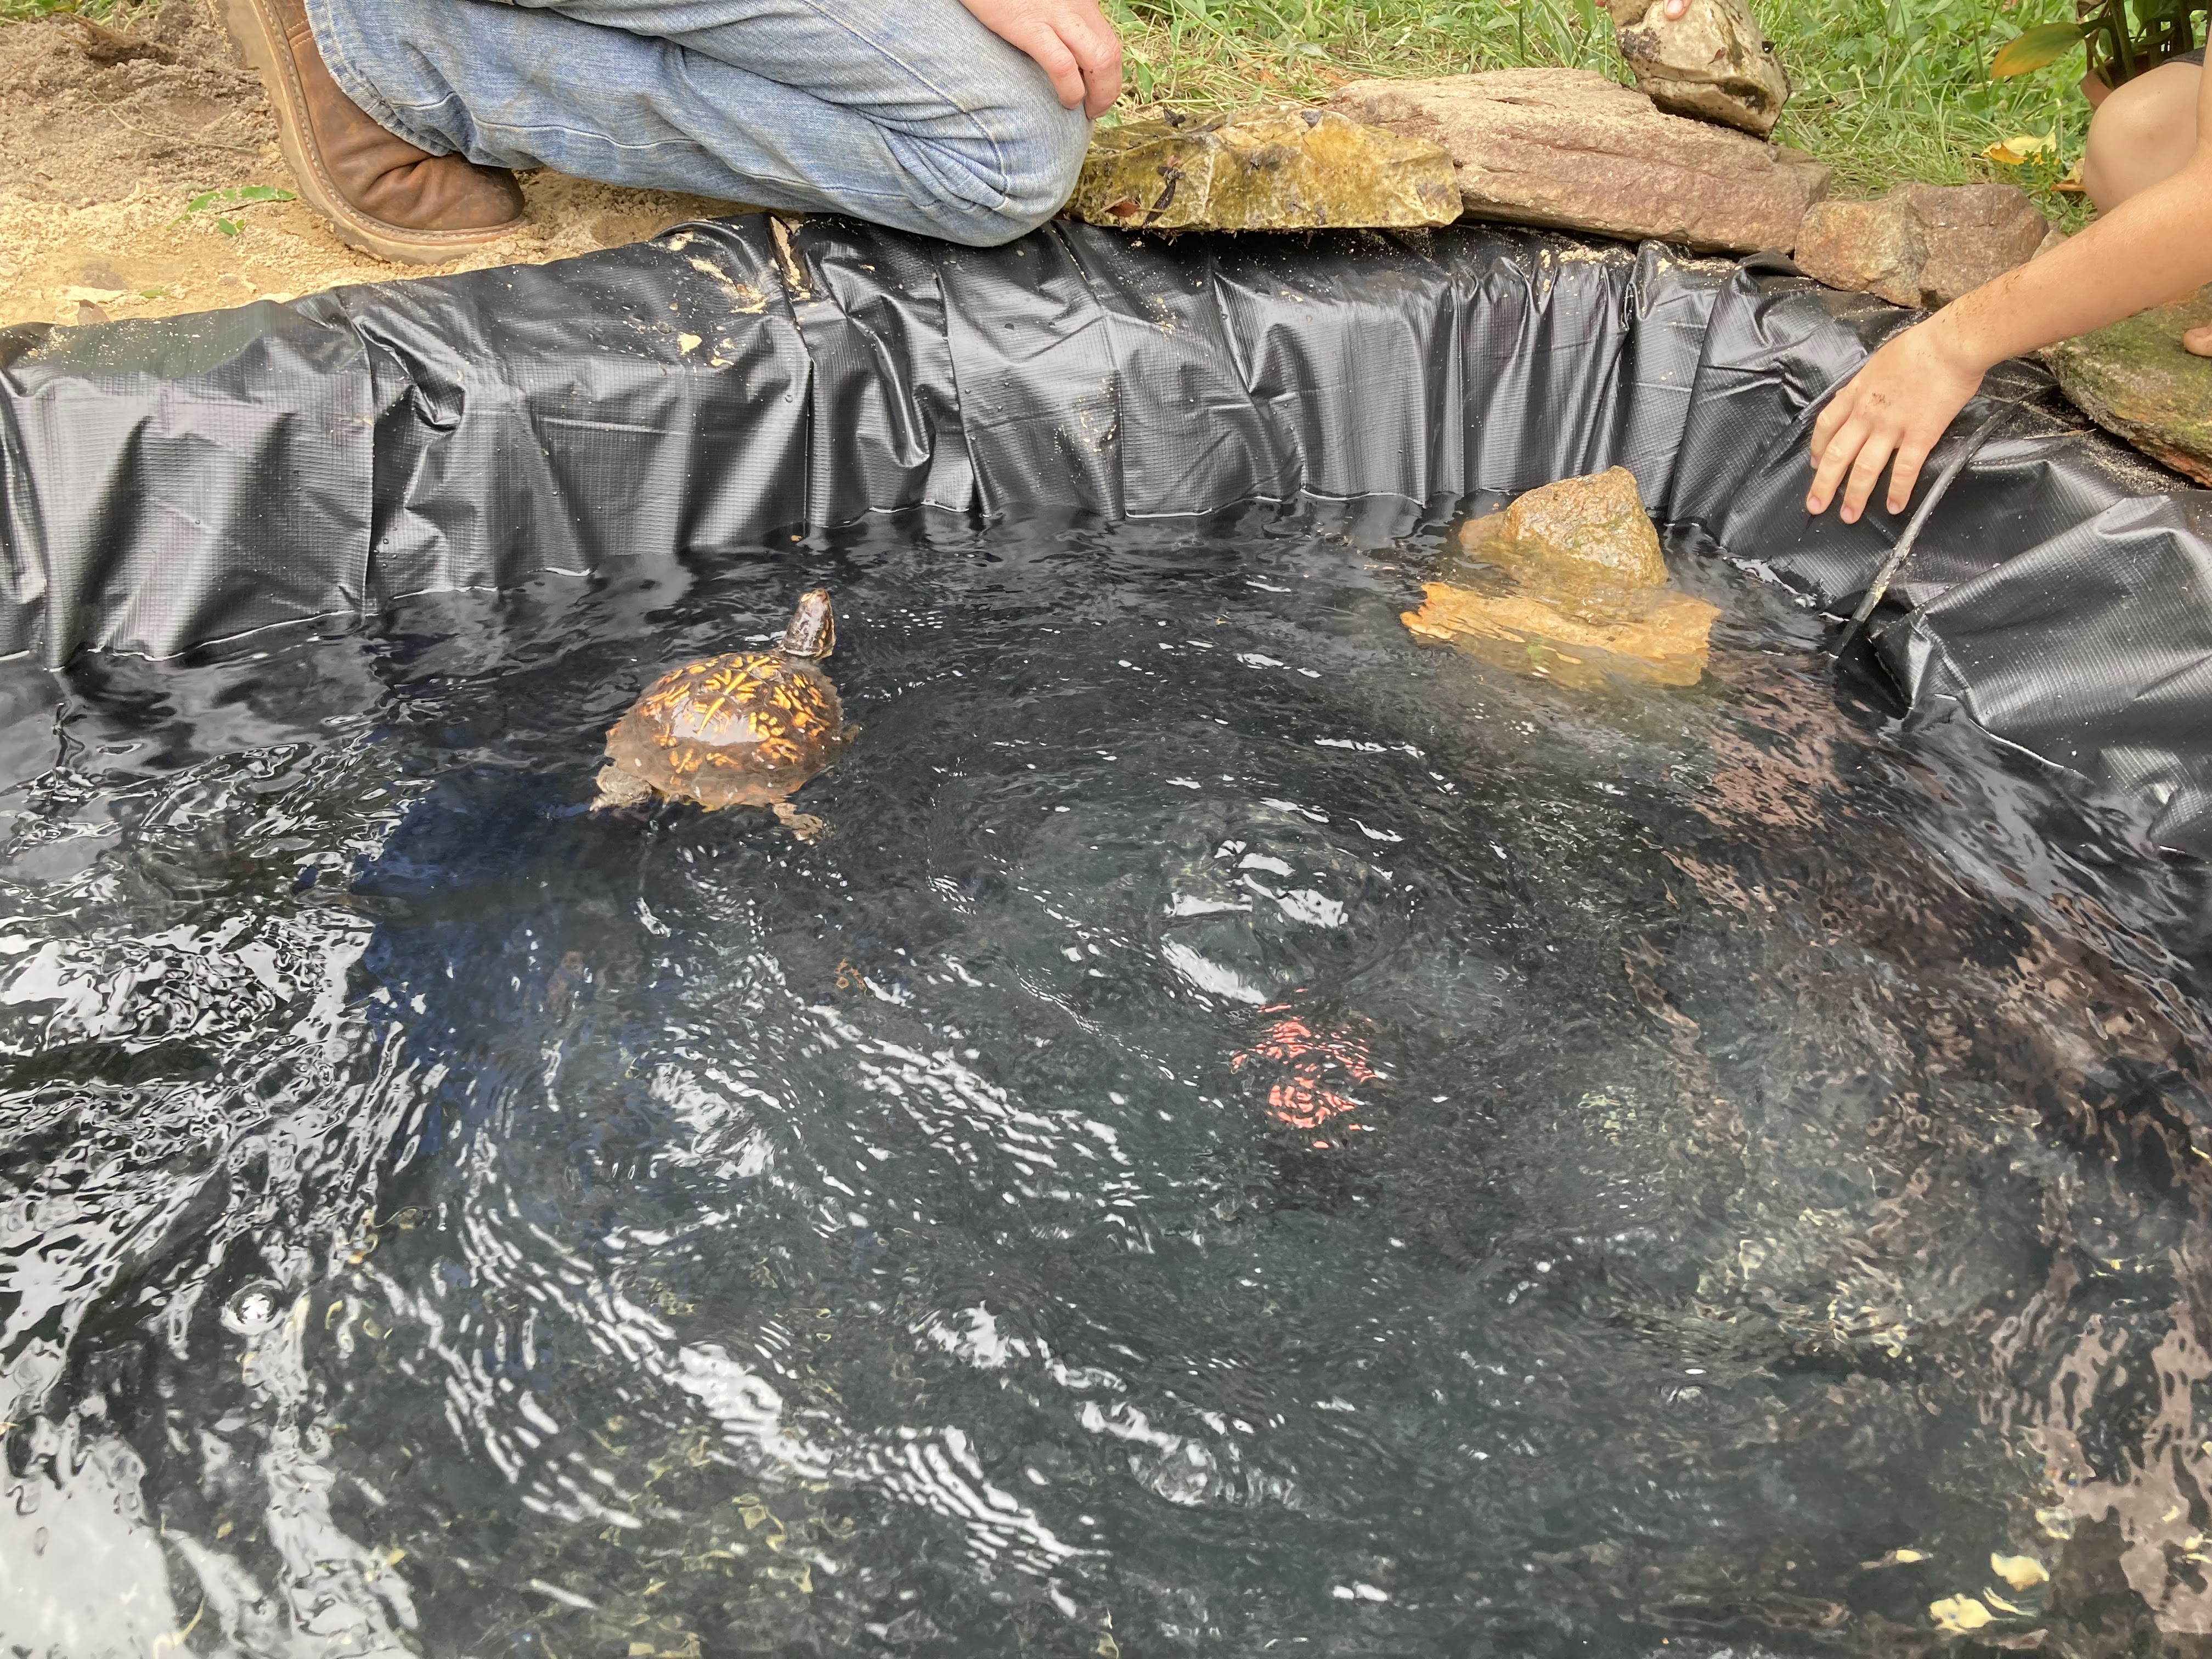
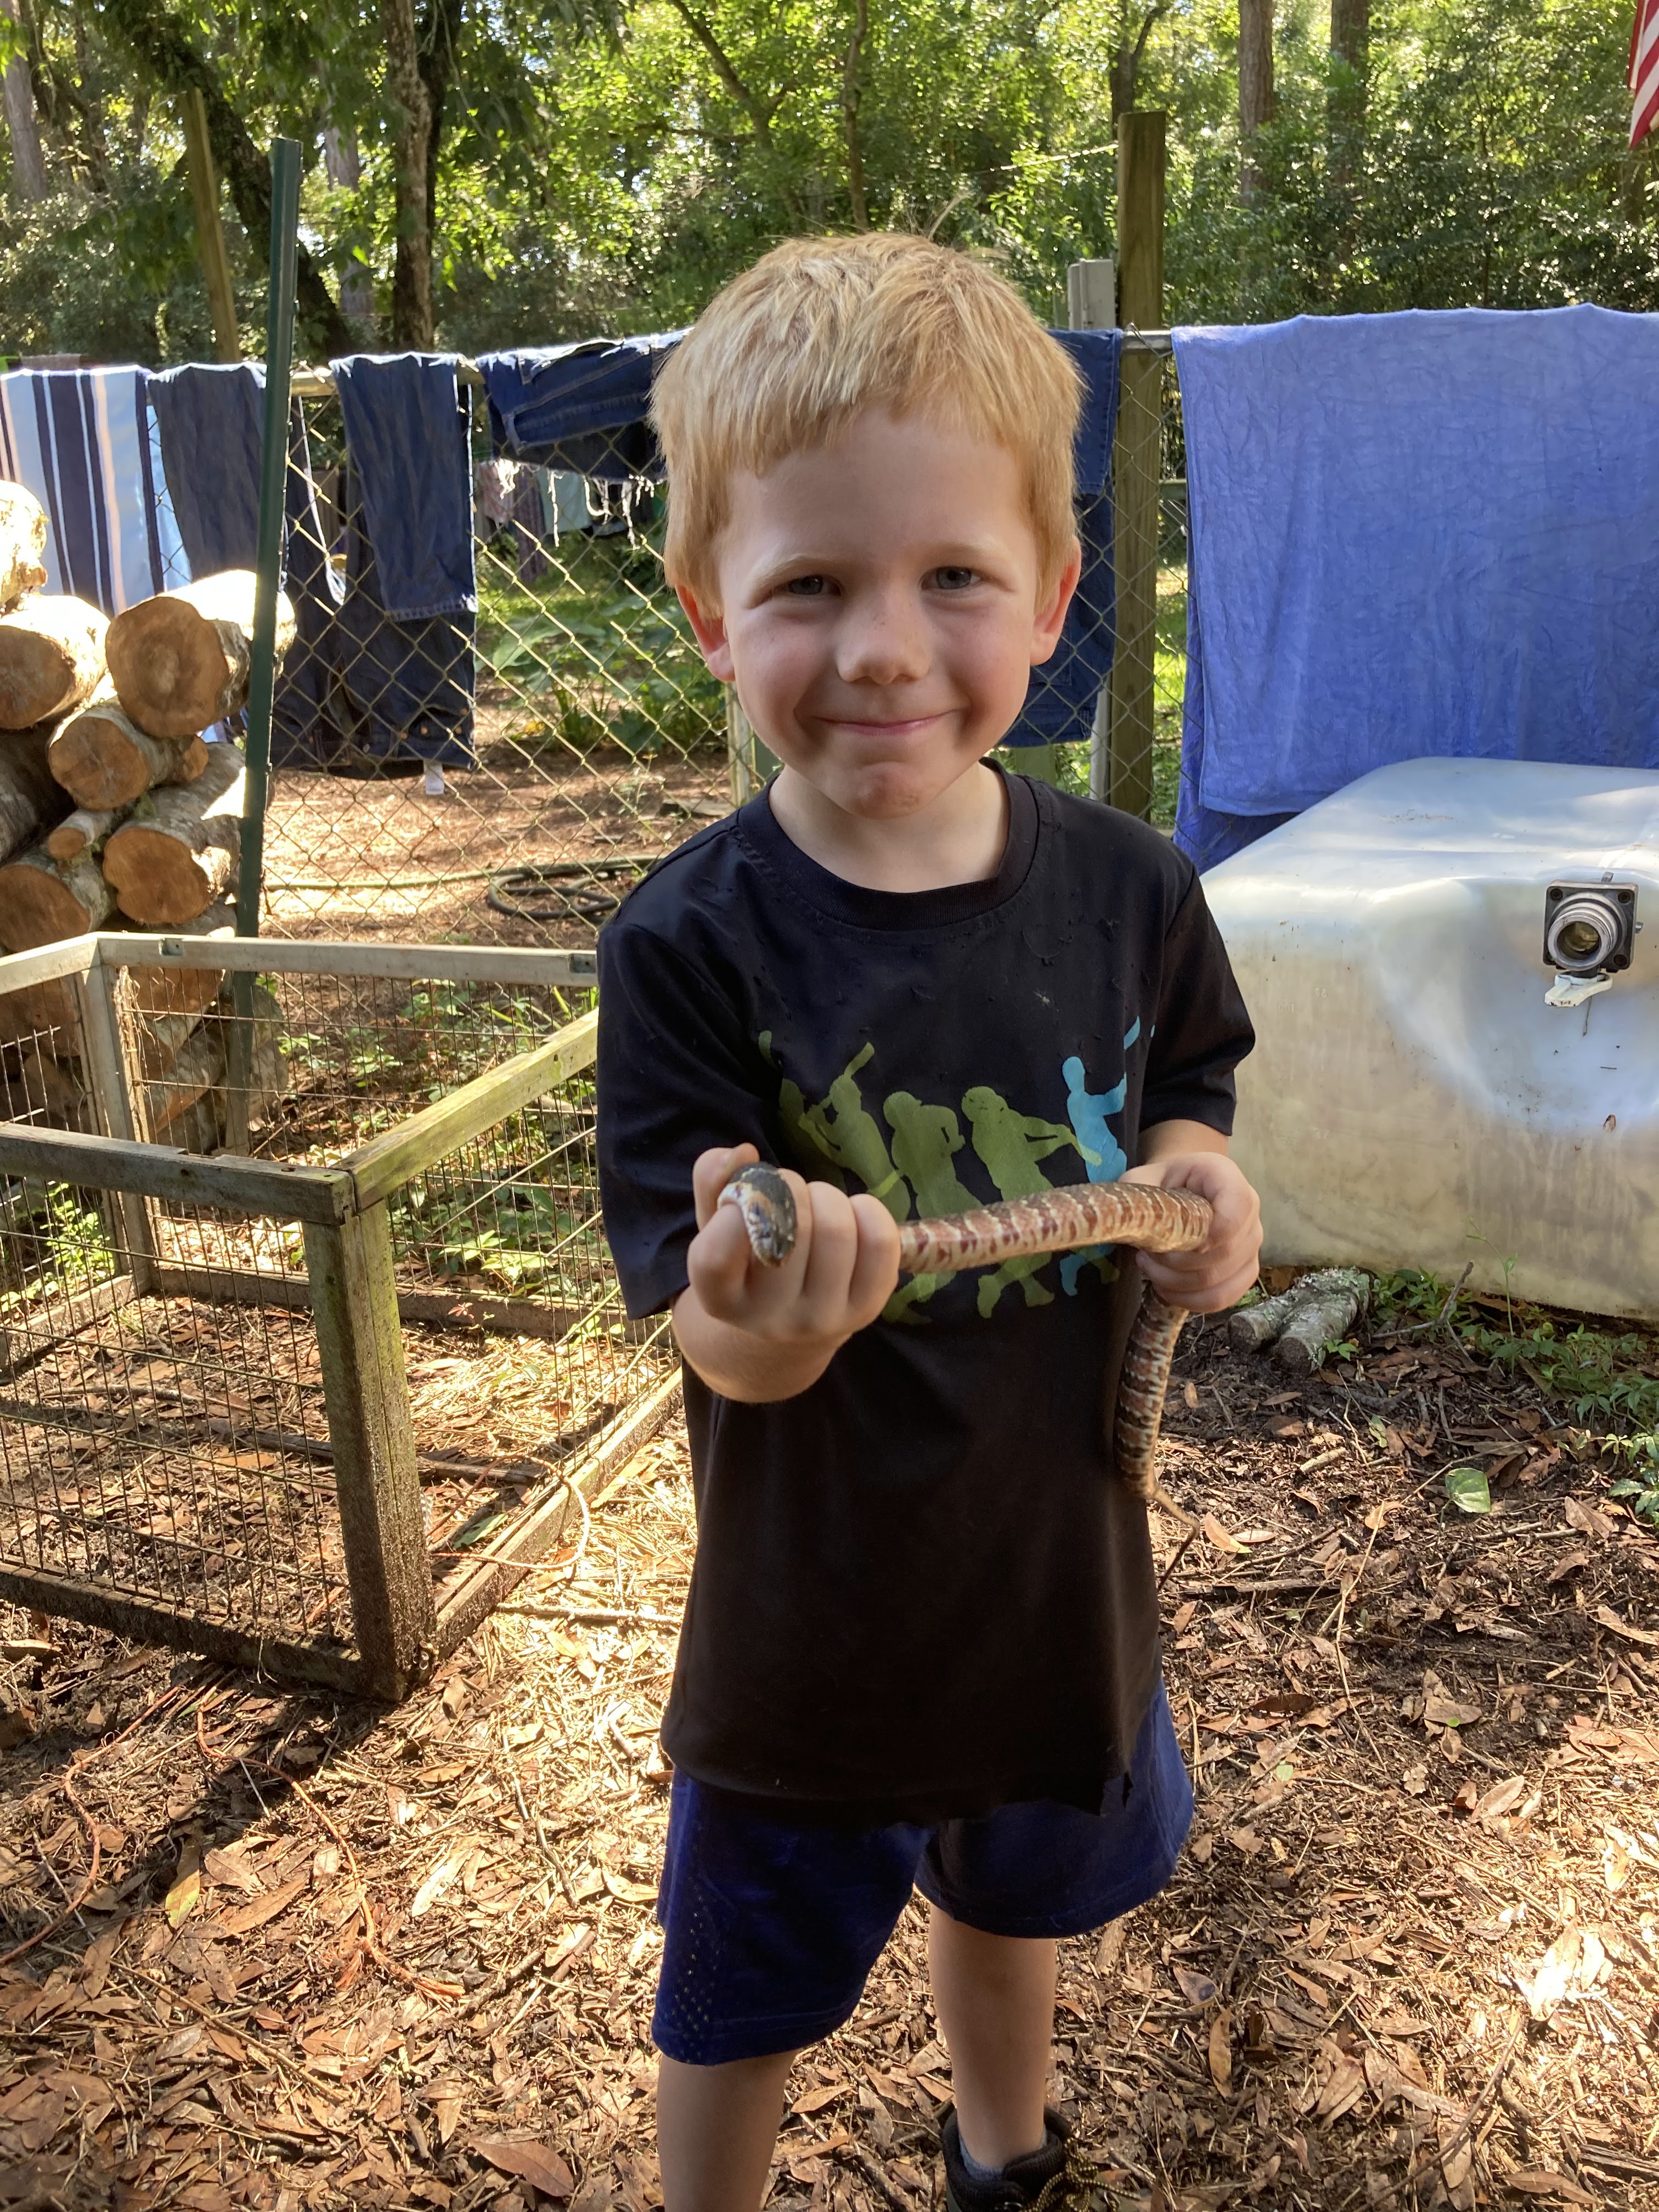
Every few months, the kids get in the pond to clean it out. The pond is right underneath a very large oak tree so no matter how hard we try, it is always full of leaves. In the warmer months, they love this job. And they usually find all kinds of treasures. Interestingly, we found tadpoles which is a little unusual this time of year. One of our favorite neighbors moved to VA and we inherited many things from him; one was a pond liner. So we added a new pond and have begun planting life around it and filling it with red-bellied minnows. We have a bait shop across the street and we try to support them as much as we can. The kids walk over on processing day for ice and they walked over to purchase the minnows. In addition to sitting next to the pond in Spring and Fall for school, the dogs also enjoy taking a daily splash in the pond to cool off. The cats drink water out of the pond and it provides a habitat for the frogs and toads every Spring. It is also the habitat for Herbert, our homestead water snake.
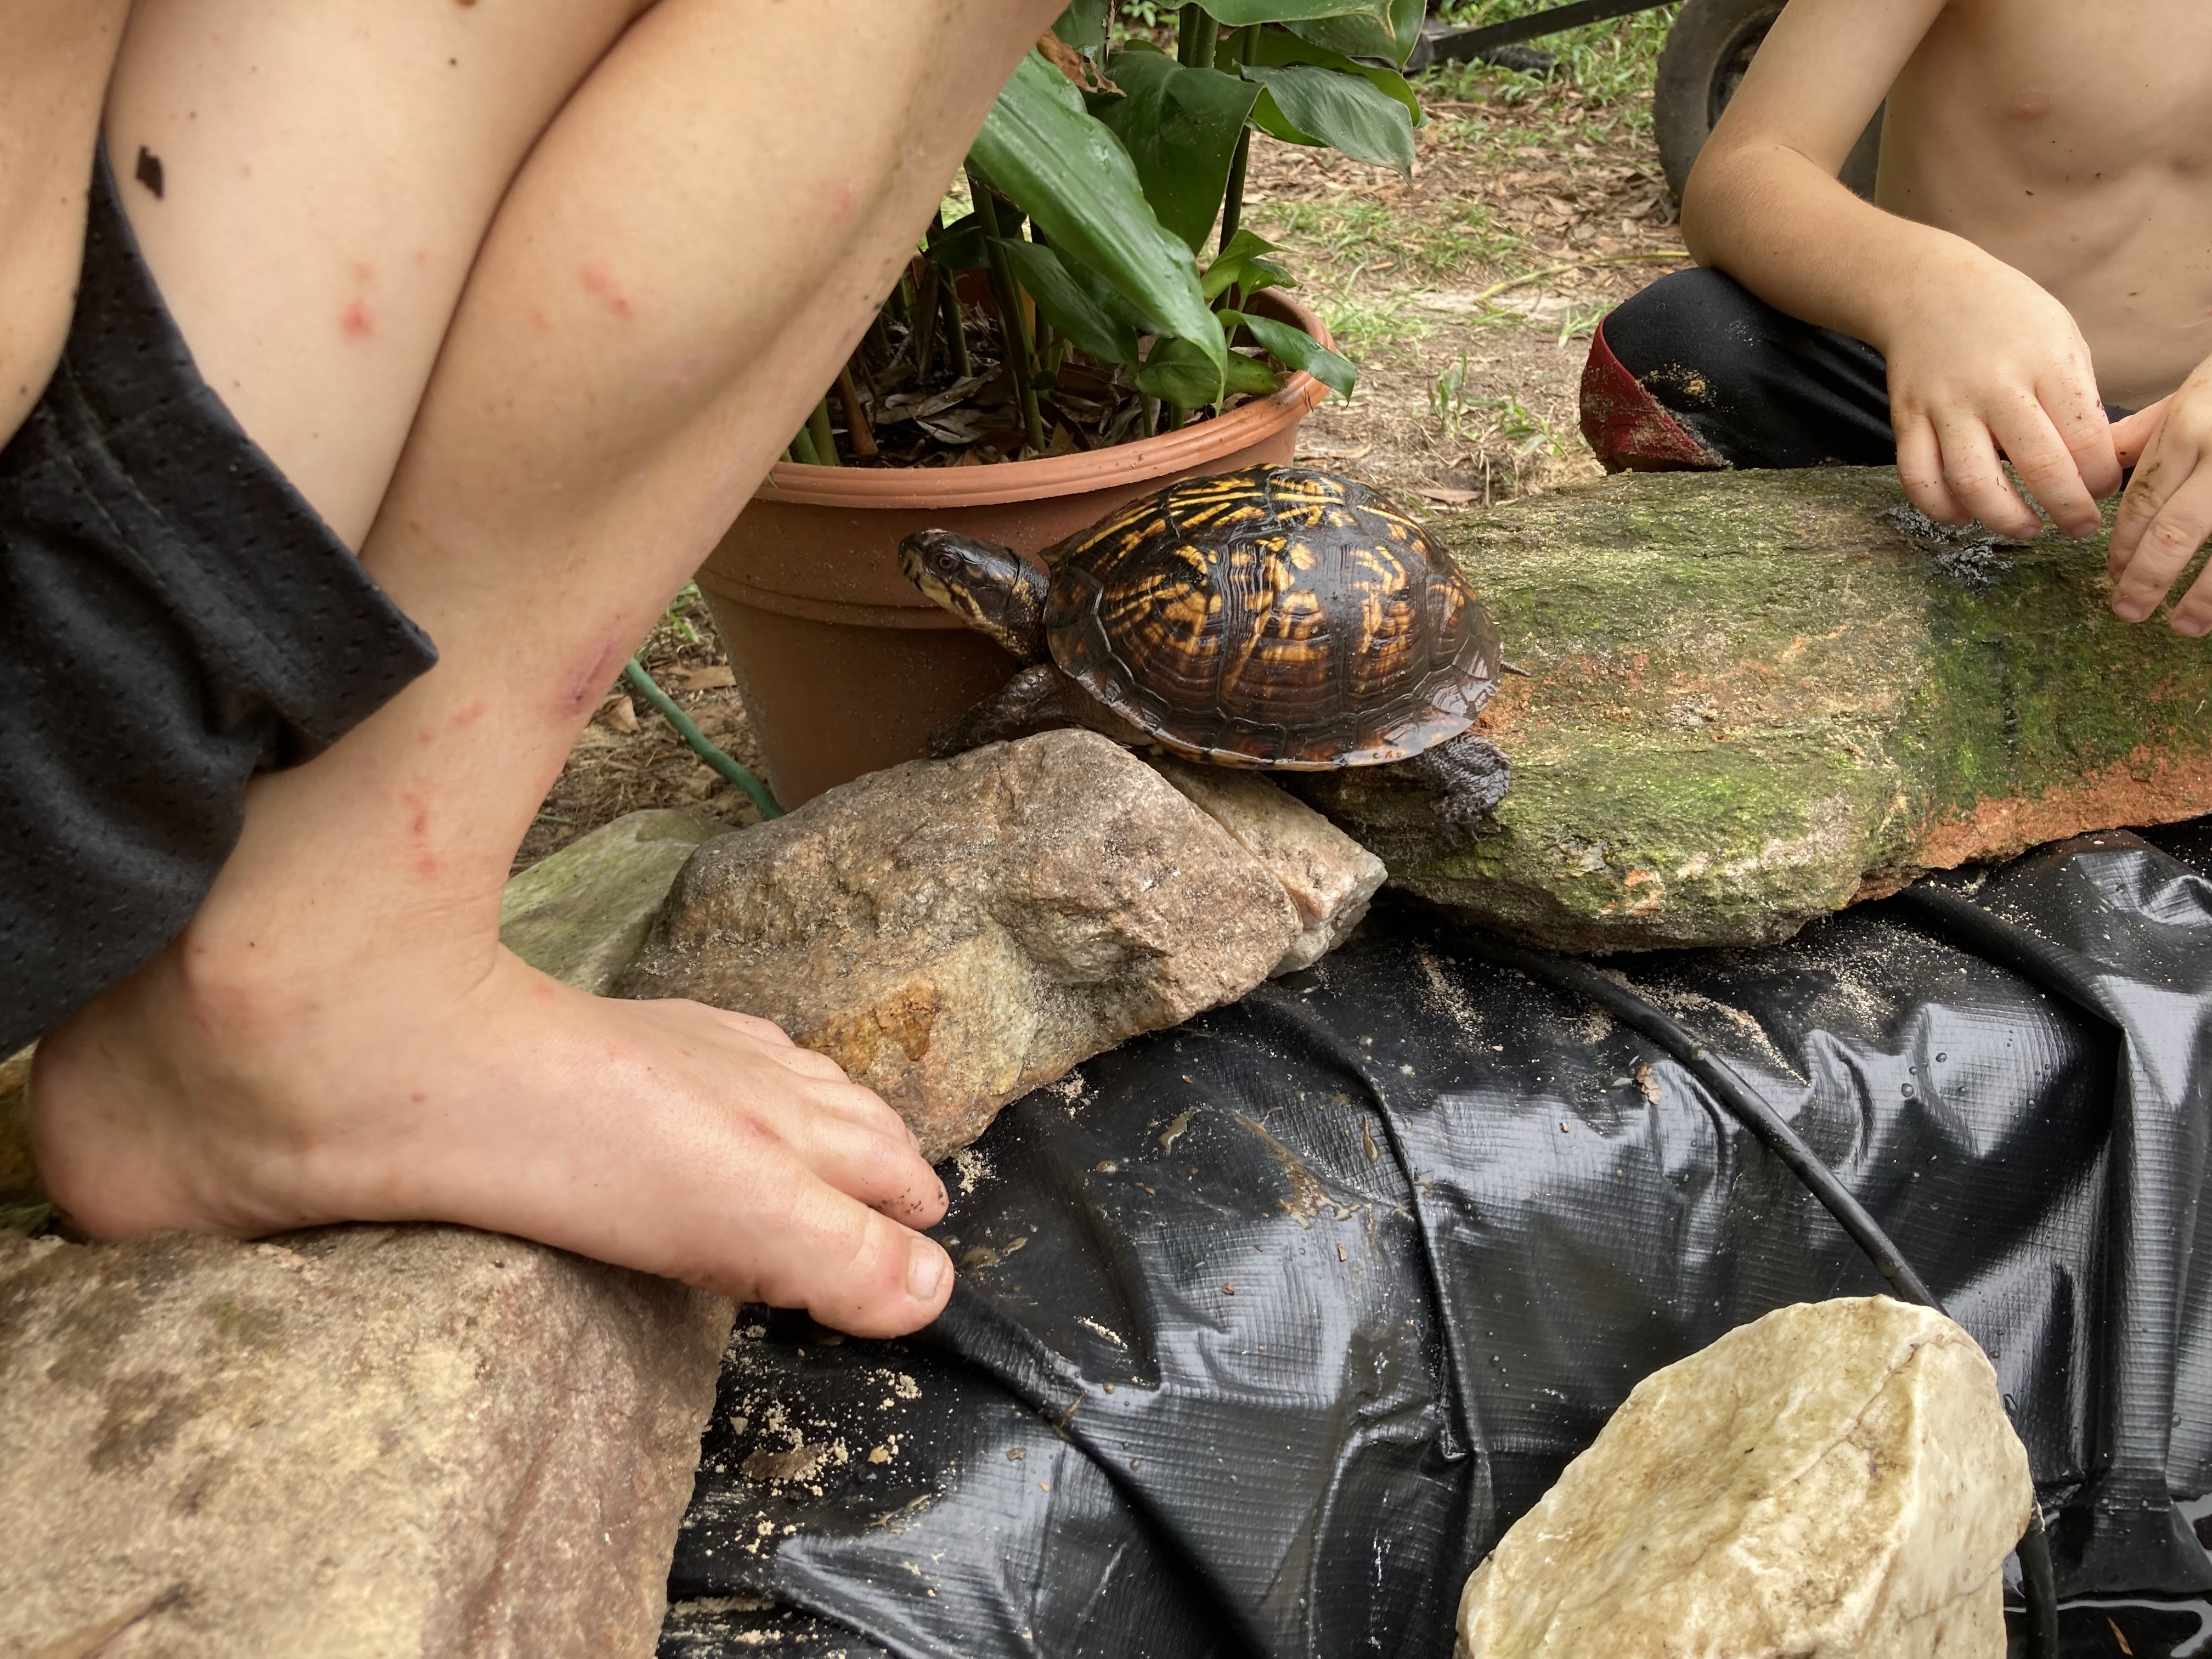
TadpoleThe new pond. We split some of the cardamom pictured and planted around the pondHe was very focused on making sure there were no tadpoles or minnows in the sieveTeamwork!Elliott loves swimming in the pondsThey made a ramp for ElliottHerbert has grown!This big grey rat snake lives in the shedElliott, the turtle
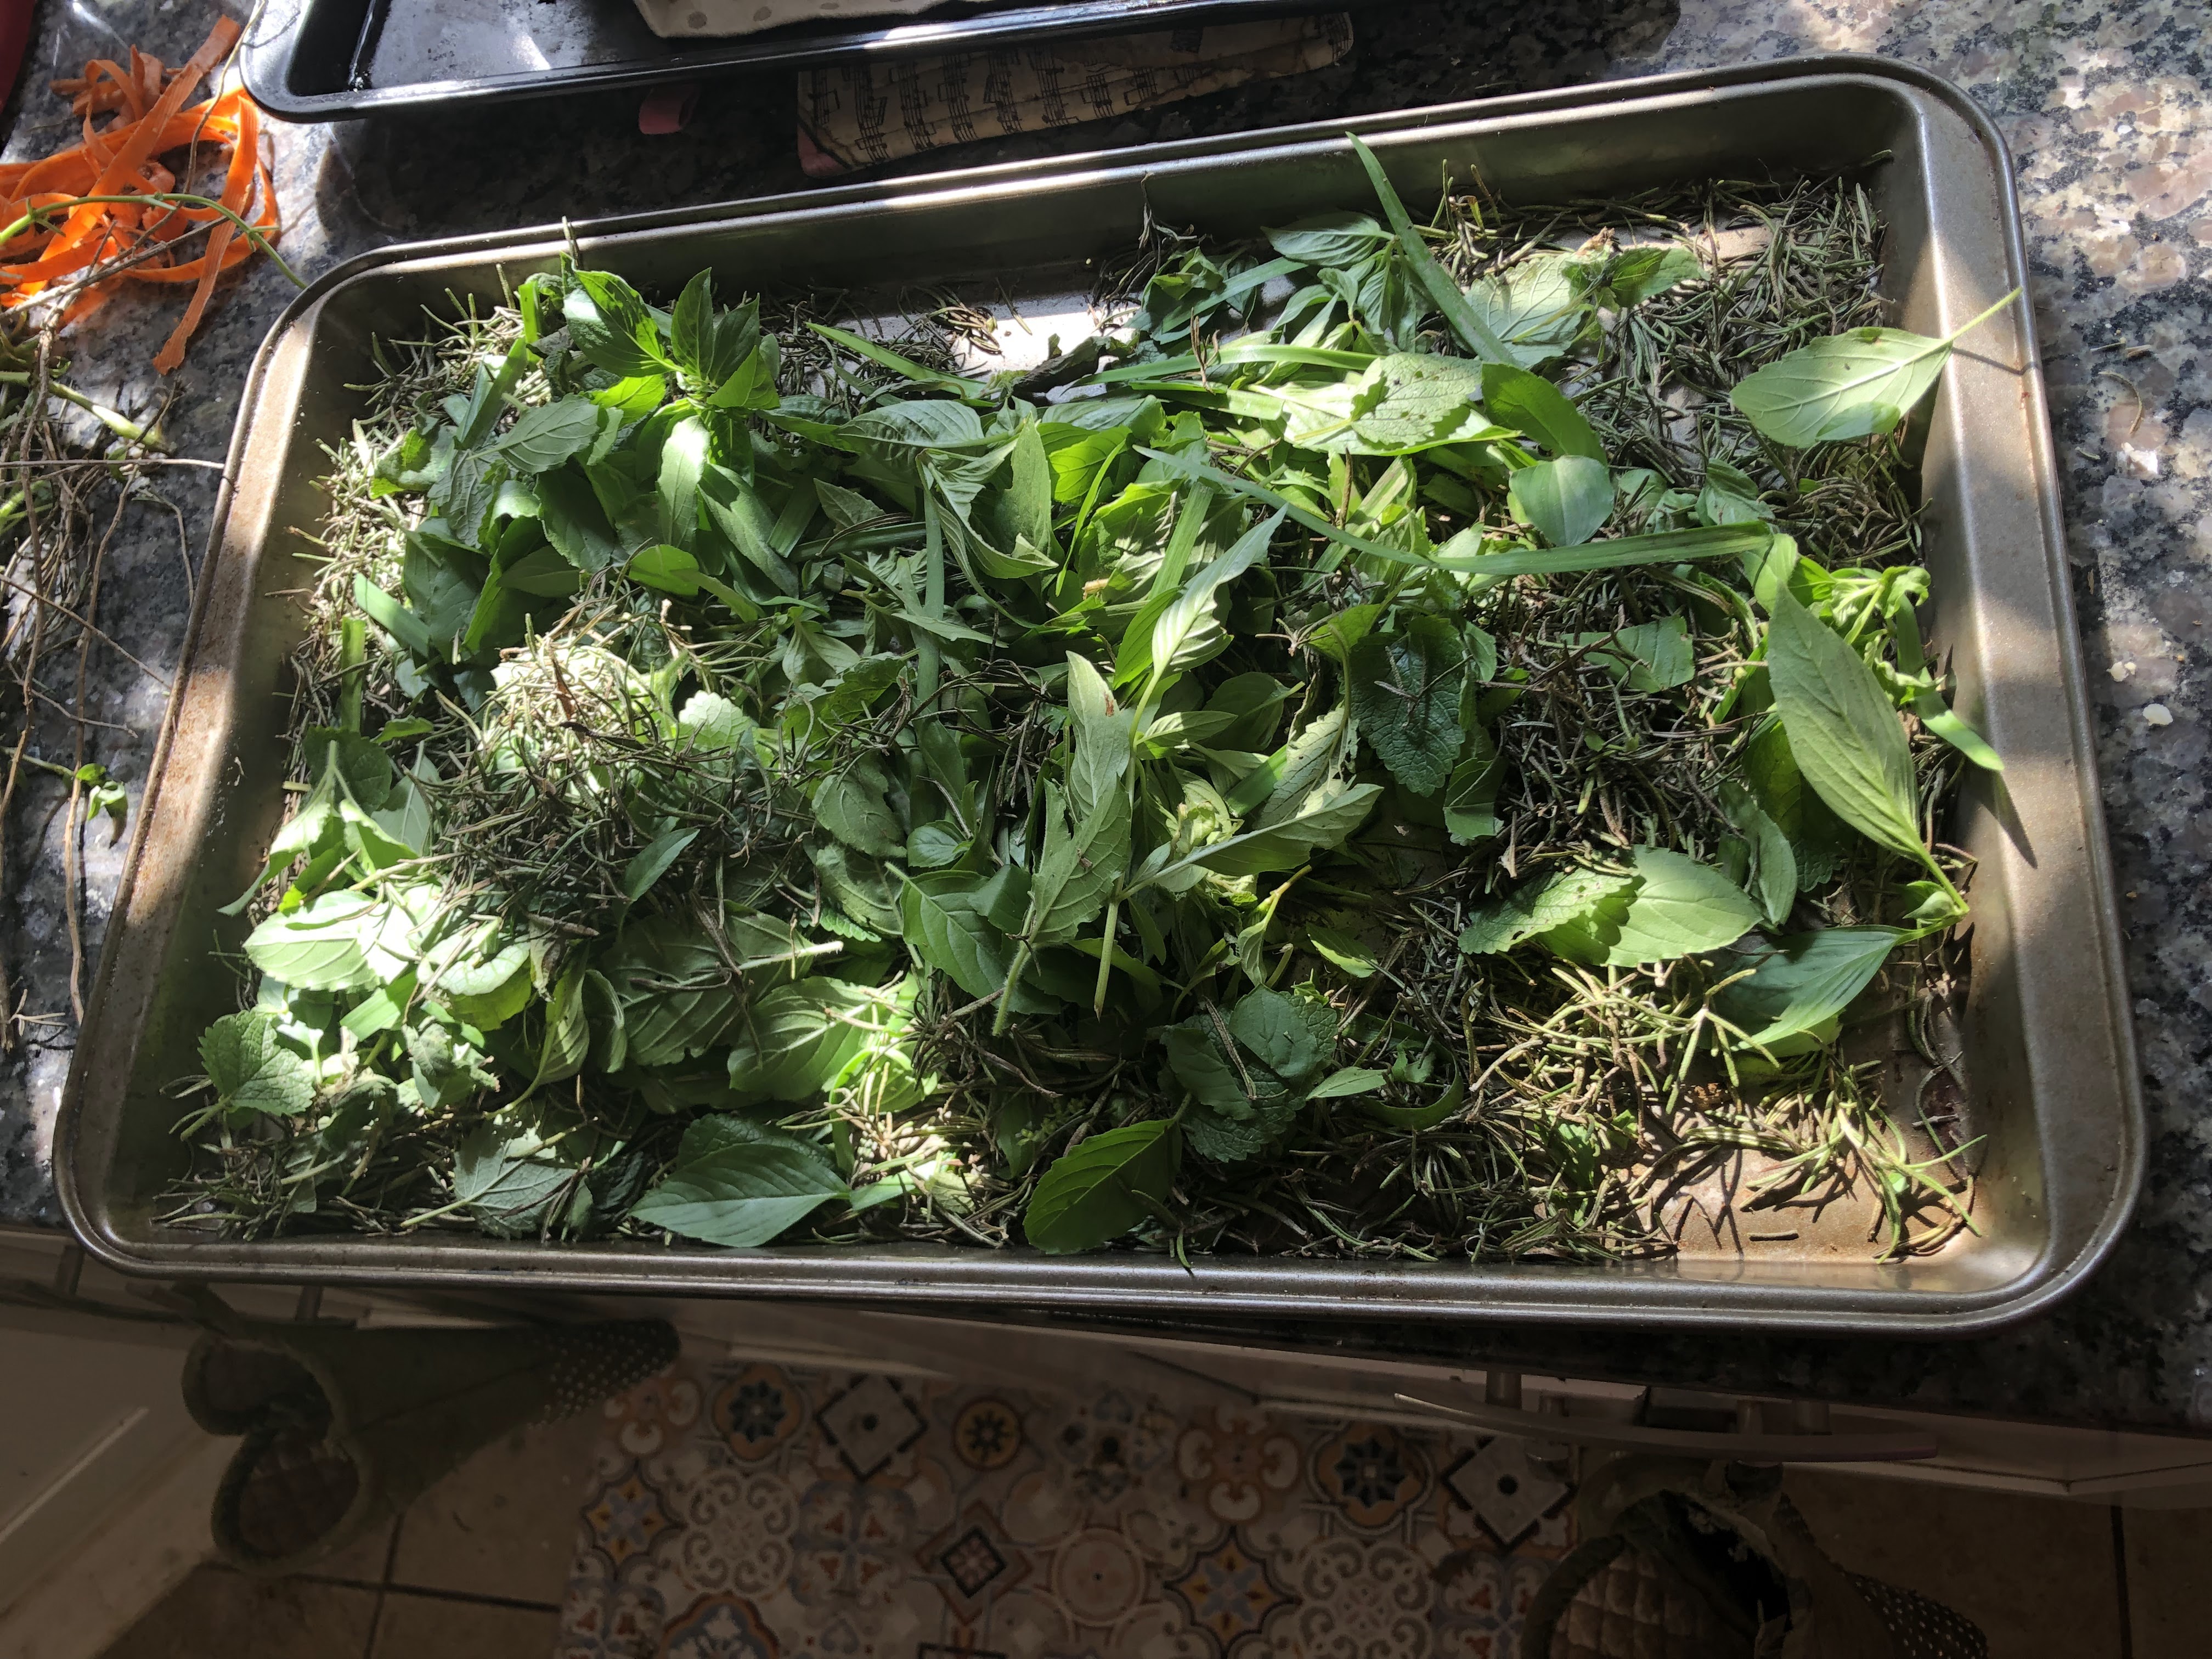
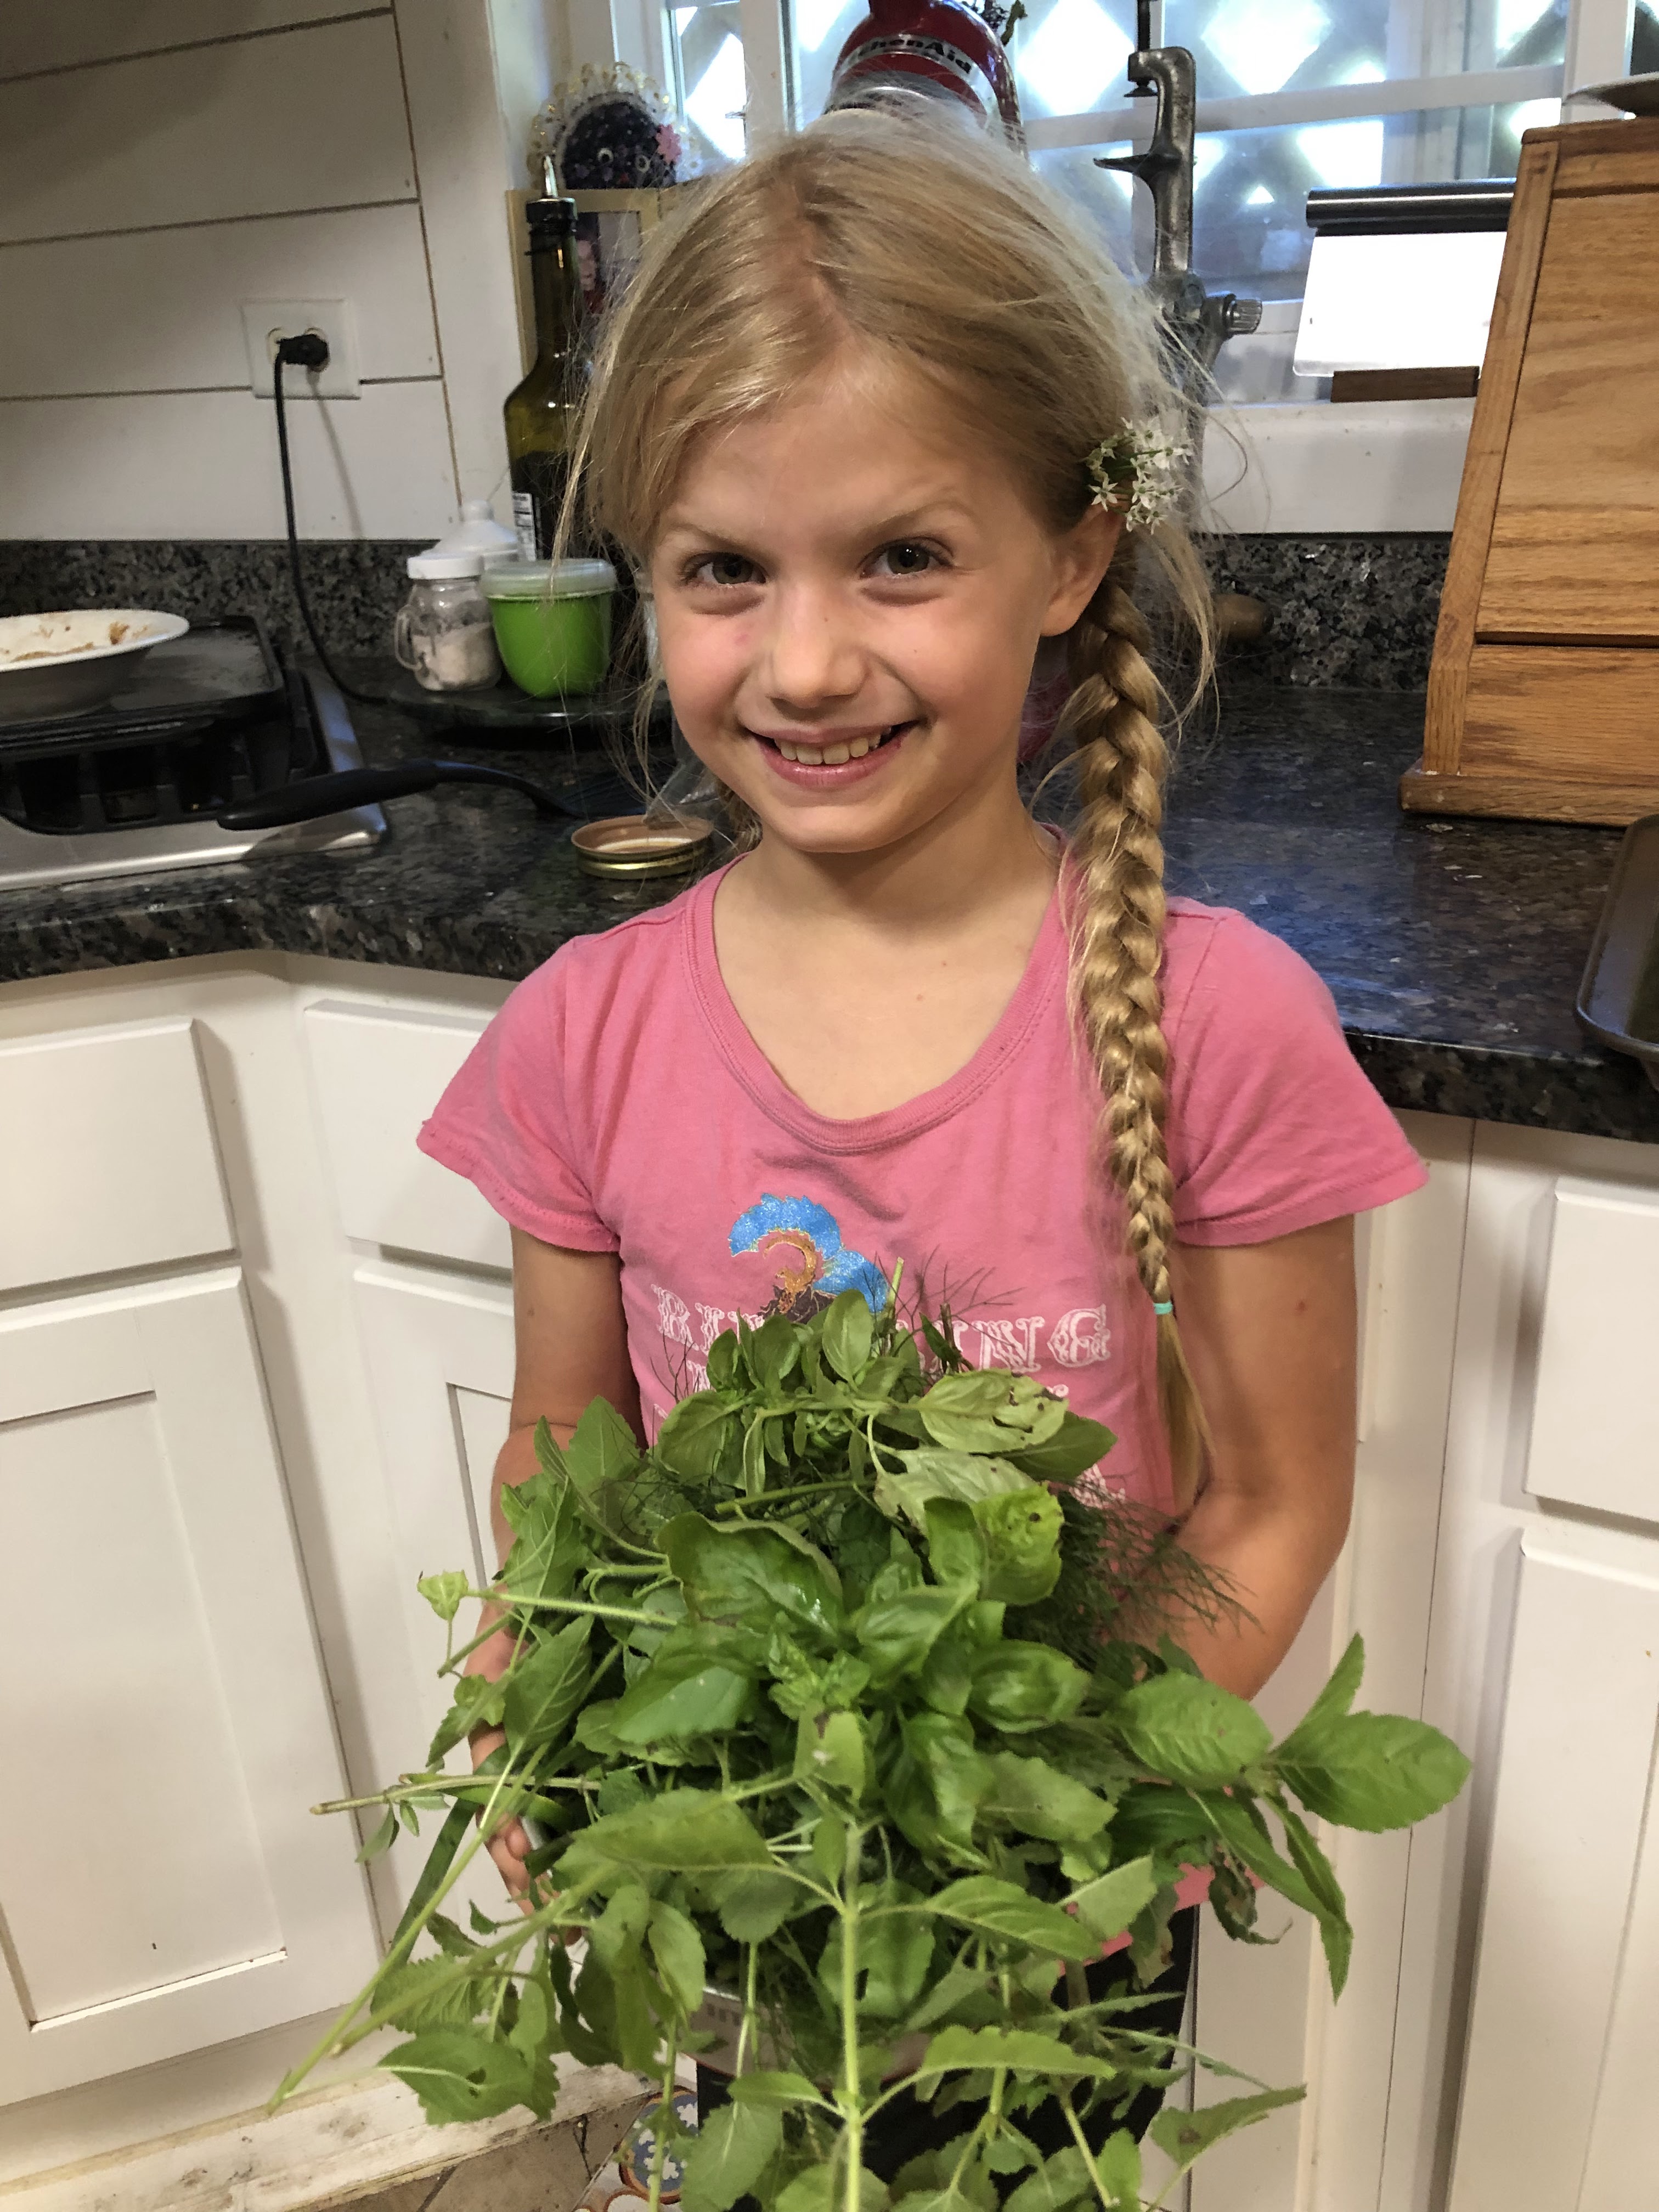
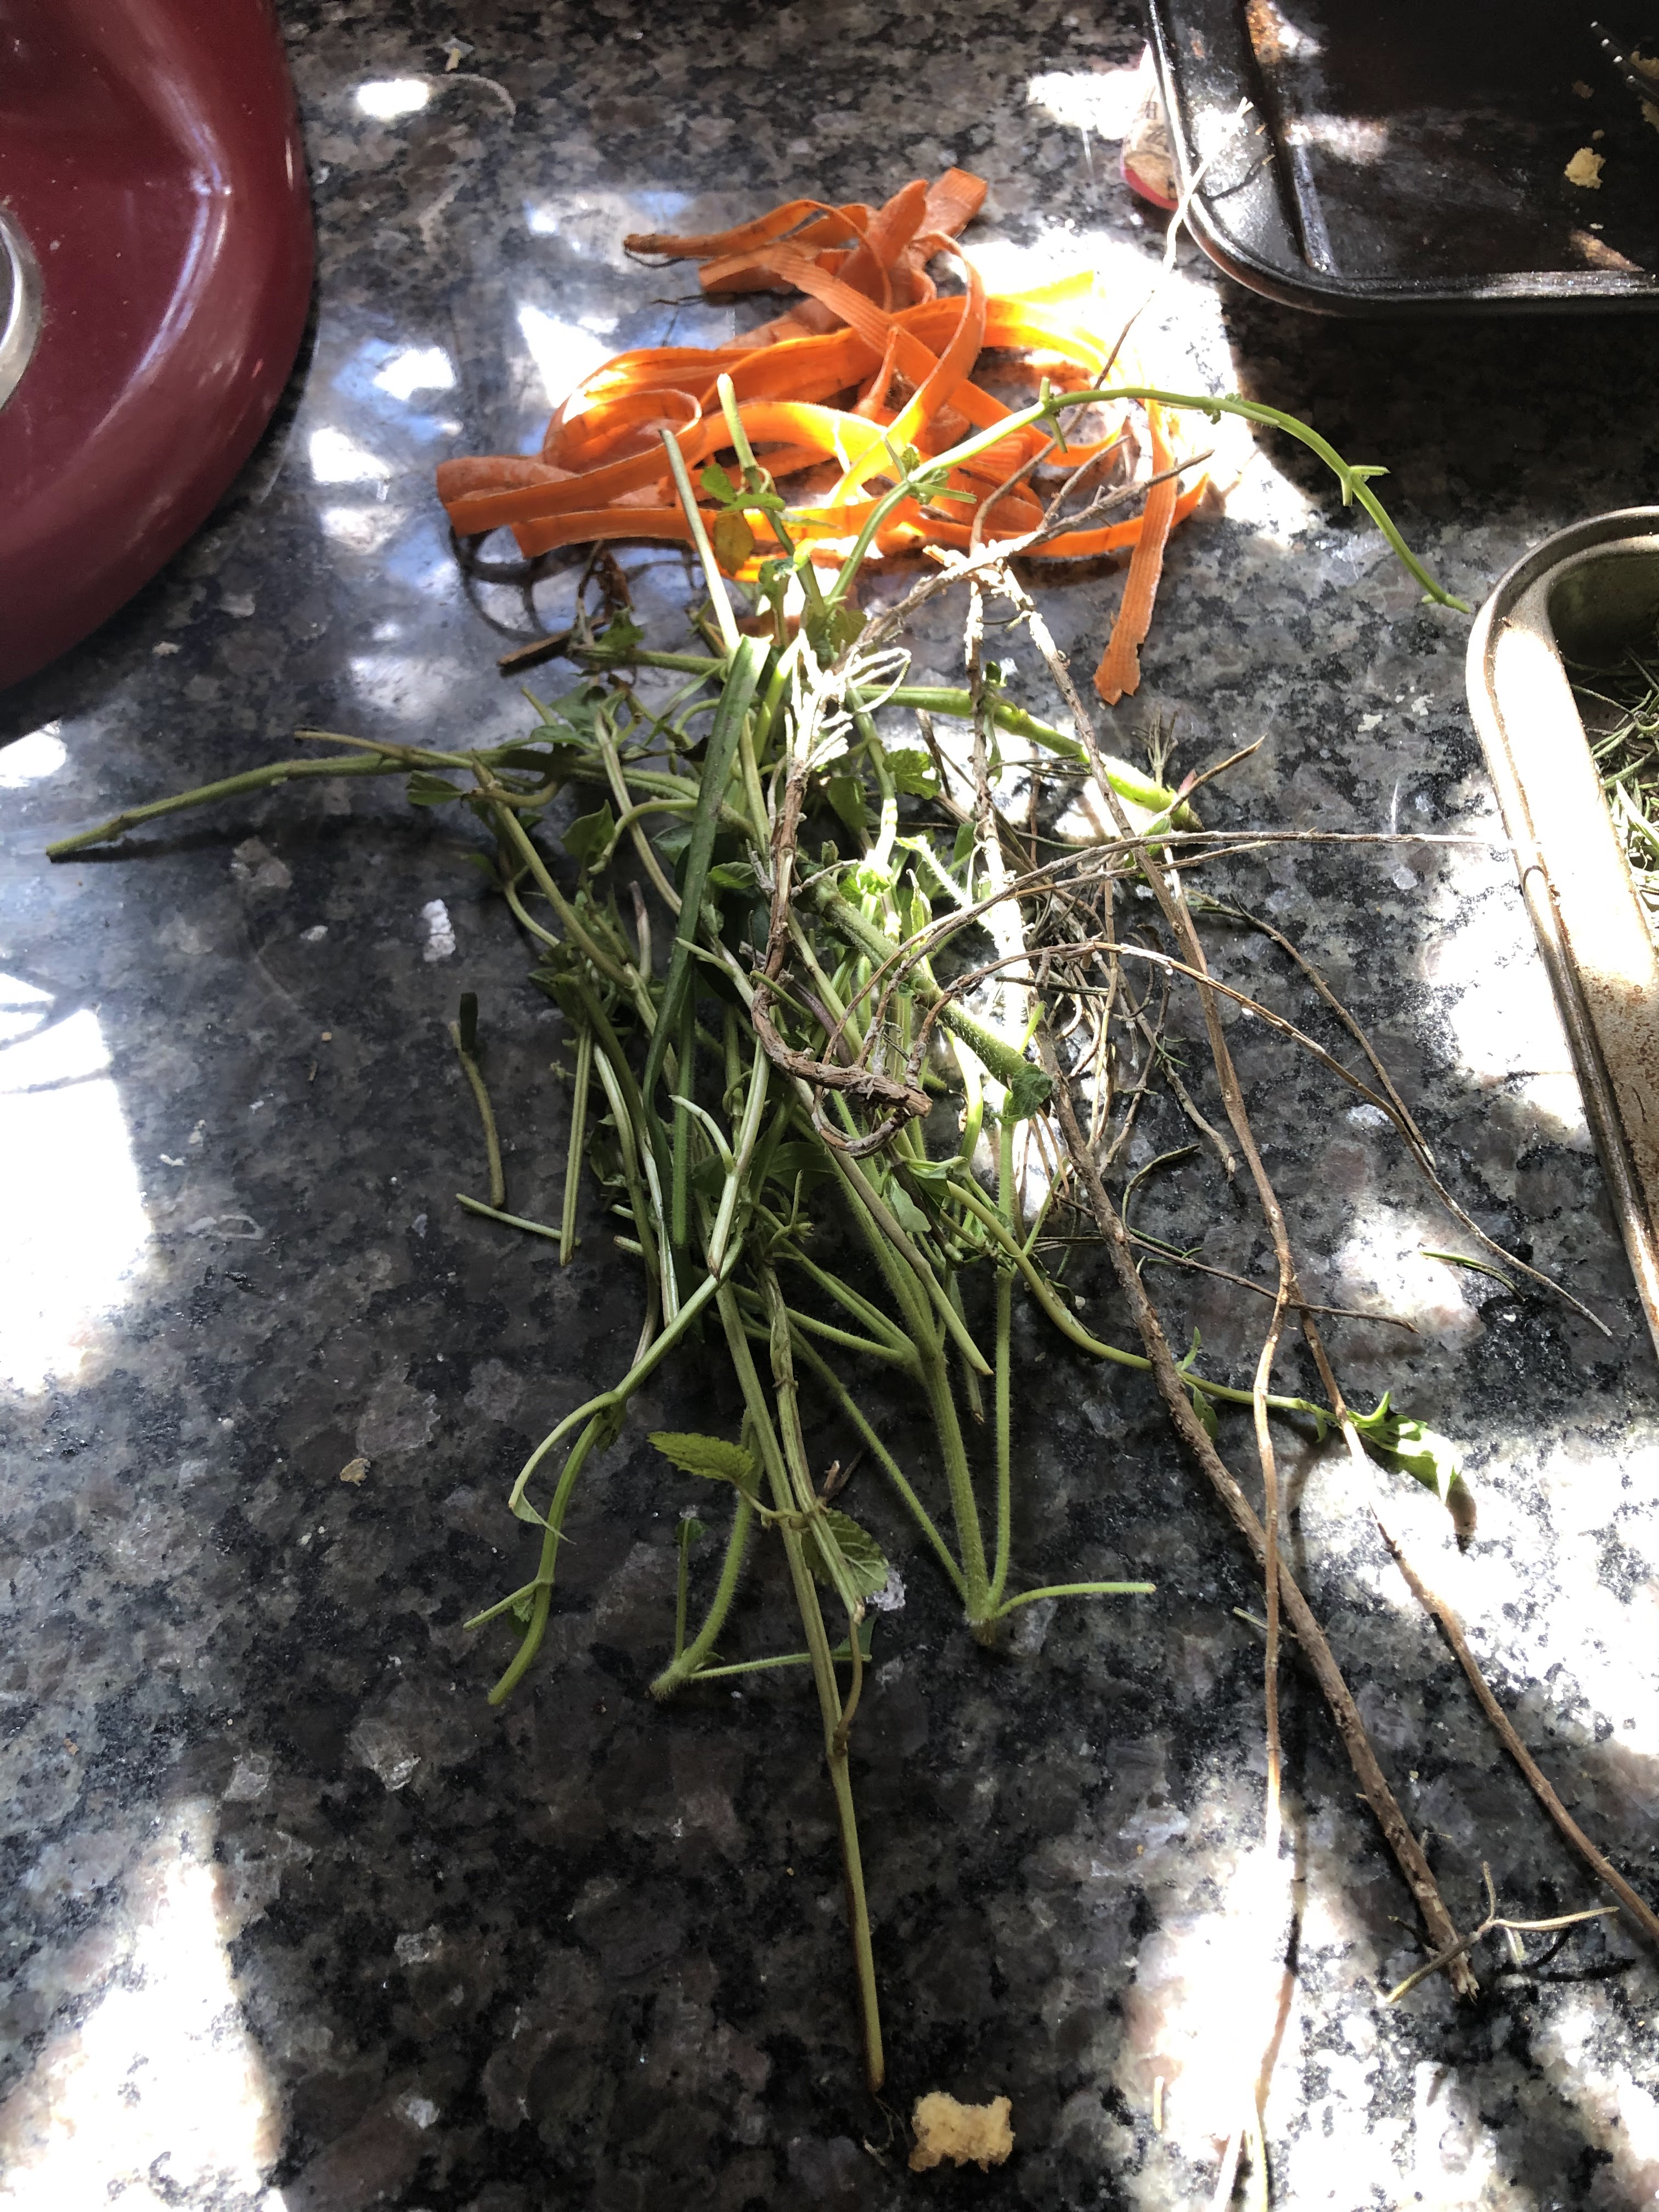
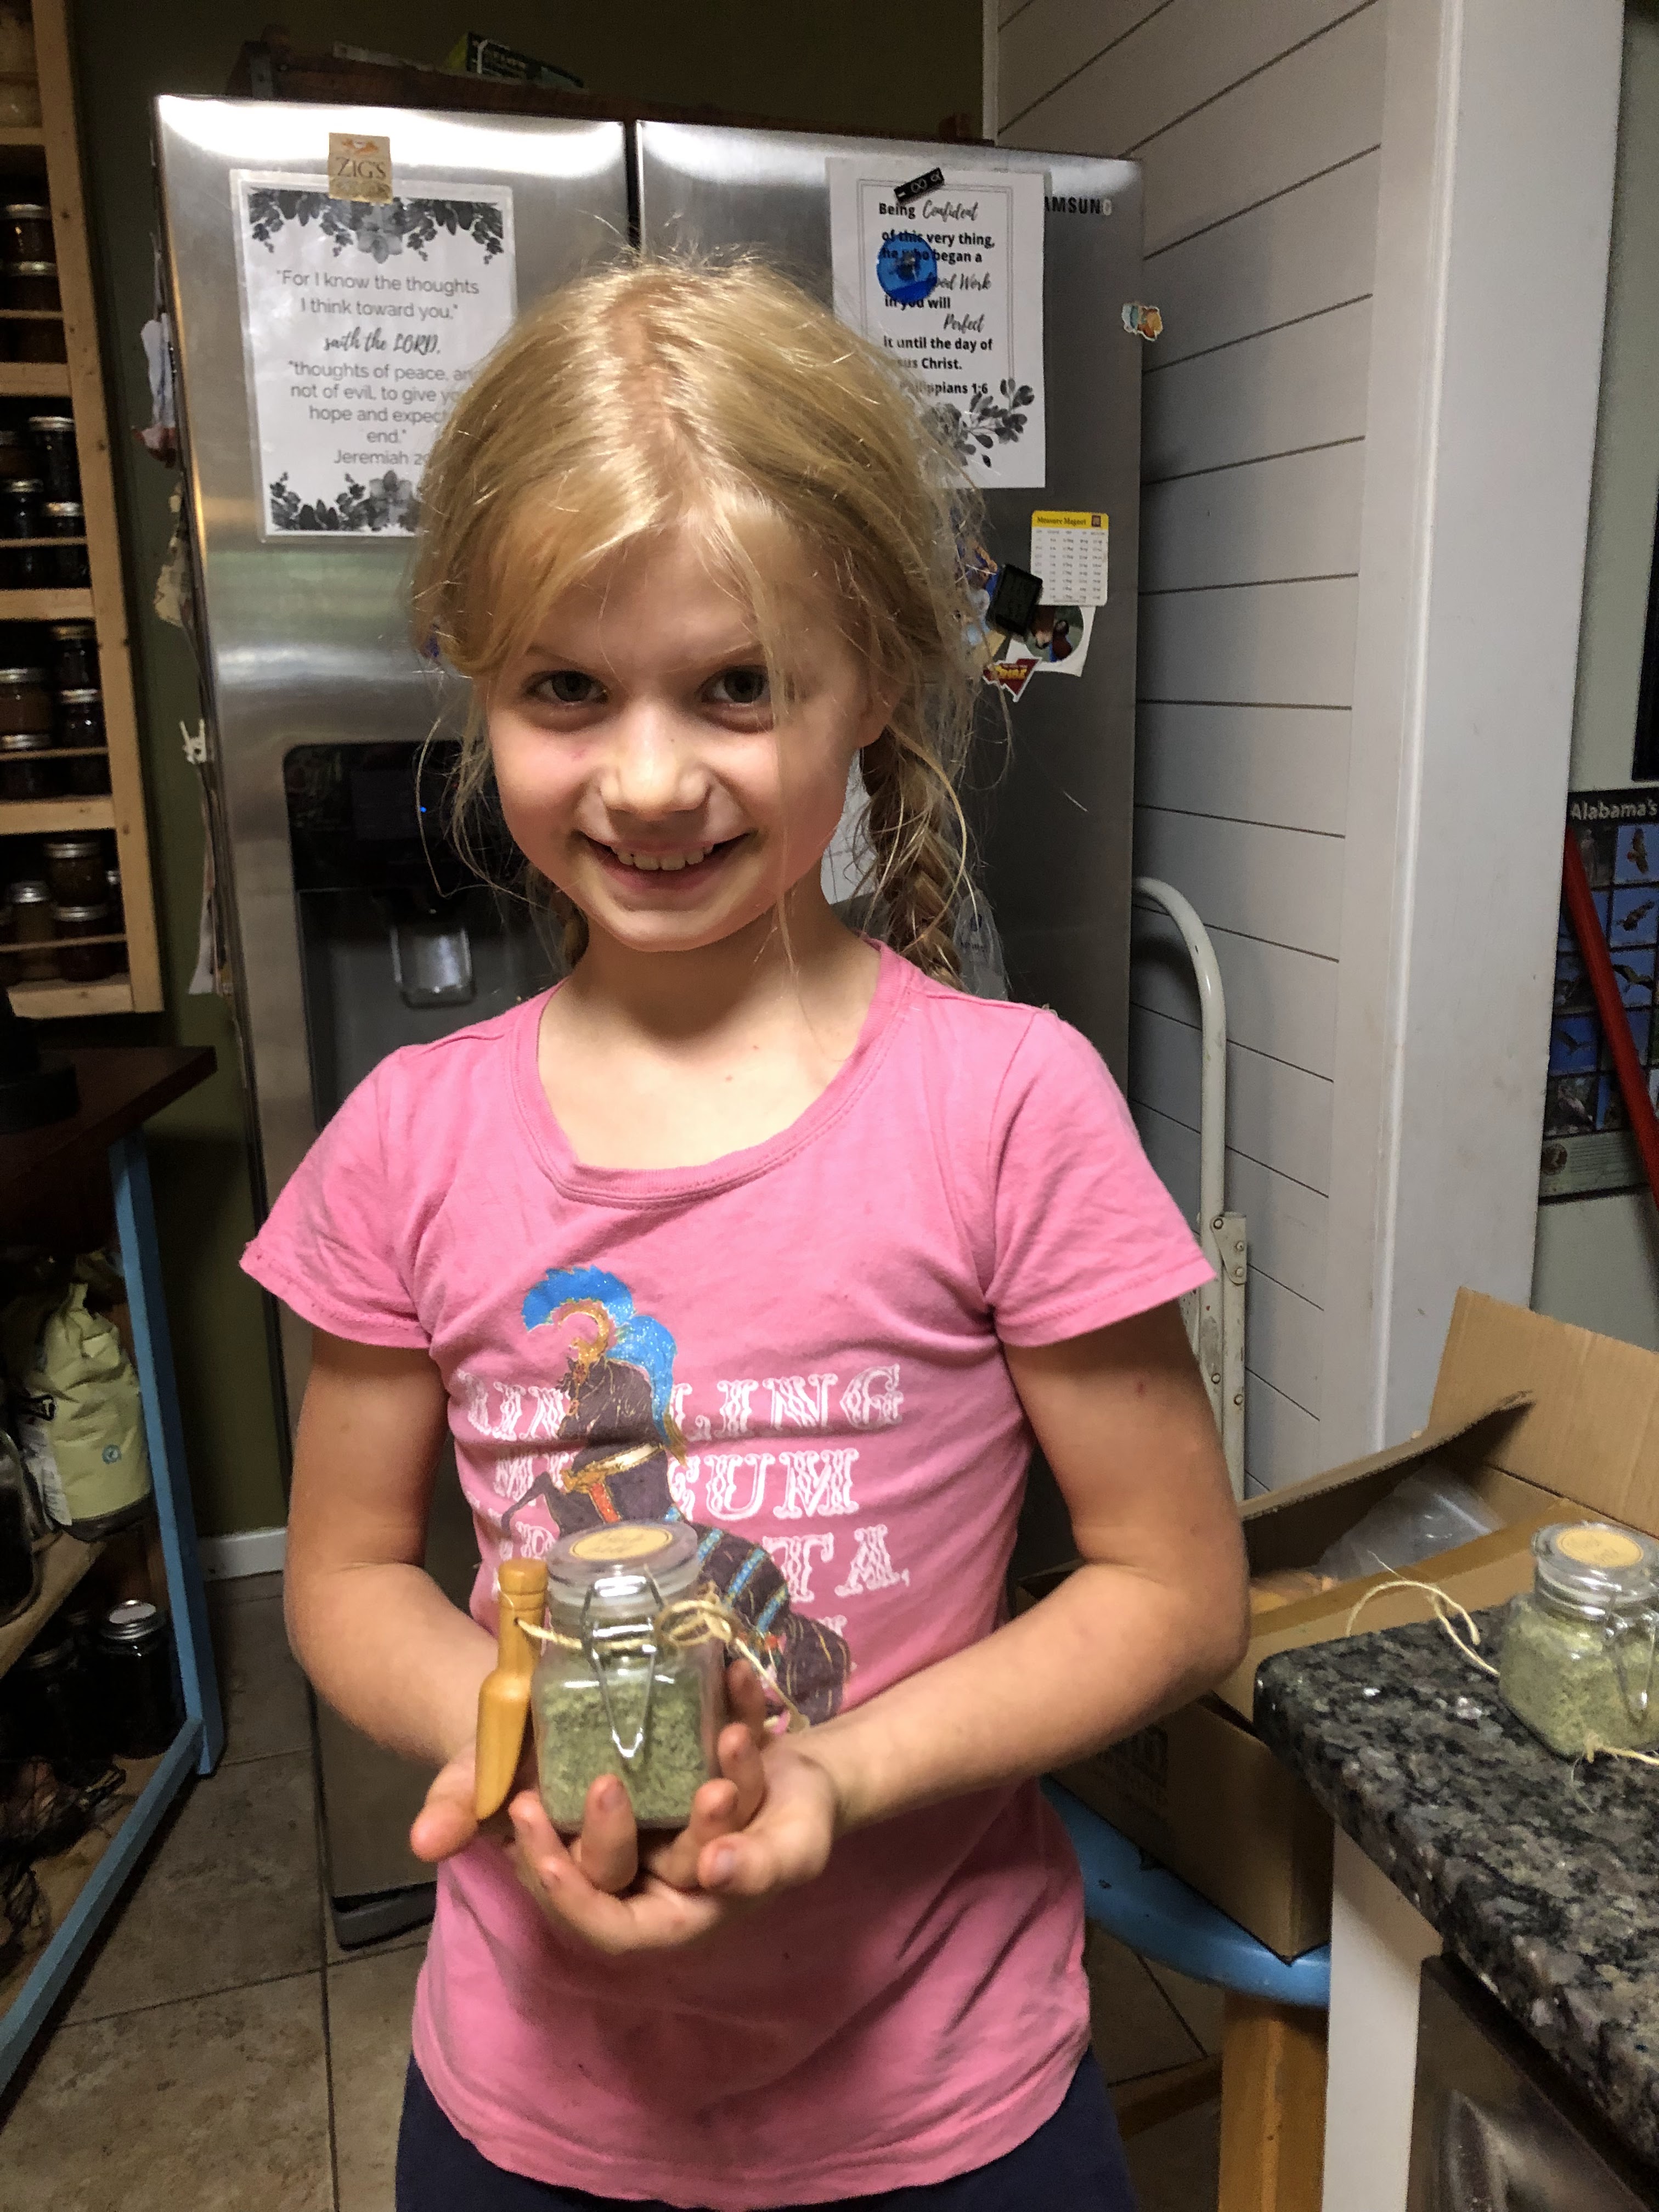
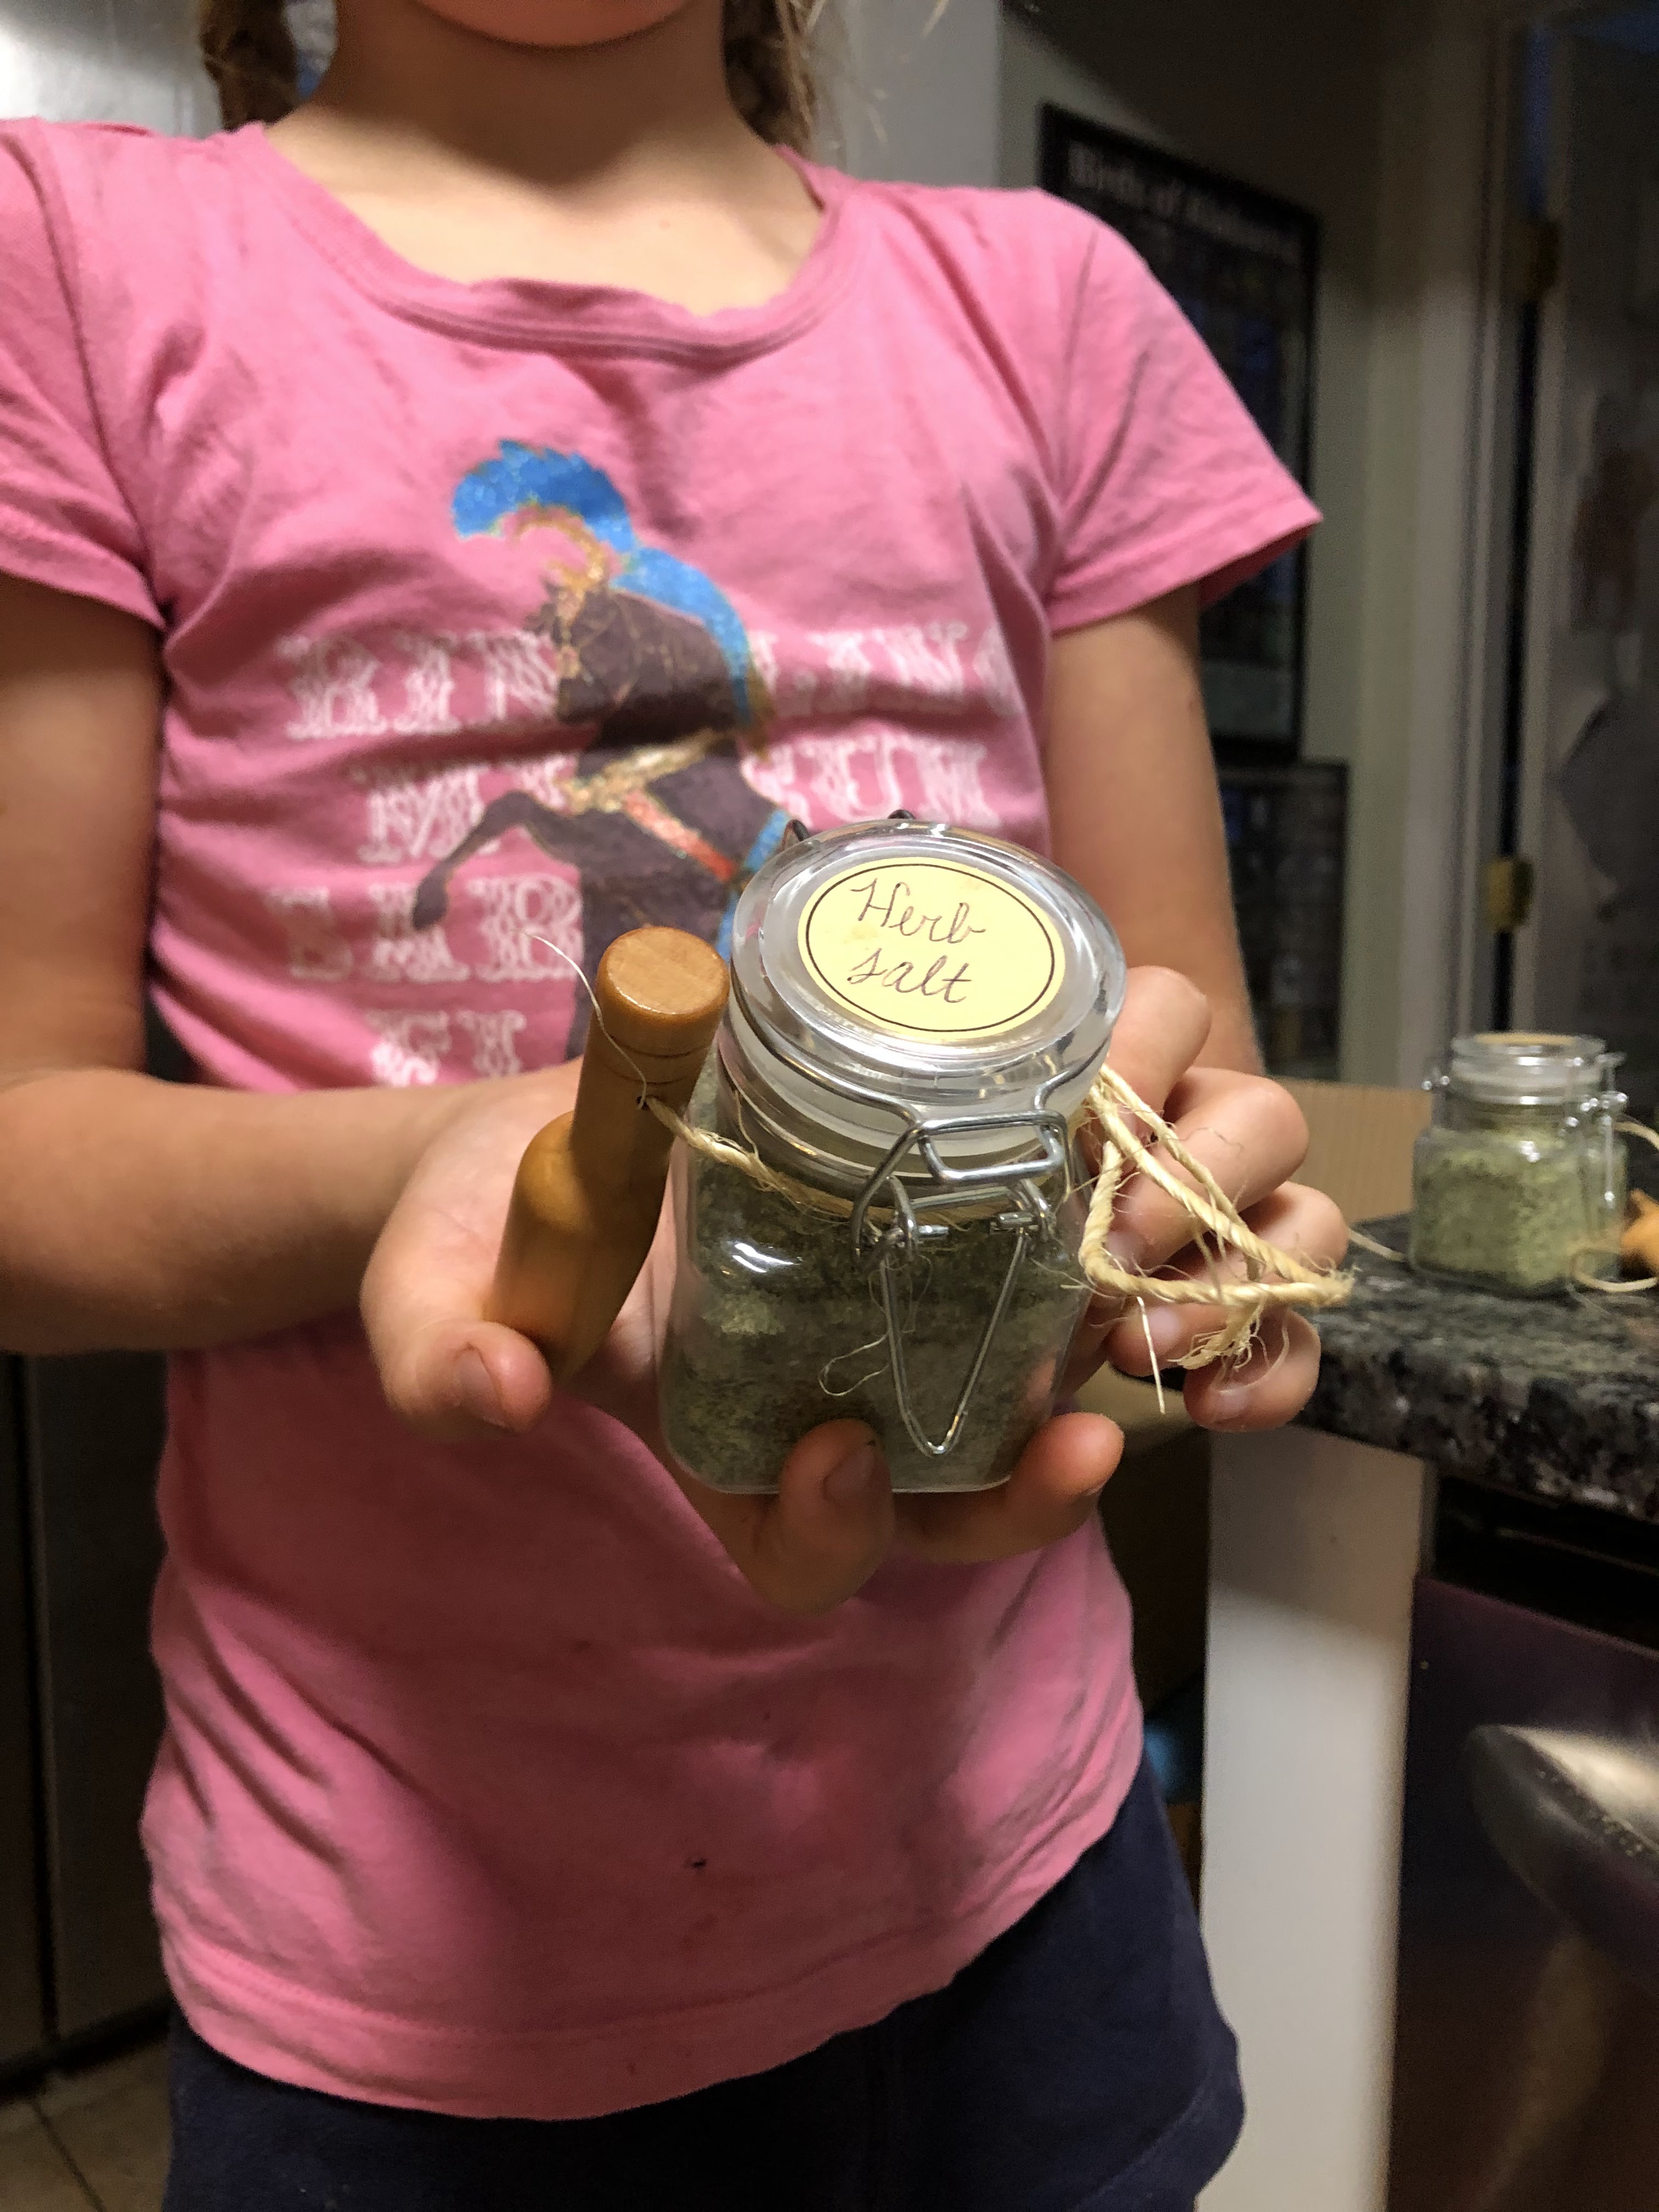
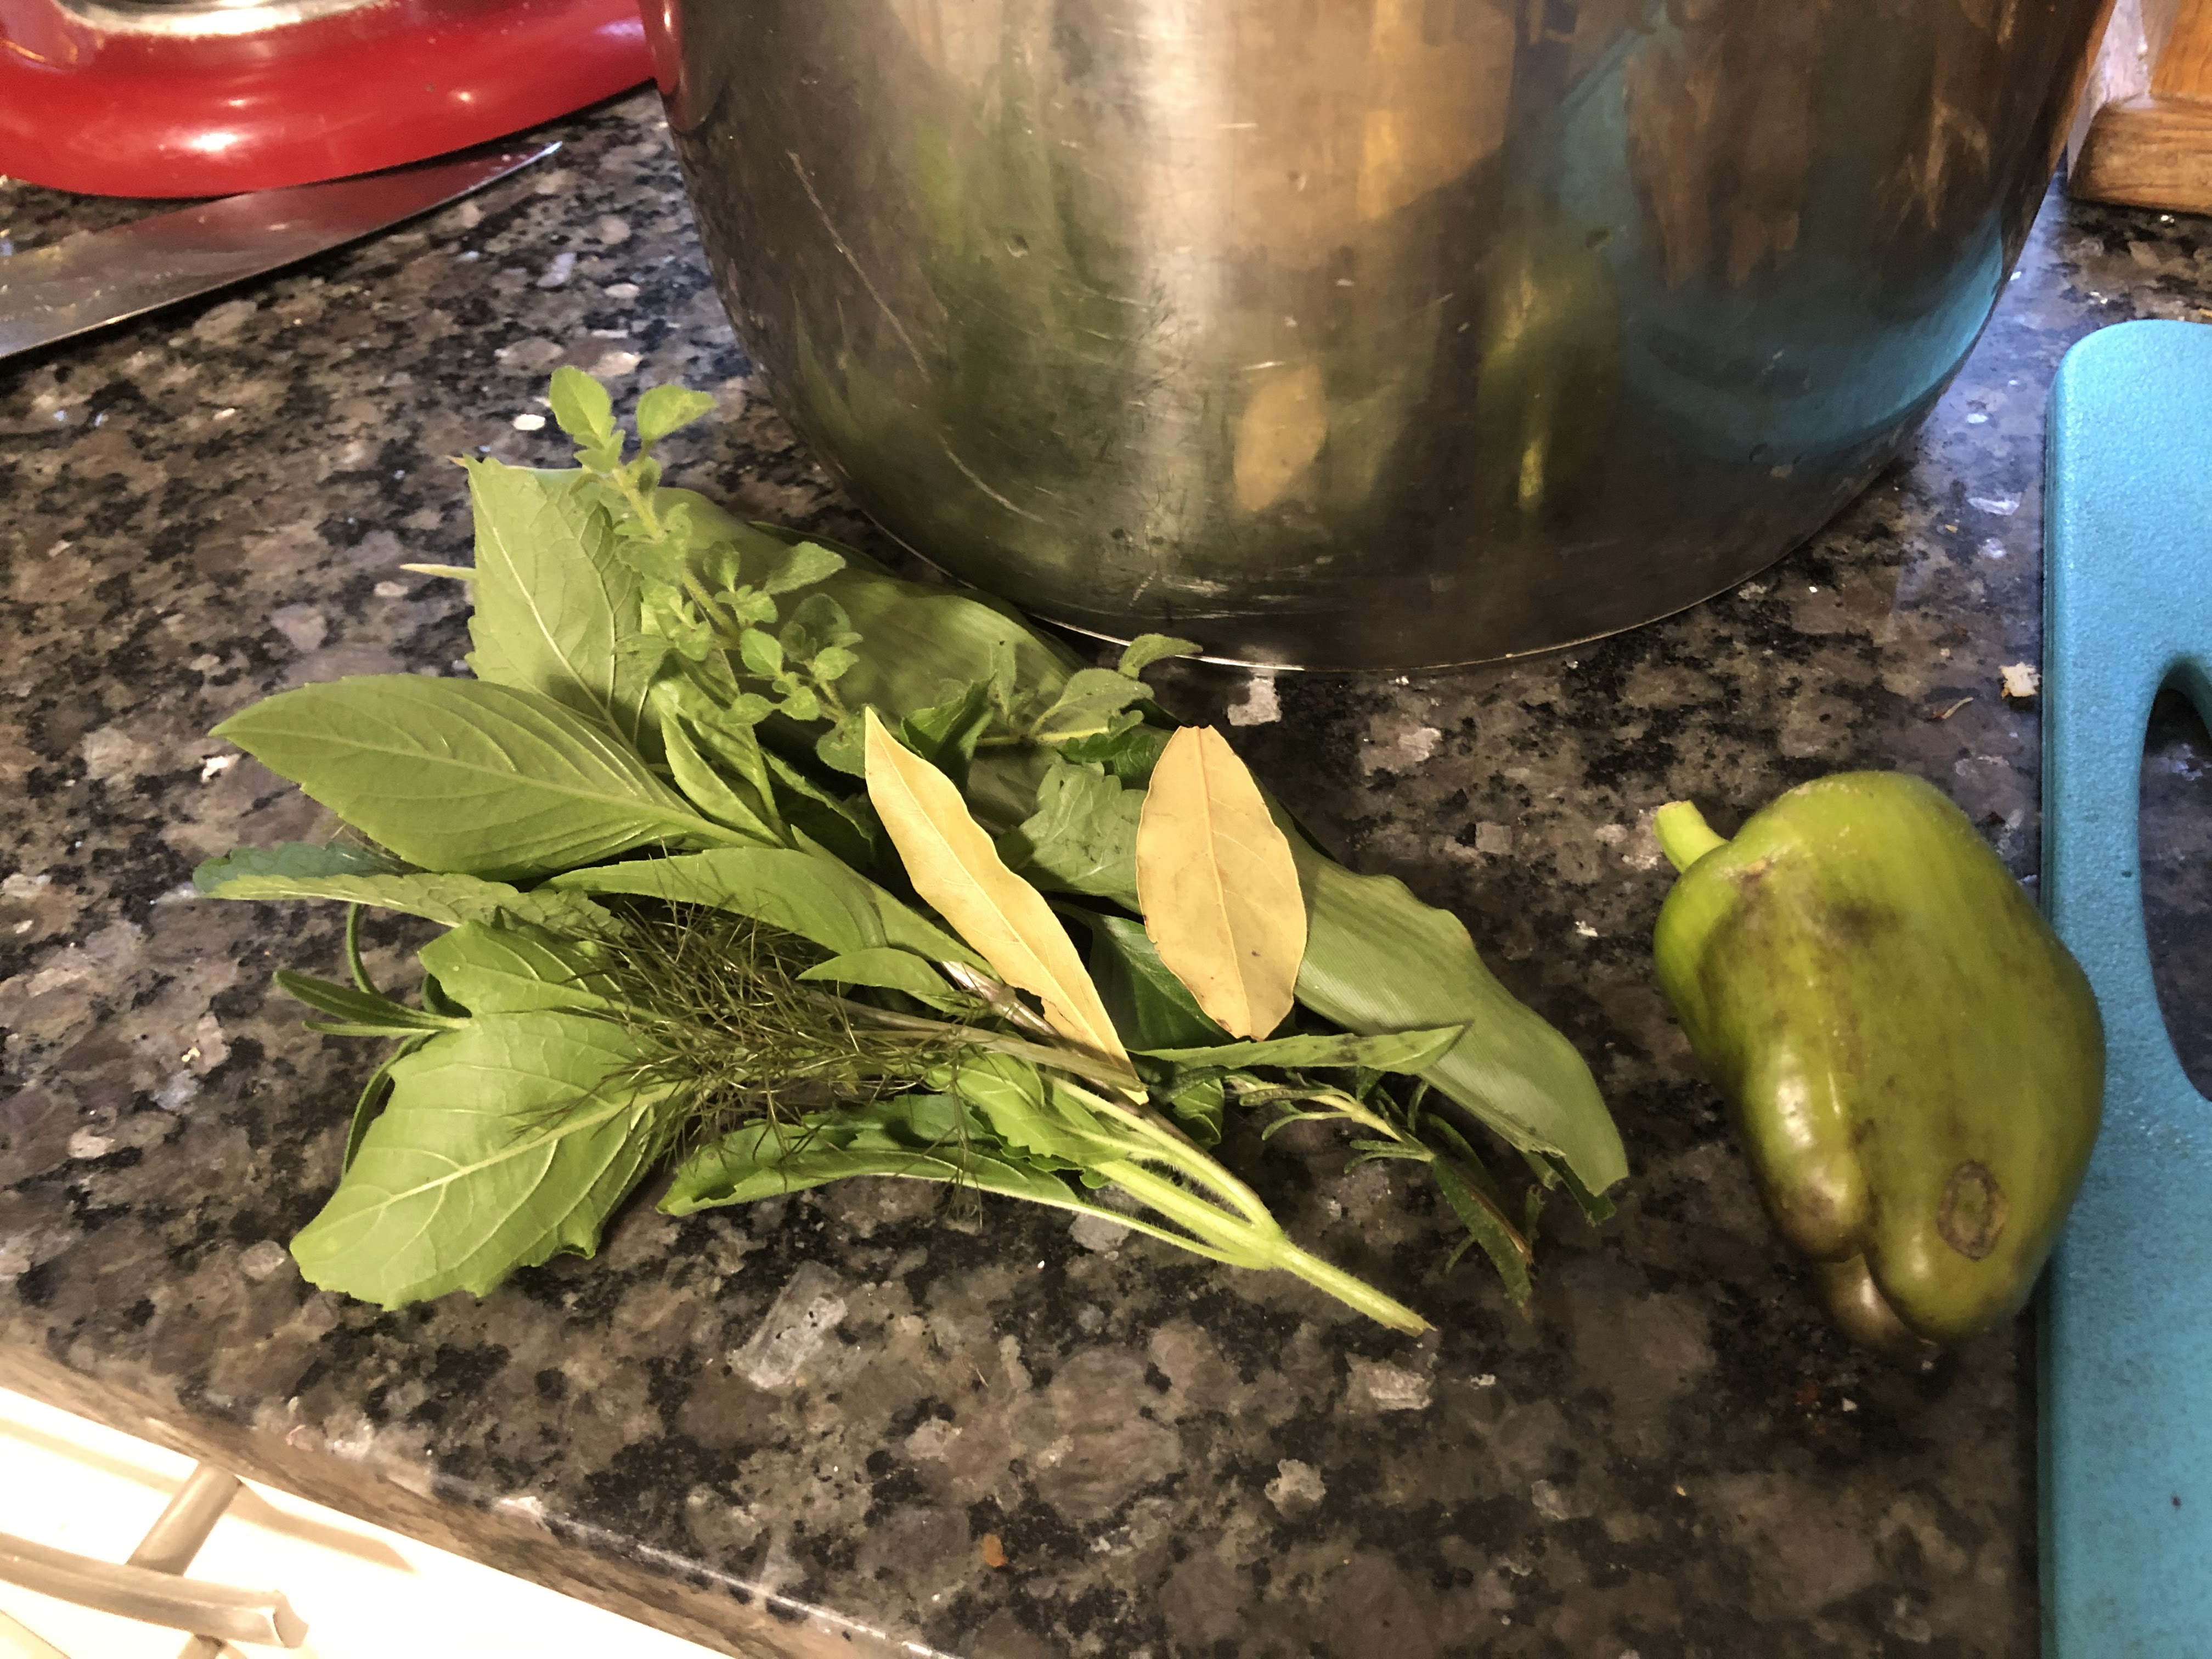
The mornings are cooler, the leaves are falling and I can smell fall in the air. As we prepare the ground for our fall garden, we are looking for ways to preserve our summer herbs. Some herbs will stay in the ground because they over-winter well. Some we will put in smaller pots and move to the greenhouse or keep them on the windowsill. But our basil looks so beautiful and it’s so large, I hate to lose all those herbs. That is where making herb salt is a great option. The salt preserves the herbs and you have a quick seasoning all year long. It’s delicious on top of goat cheese, or in olive oil for a bread dip or even to season a chicken. The options are limitless. Rosemary doesn’t like our soil so I harvested a friend’s rosemary and gave her a jar of herb salt in exchange. We first made herb salt last year and as you can see from the picture above, it was a little too salty. Madelynn and I made two different batches; one with fennel and one without. Here are the herbs we used: rosemary, thai basil, sweet basil, another kind of basil, lemon balm, pineapple sage, and garlic chives. You may be wondering what this has to do with not wasting! Once we take all the herbs off the stems, we don’t throw the stems in the trash. We put them in a ziploc bag, put it in the freezer, and add the stems to bone broth. No waste!
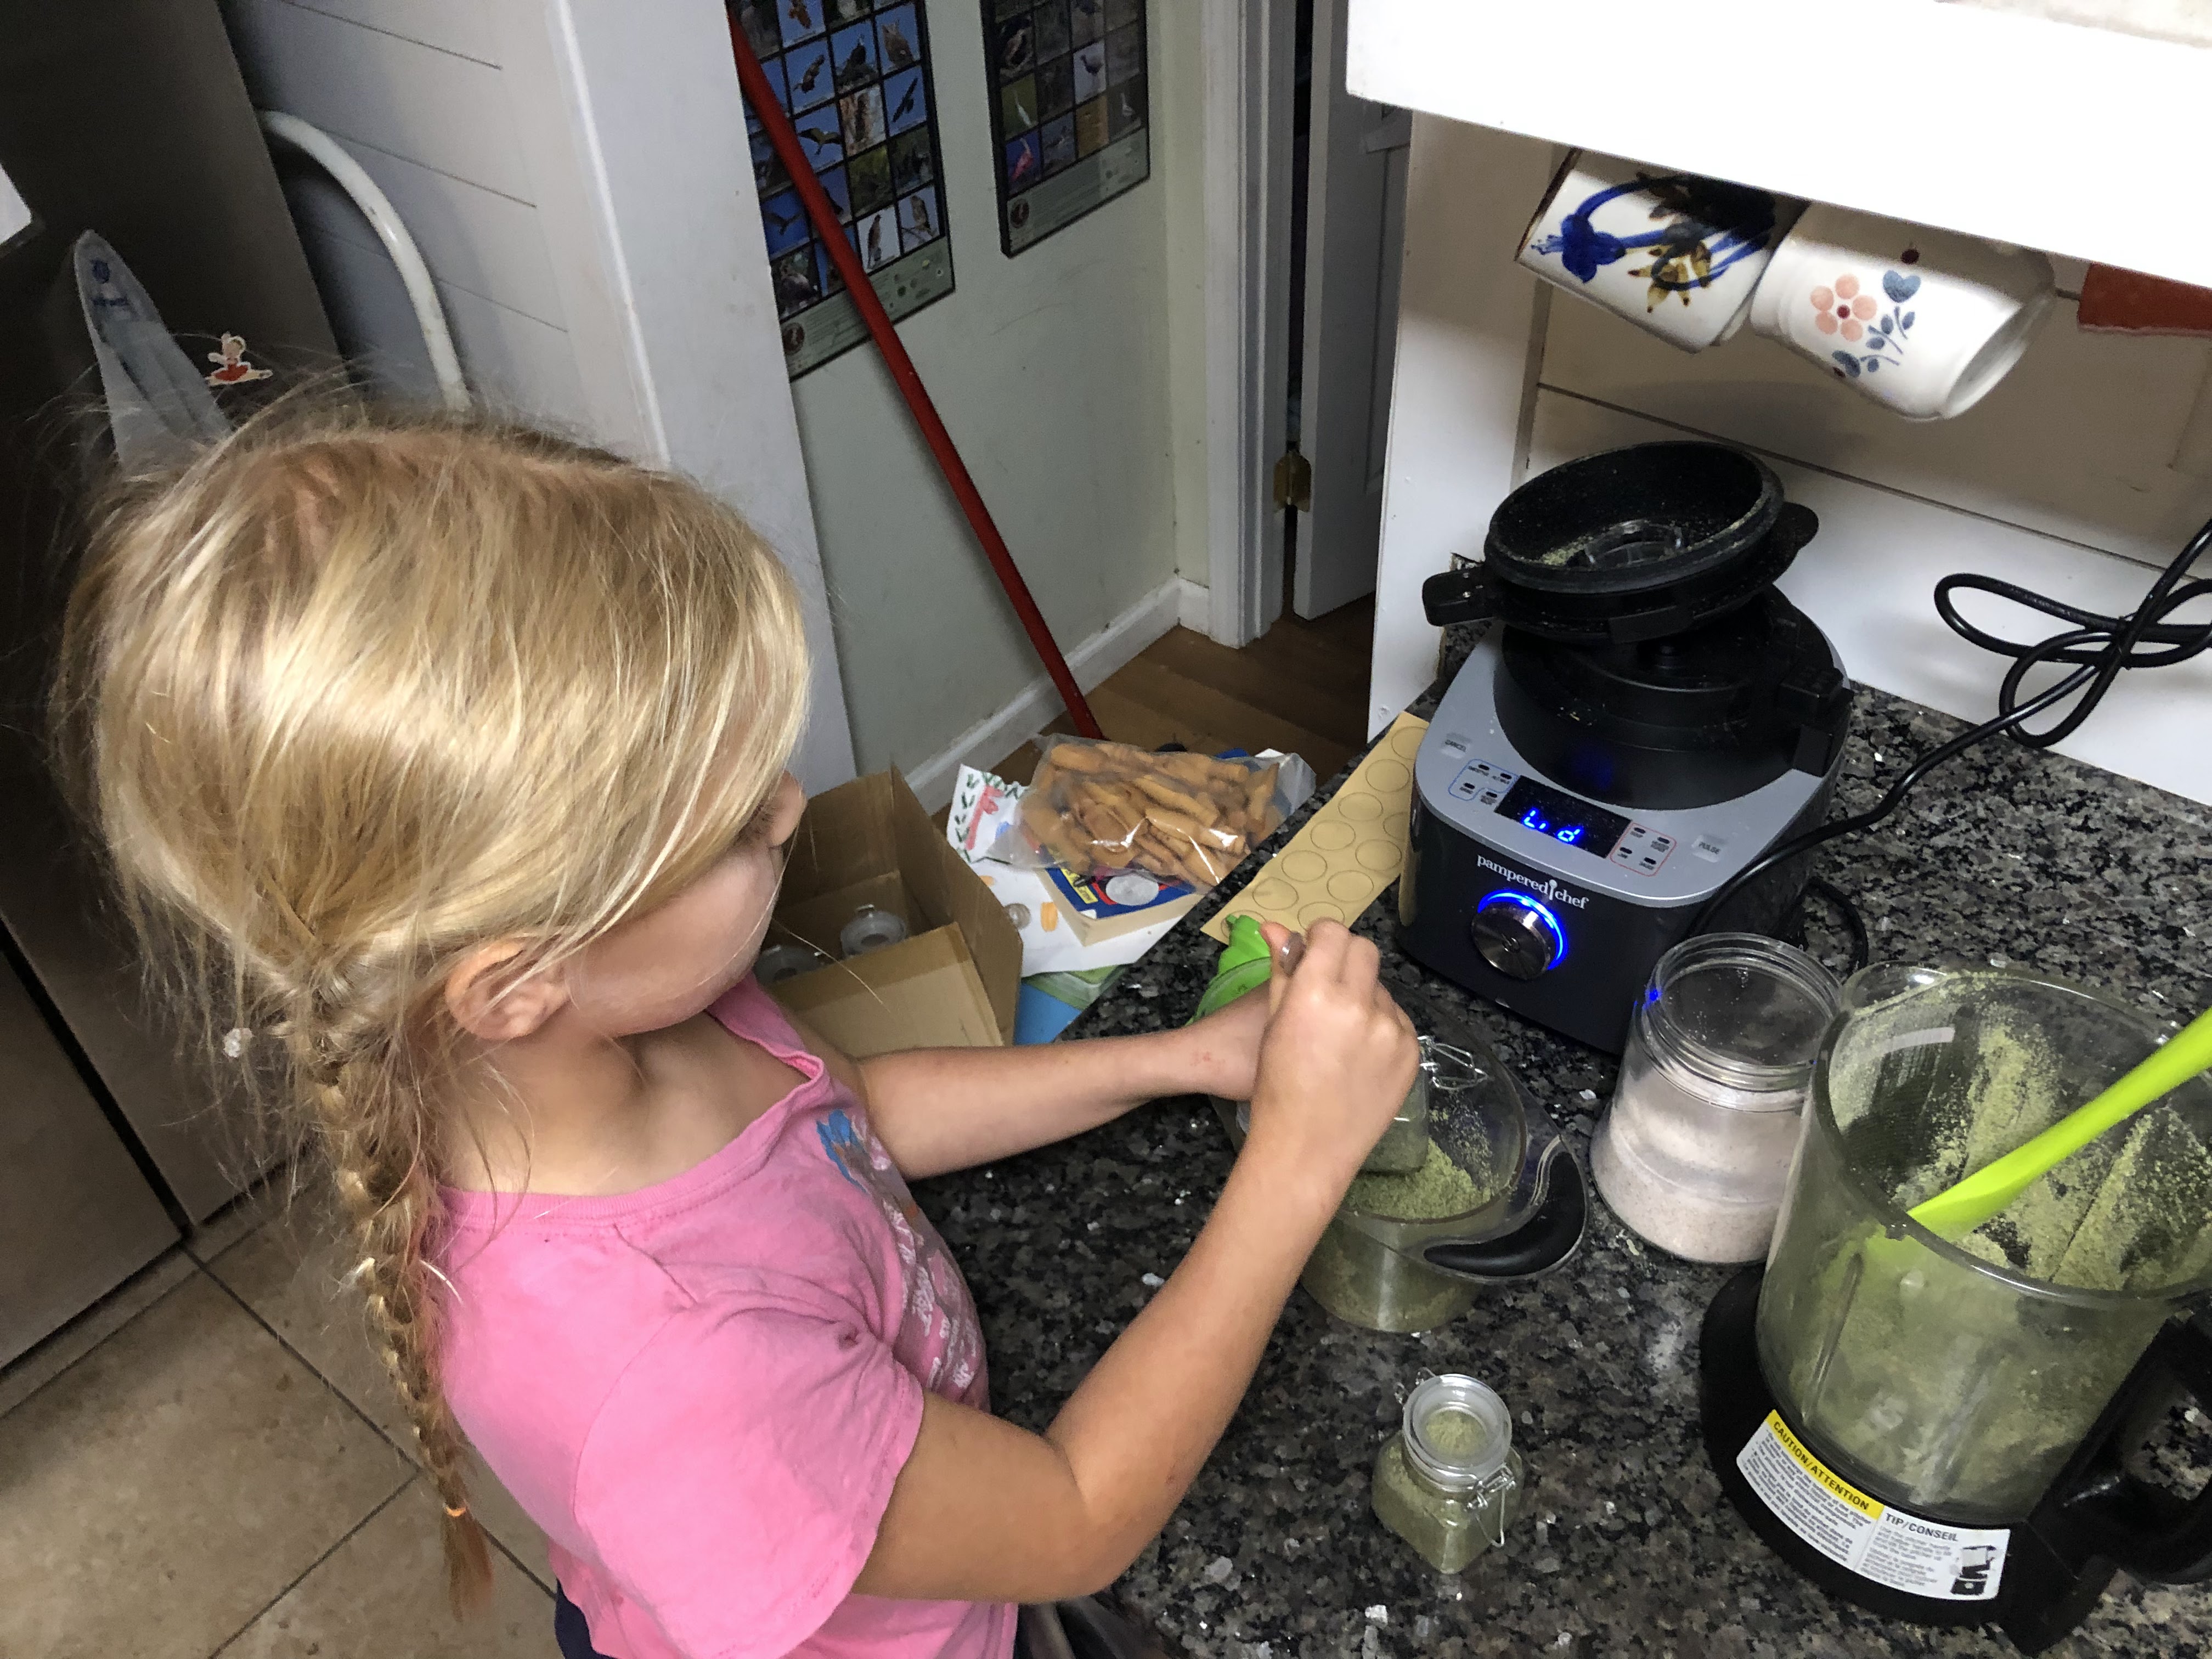
Pick the herbs and dry themTake them off the stem (the carrot scraps in the back are for the turtle, Elliott)Add 1/2 cup of salt to every 3 cups of loose herbs and grind in the blender or food processor (but not too long!)Put it in jars and make it beautifulA friend was cleaning out her pantry and gifted me these beautiful jars with scoopsGive a gift or store them for winter!
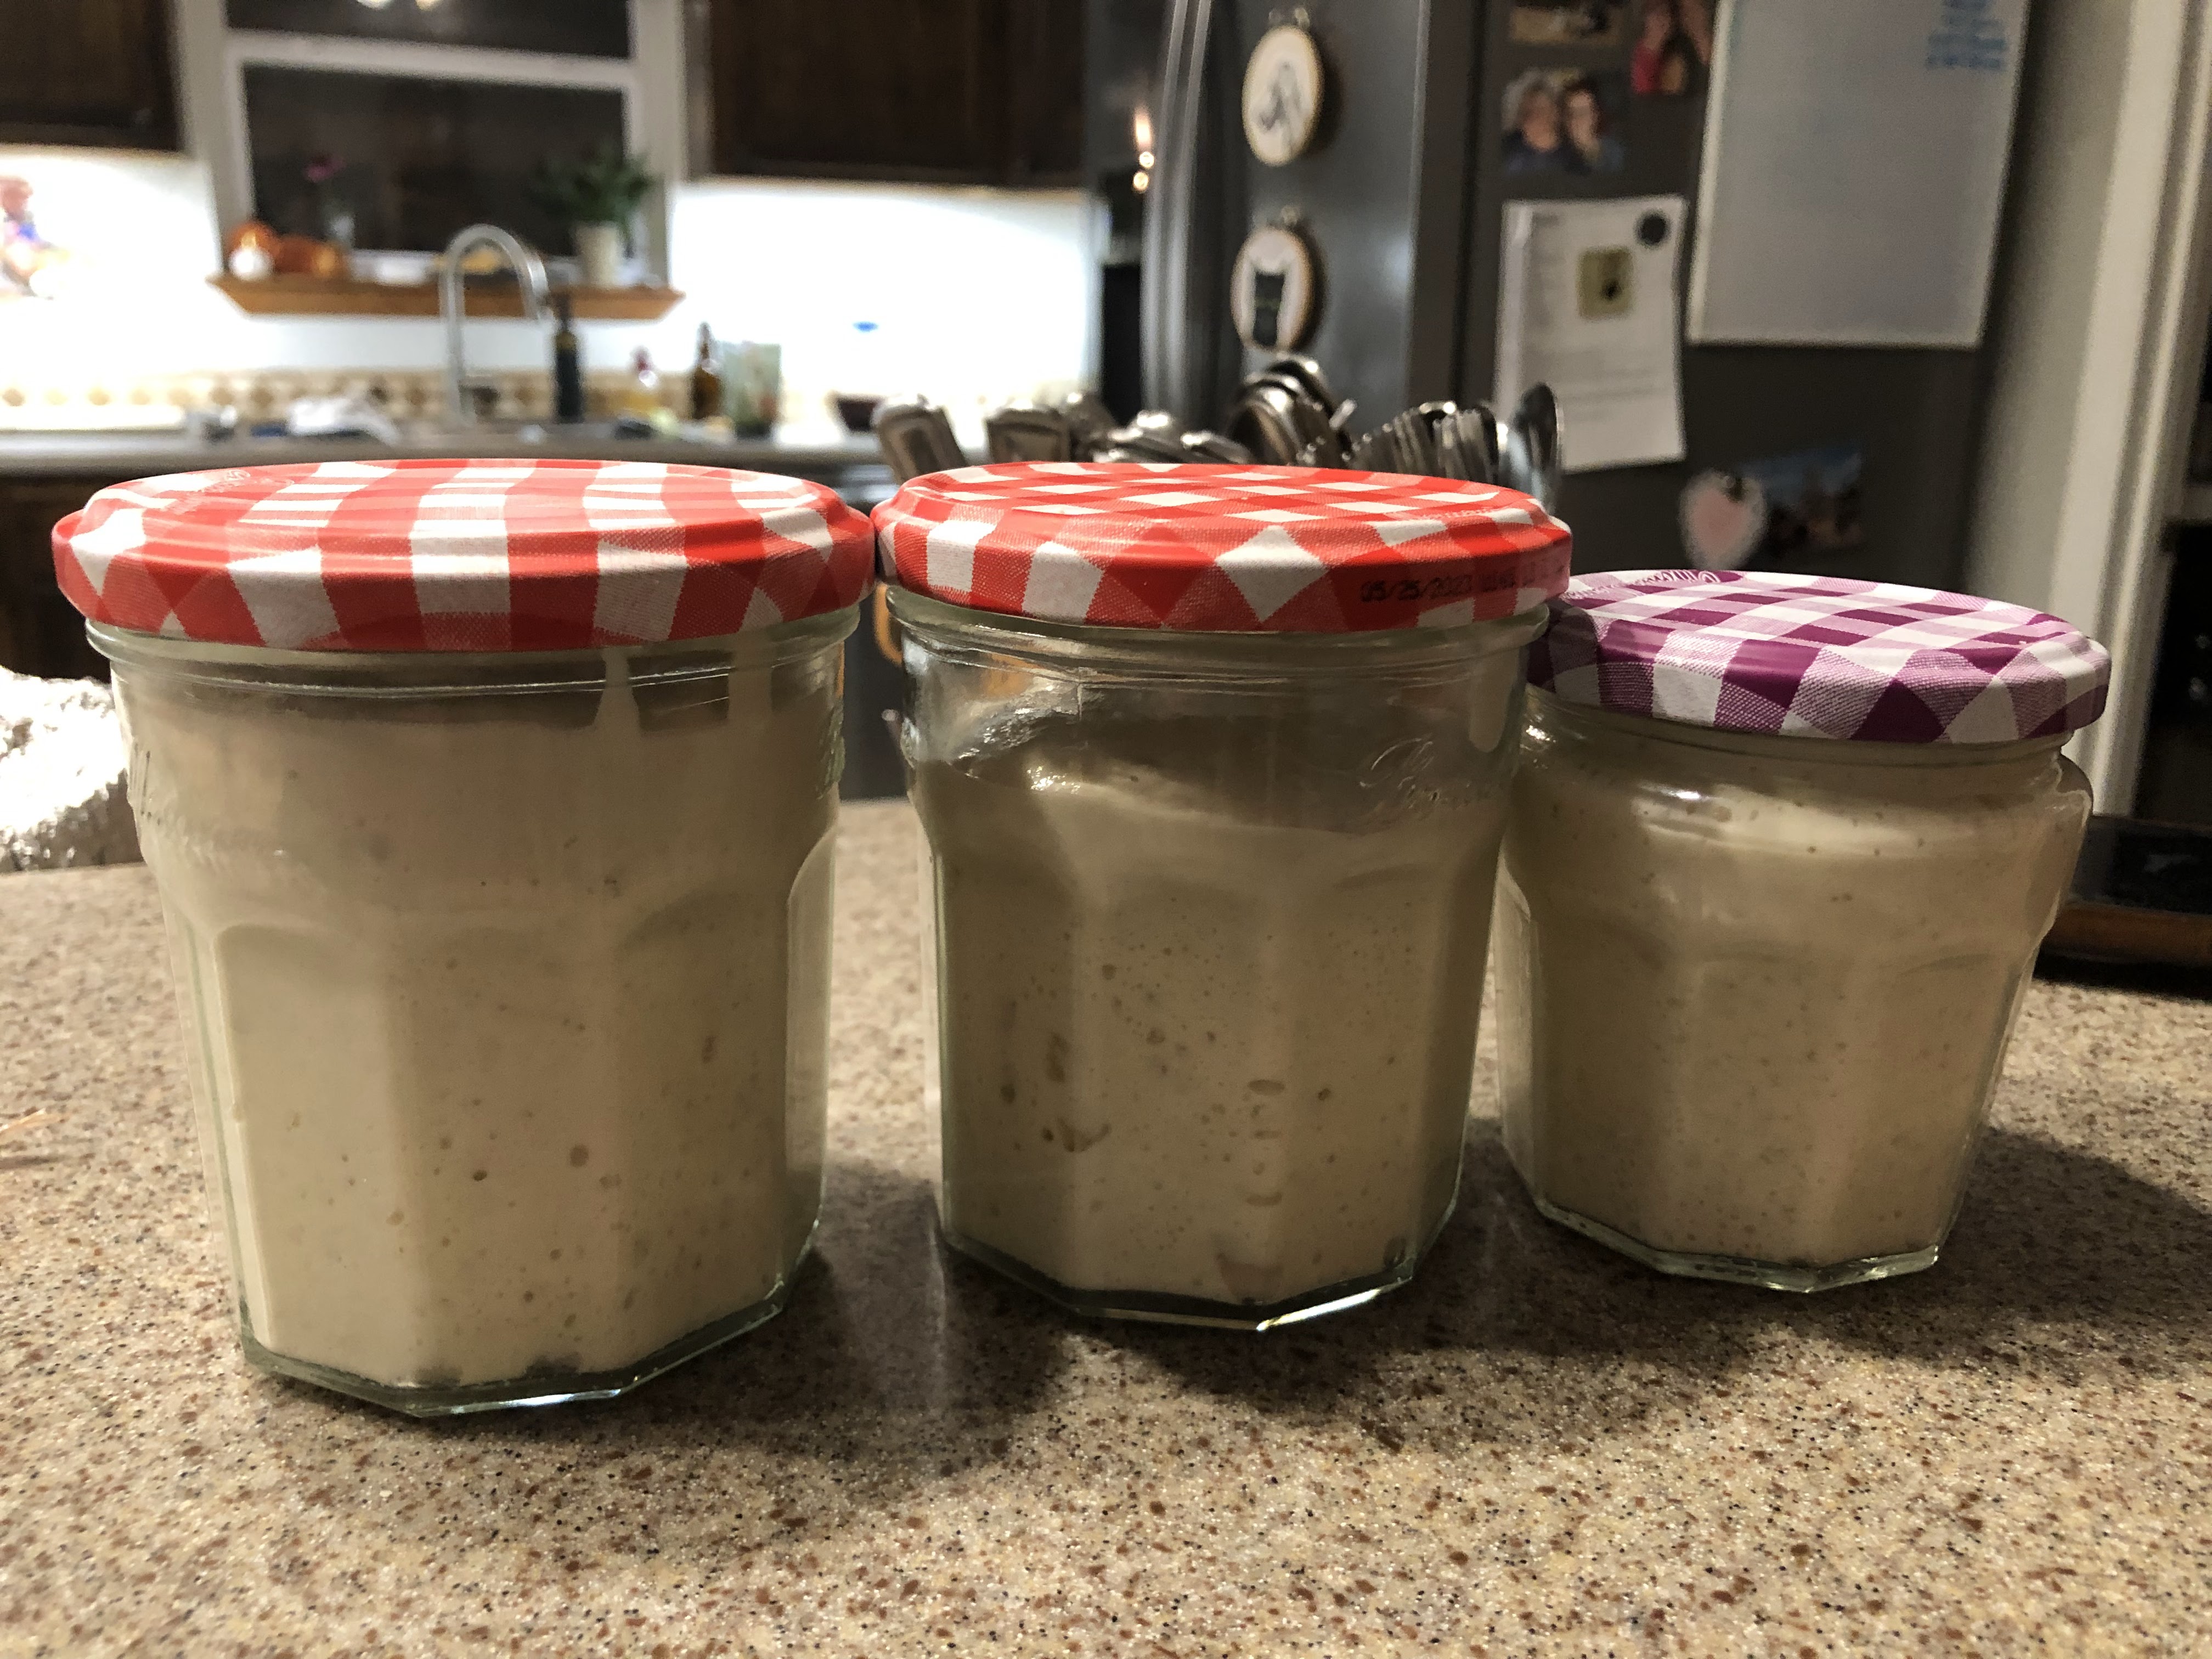
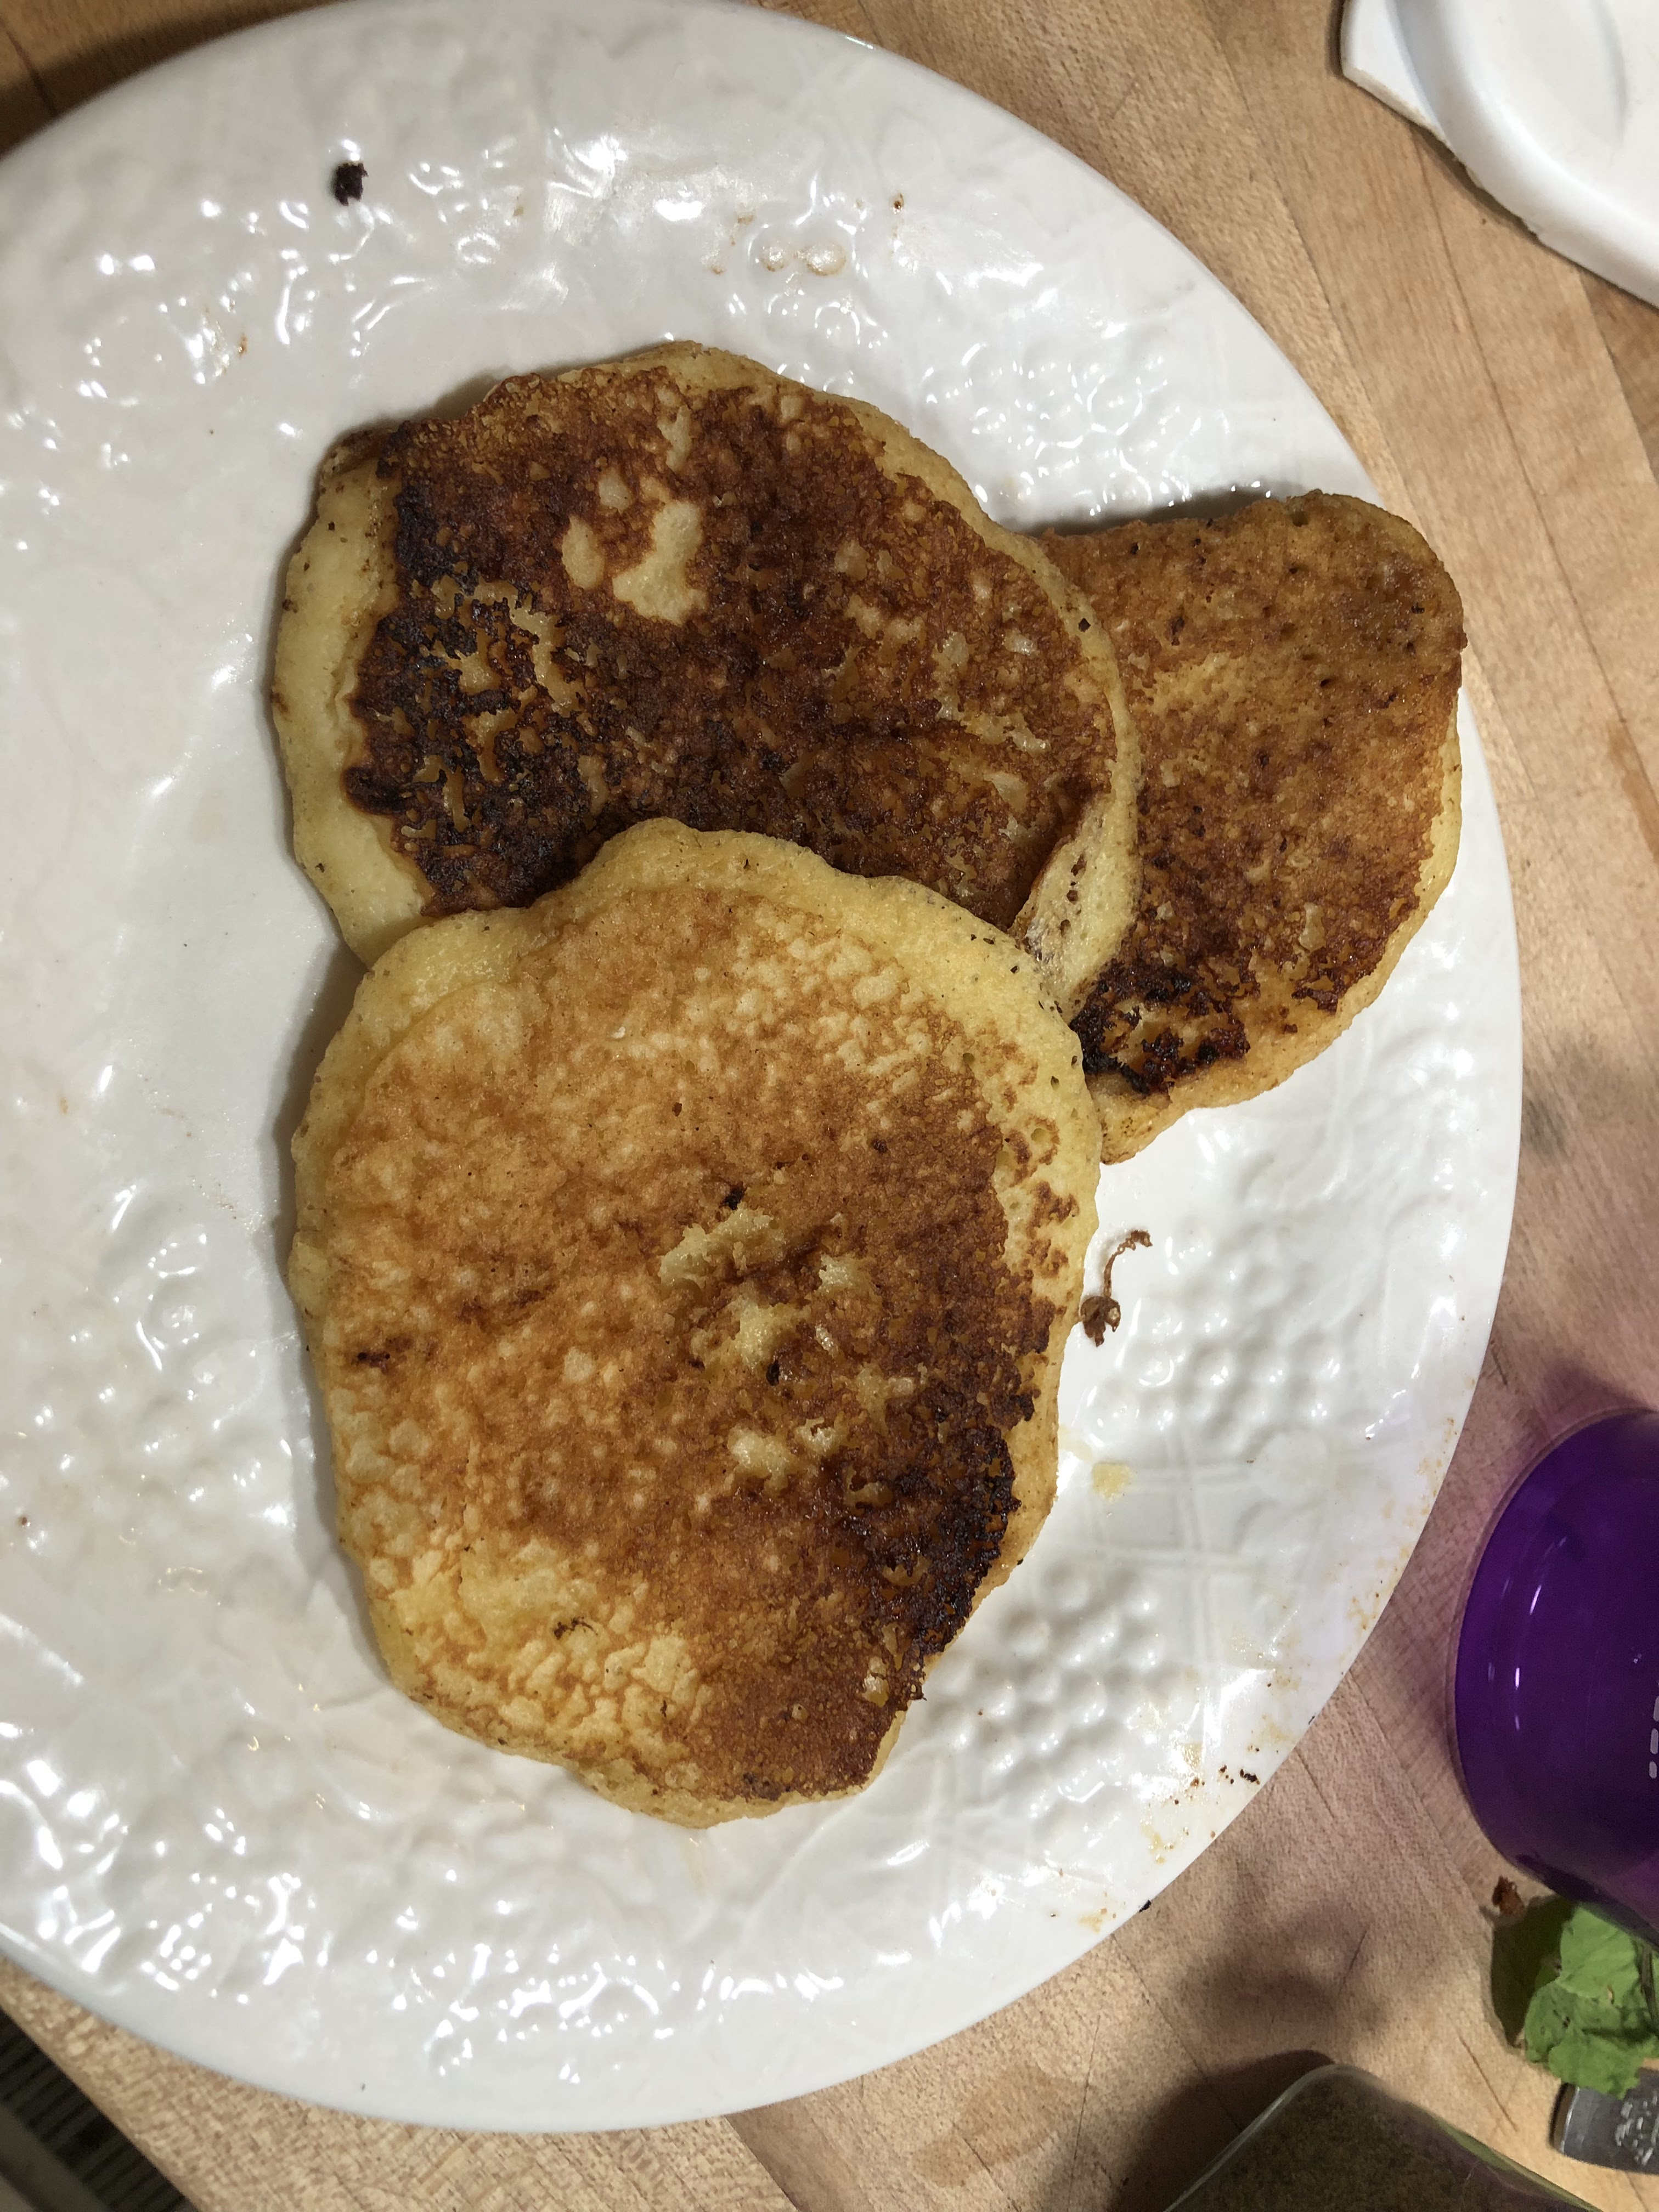
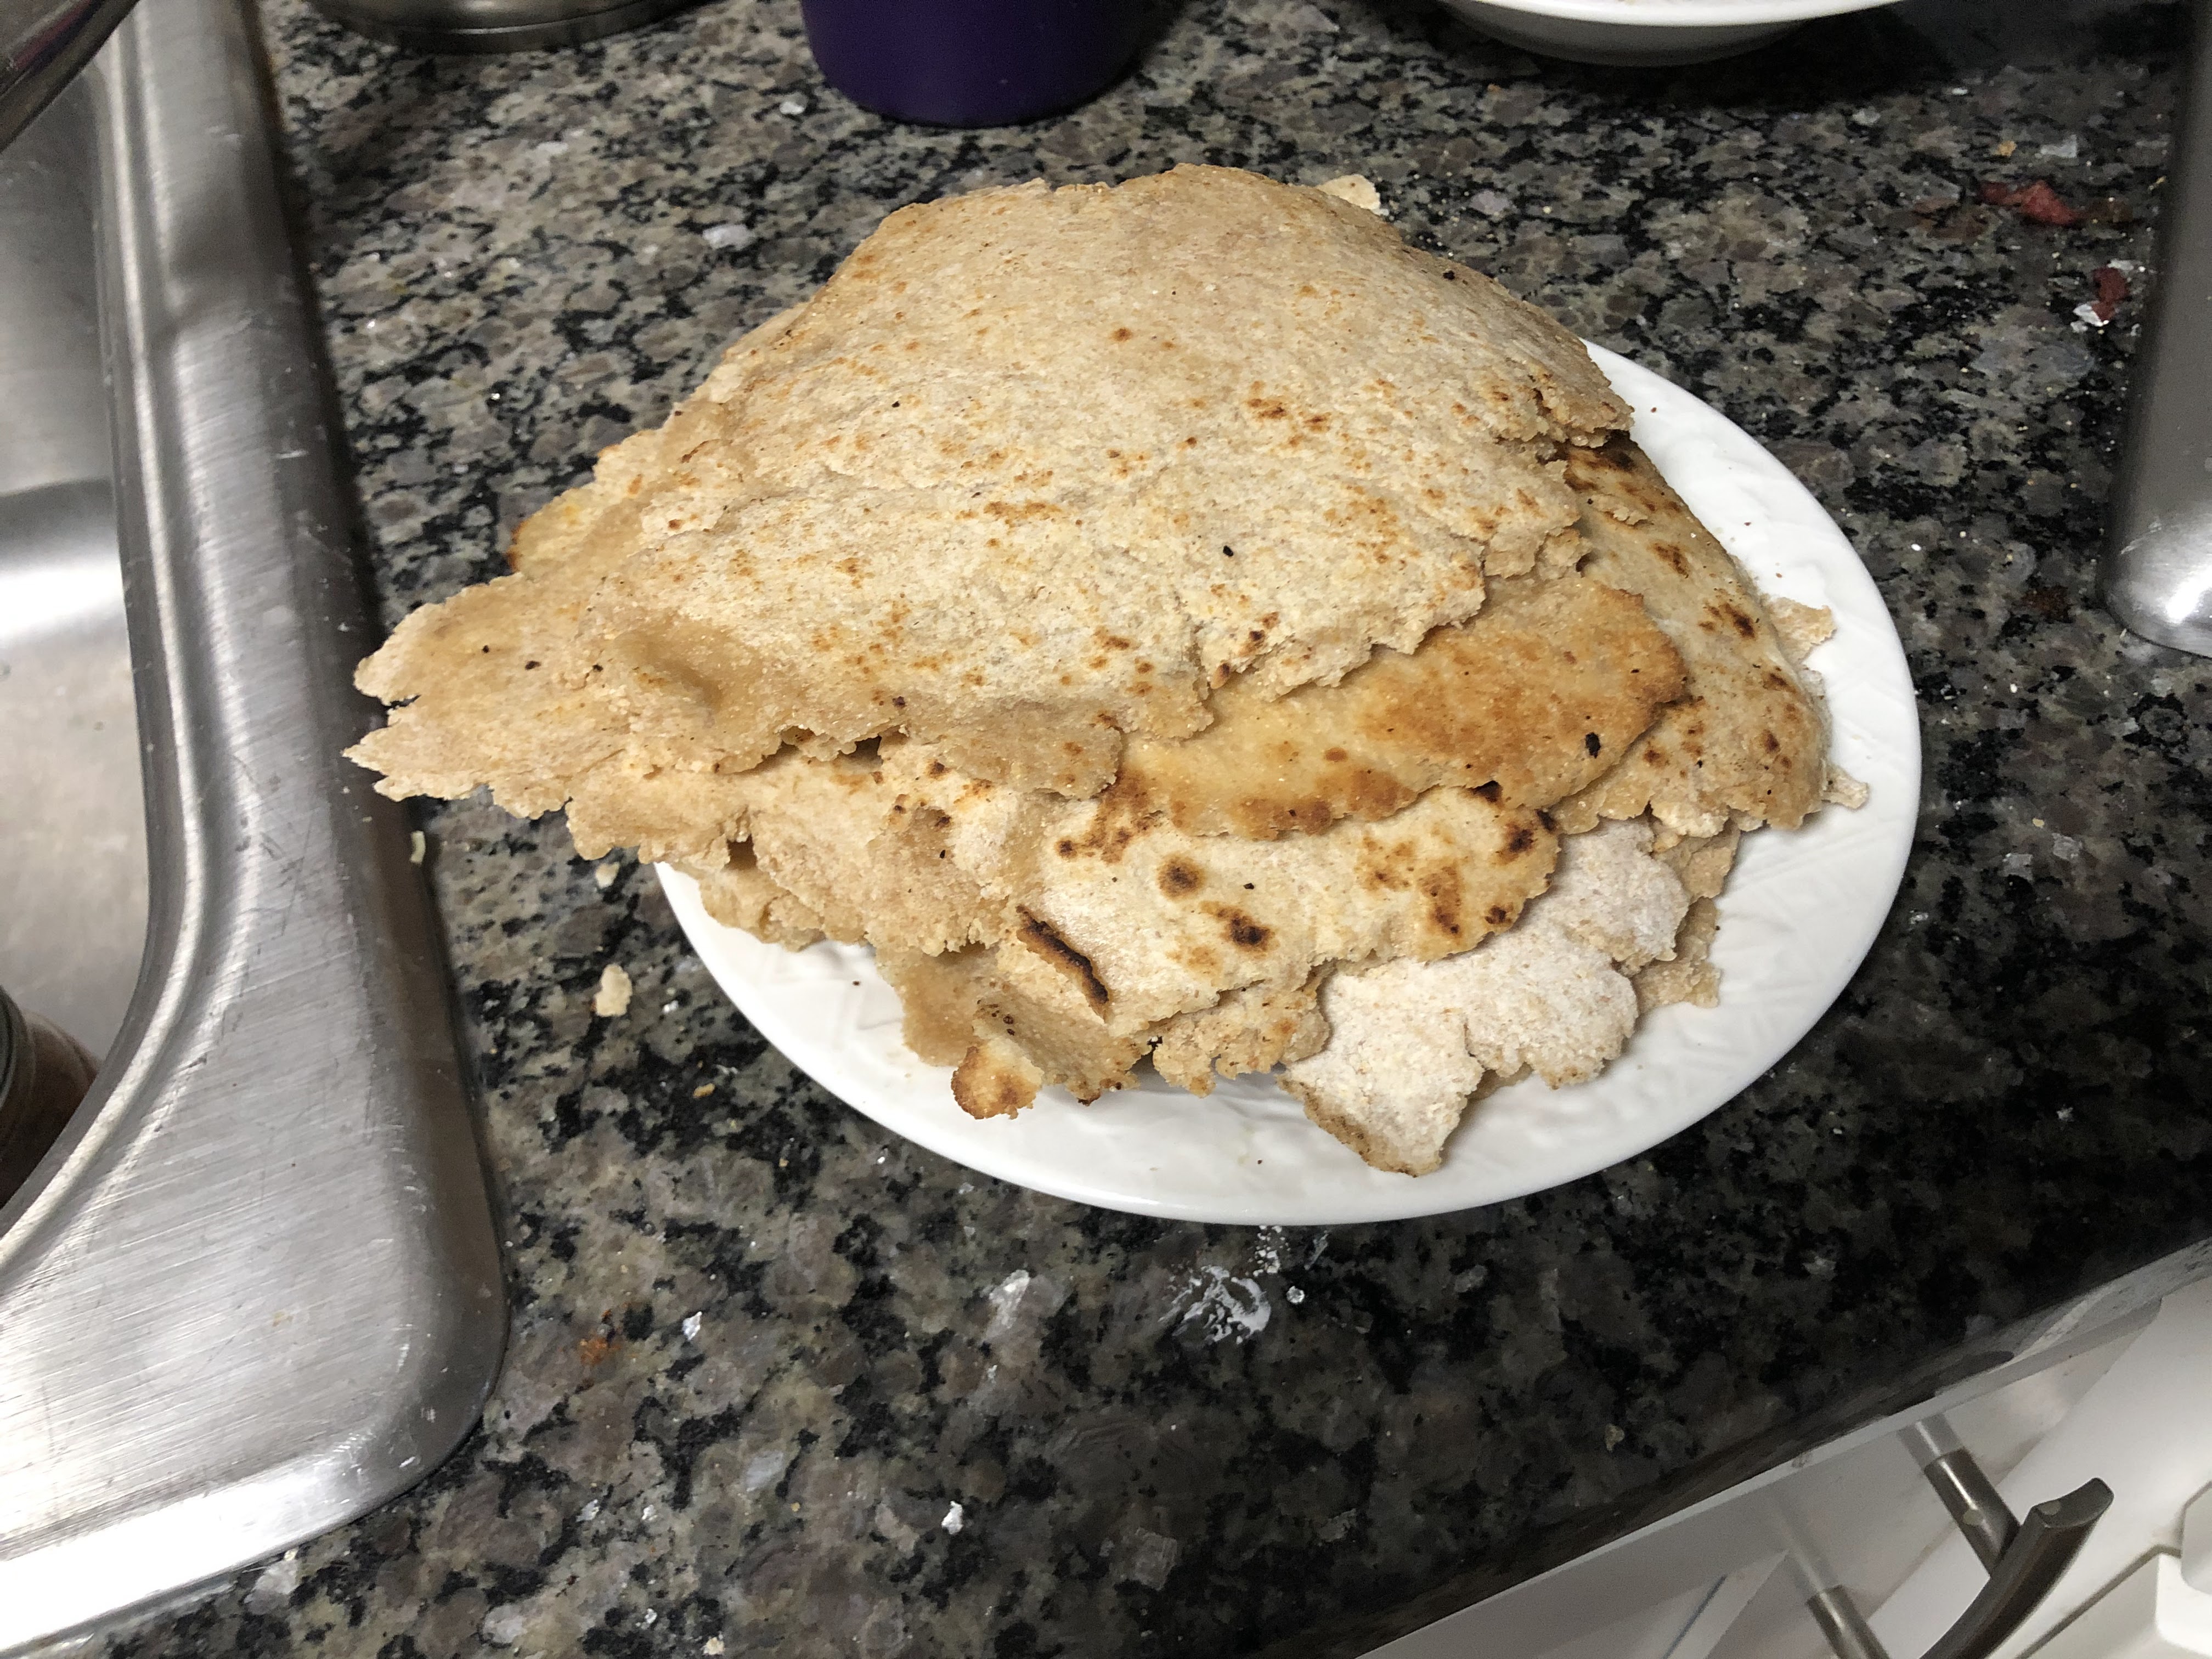
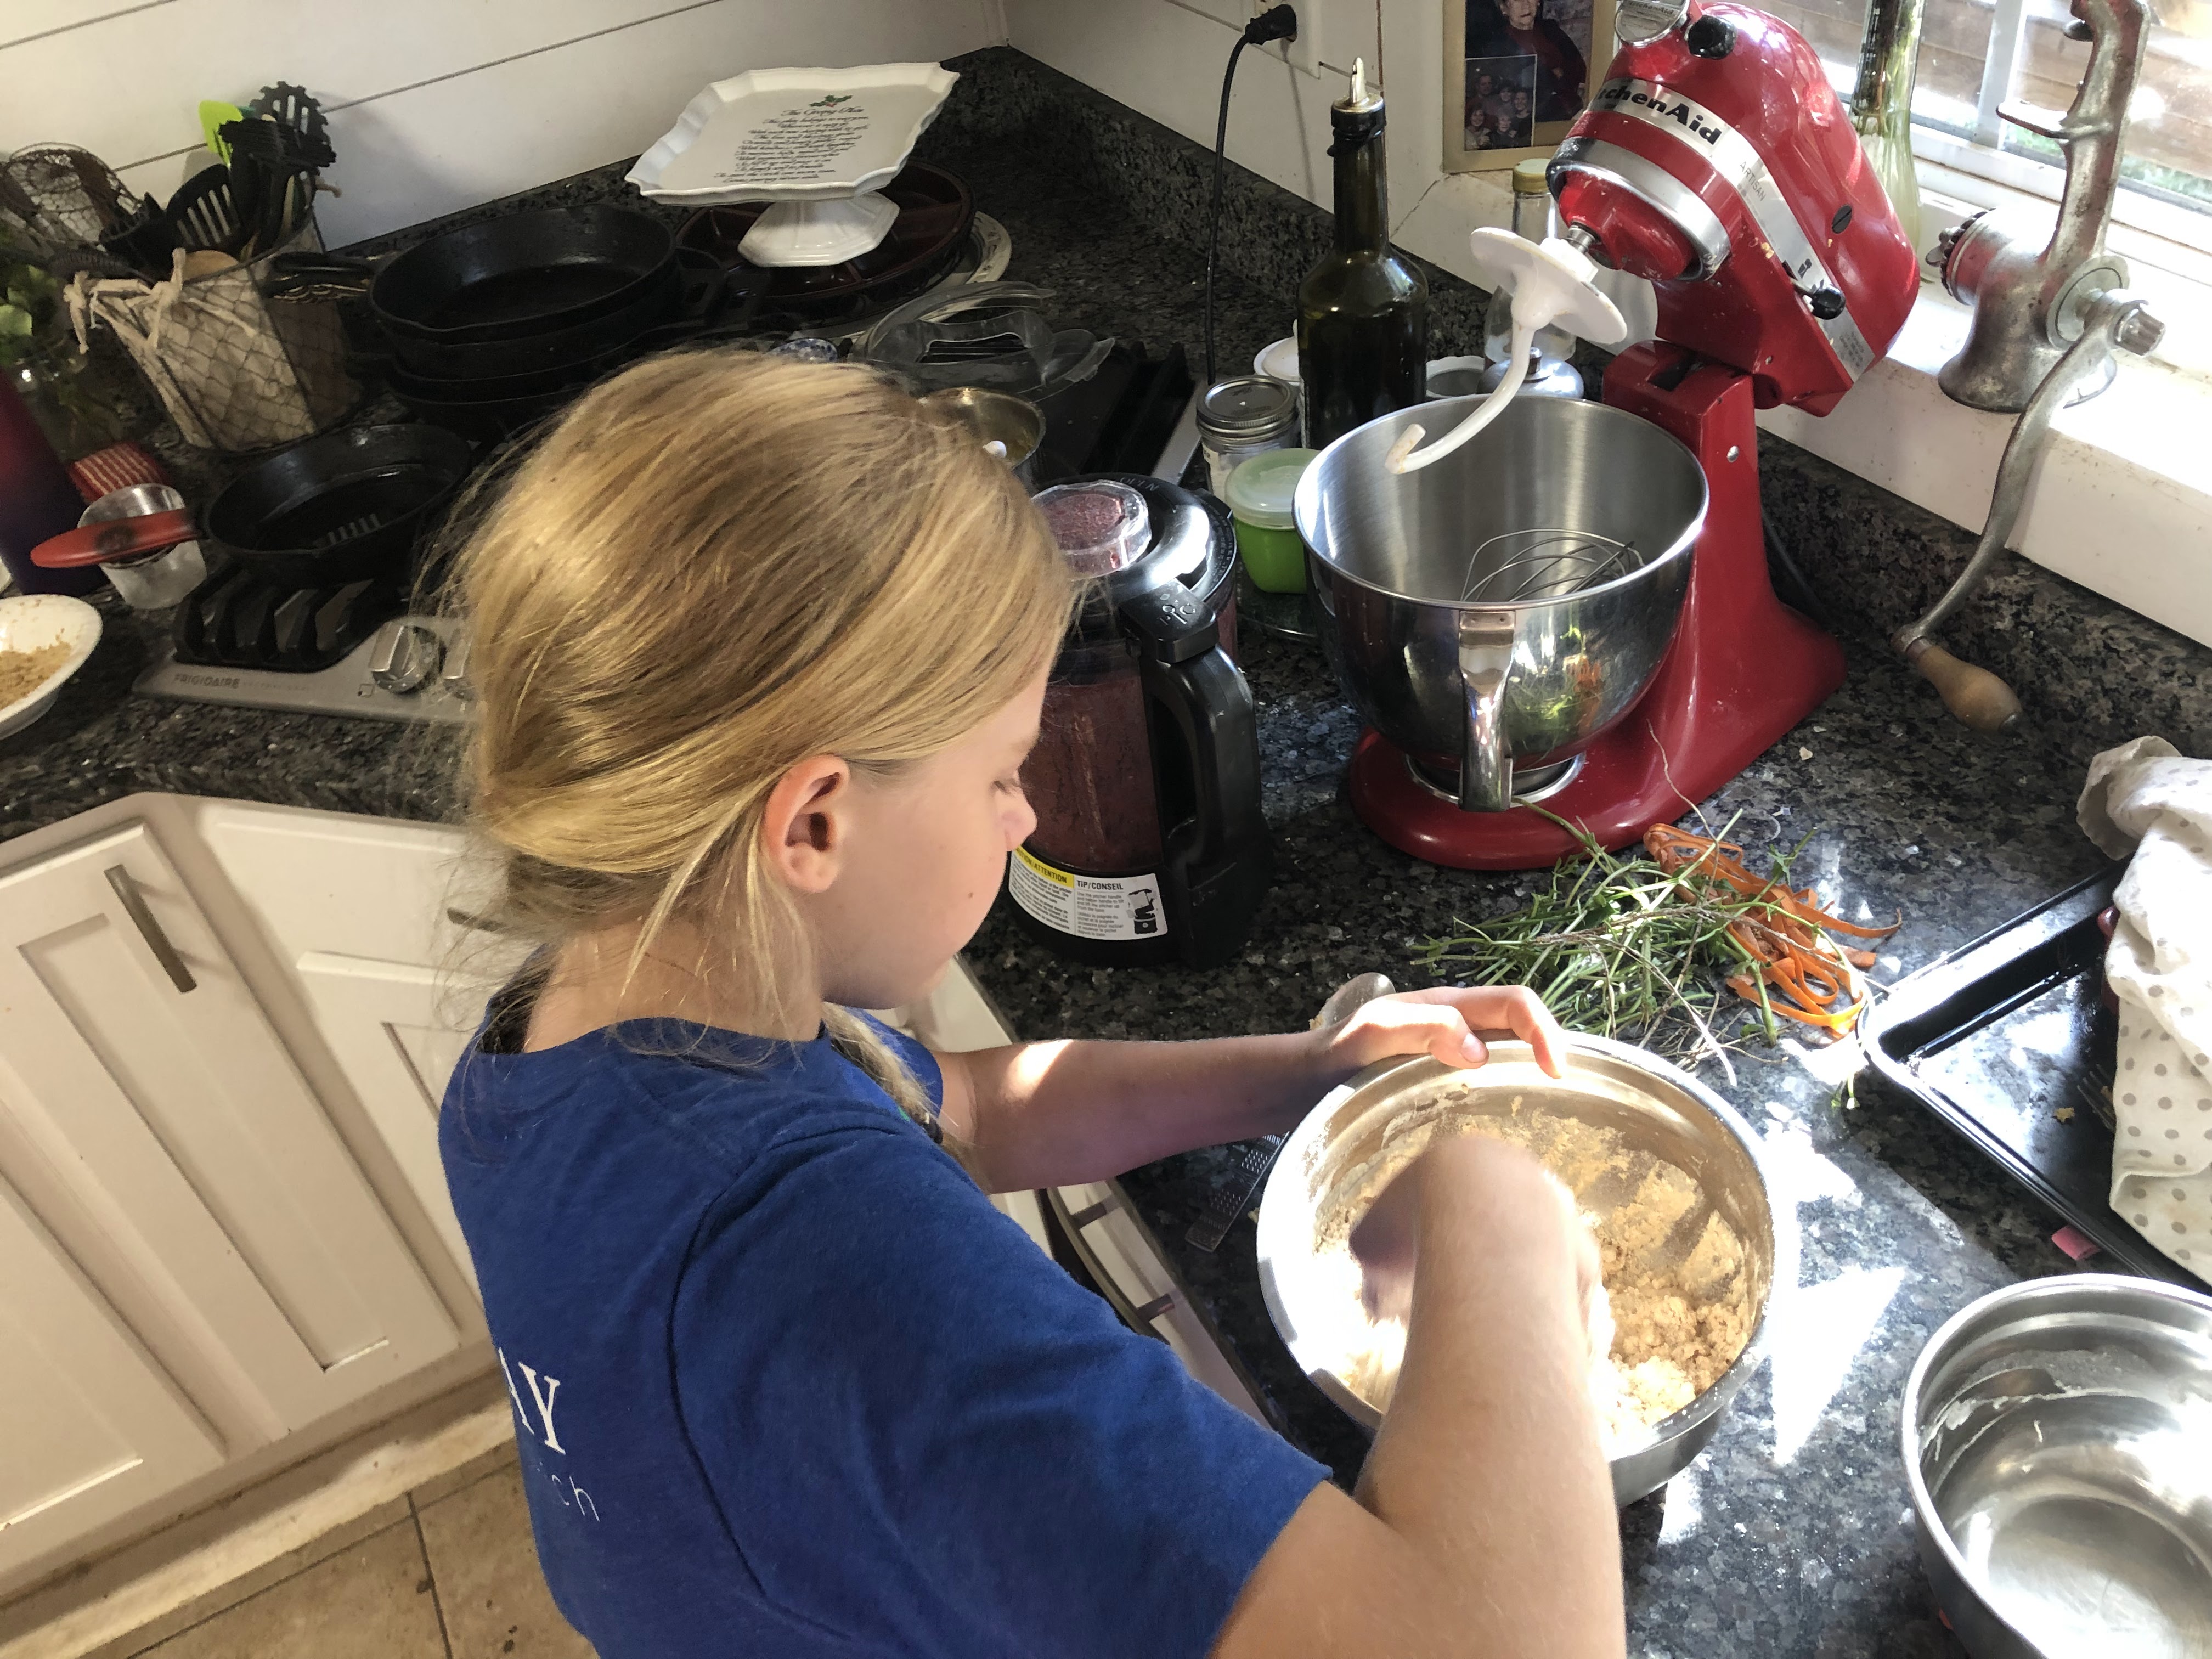
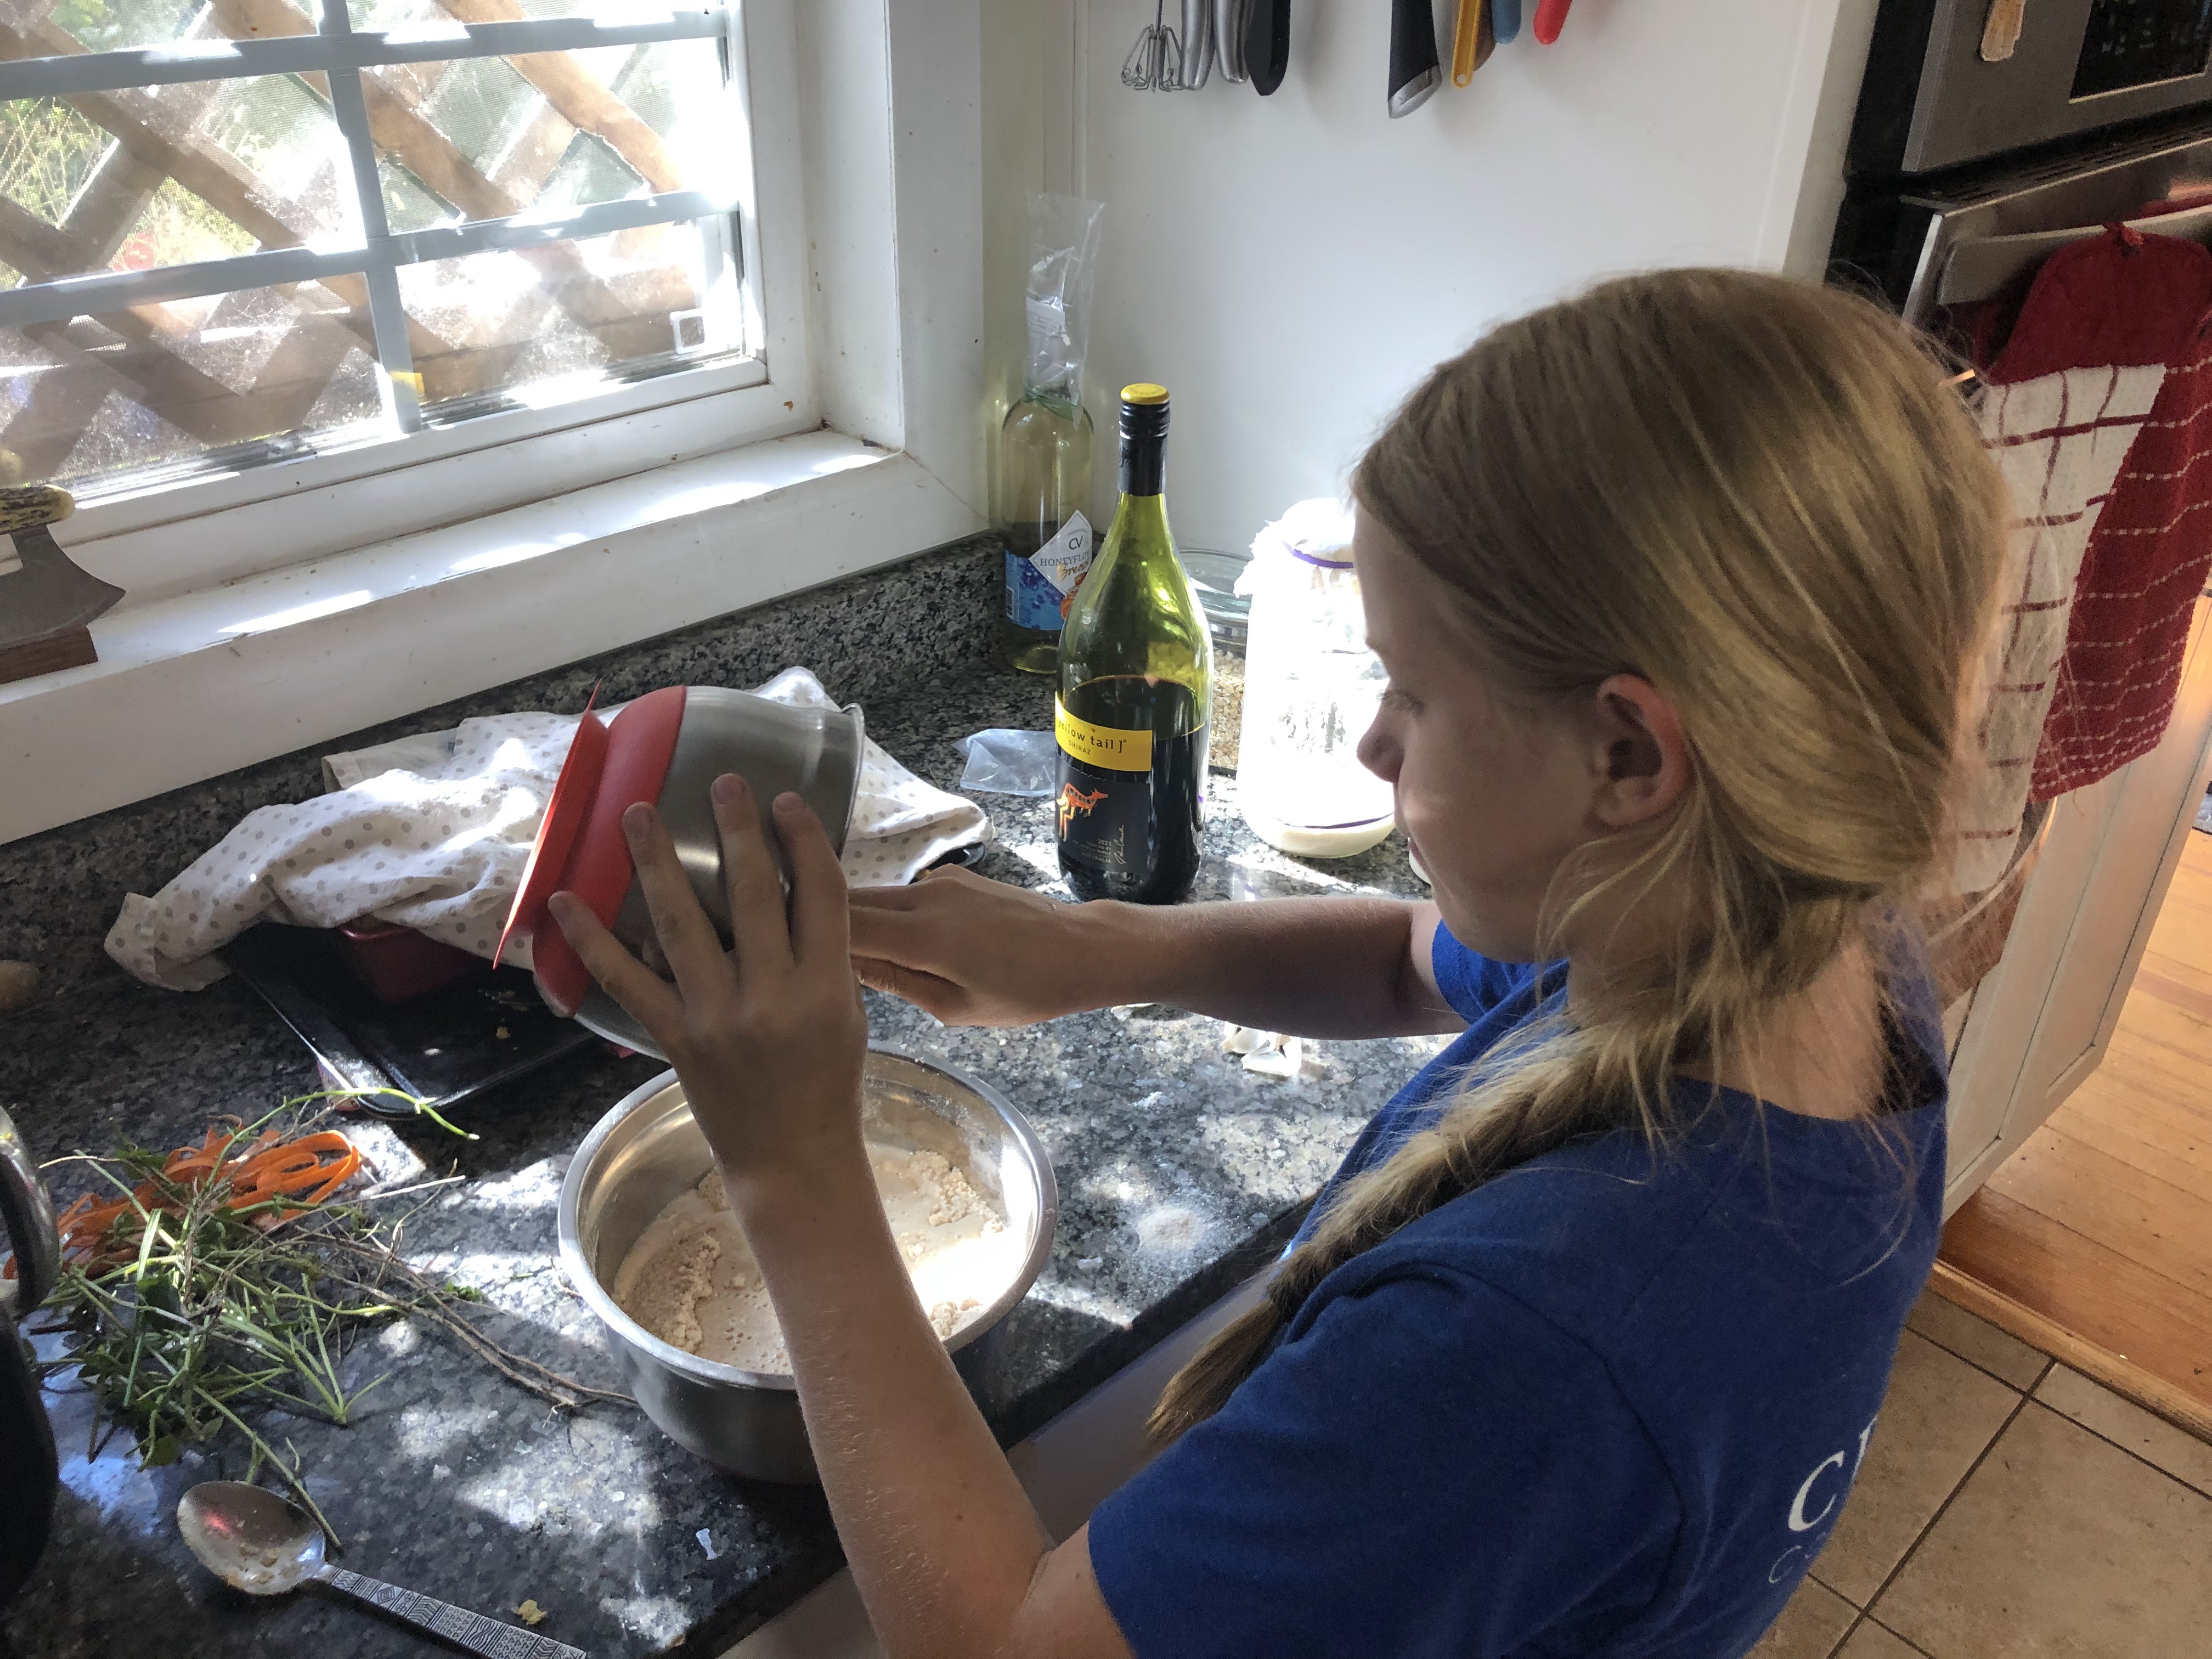
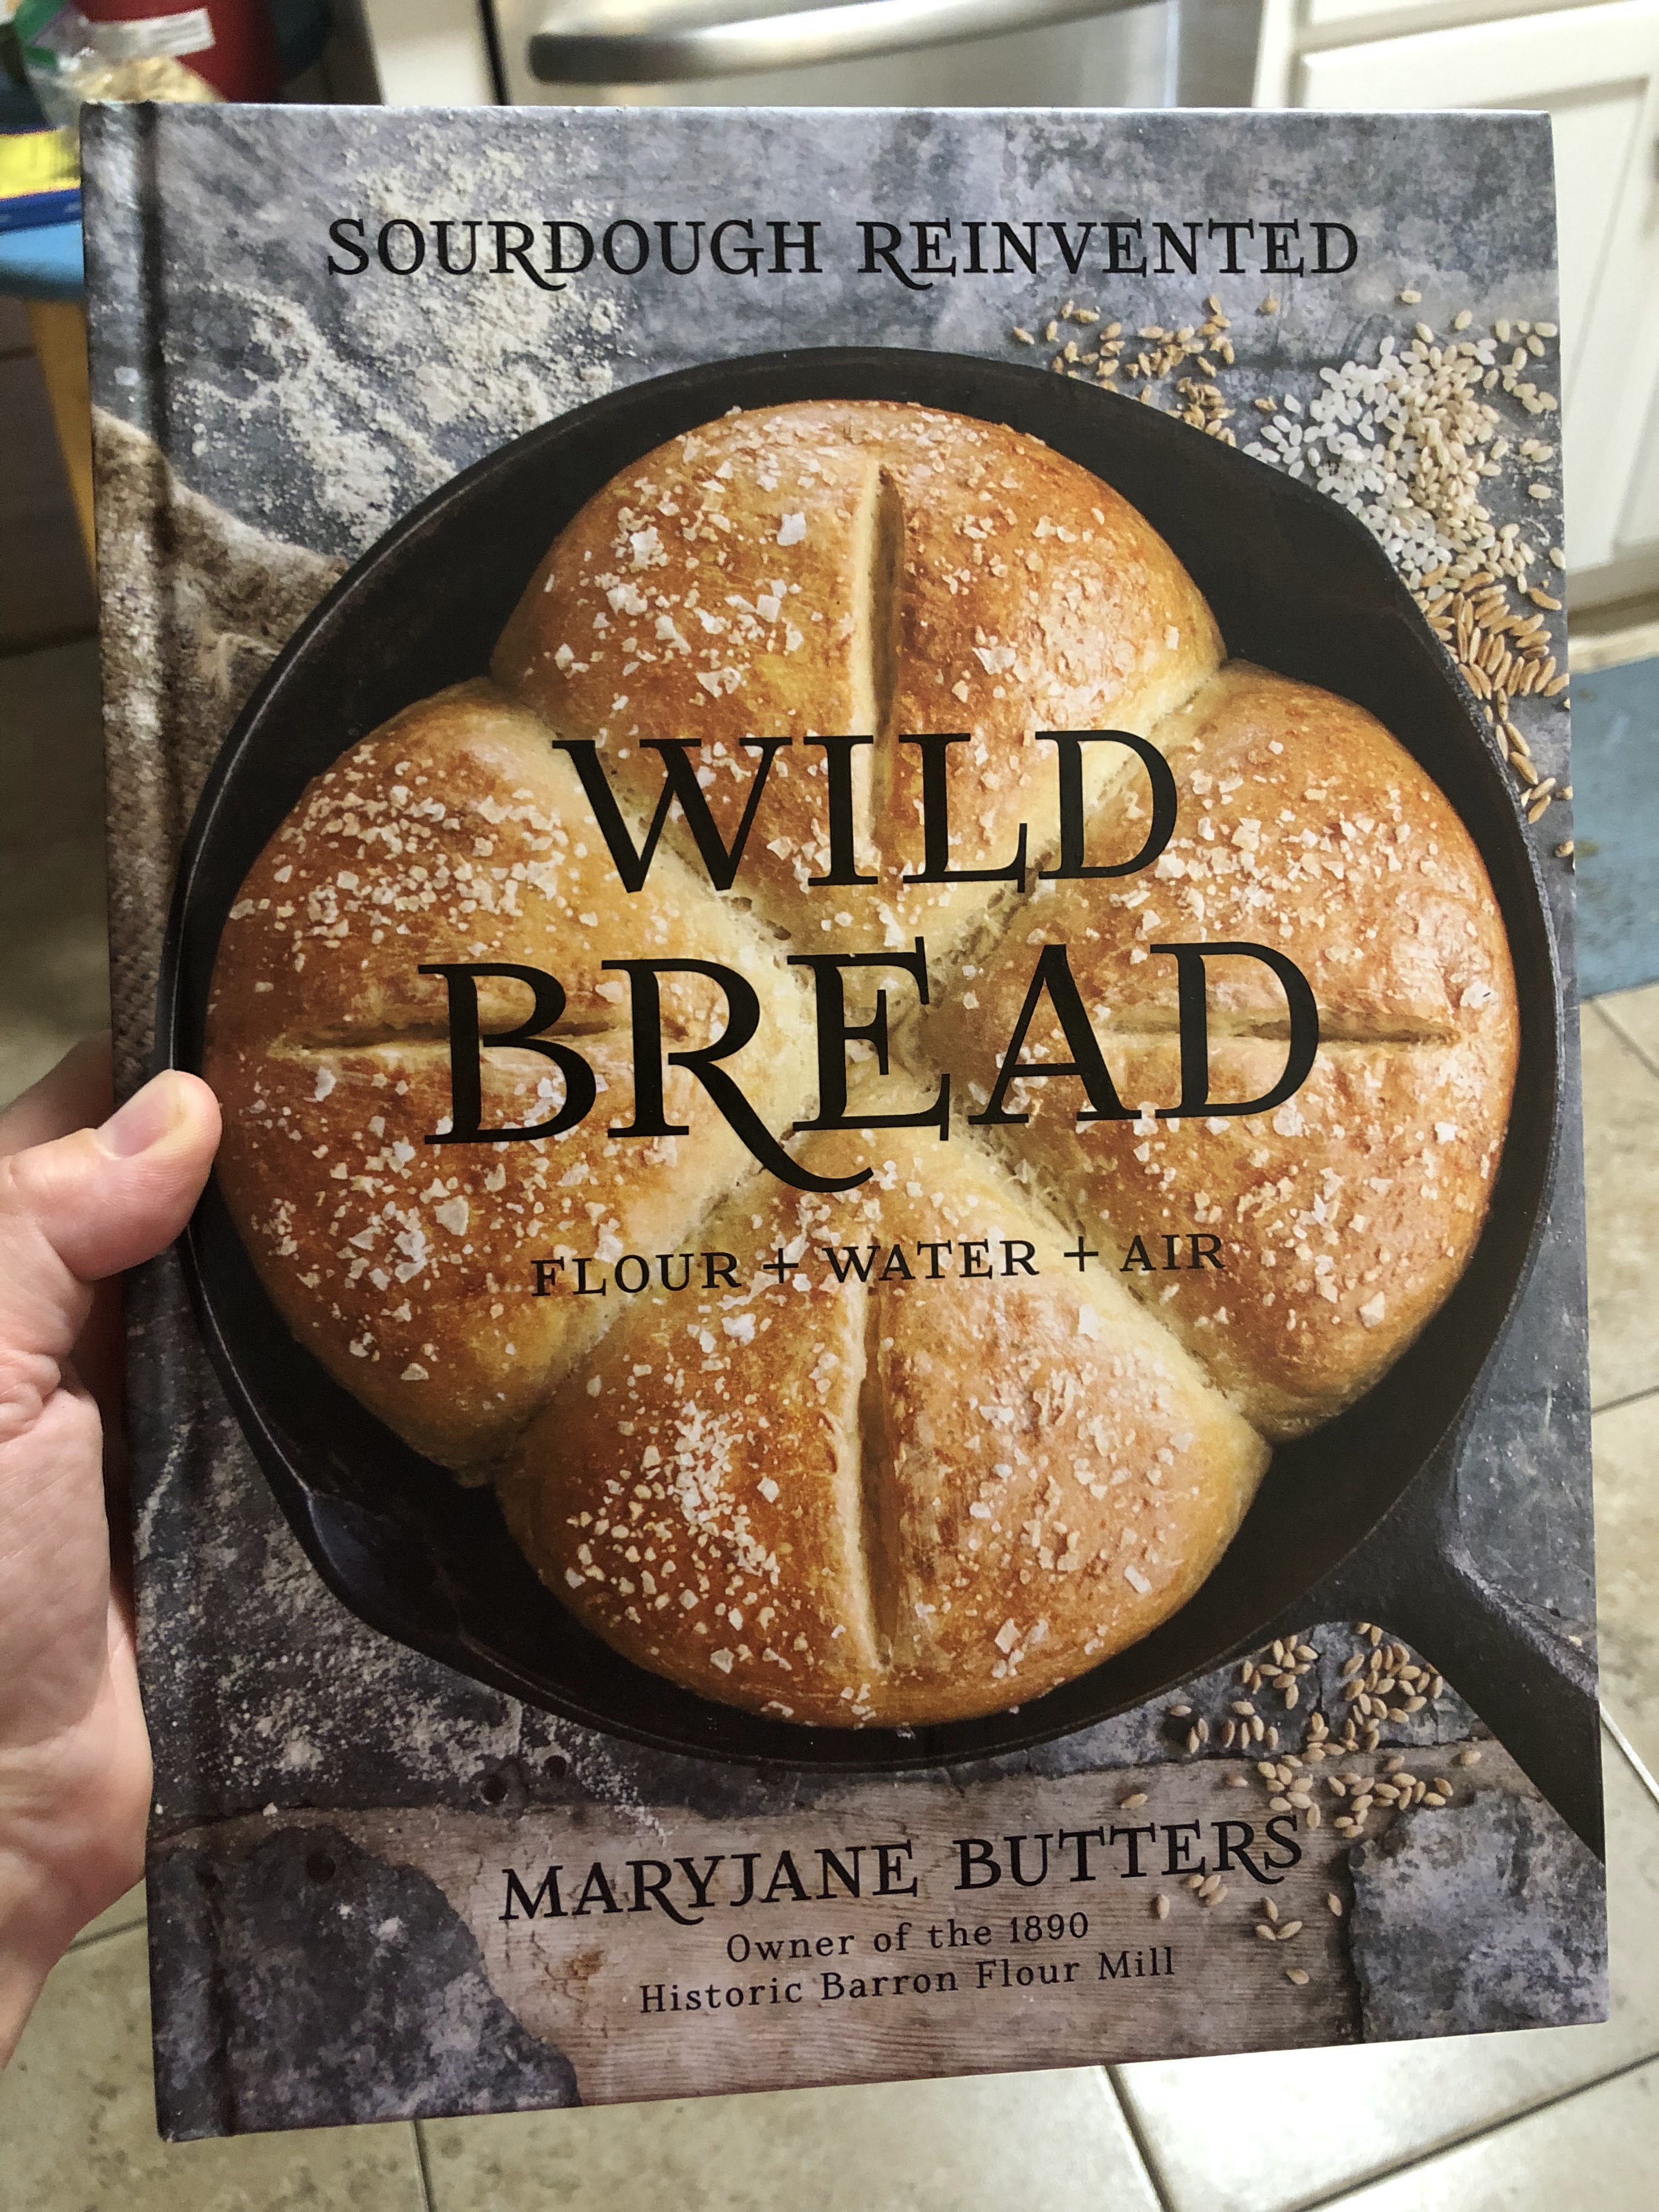
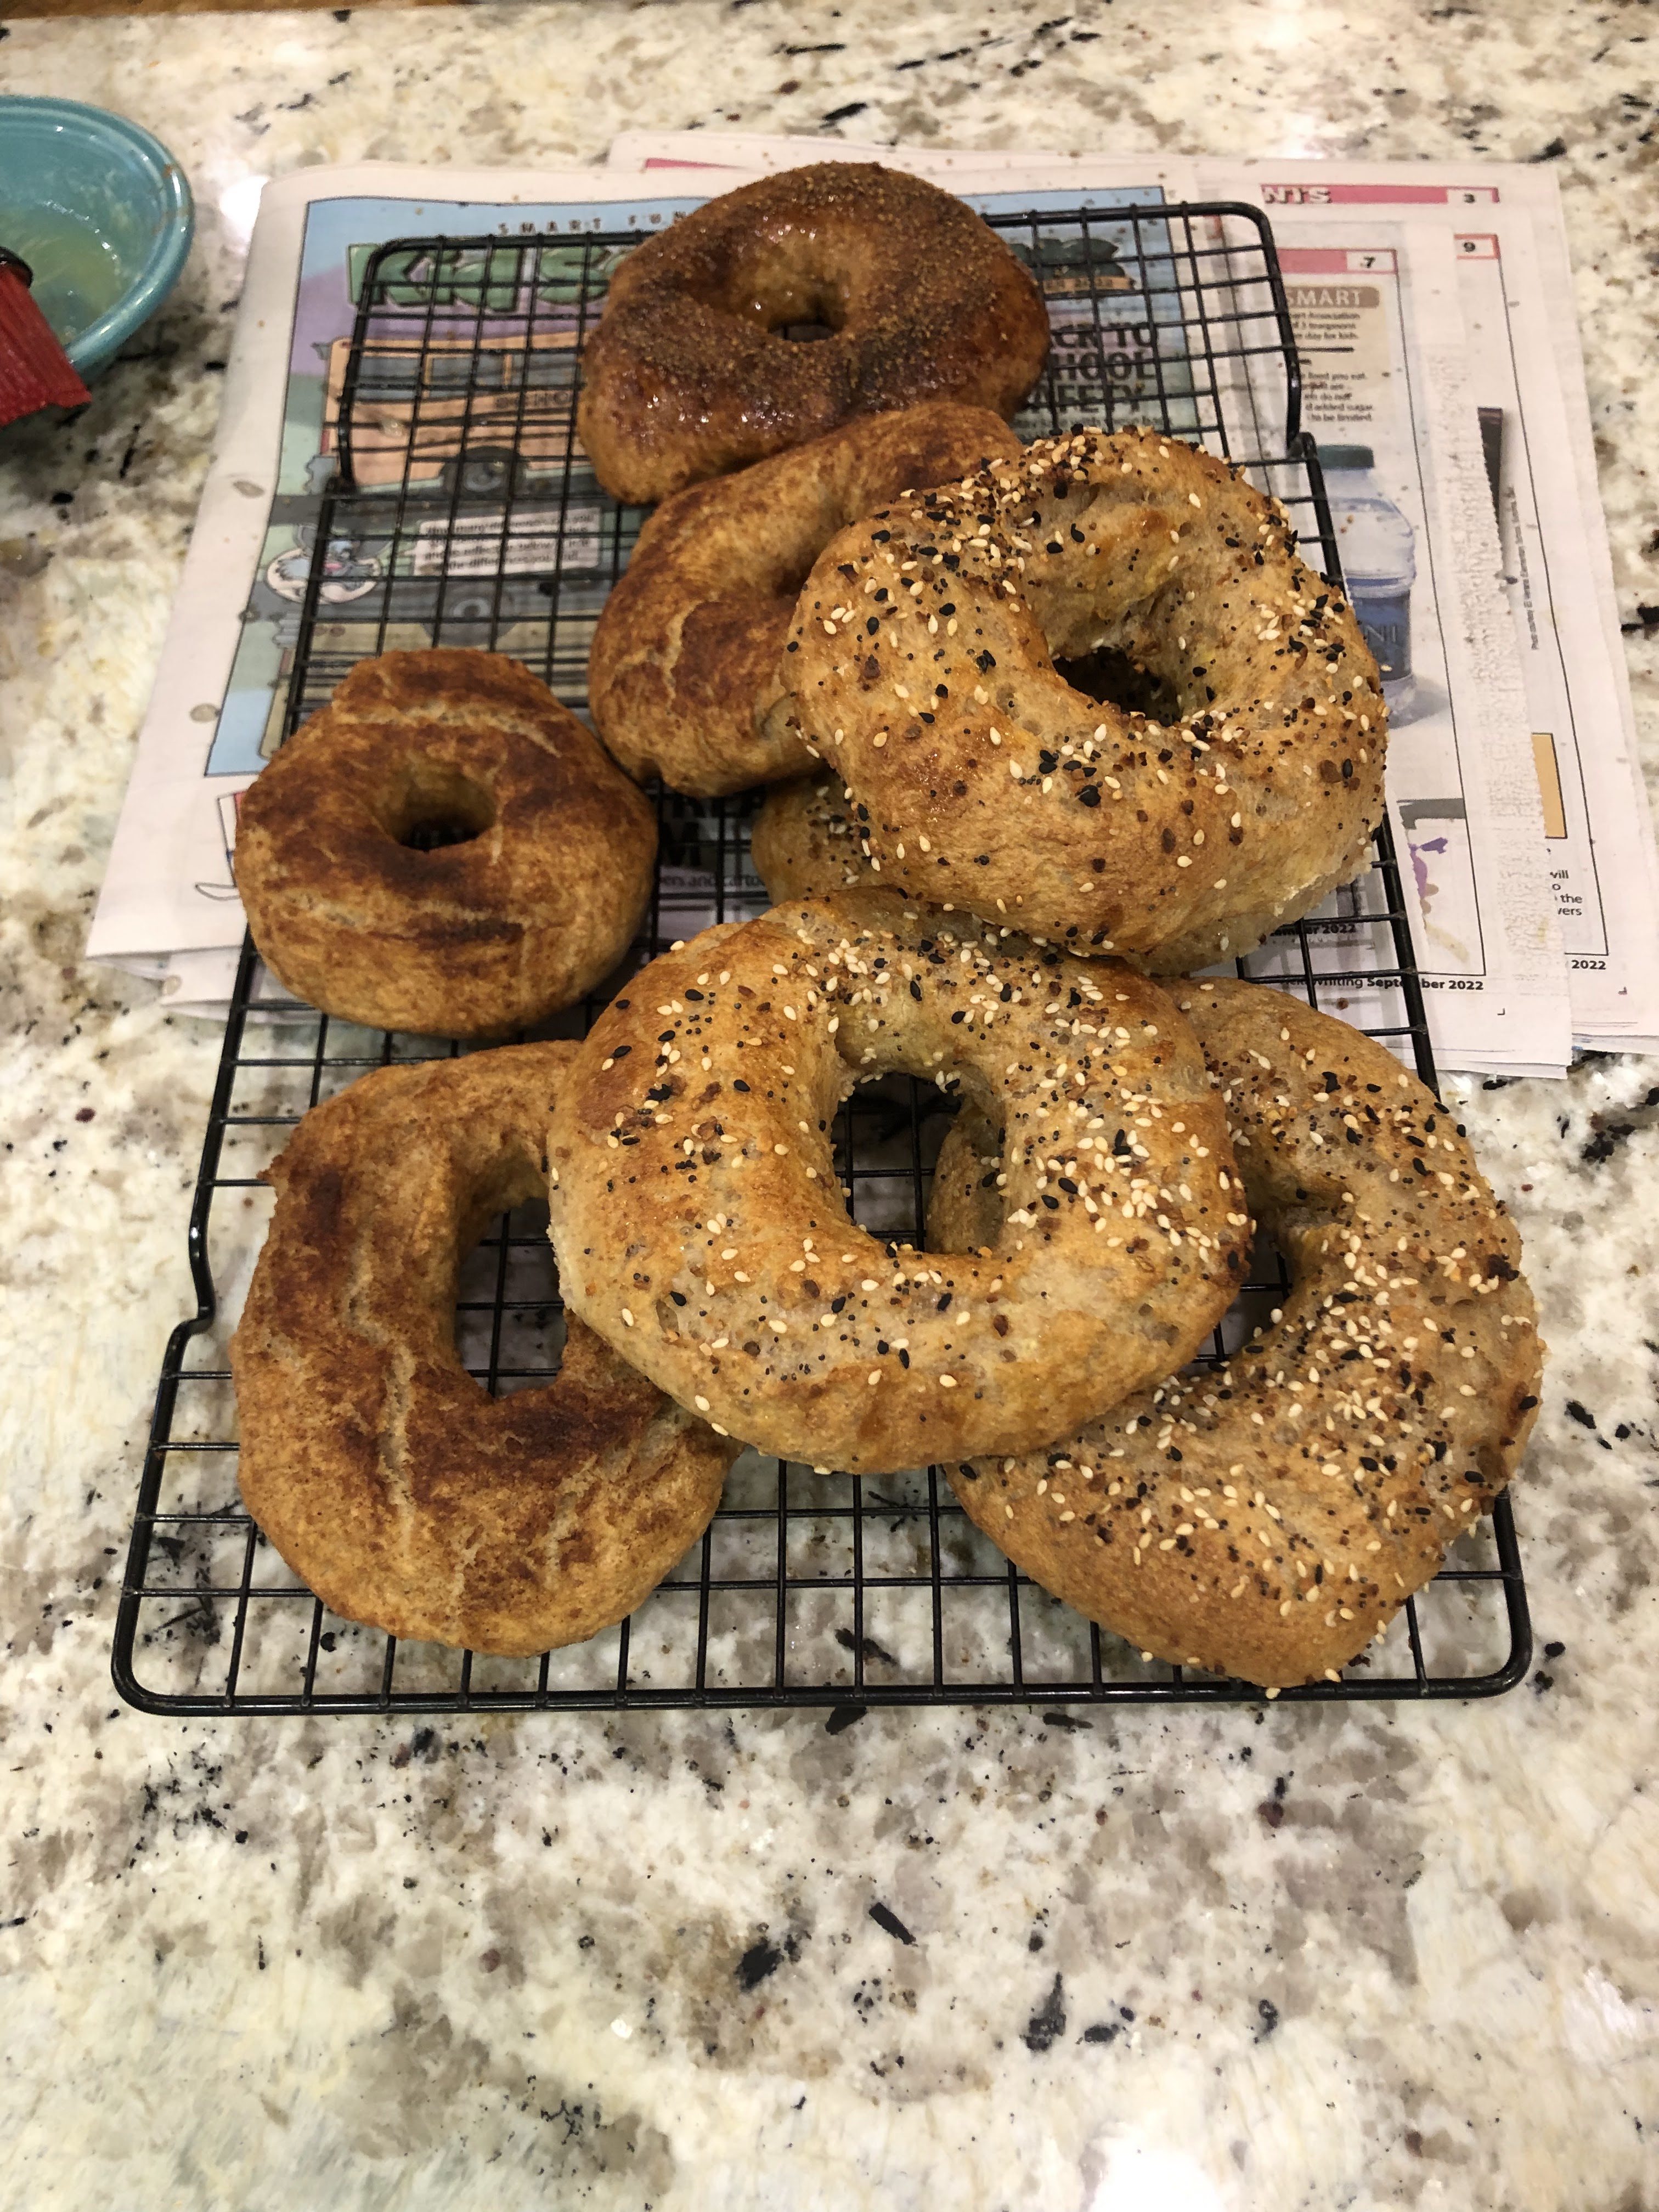
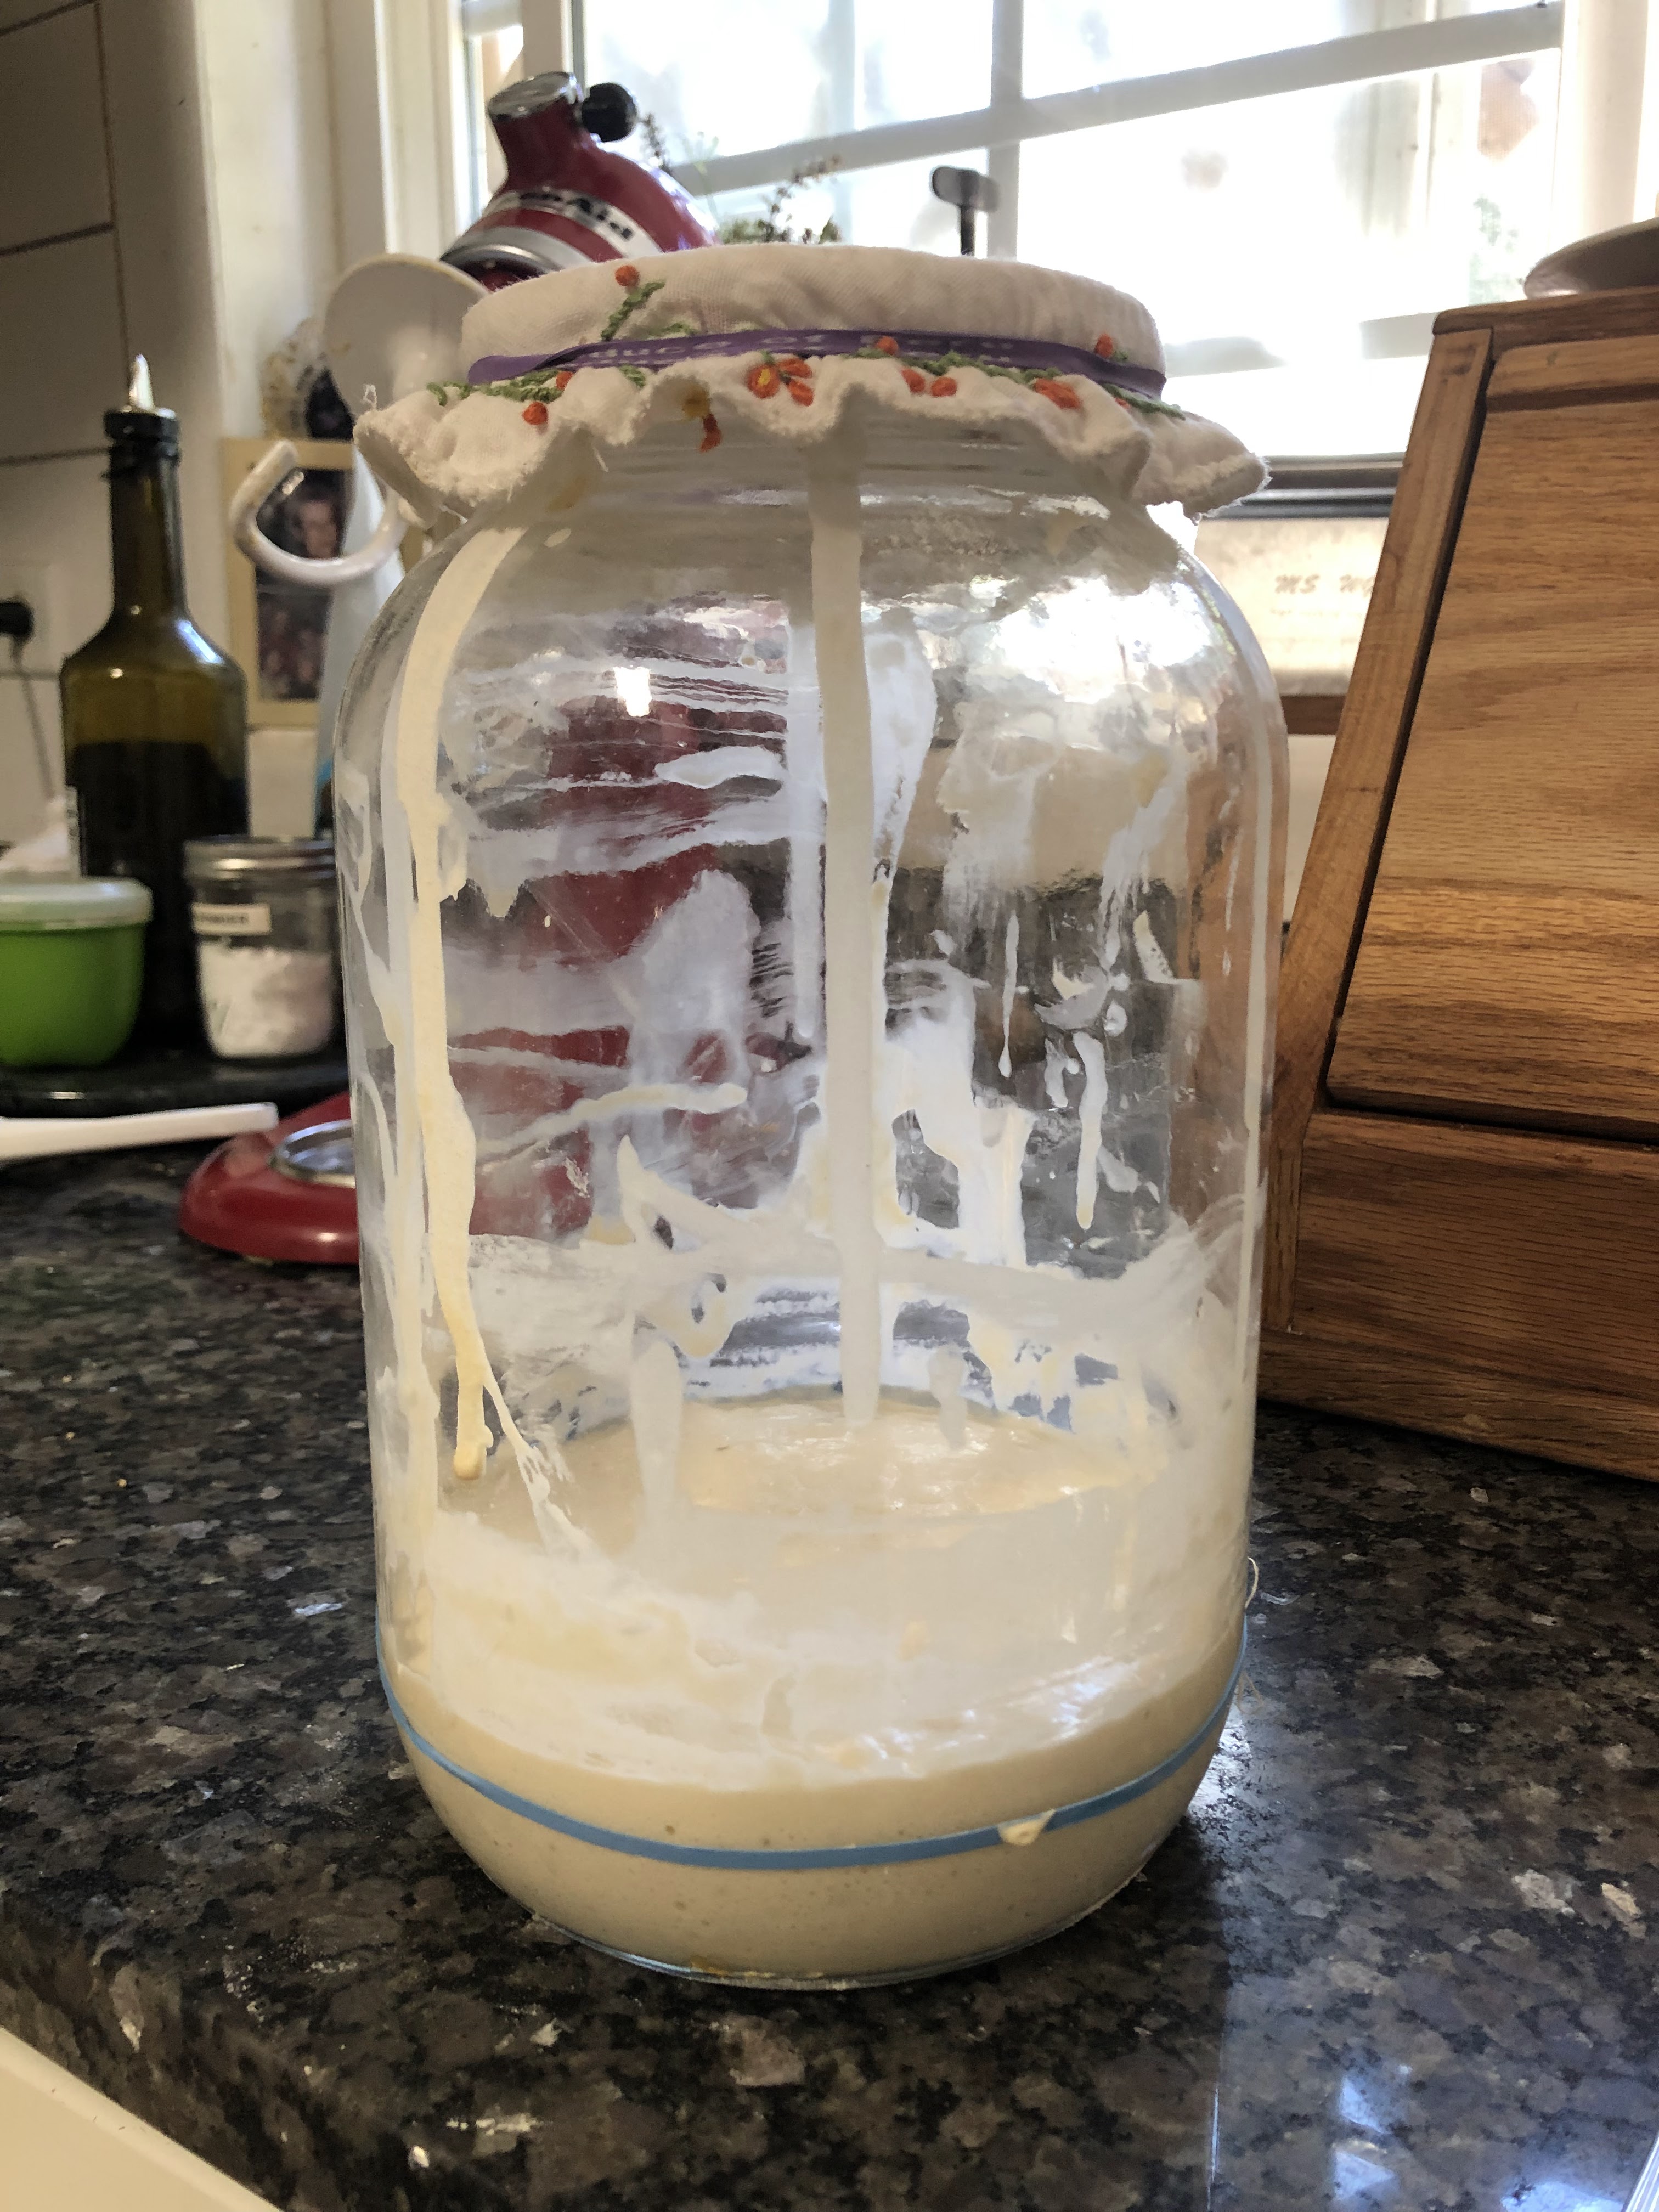
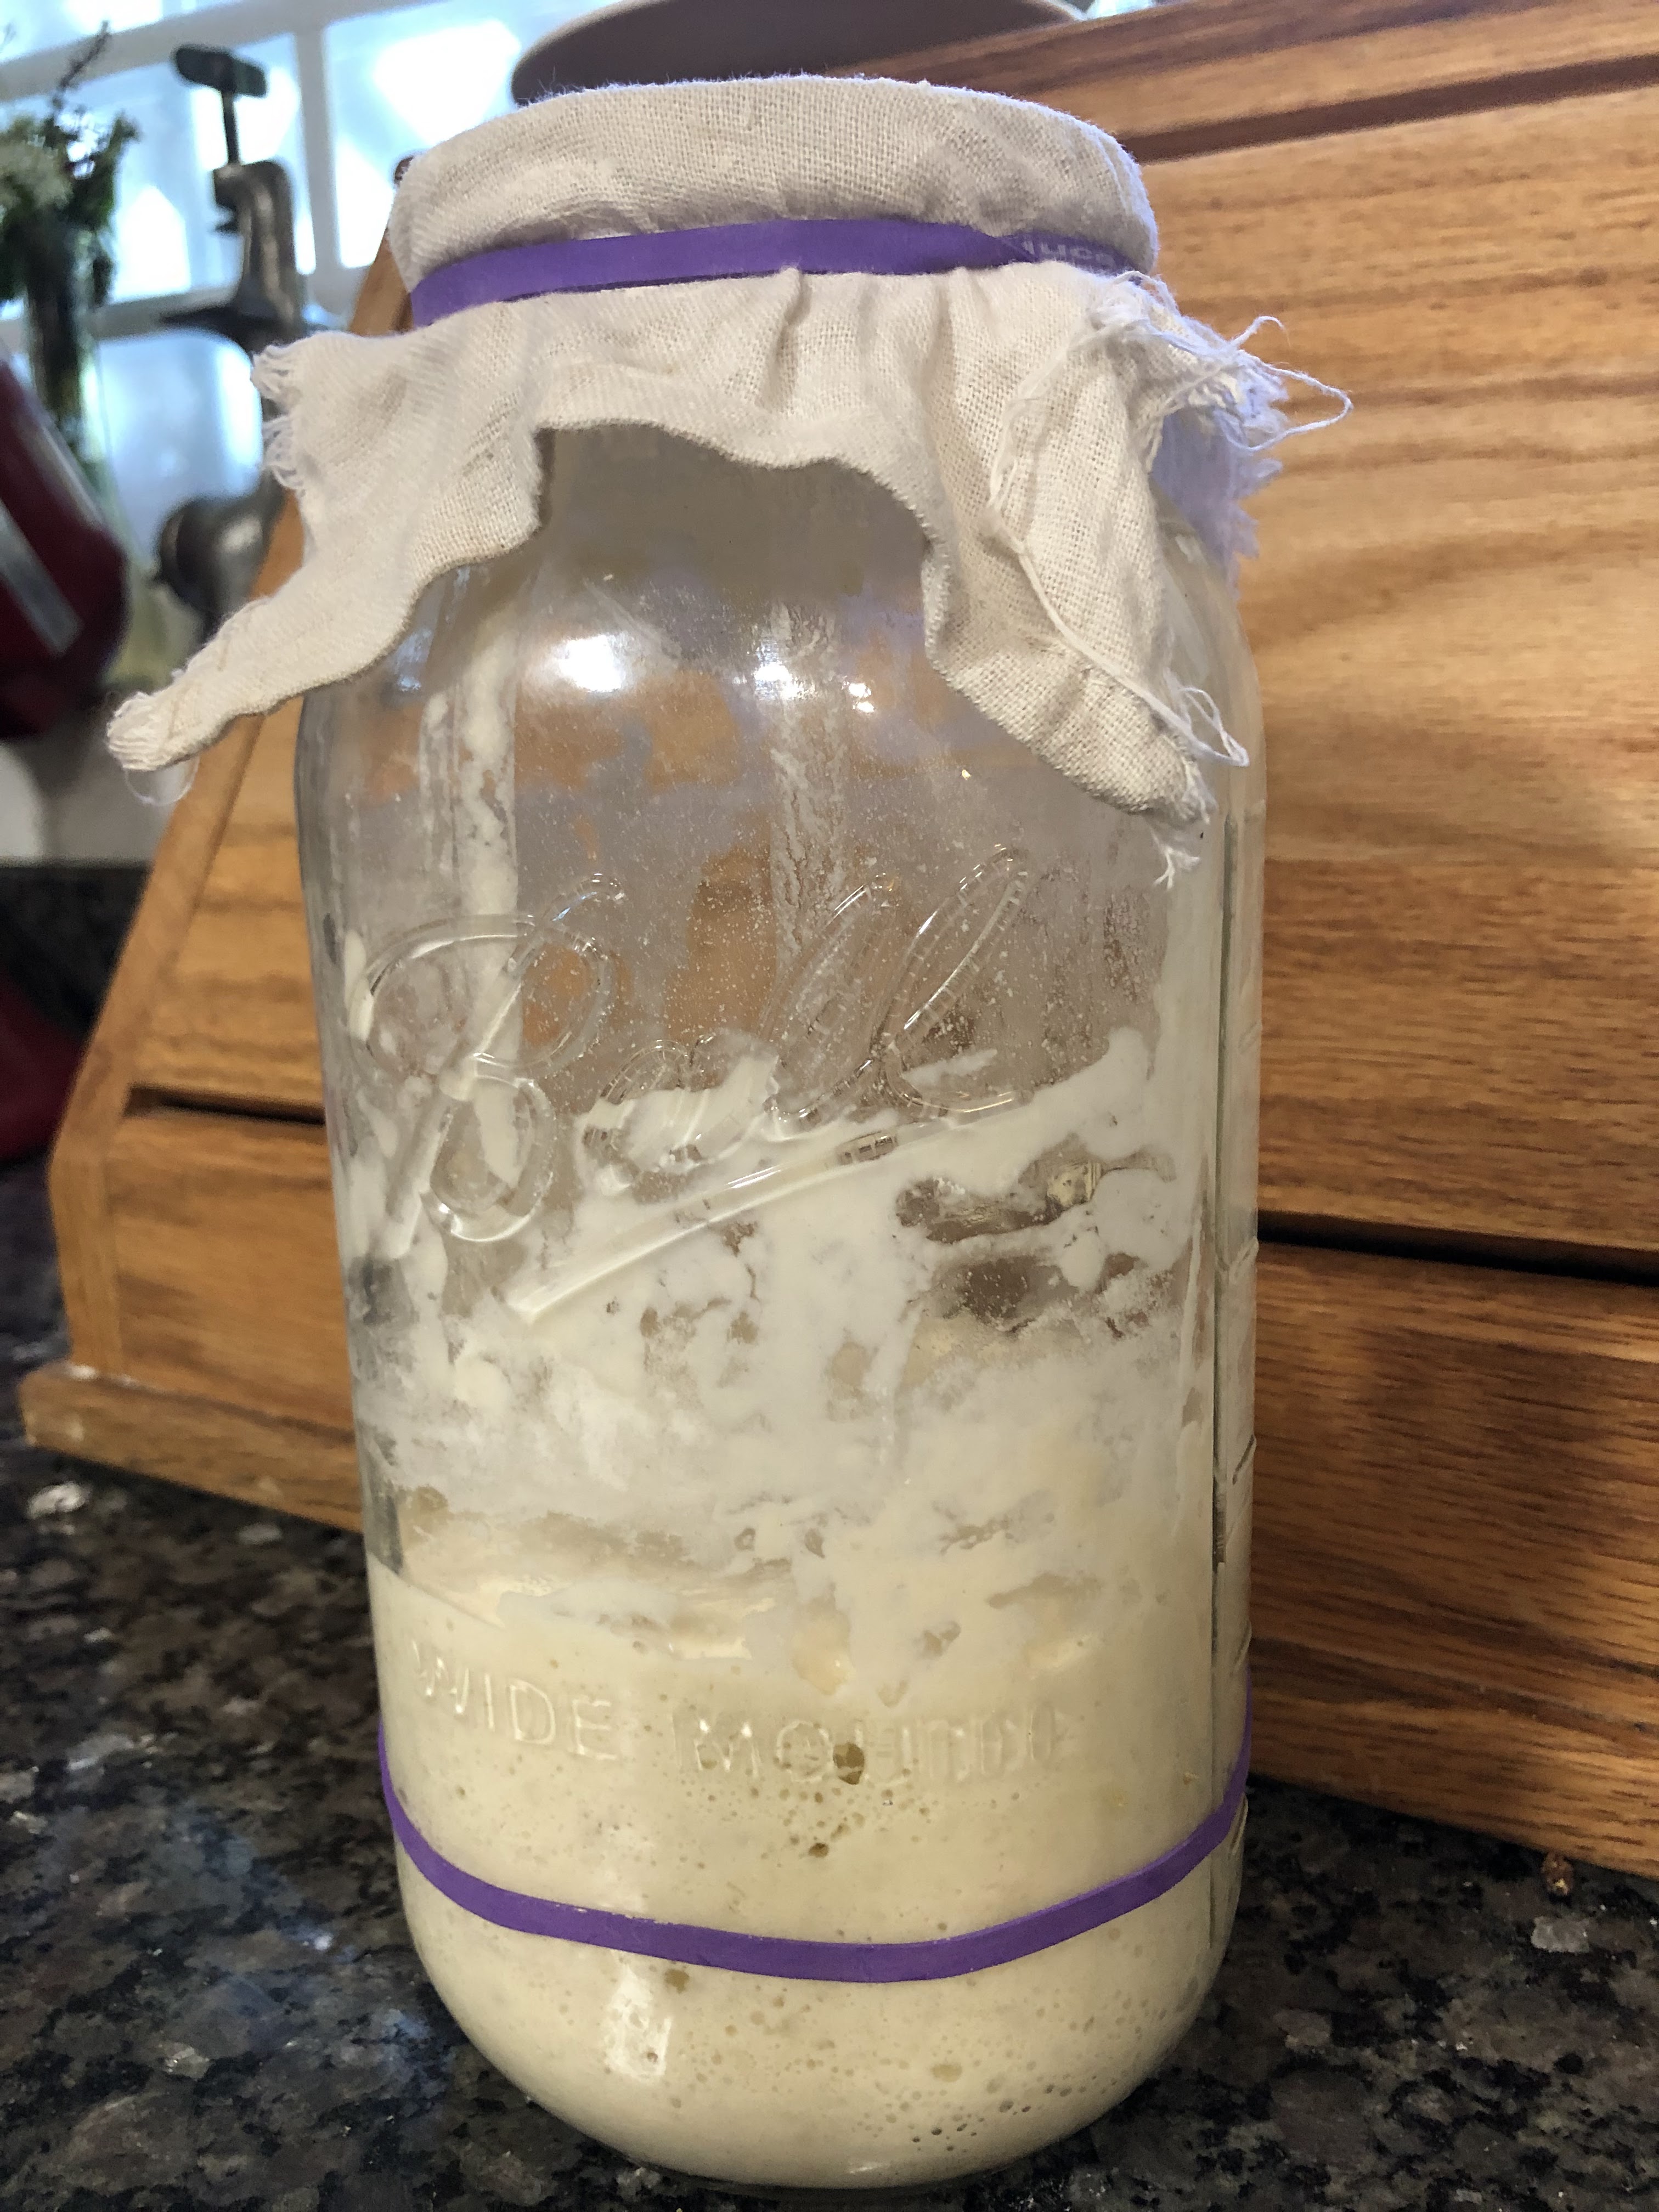
We had a girls night recently (another post to come) and the focus was all about bread making and sourdough. We each brought the knowledge we had to the kitchen and shared ideas, recipes, sourdough starters and laughter; lots of laughter. I have been baking with sourdough for many years (maybe 8?) and I have always been turned off by the word “discard.” Seeing as I don’t like to waste, that word just causes me to get chill bumps. Why would I discard my beautiful starter? We discussed this at our girls night and did some research: this “discard” isn’t a waste, as it can be used in many recipes, and it serves a purpose. The Mama starter needs to be fed more the larger she gets. The “discard” helps her to not be so dense and to grow and be more active. I have two different starters going and they each have a name: Daisy (it was my original starter given to me 8 years ago by a friend) and Sandie (given to me last week by a dear friend. Daisies are my favorite flower and Sandie has special meaning because of where the starter originated. So I have renamed my “discard” to Mama Sandie or Mama Daisy. Here’s an example: “I made these tortillas with Mama Daisy.” When I use active batter for a longer rise sourdough, I call that “activated batter,” taken from a beautiful and informative book called Wild Bread. This week I have made tortillas, savory pesto muffins and pancakes from the different Mama’s. I am still learning so much each day as I experiment and the kids are in the kitchen learning right along with me. The tortillas were not beautiful but they tasted delicious. The pancakes were a bit sour but we ate them. The next girls night we plan to perfect bagels and soft pretzels. All of our husbands are definitely in support of these evenings because we bring home such yummy food!
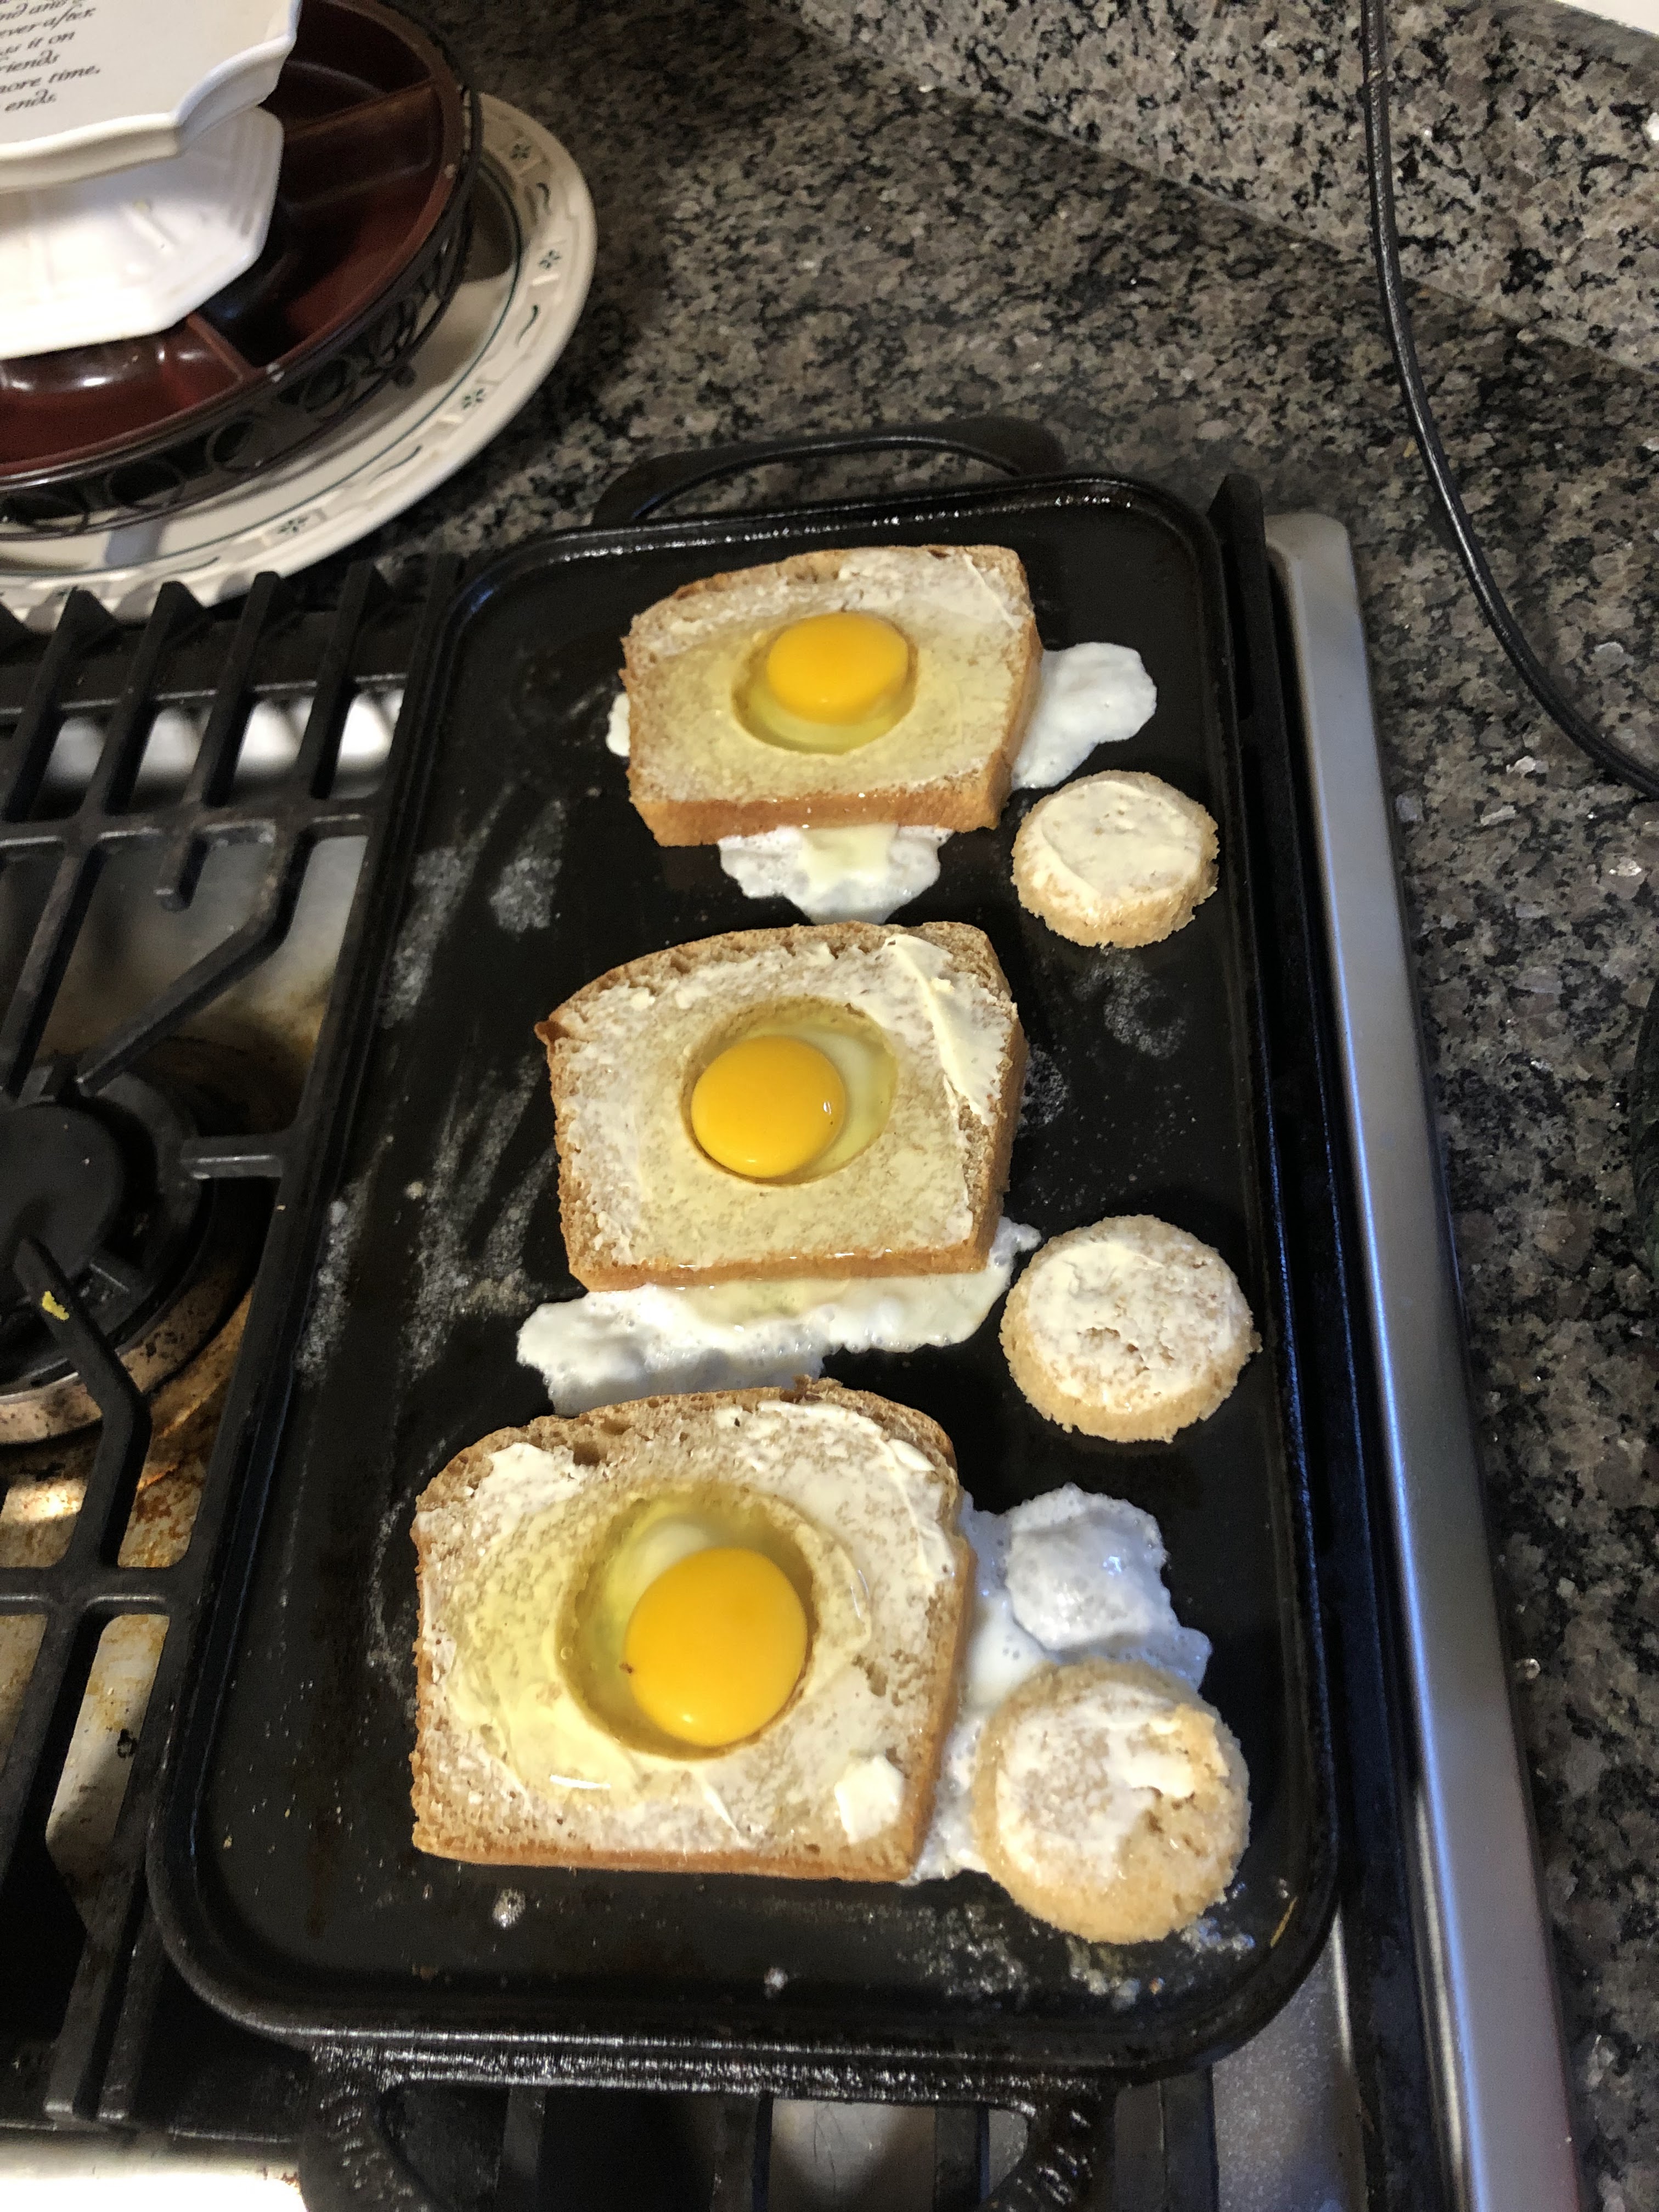
PancakesTortillasKathryn making tortillasI would highly recommend this book. I read the entire book on Saturday from the library and bought it that evening.Bagels: cinnamon-sugar and everythingMeet DaisyMeet SandieThe kids’ favorite breakfast: egg in a nest with sandwich sourdough
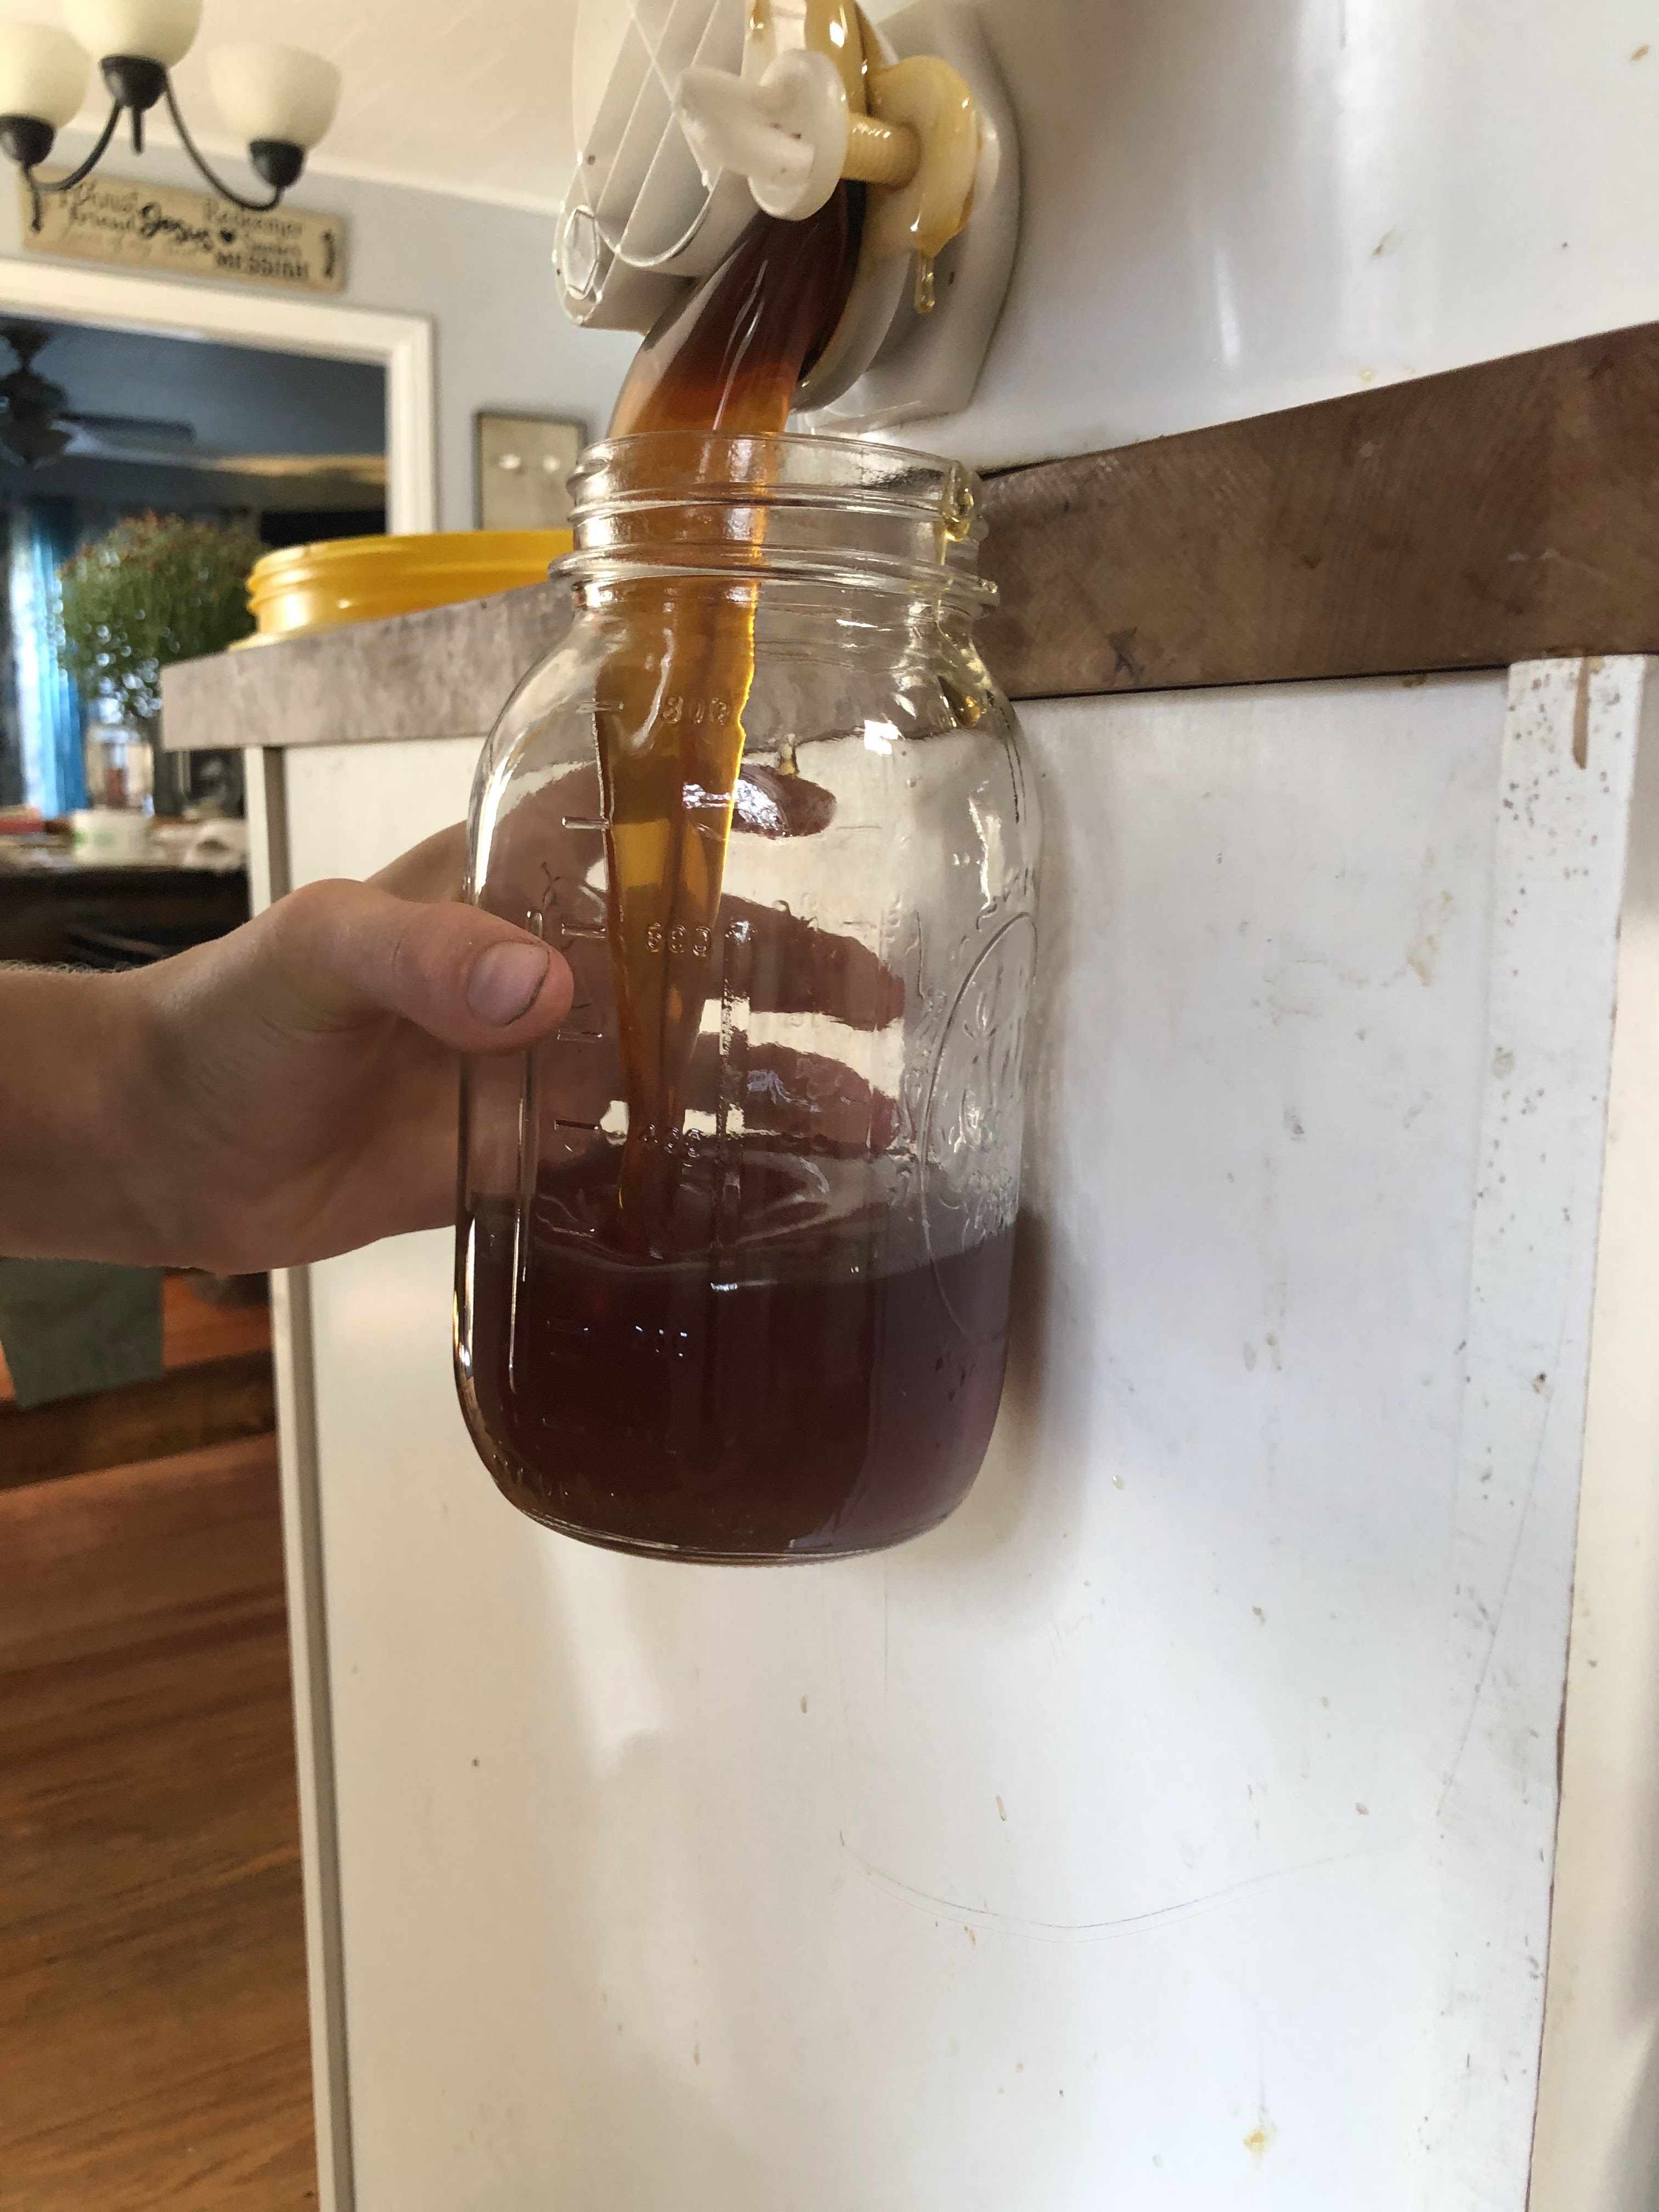
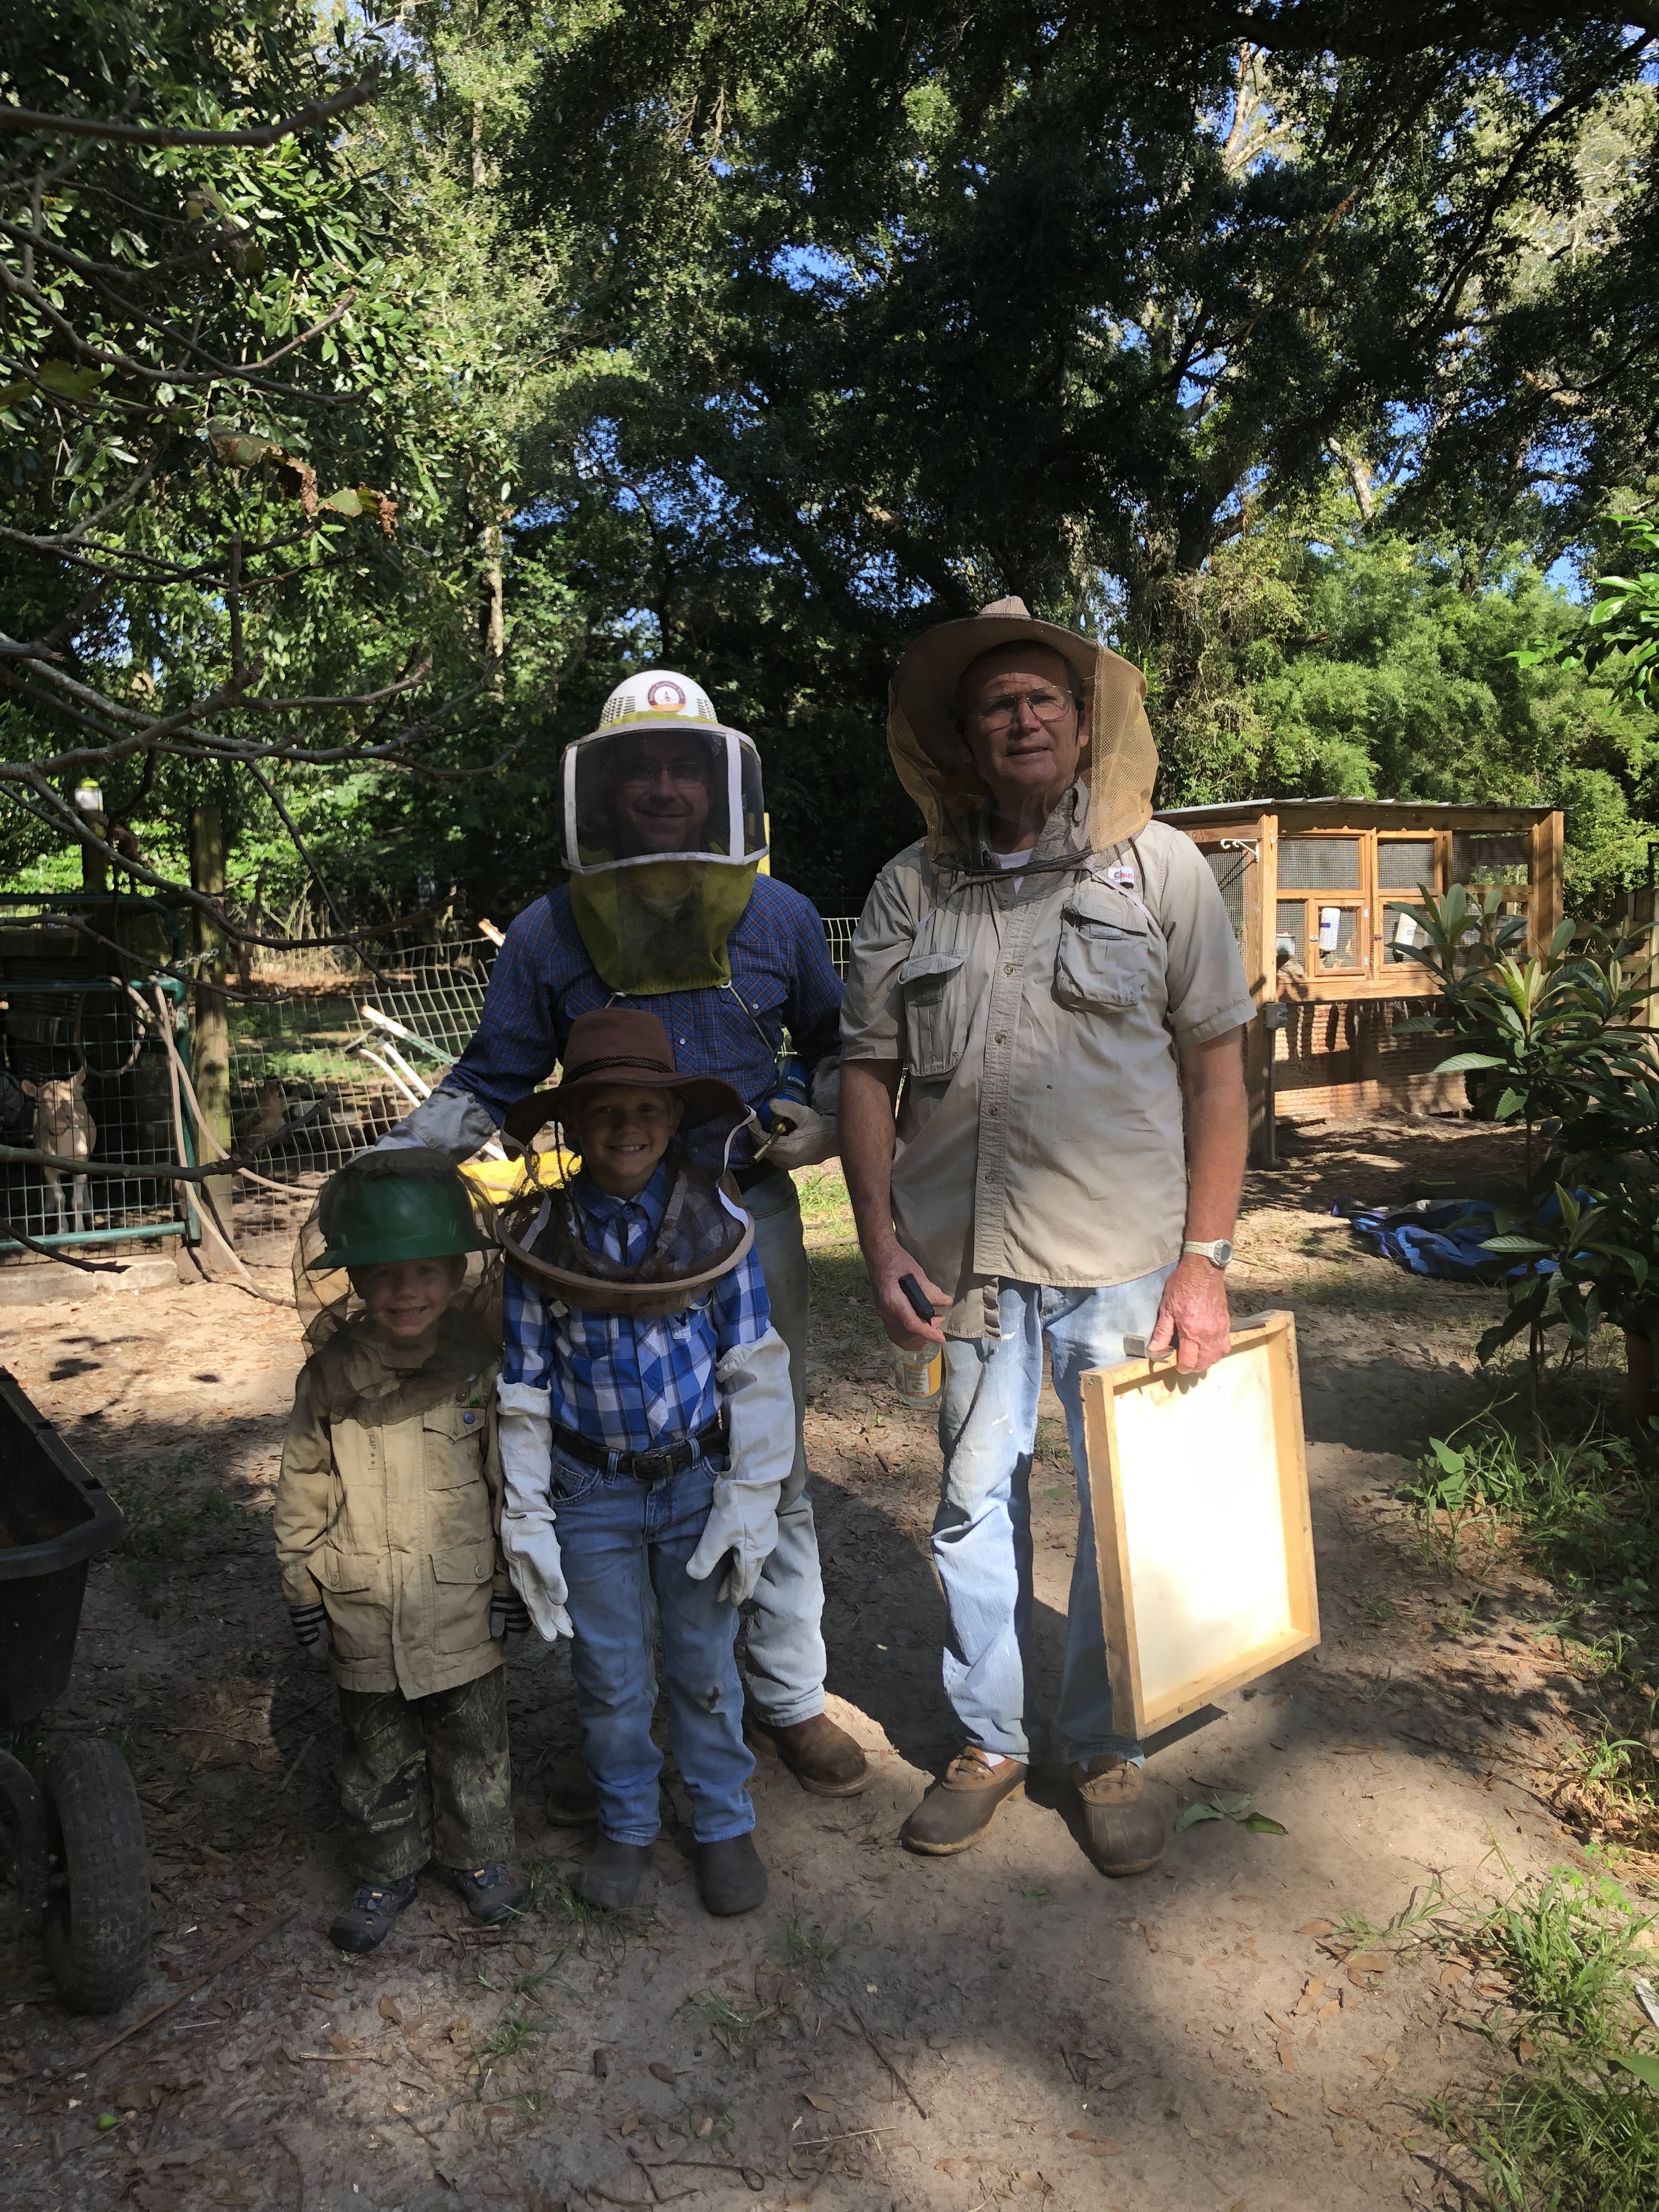
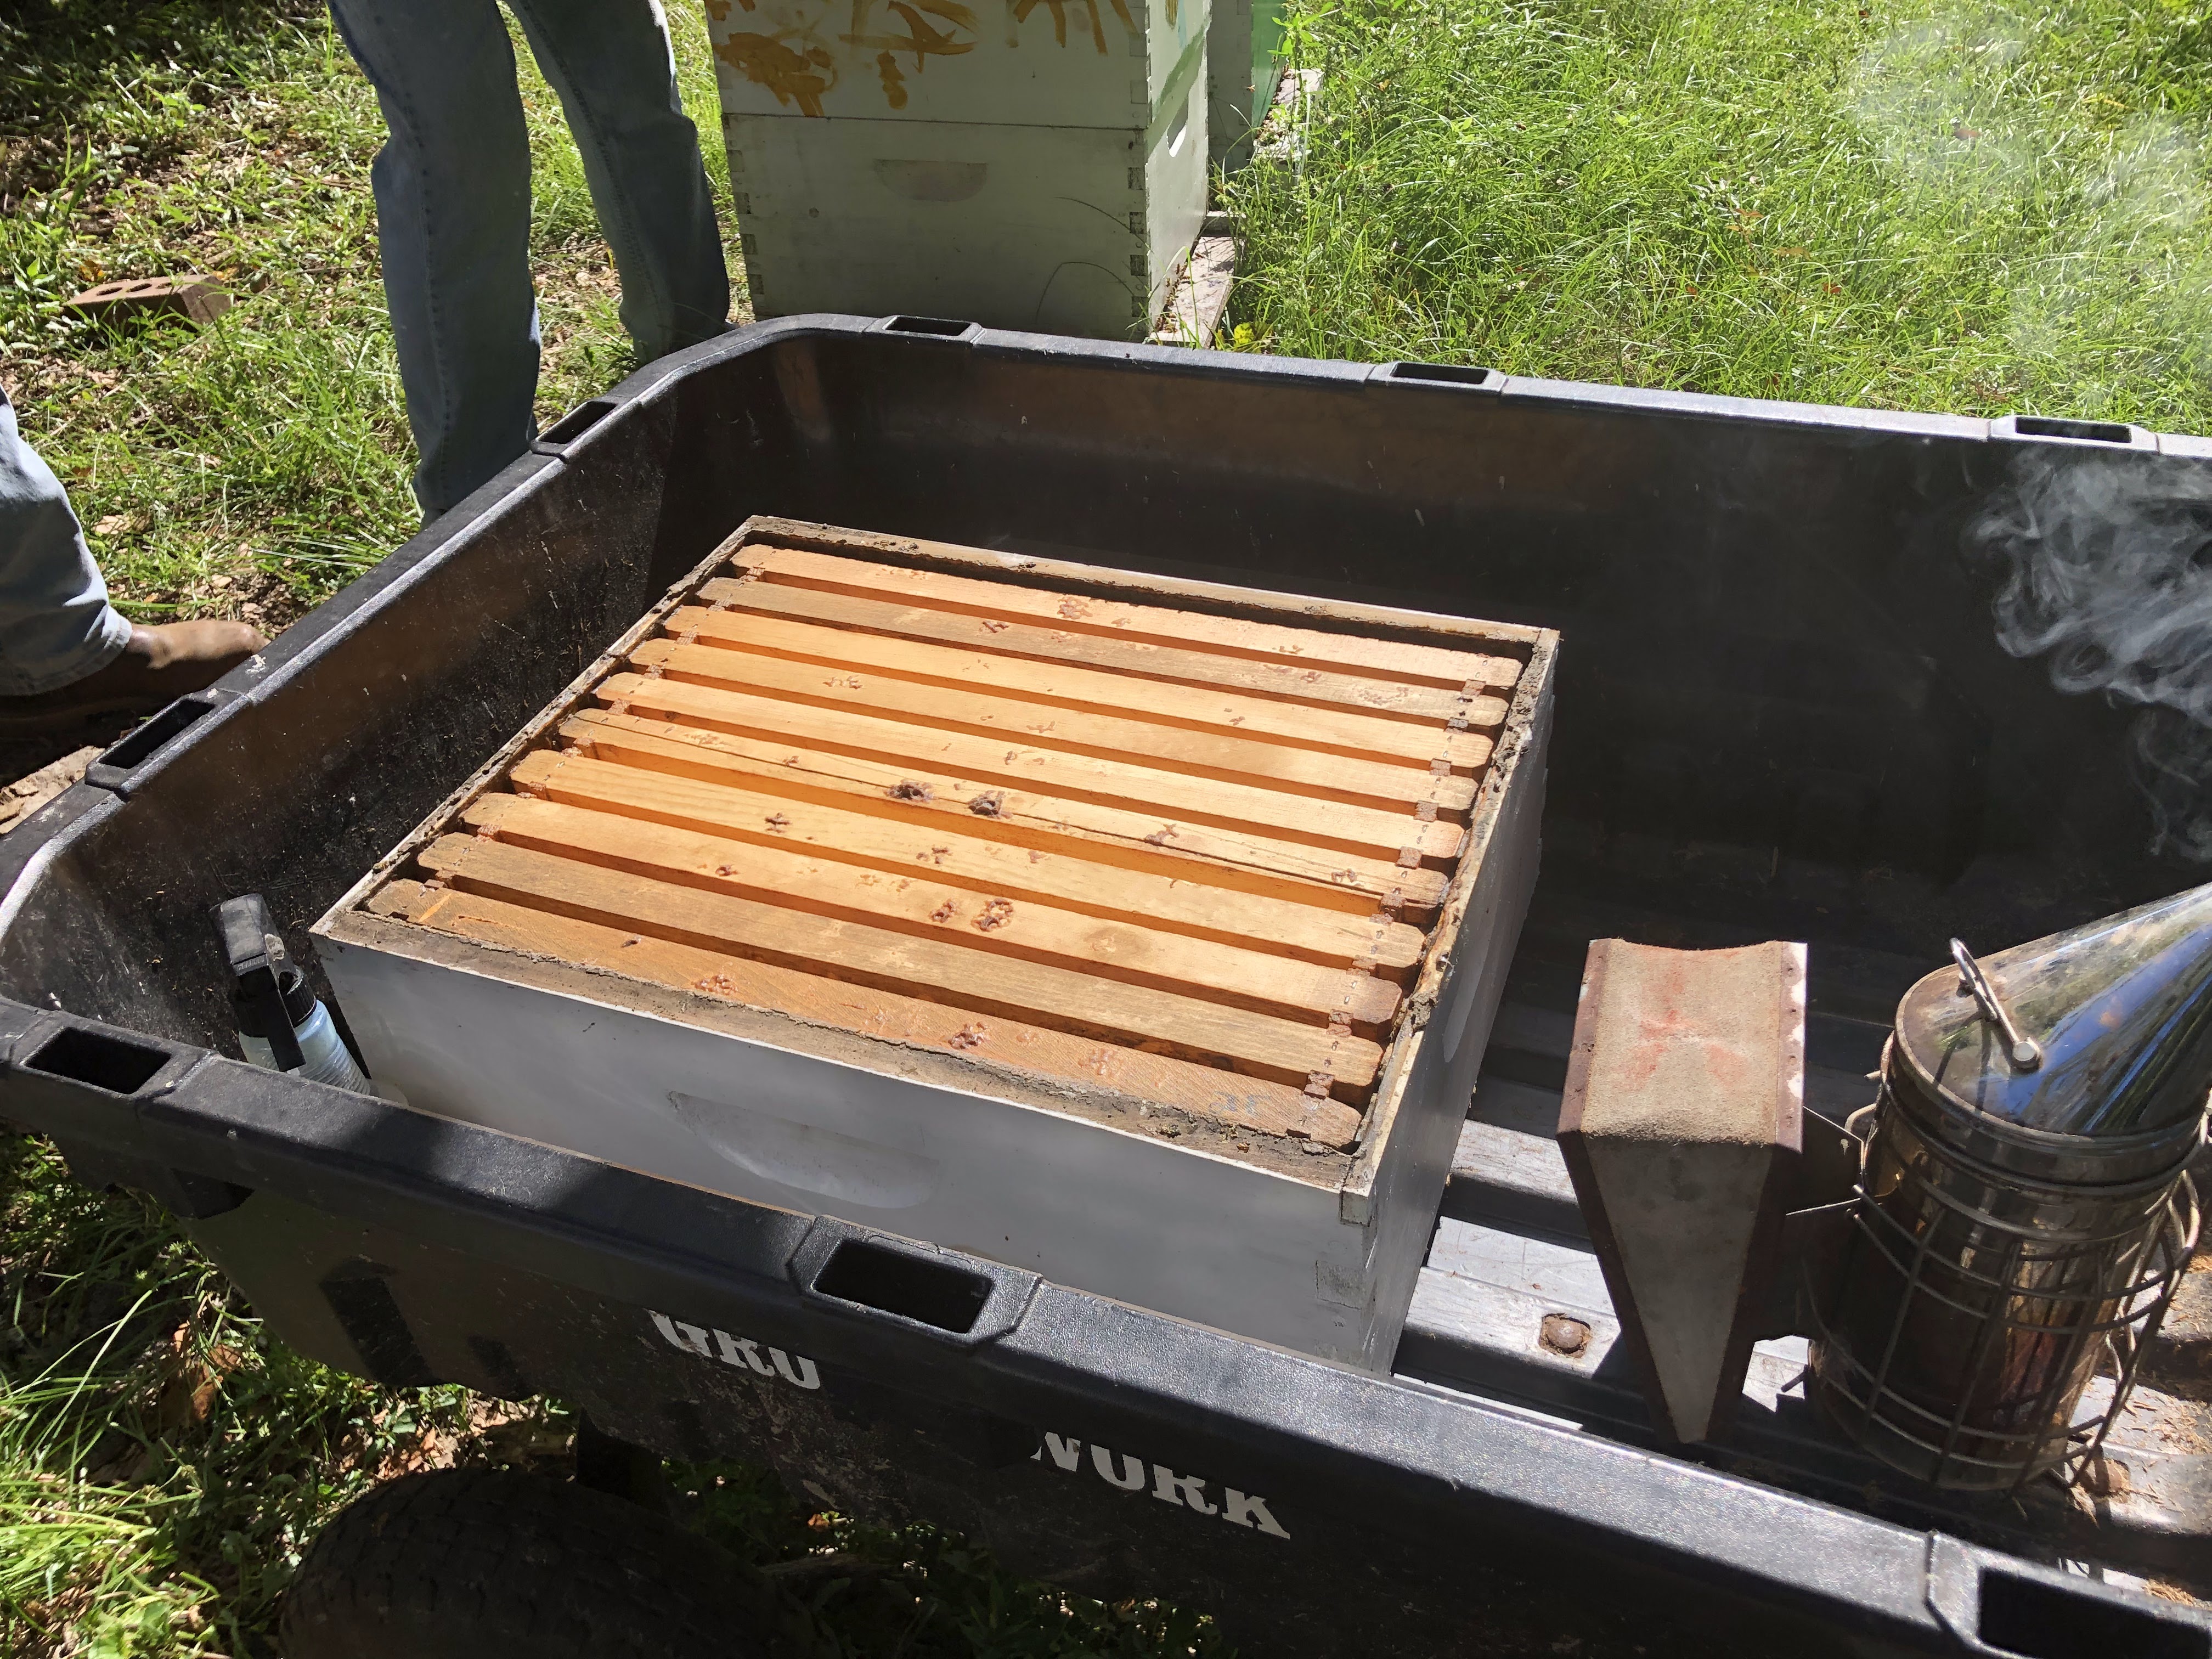
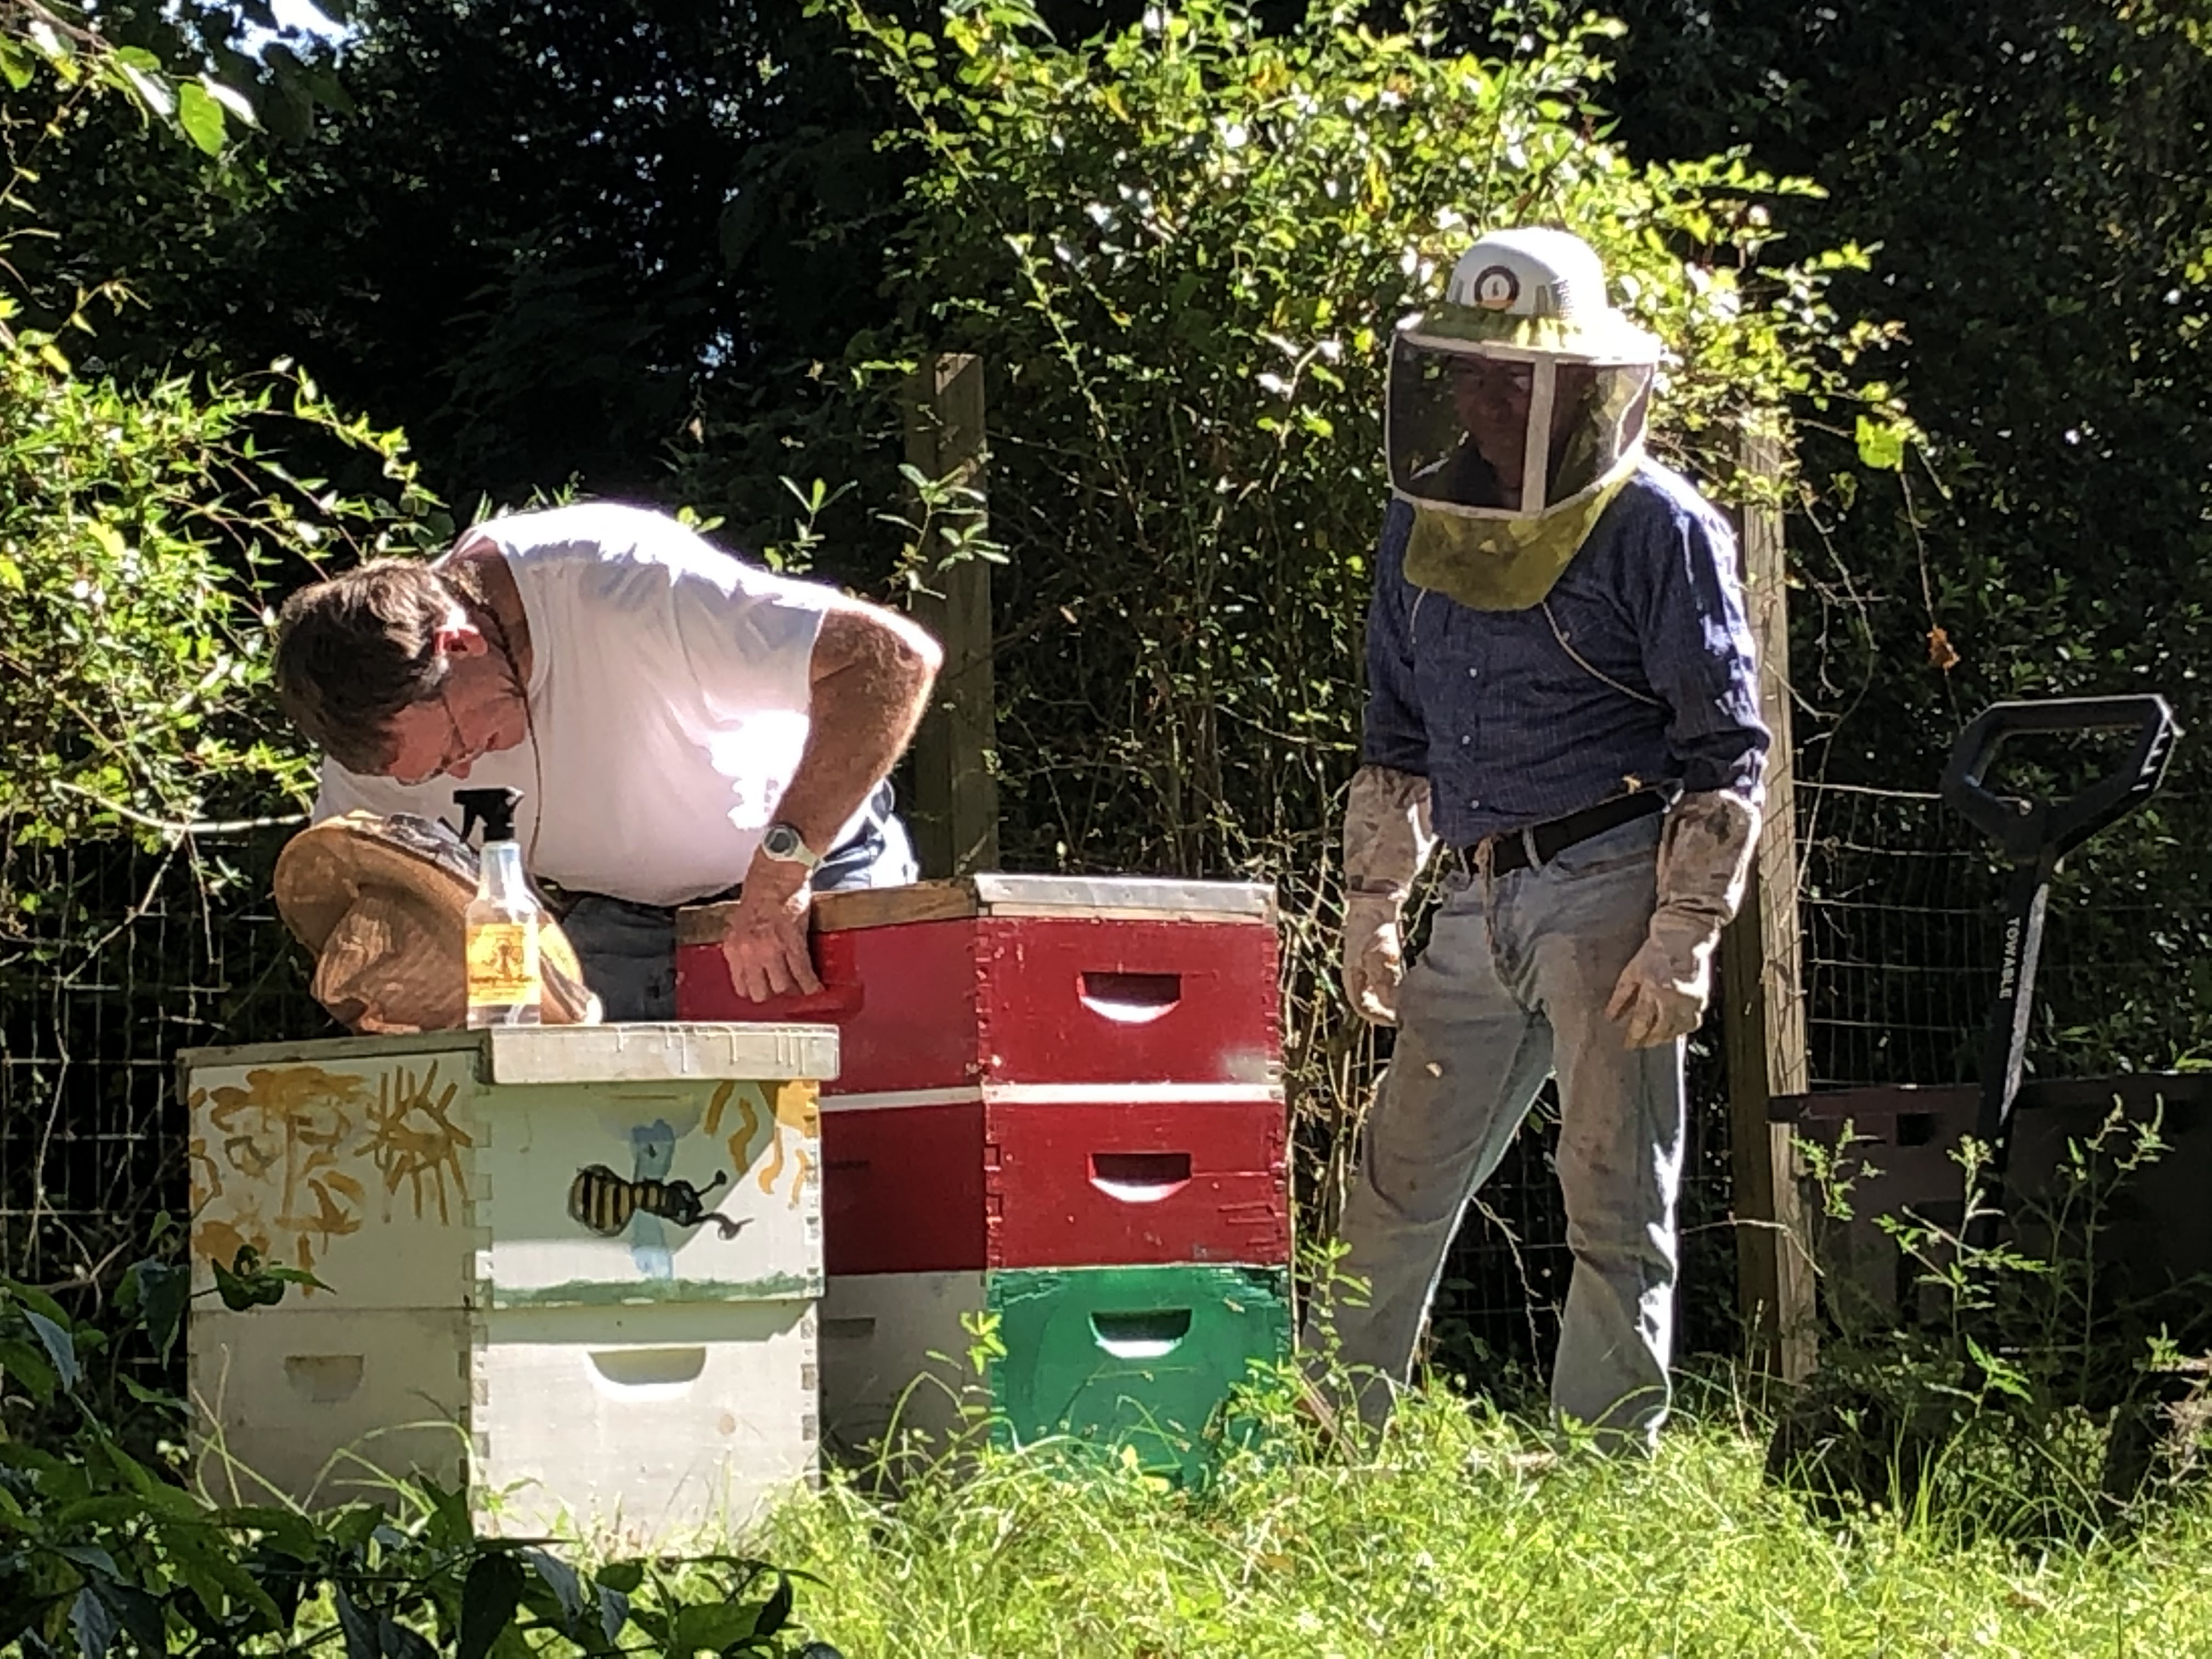
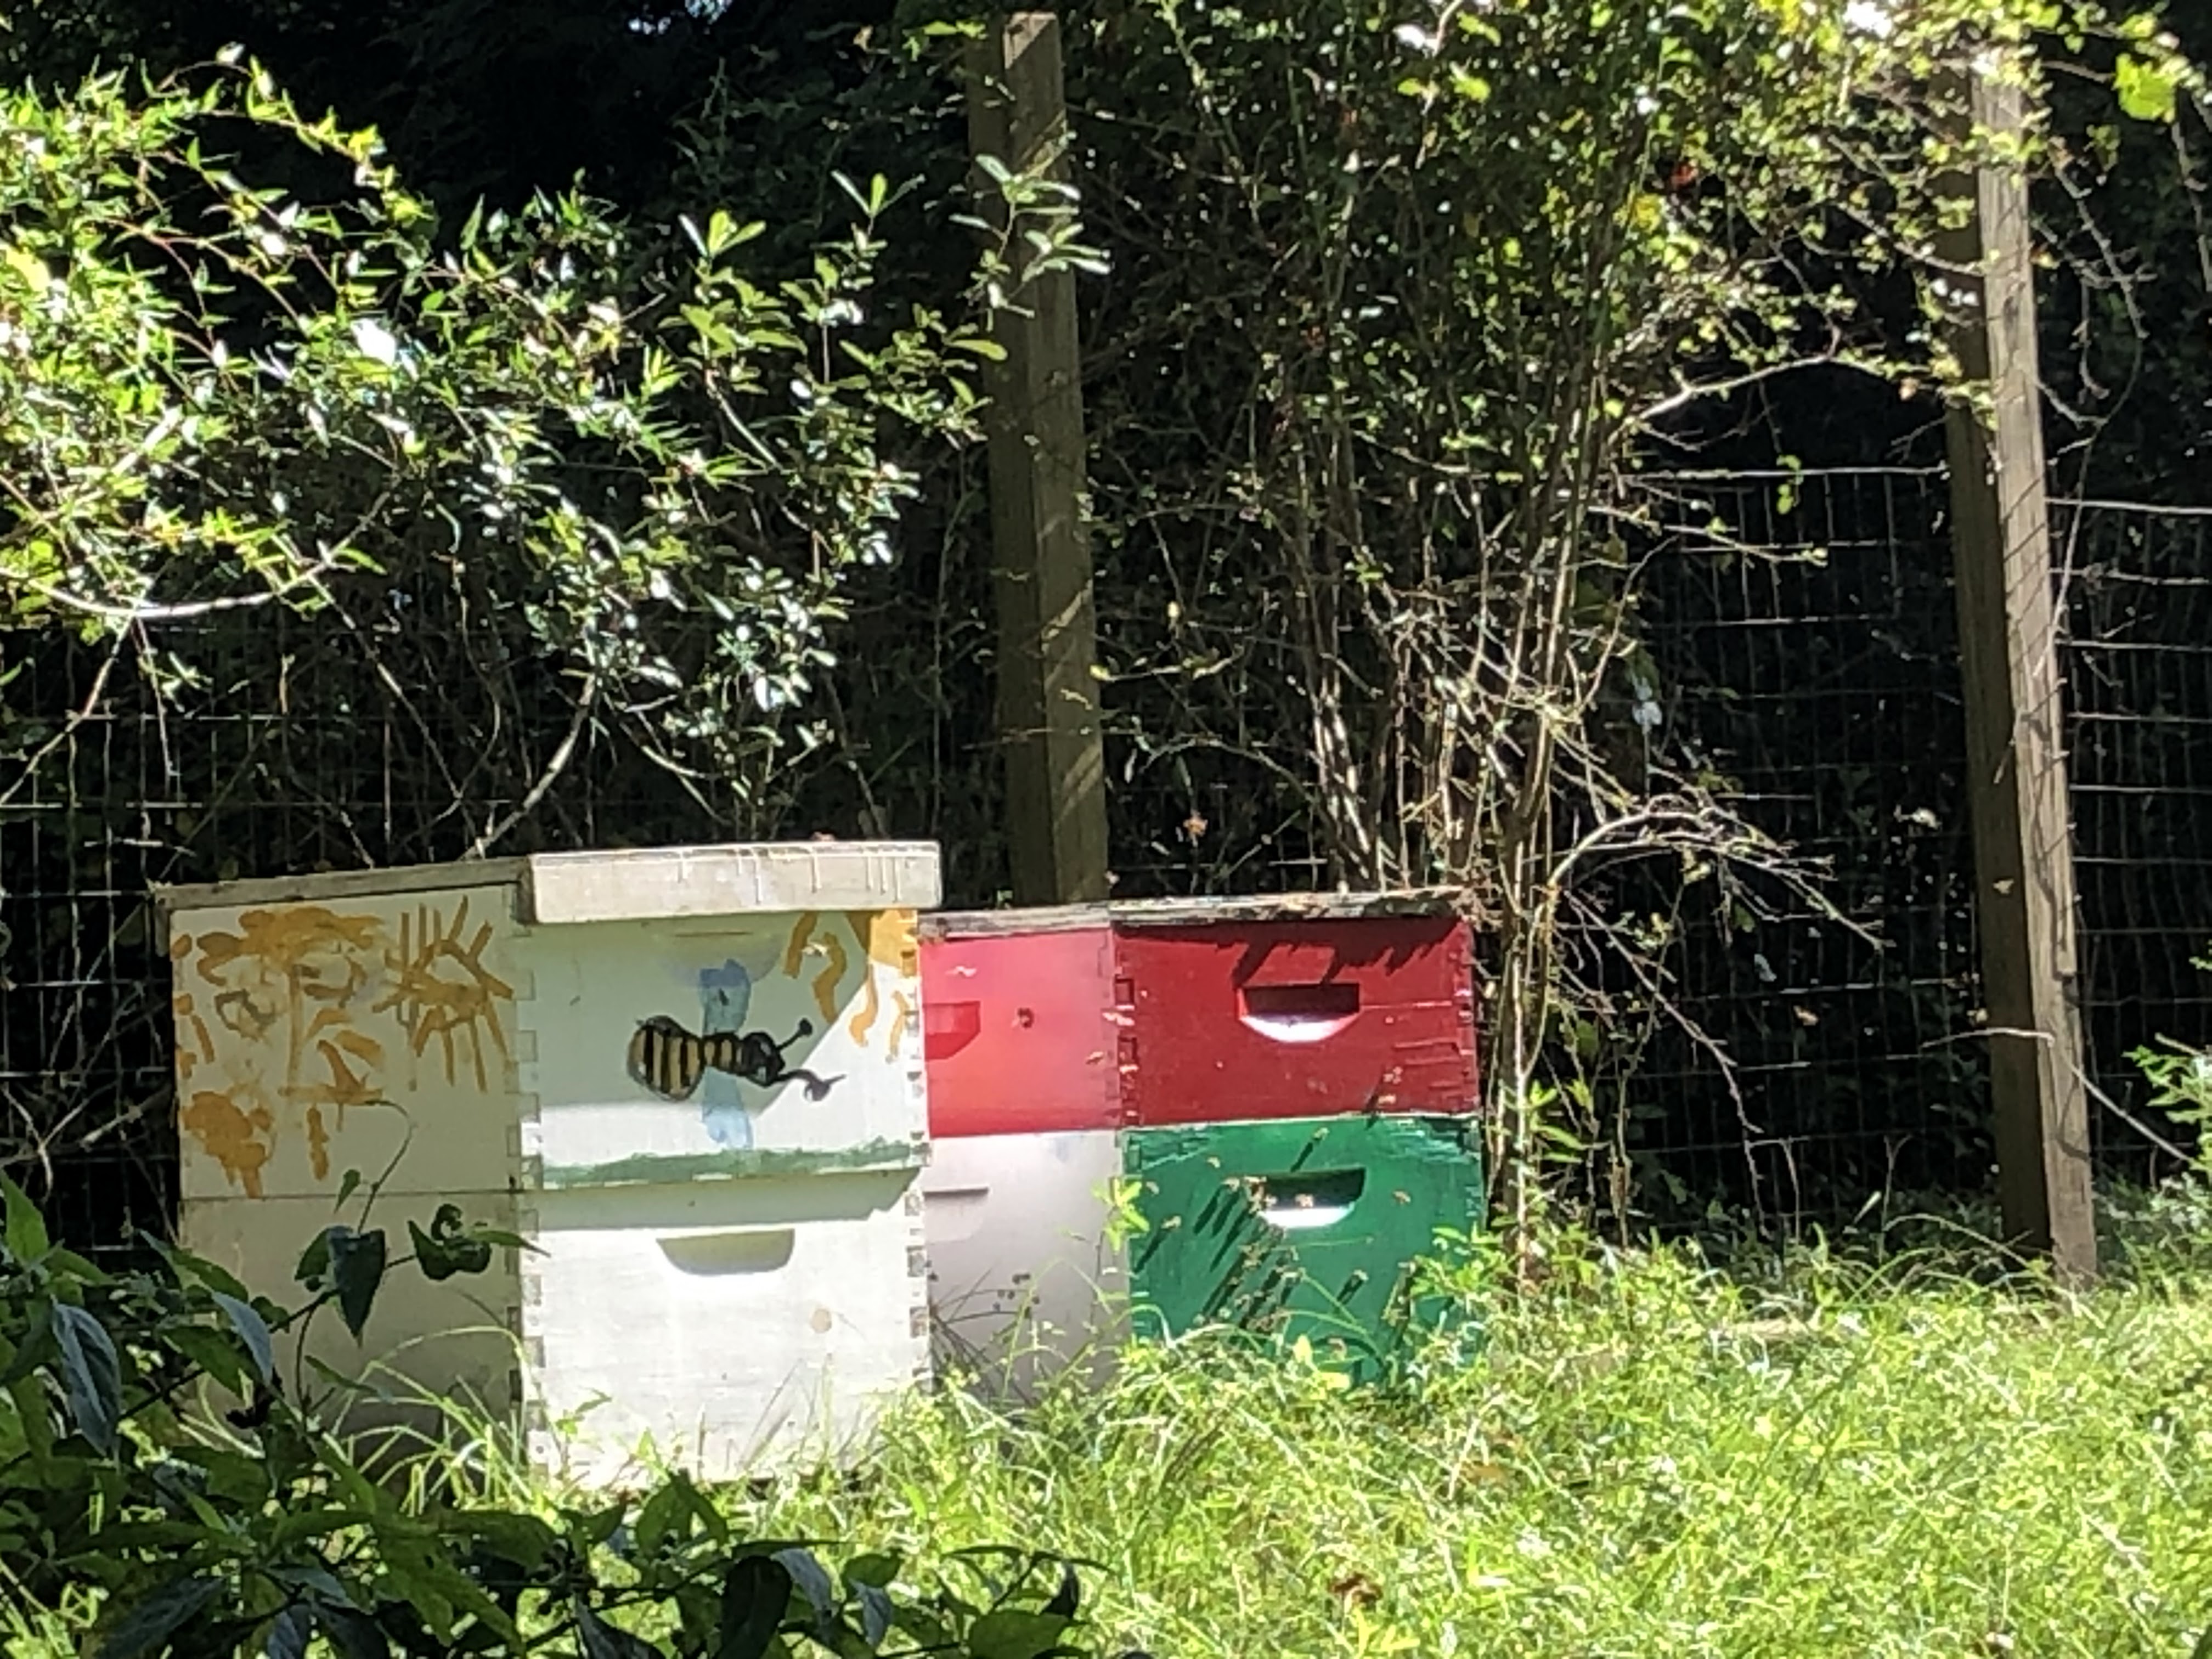
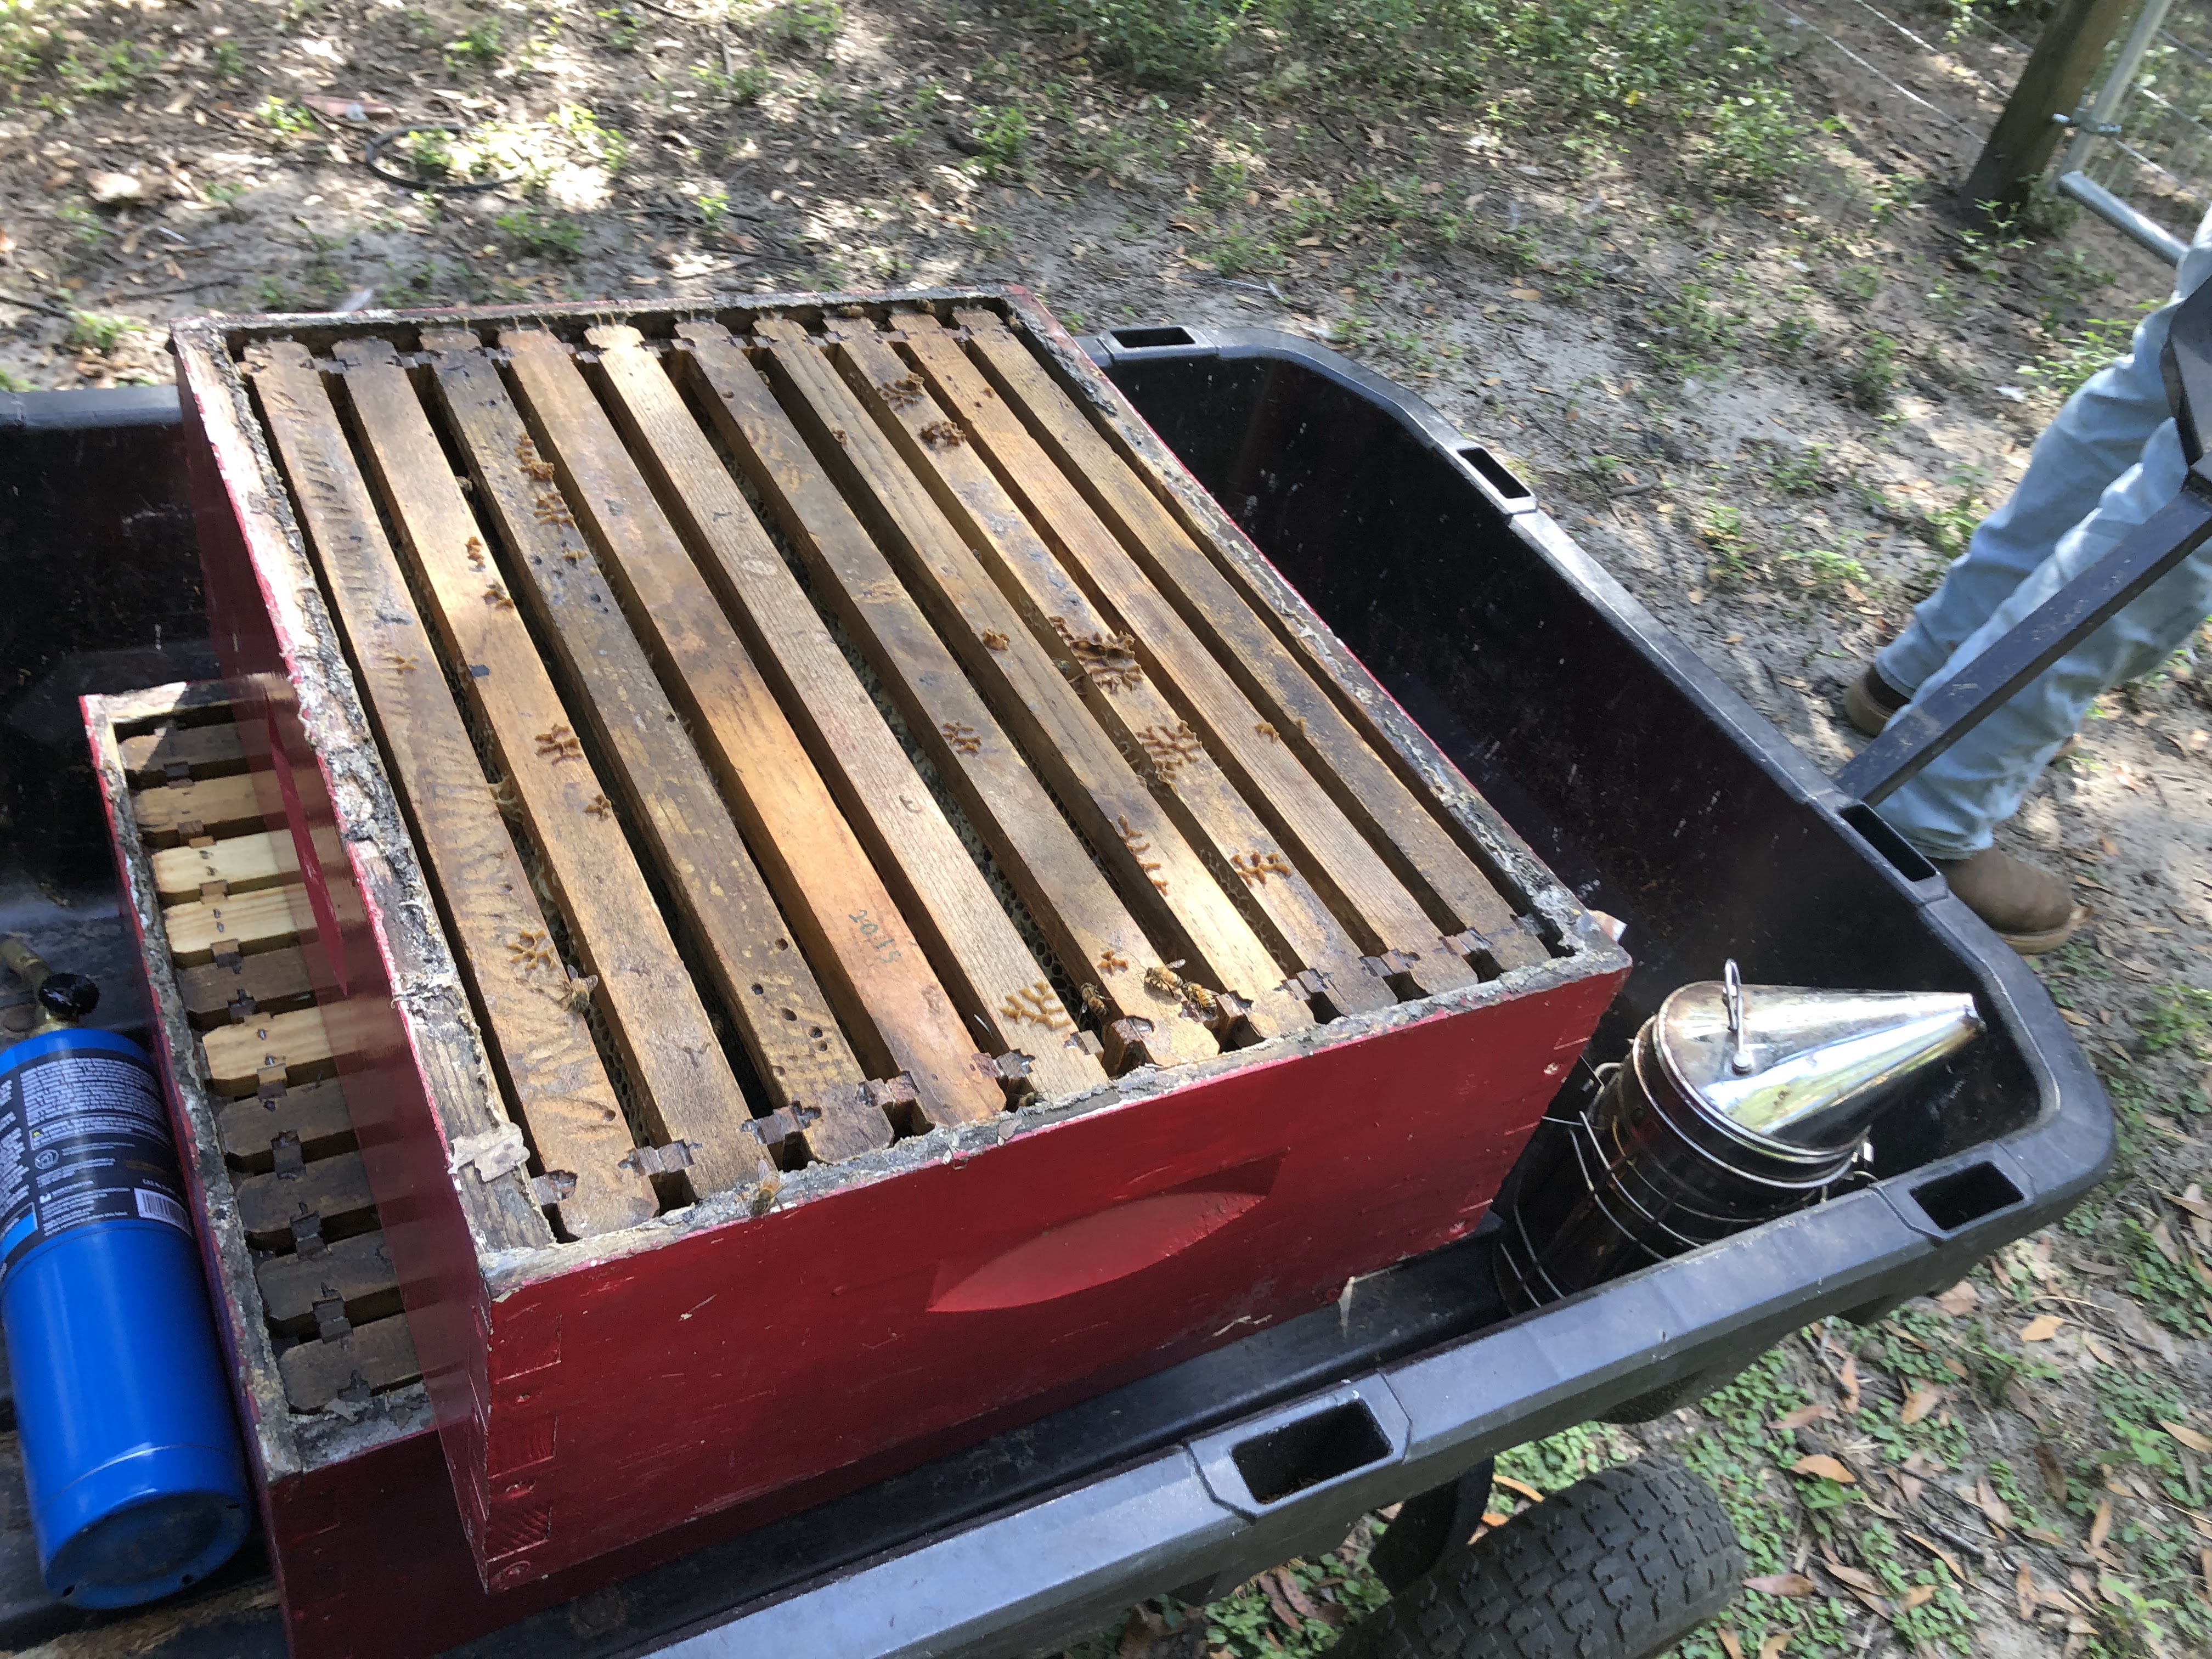
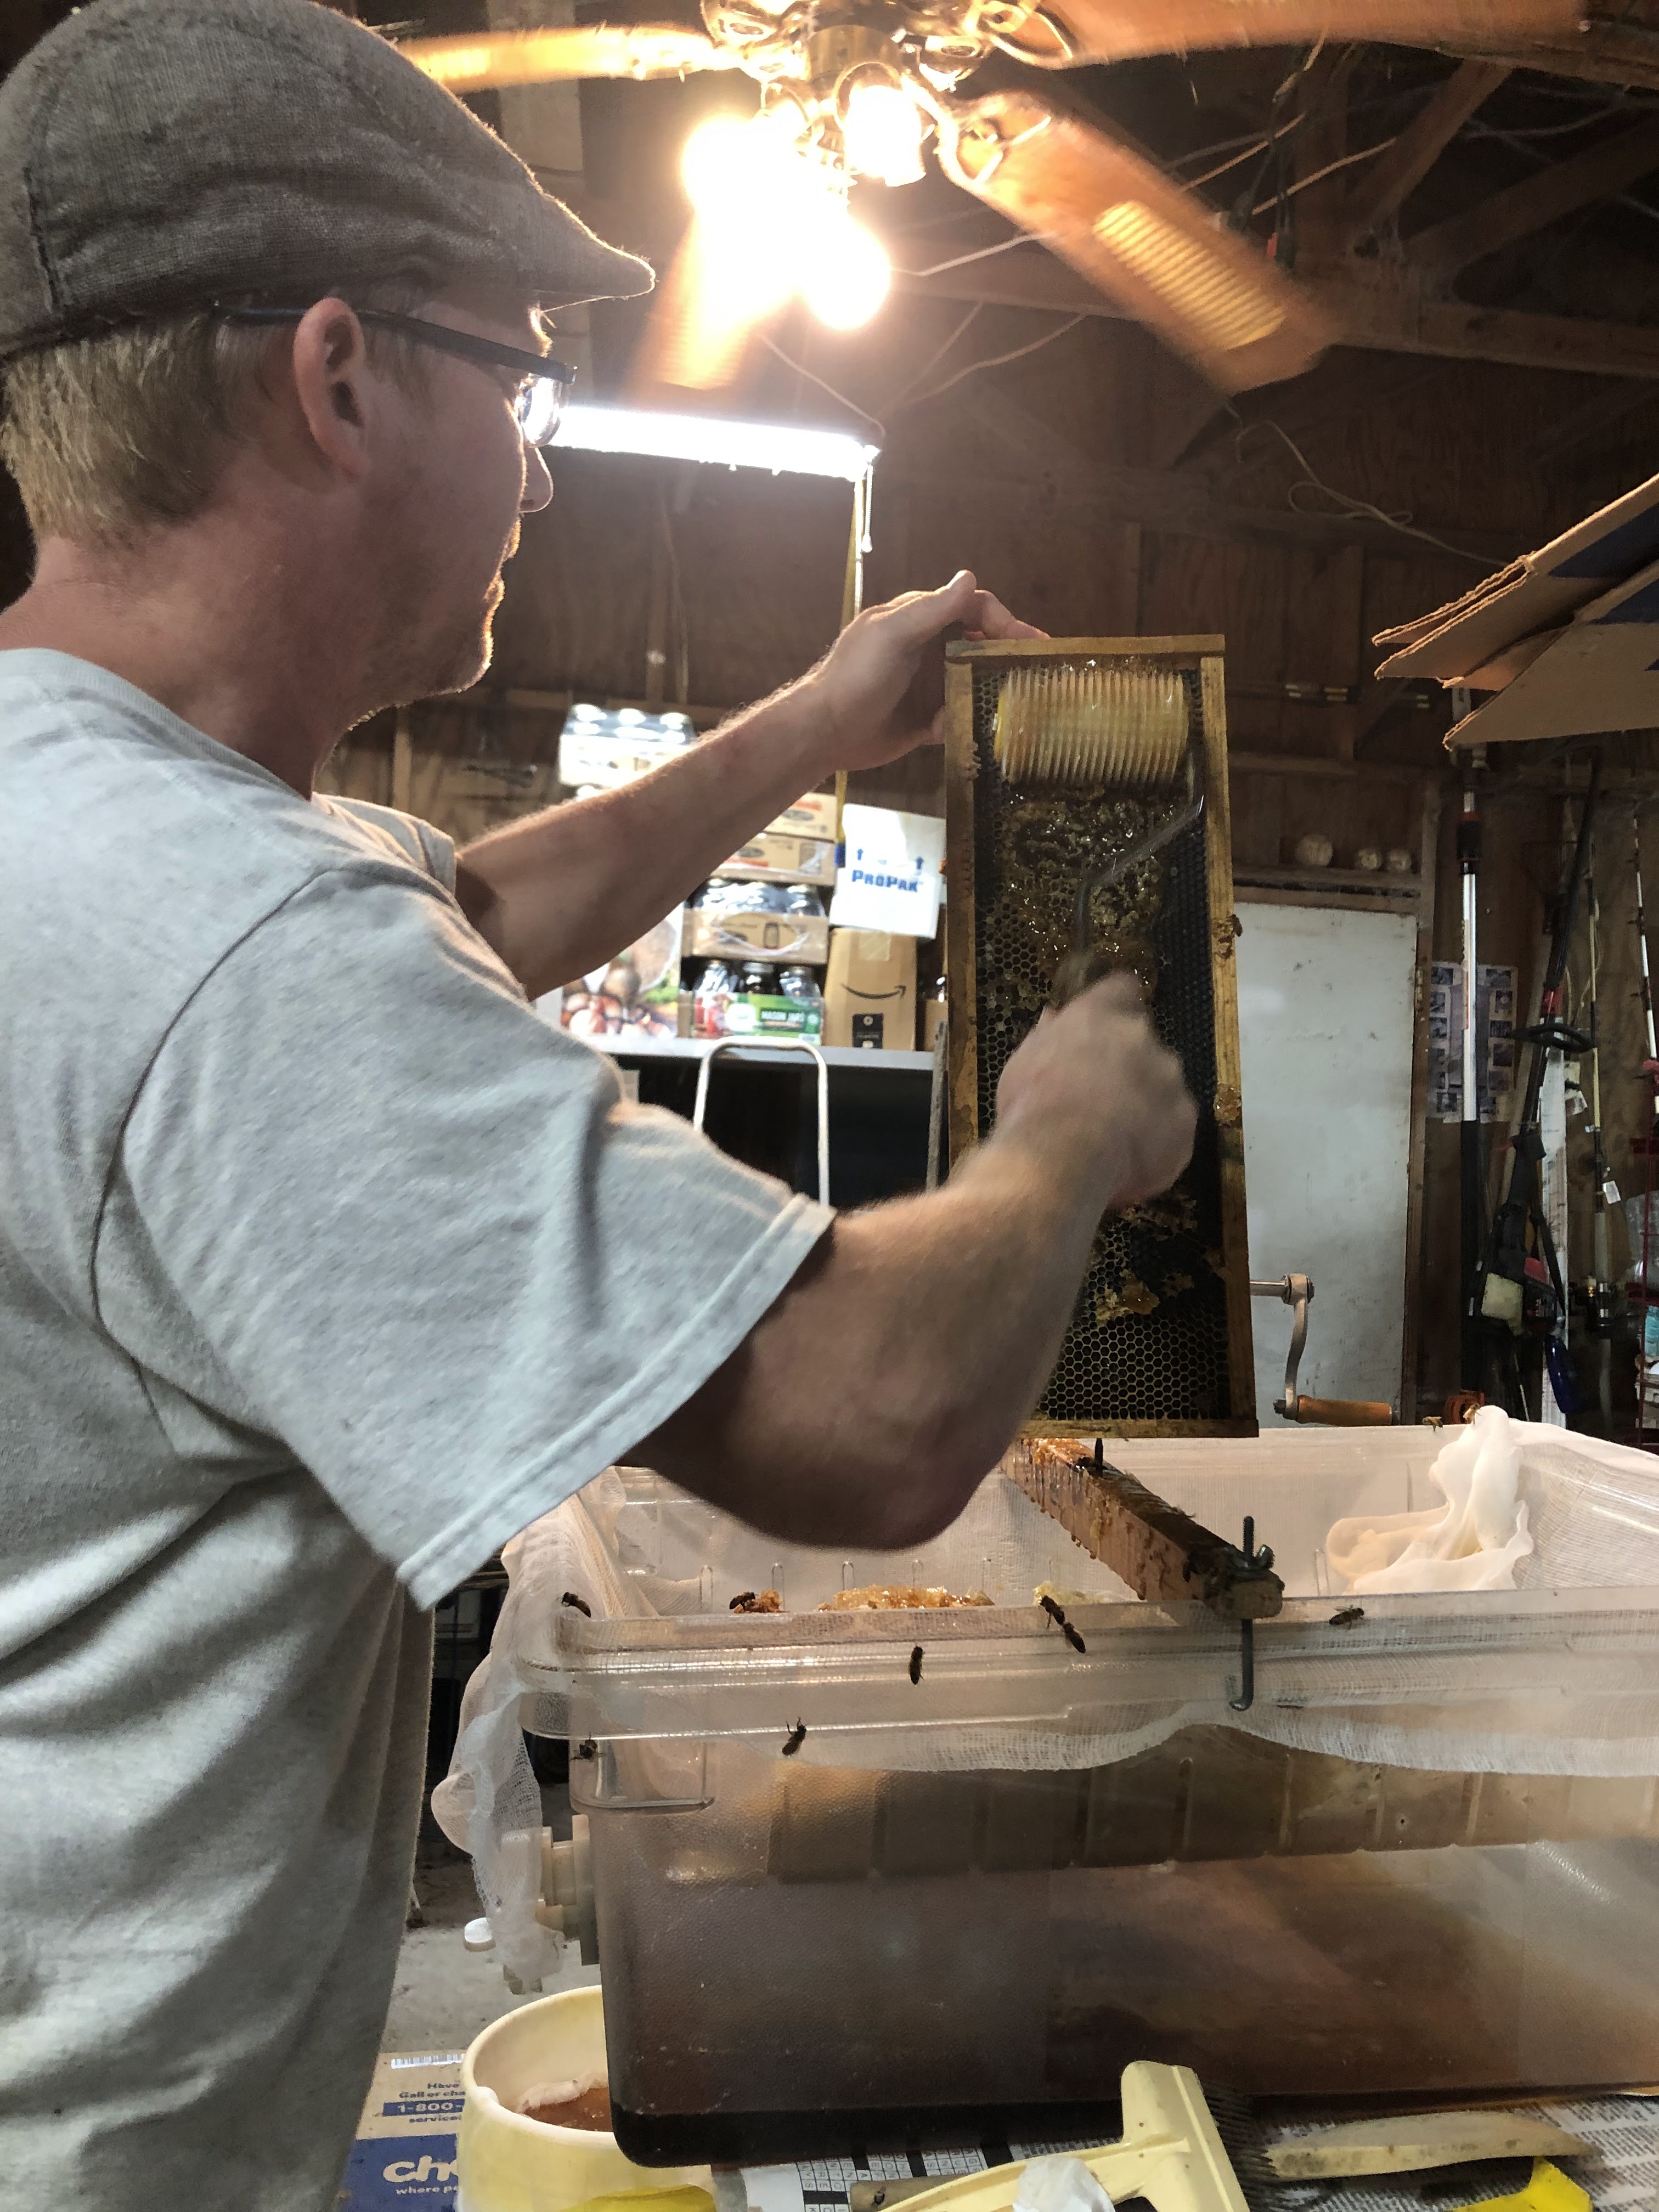
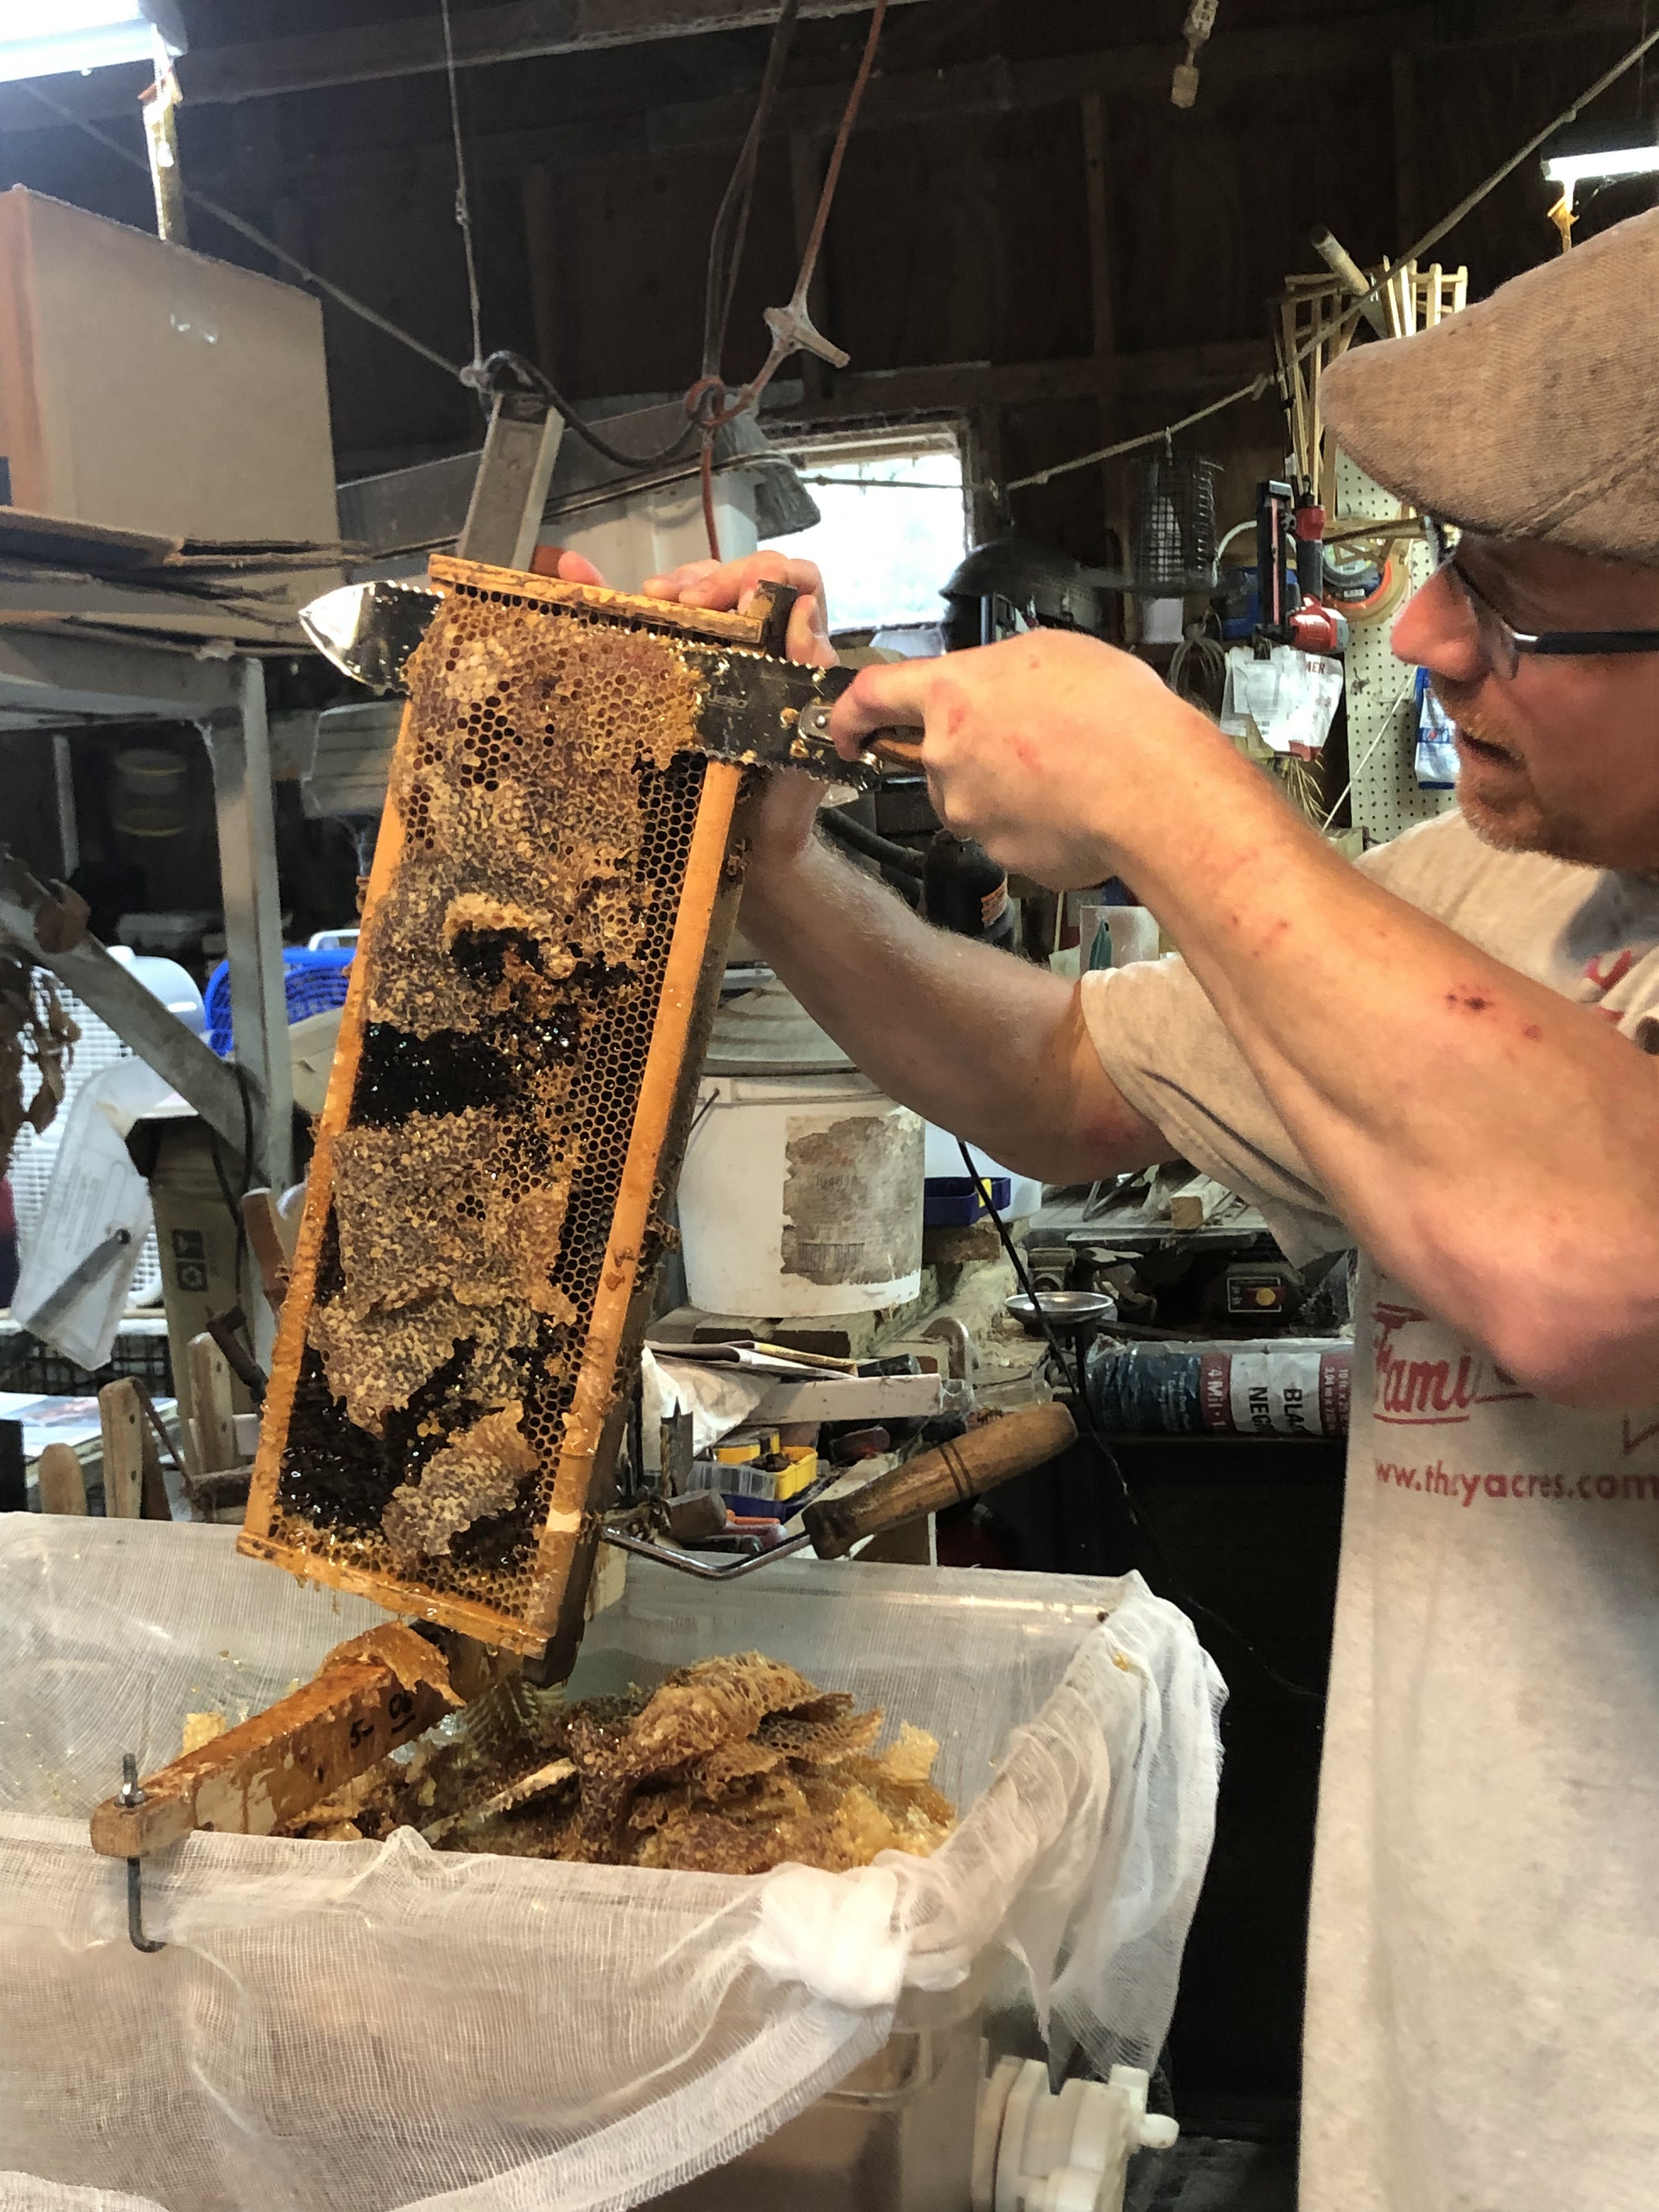
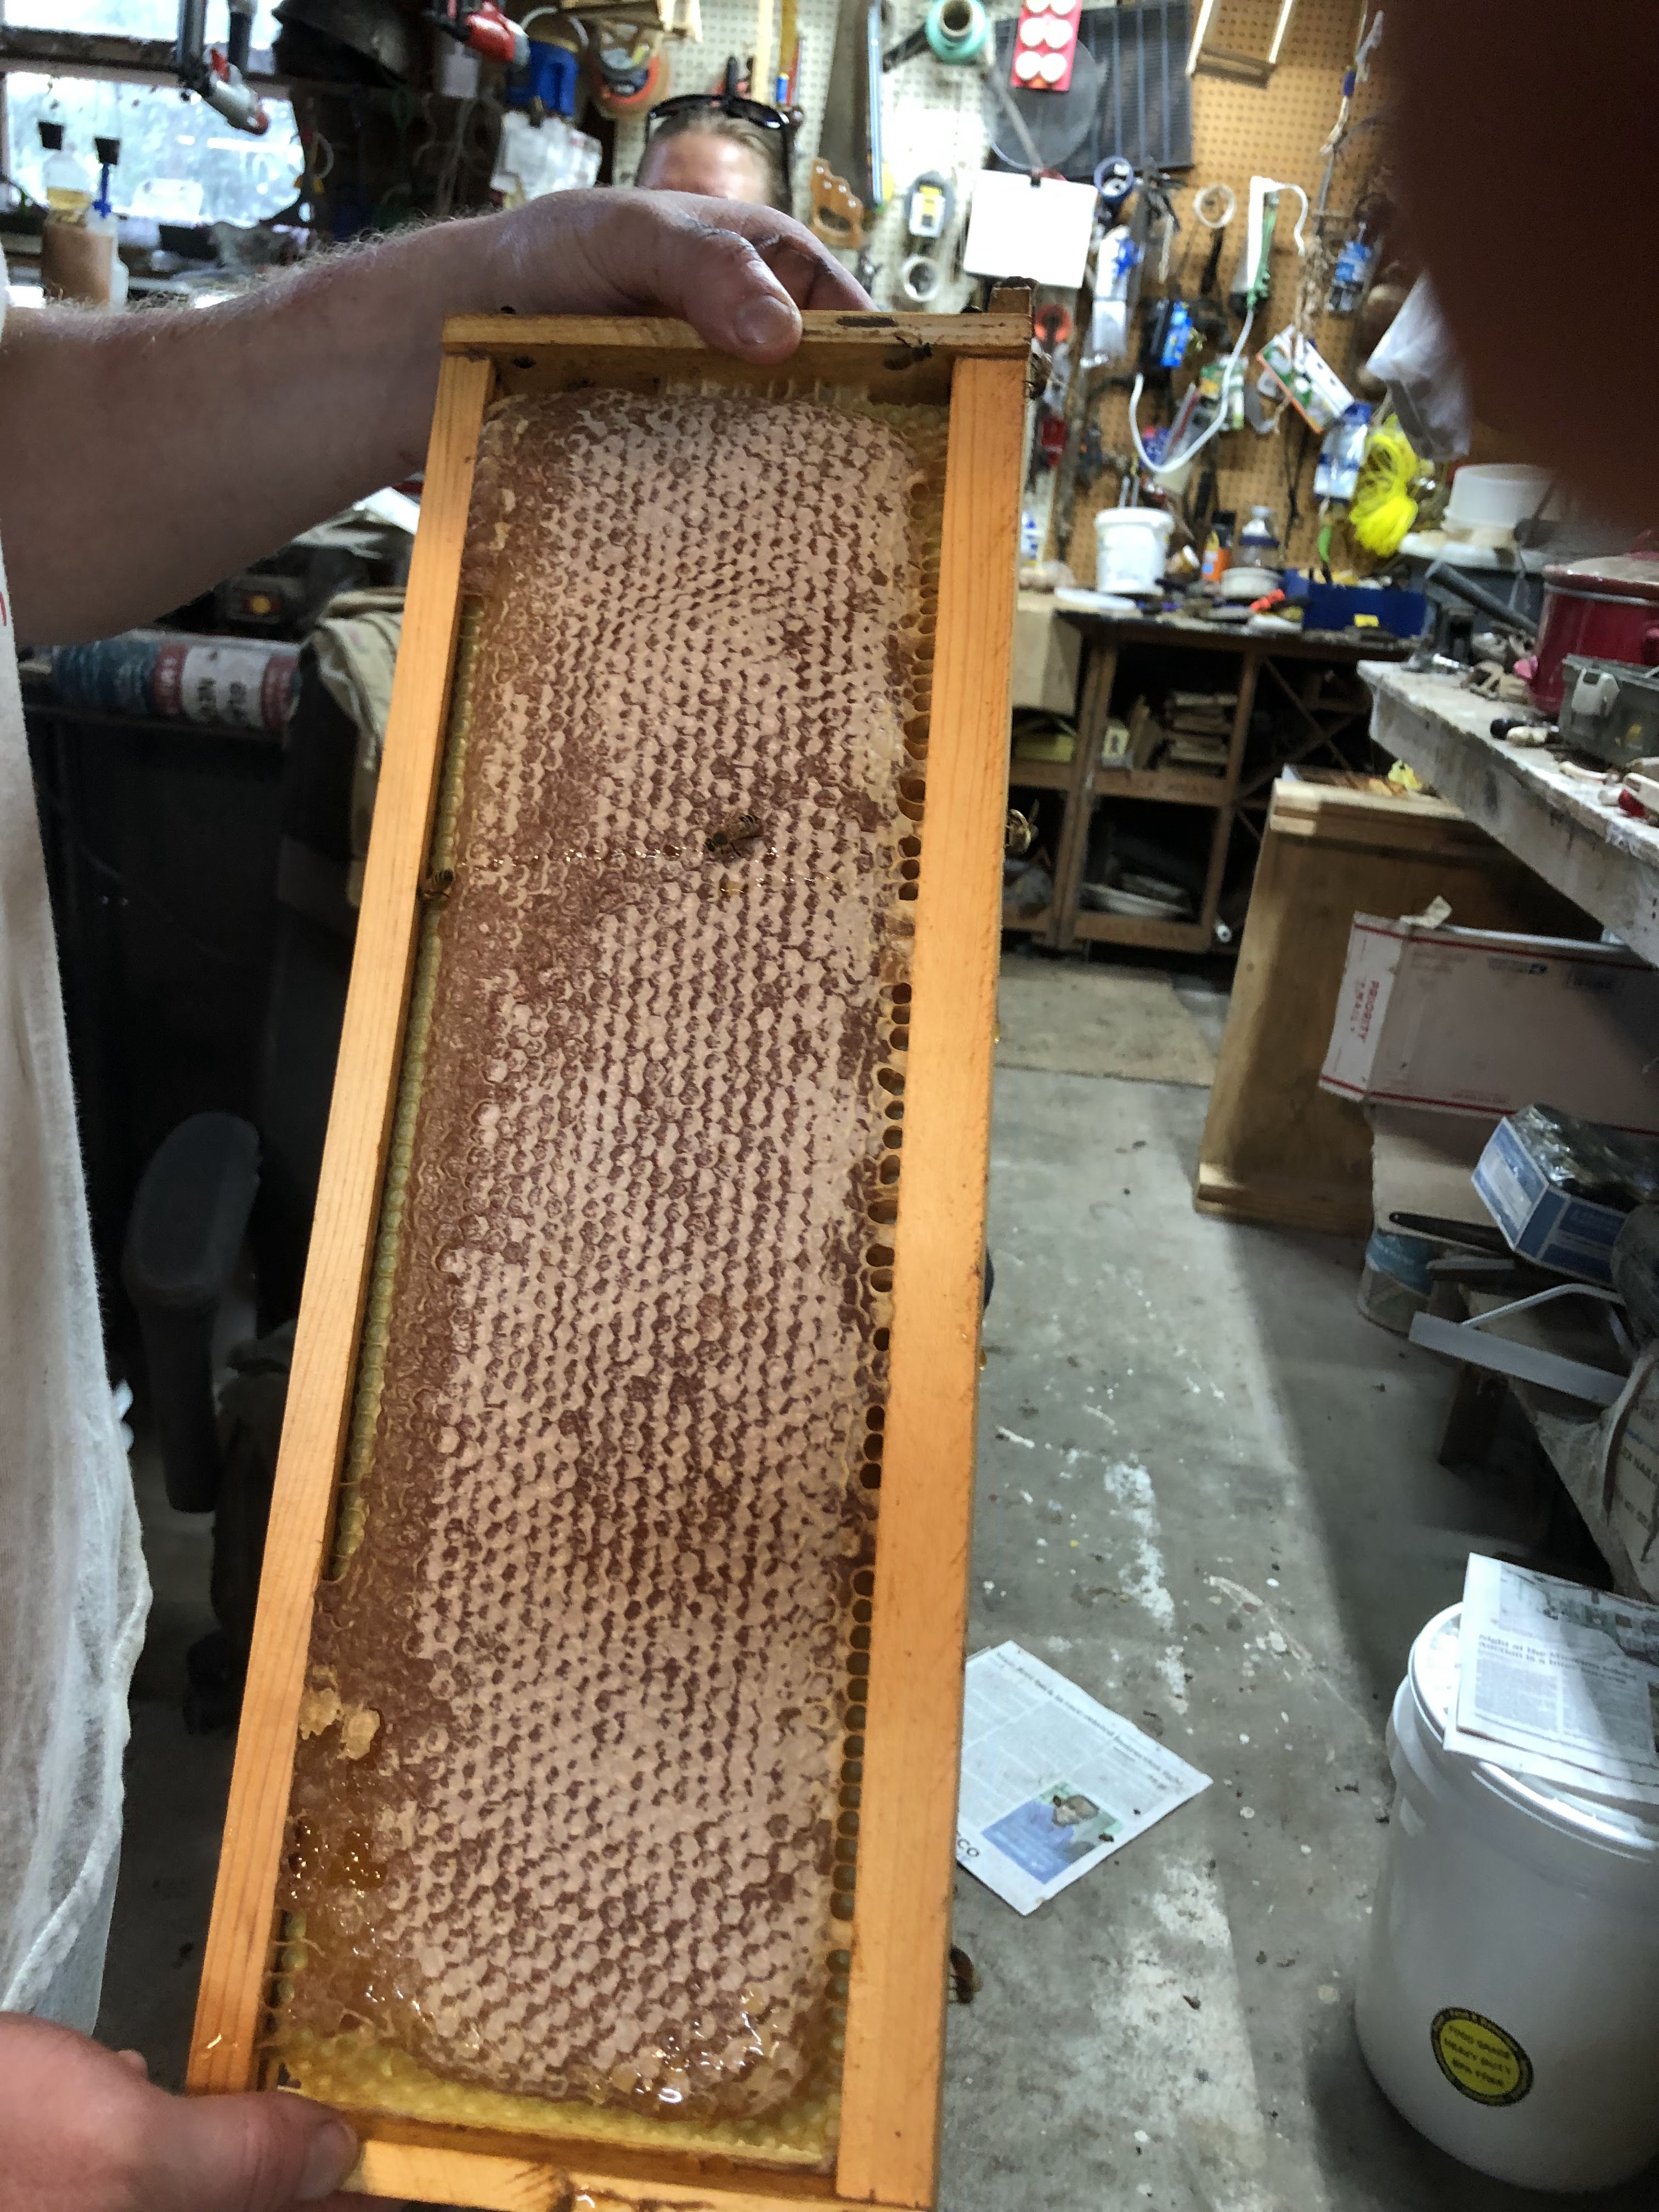
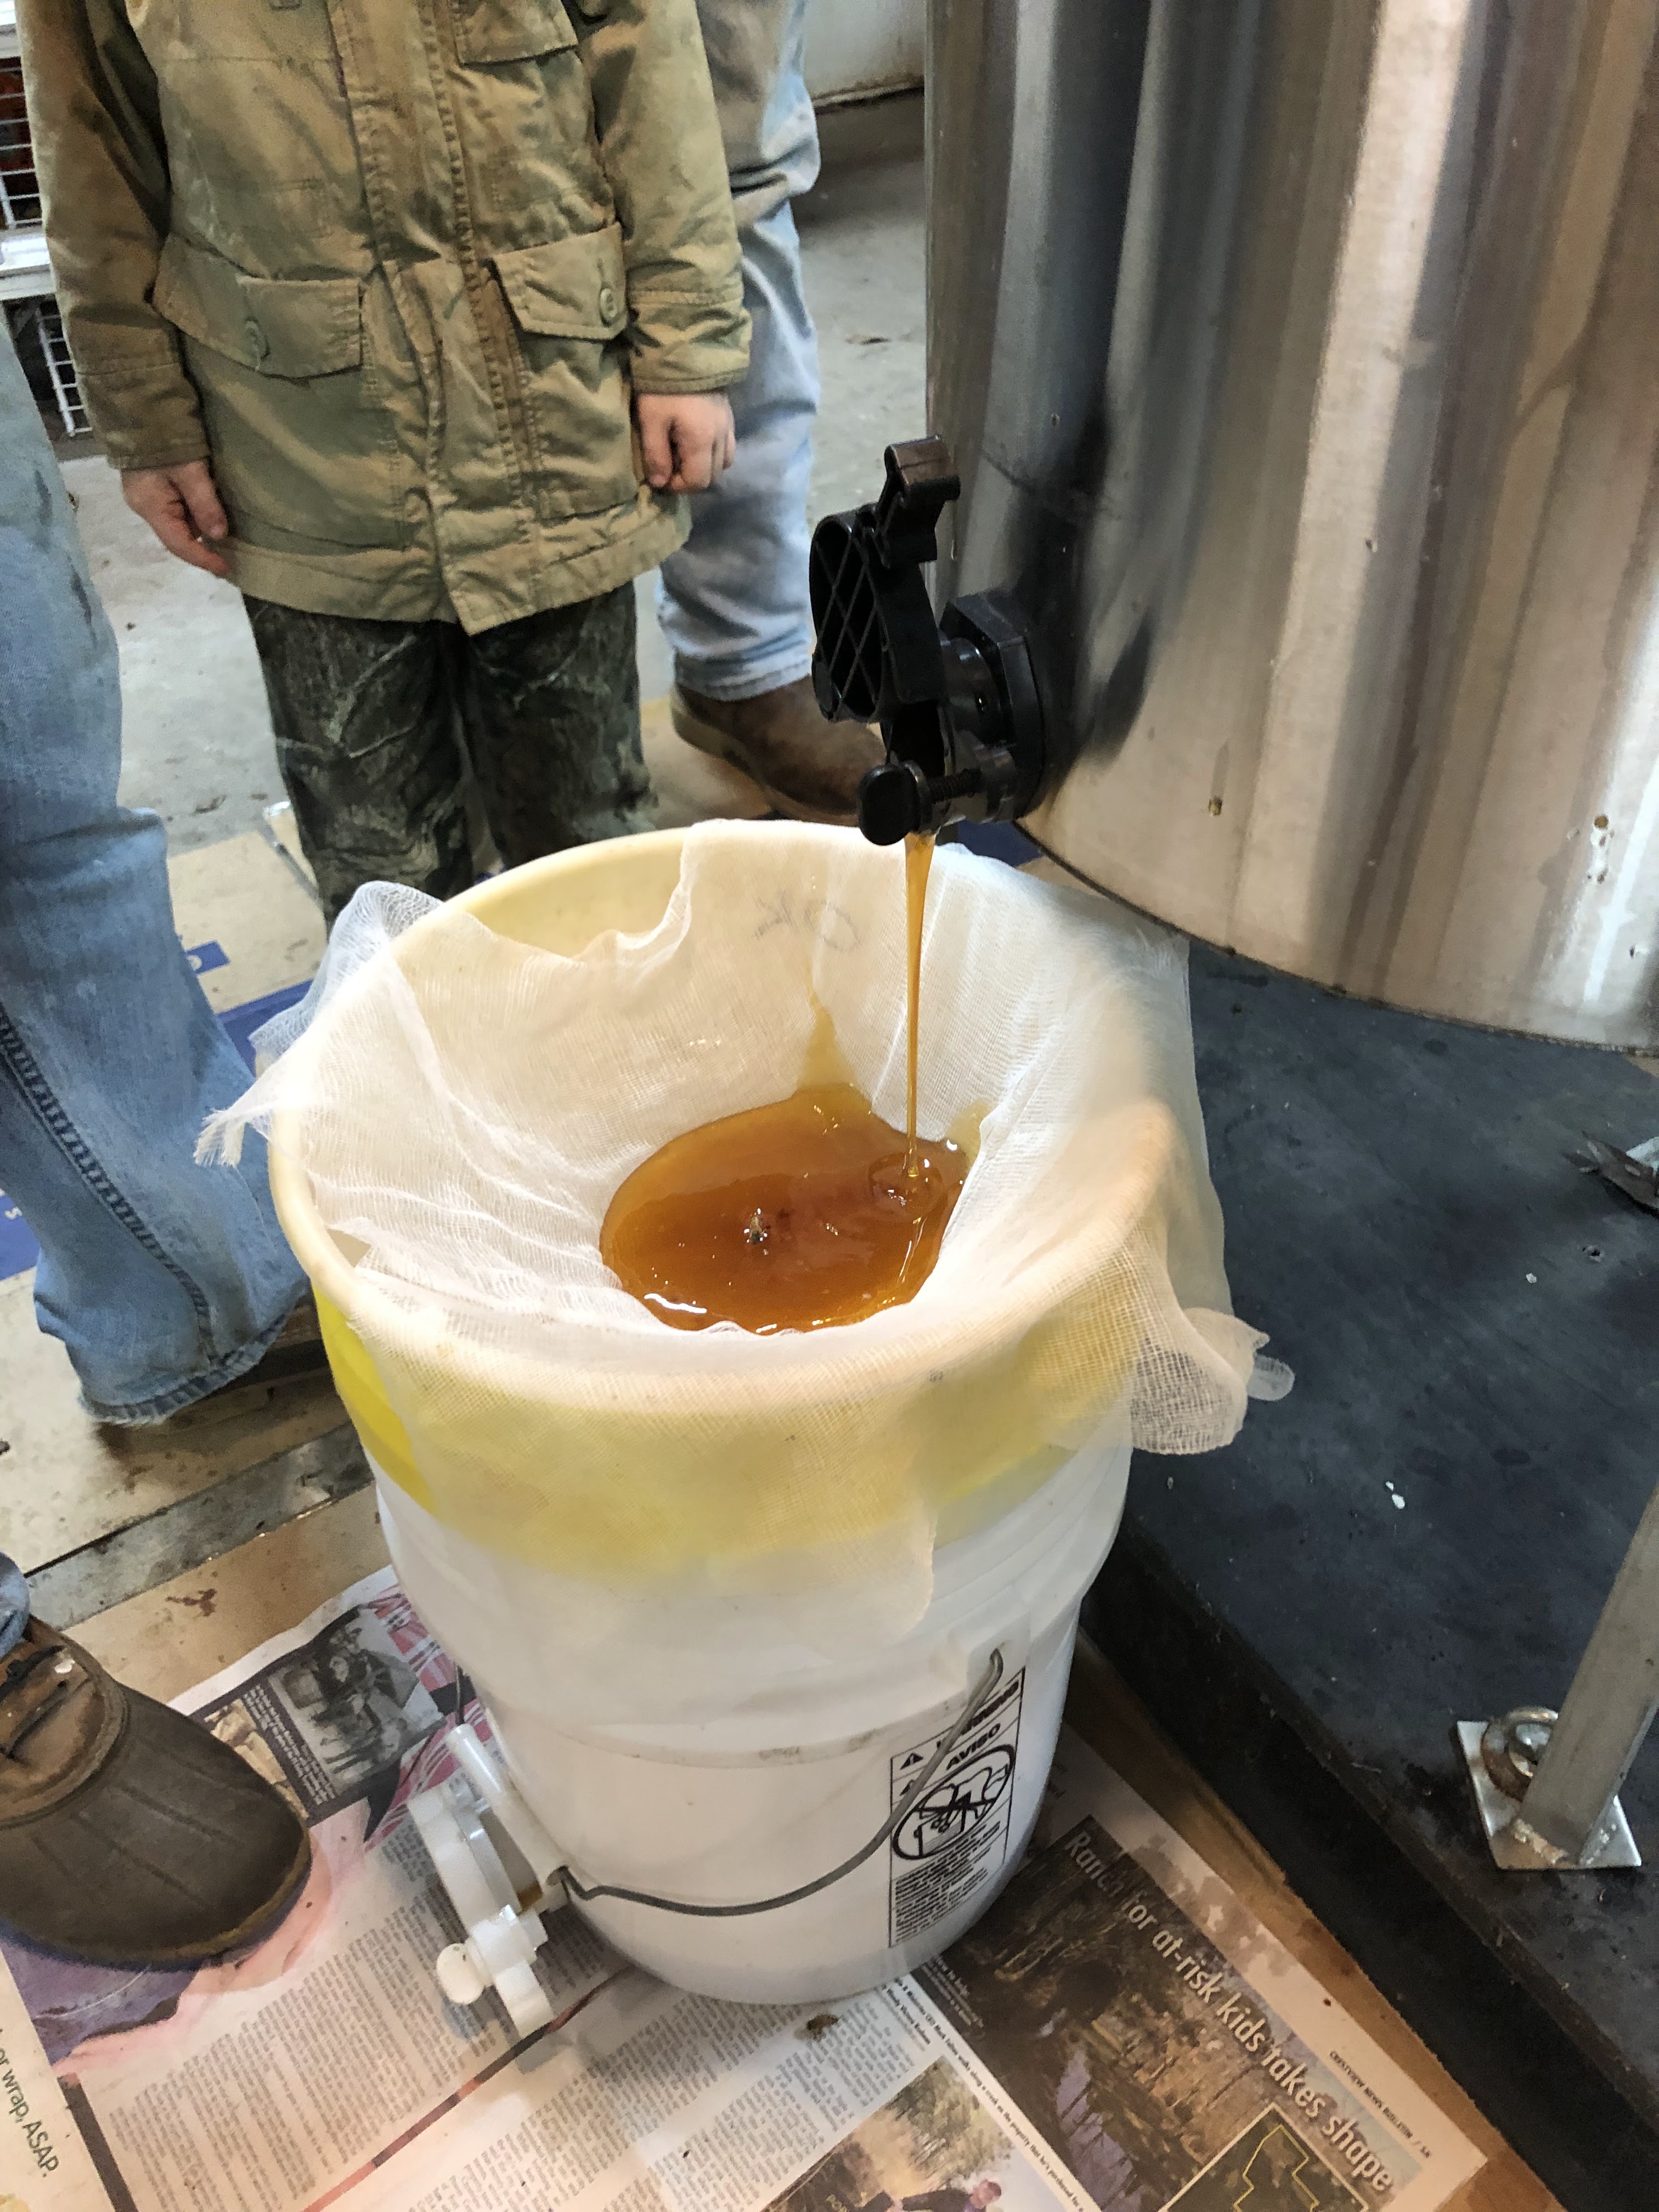
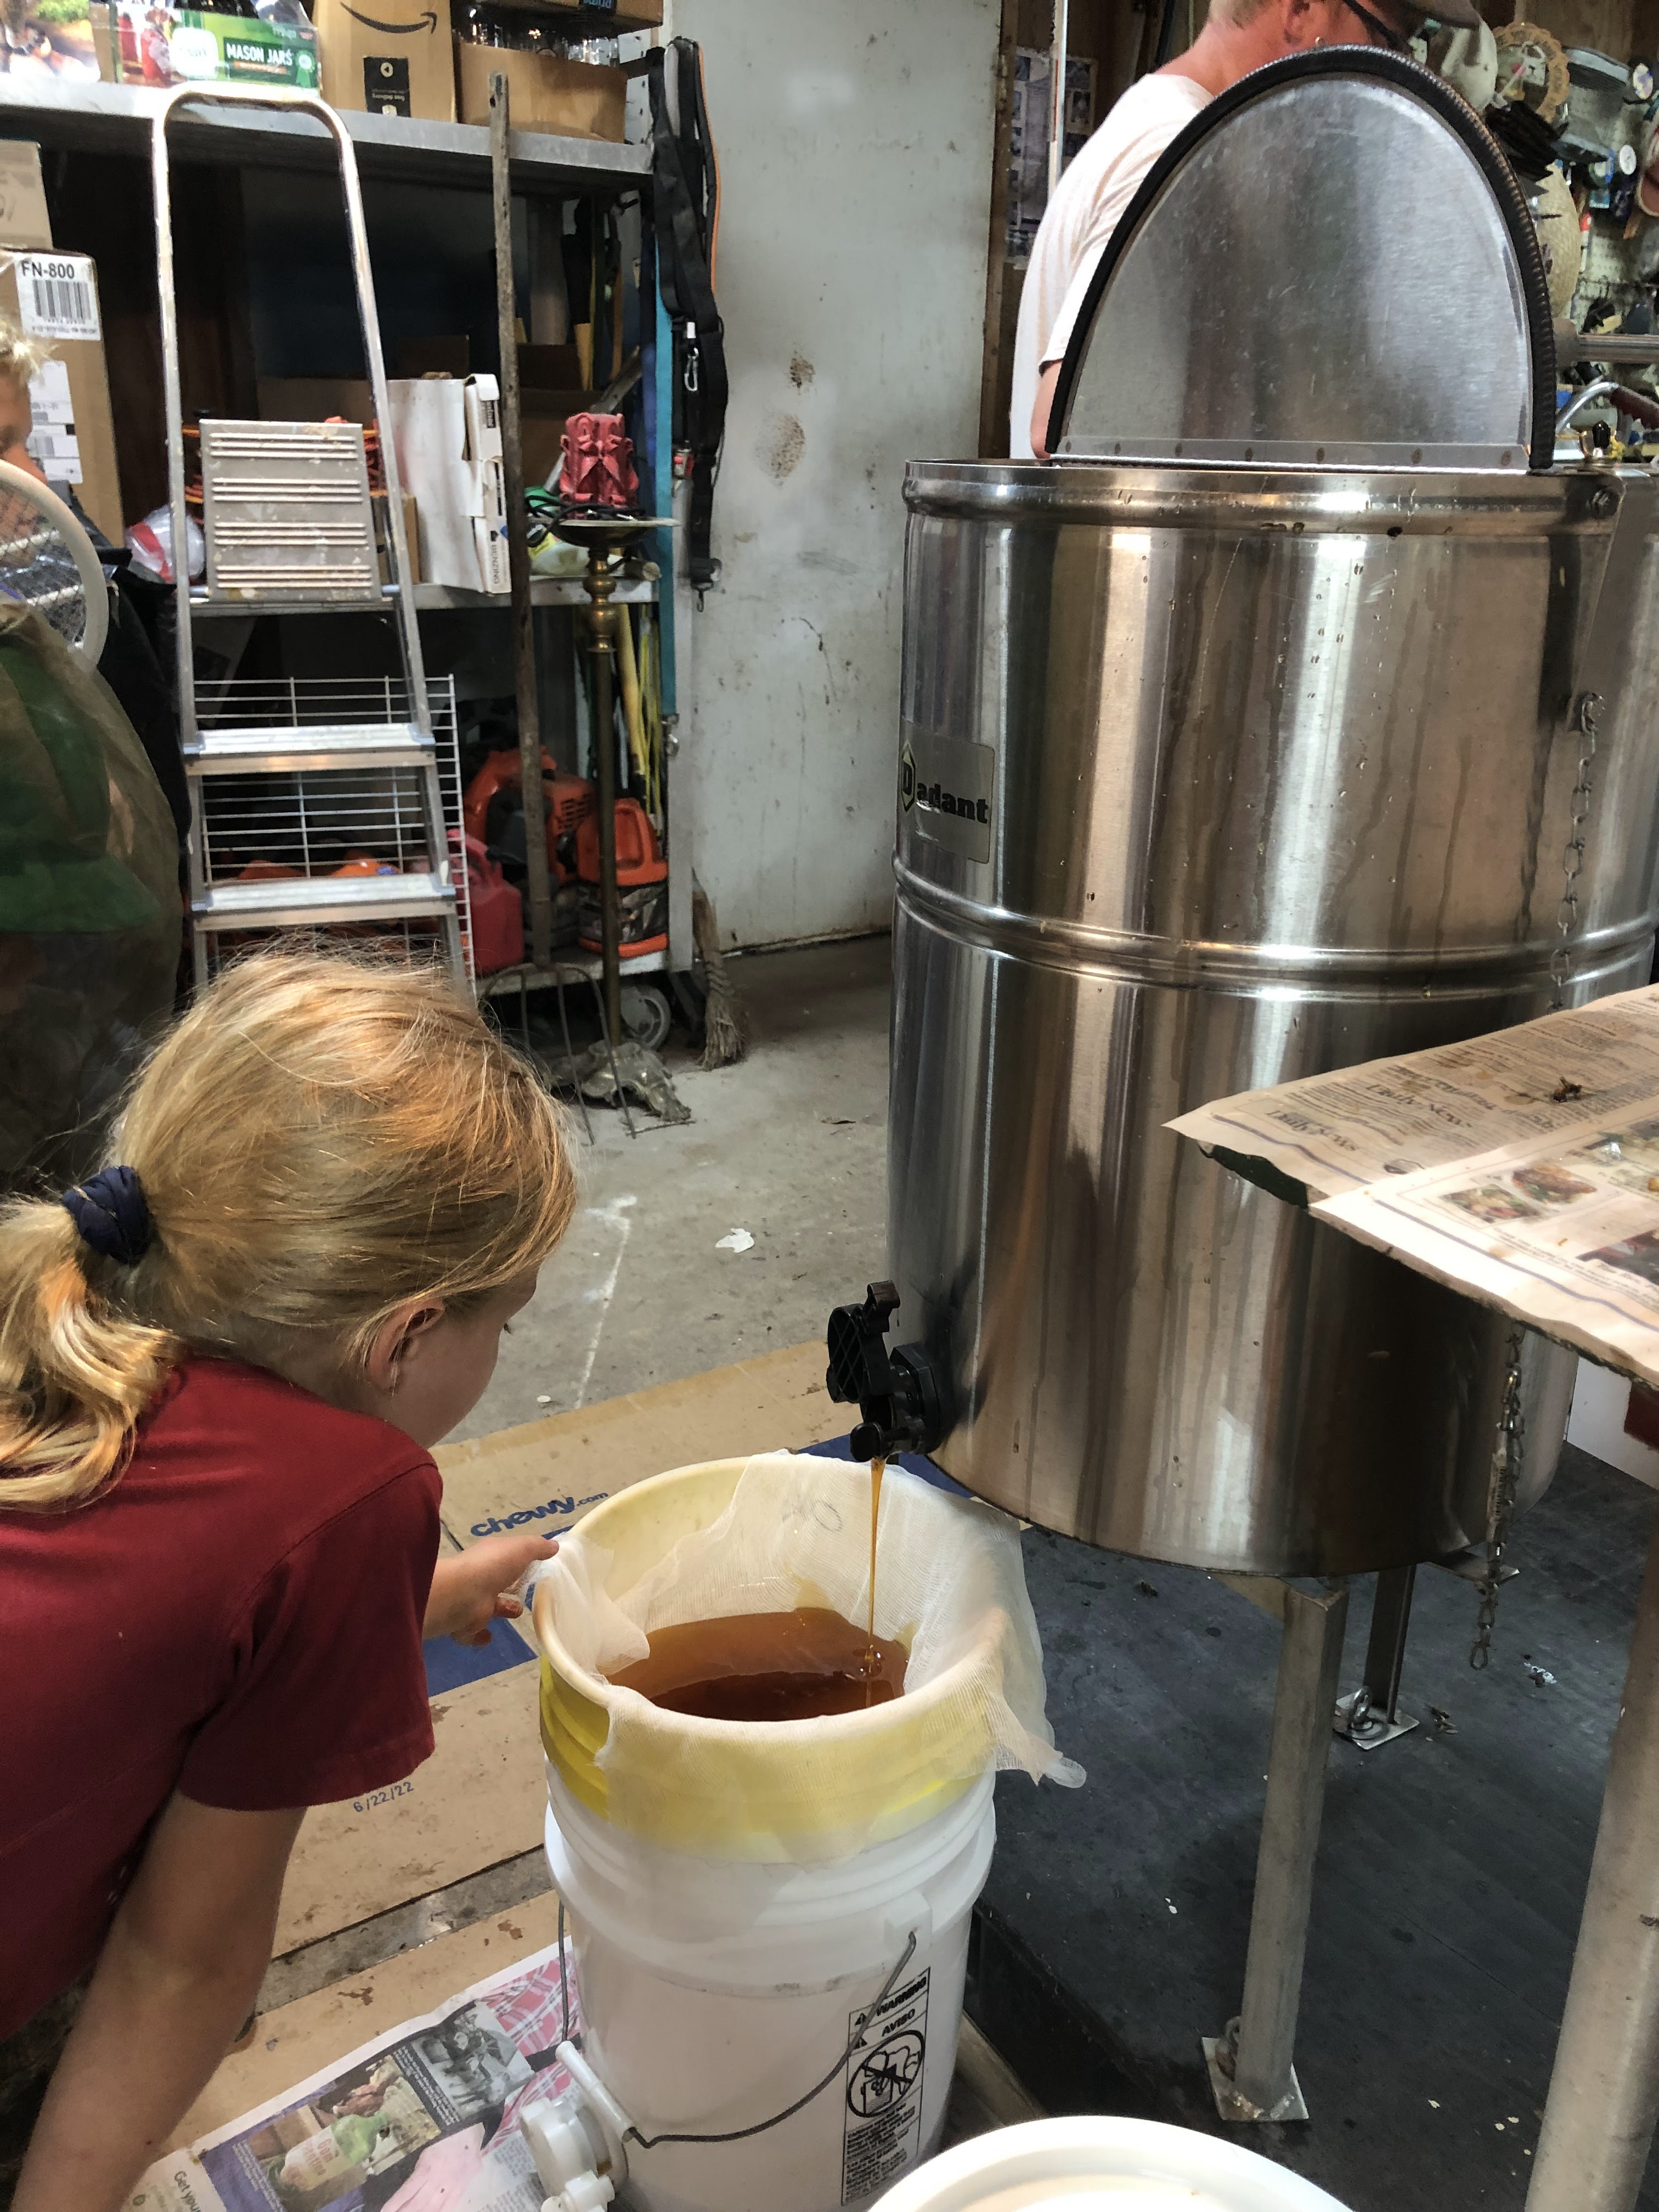
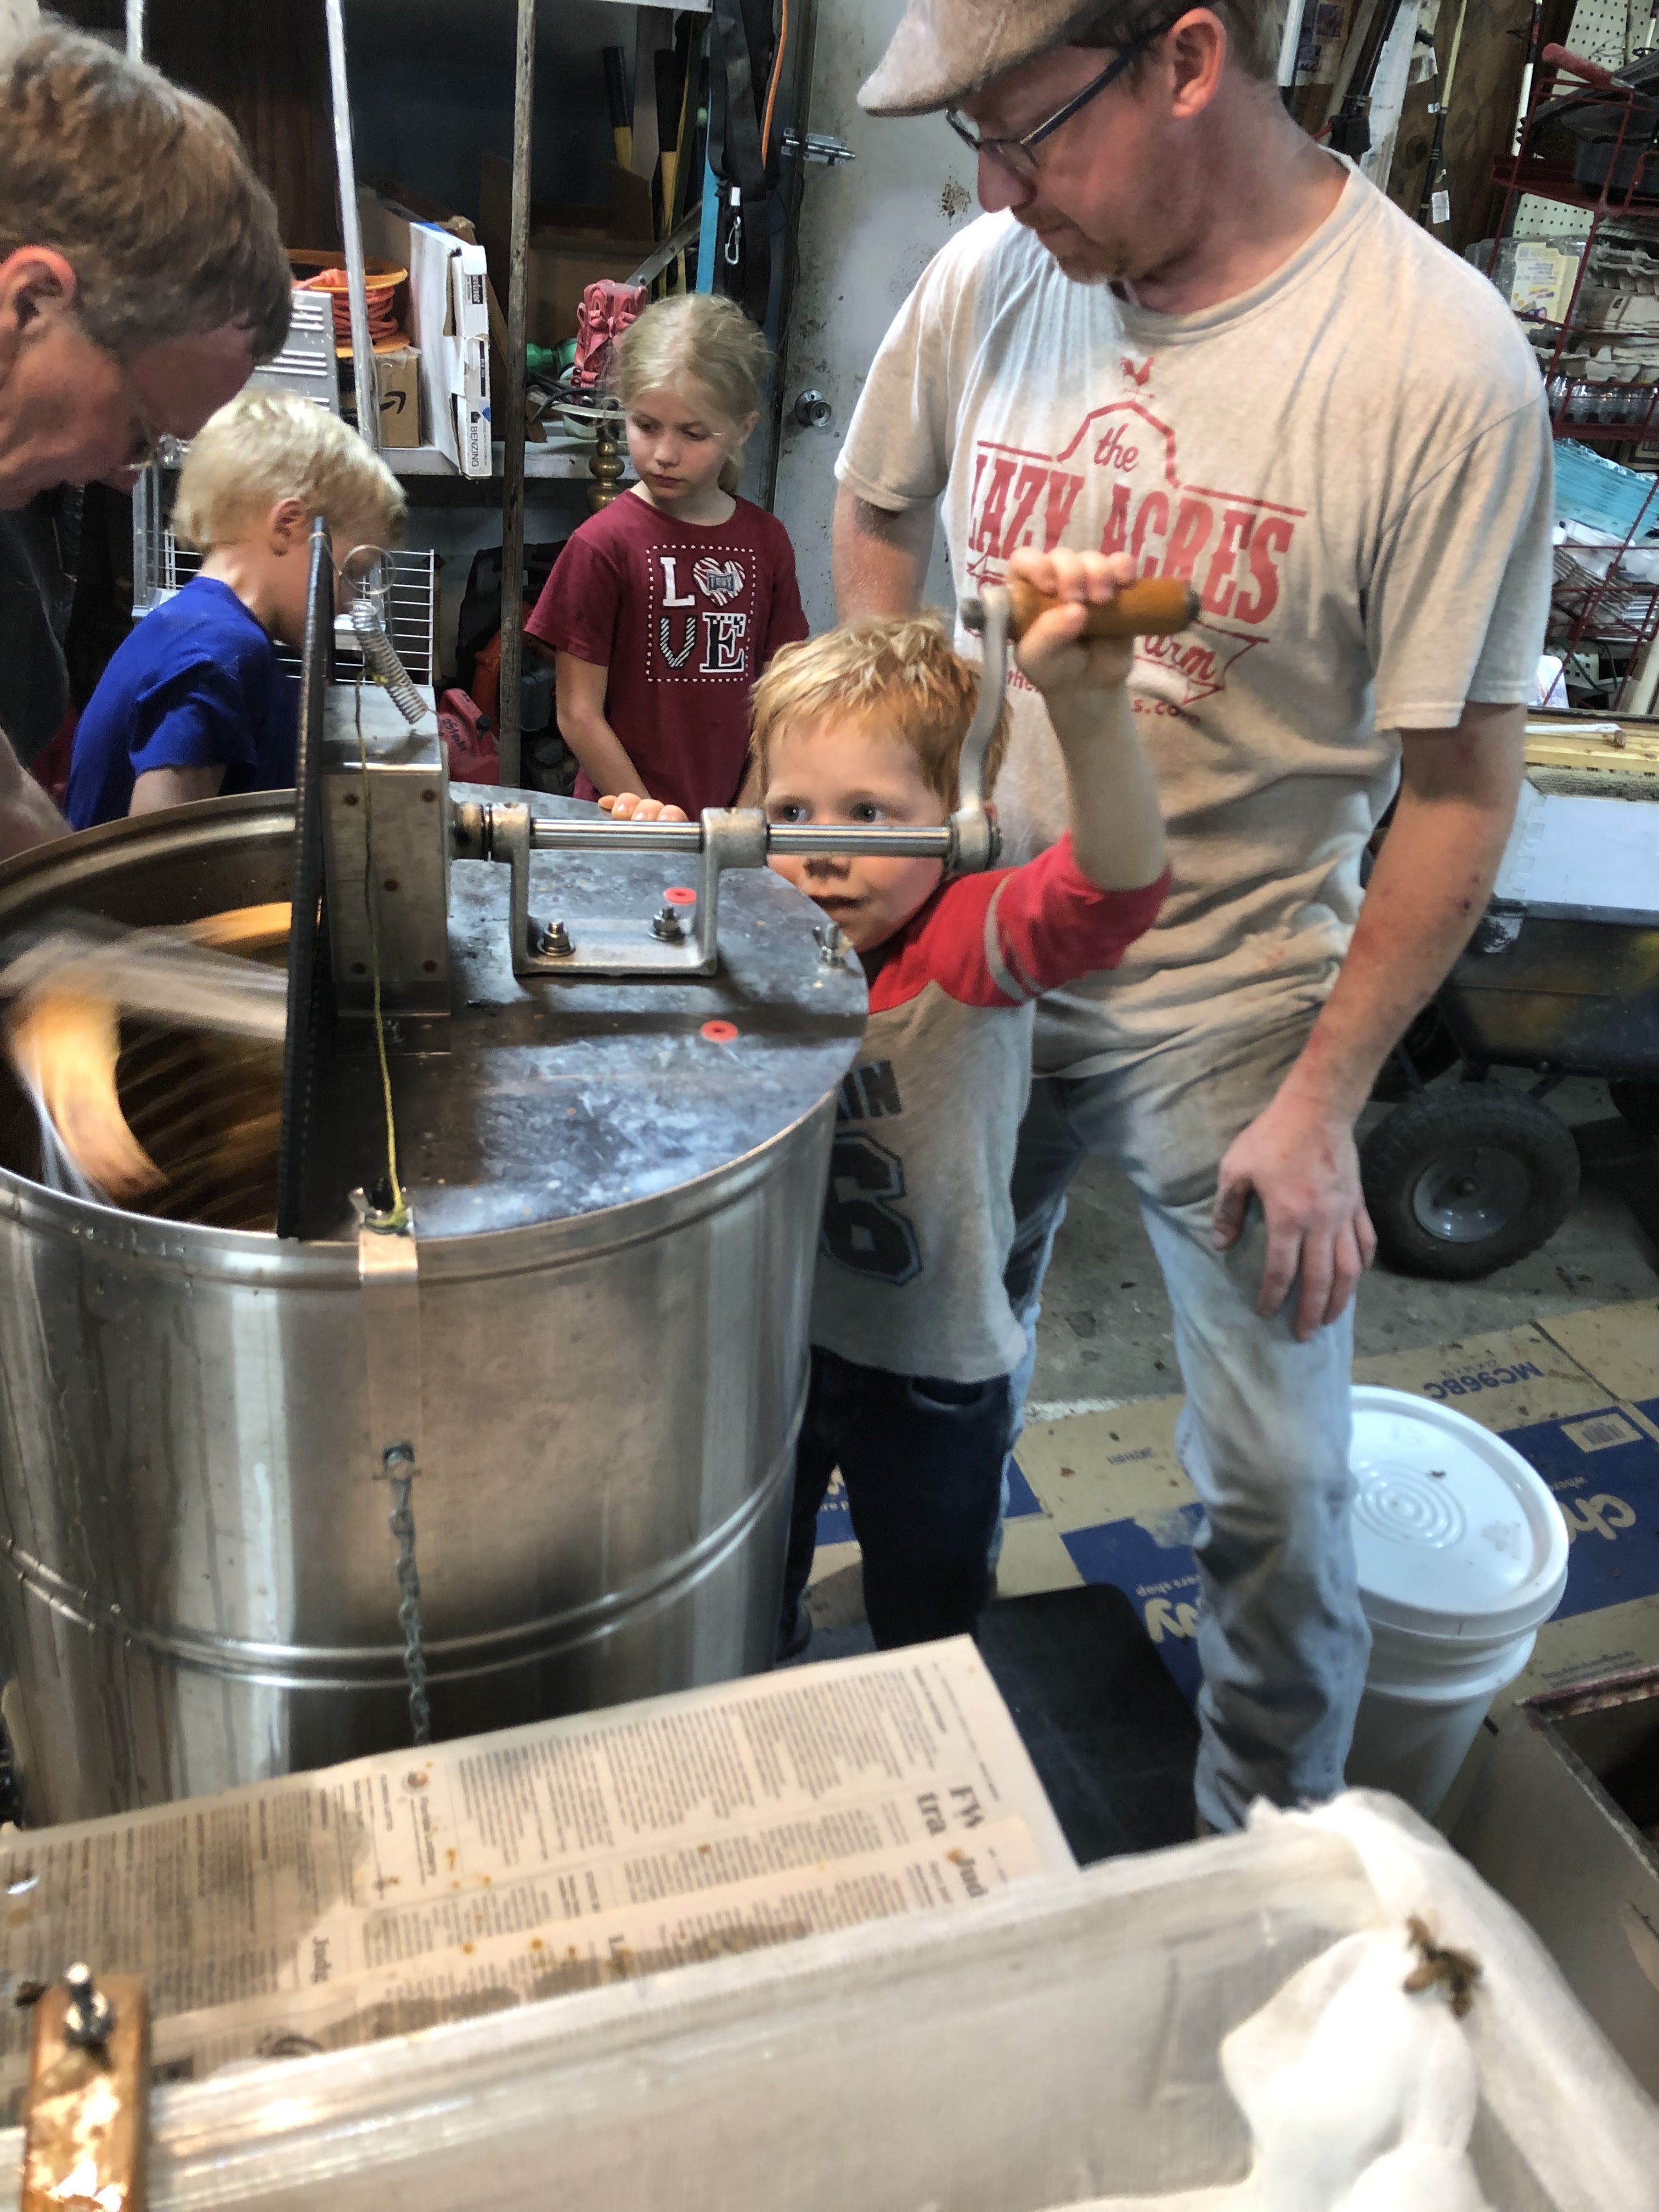
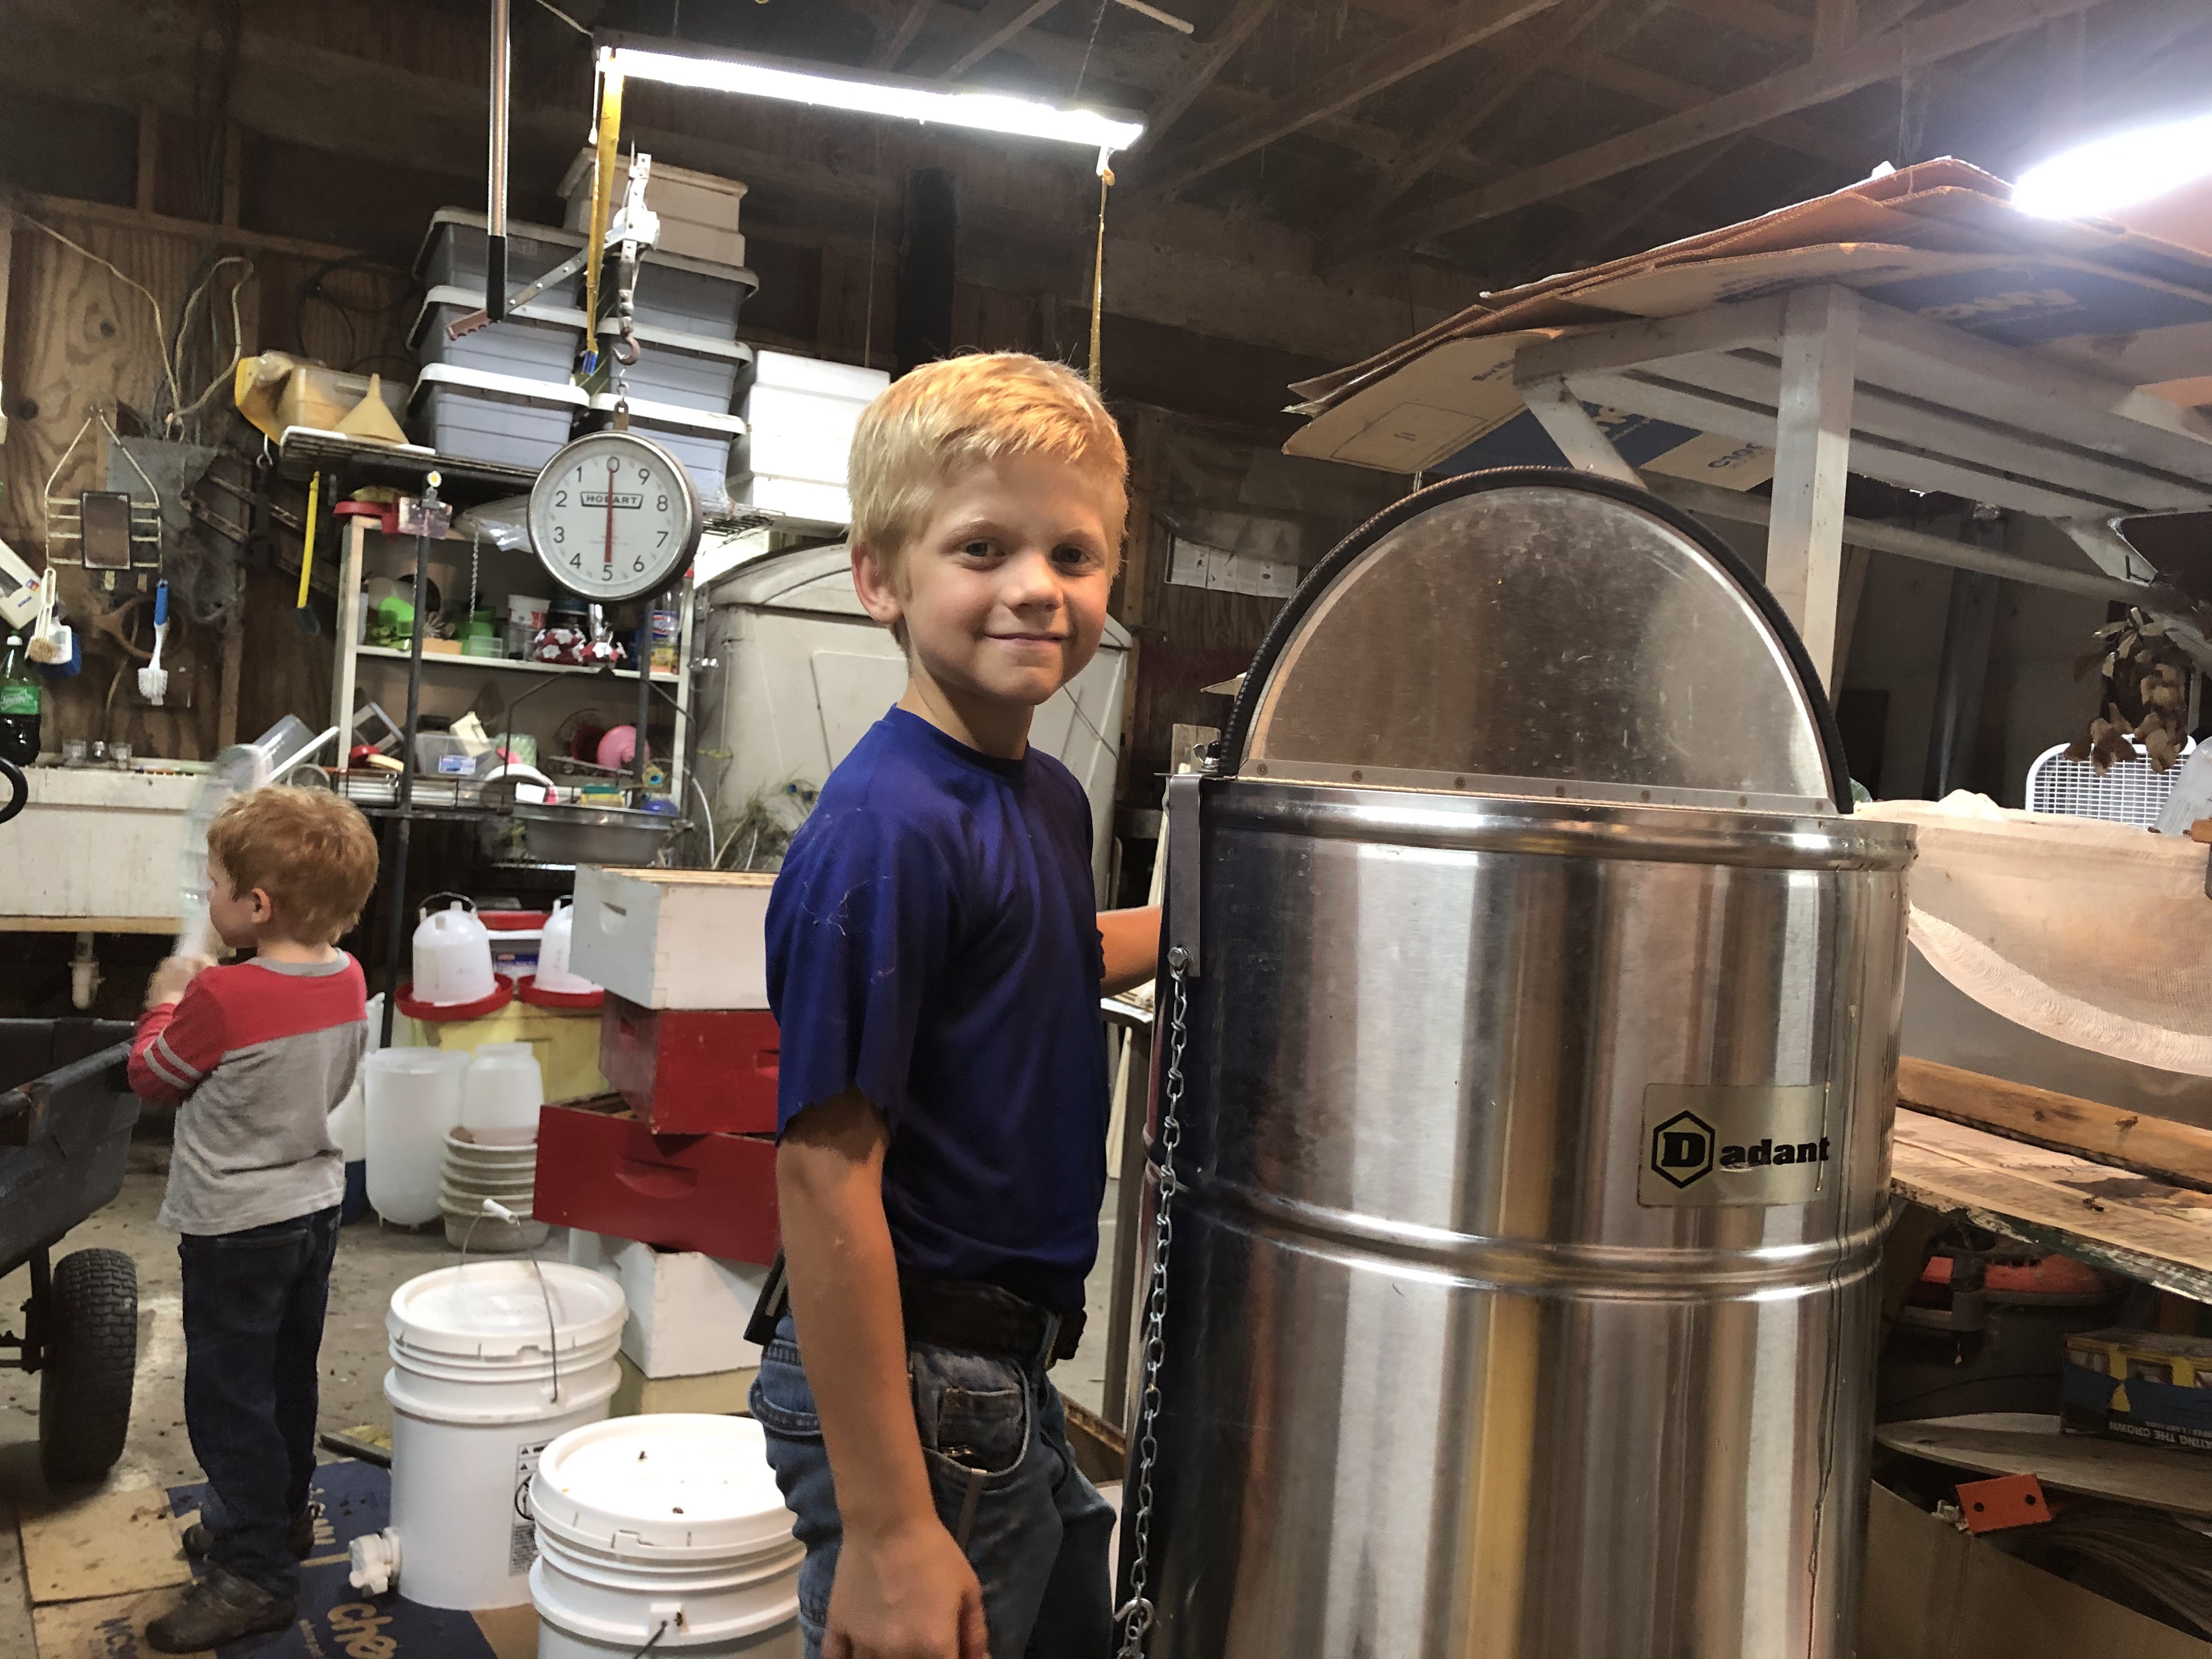
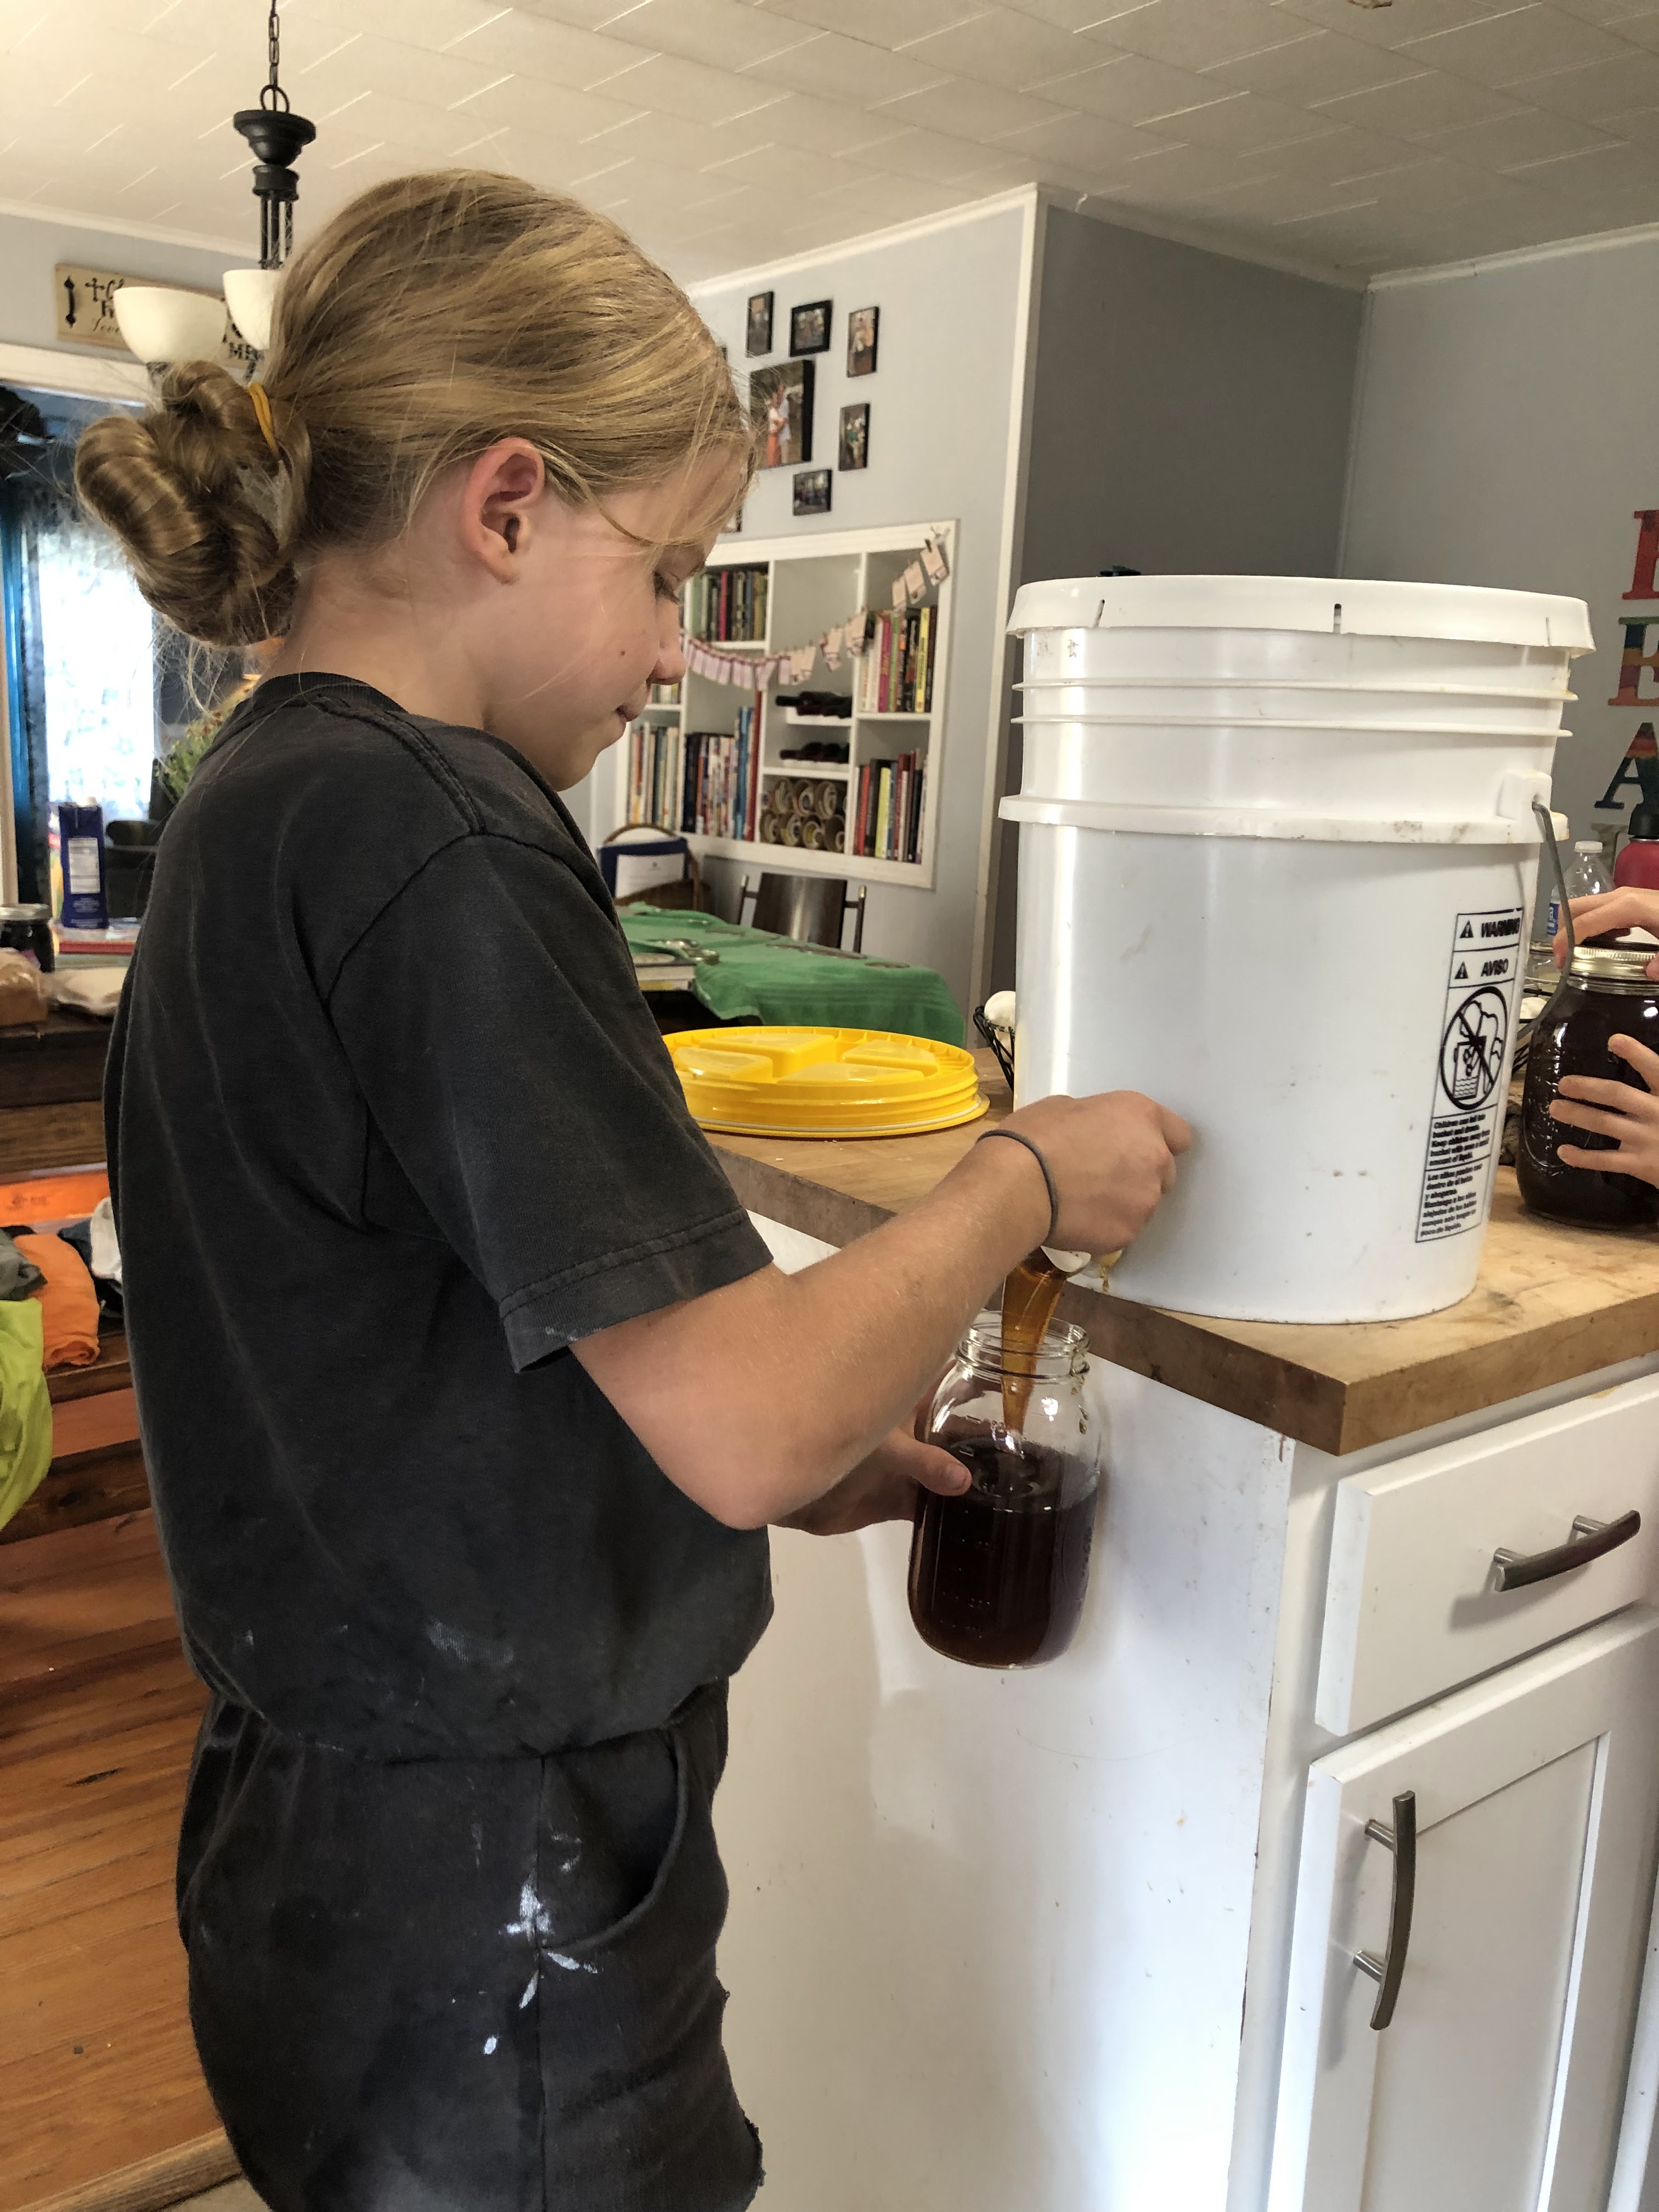
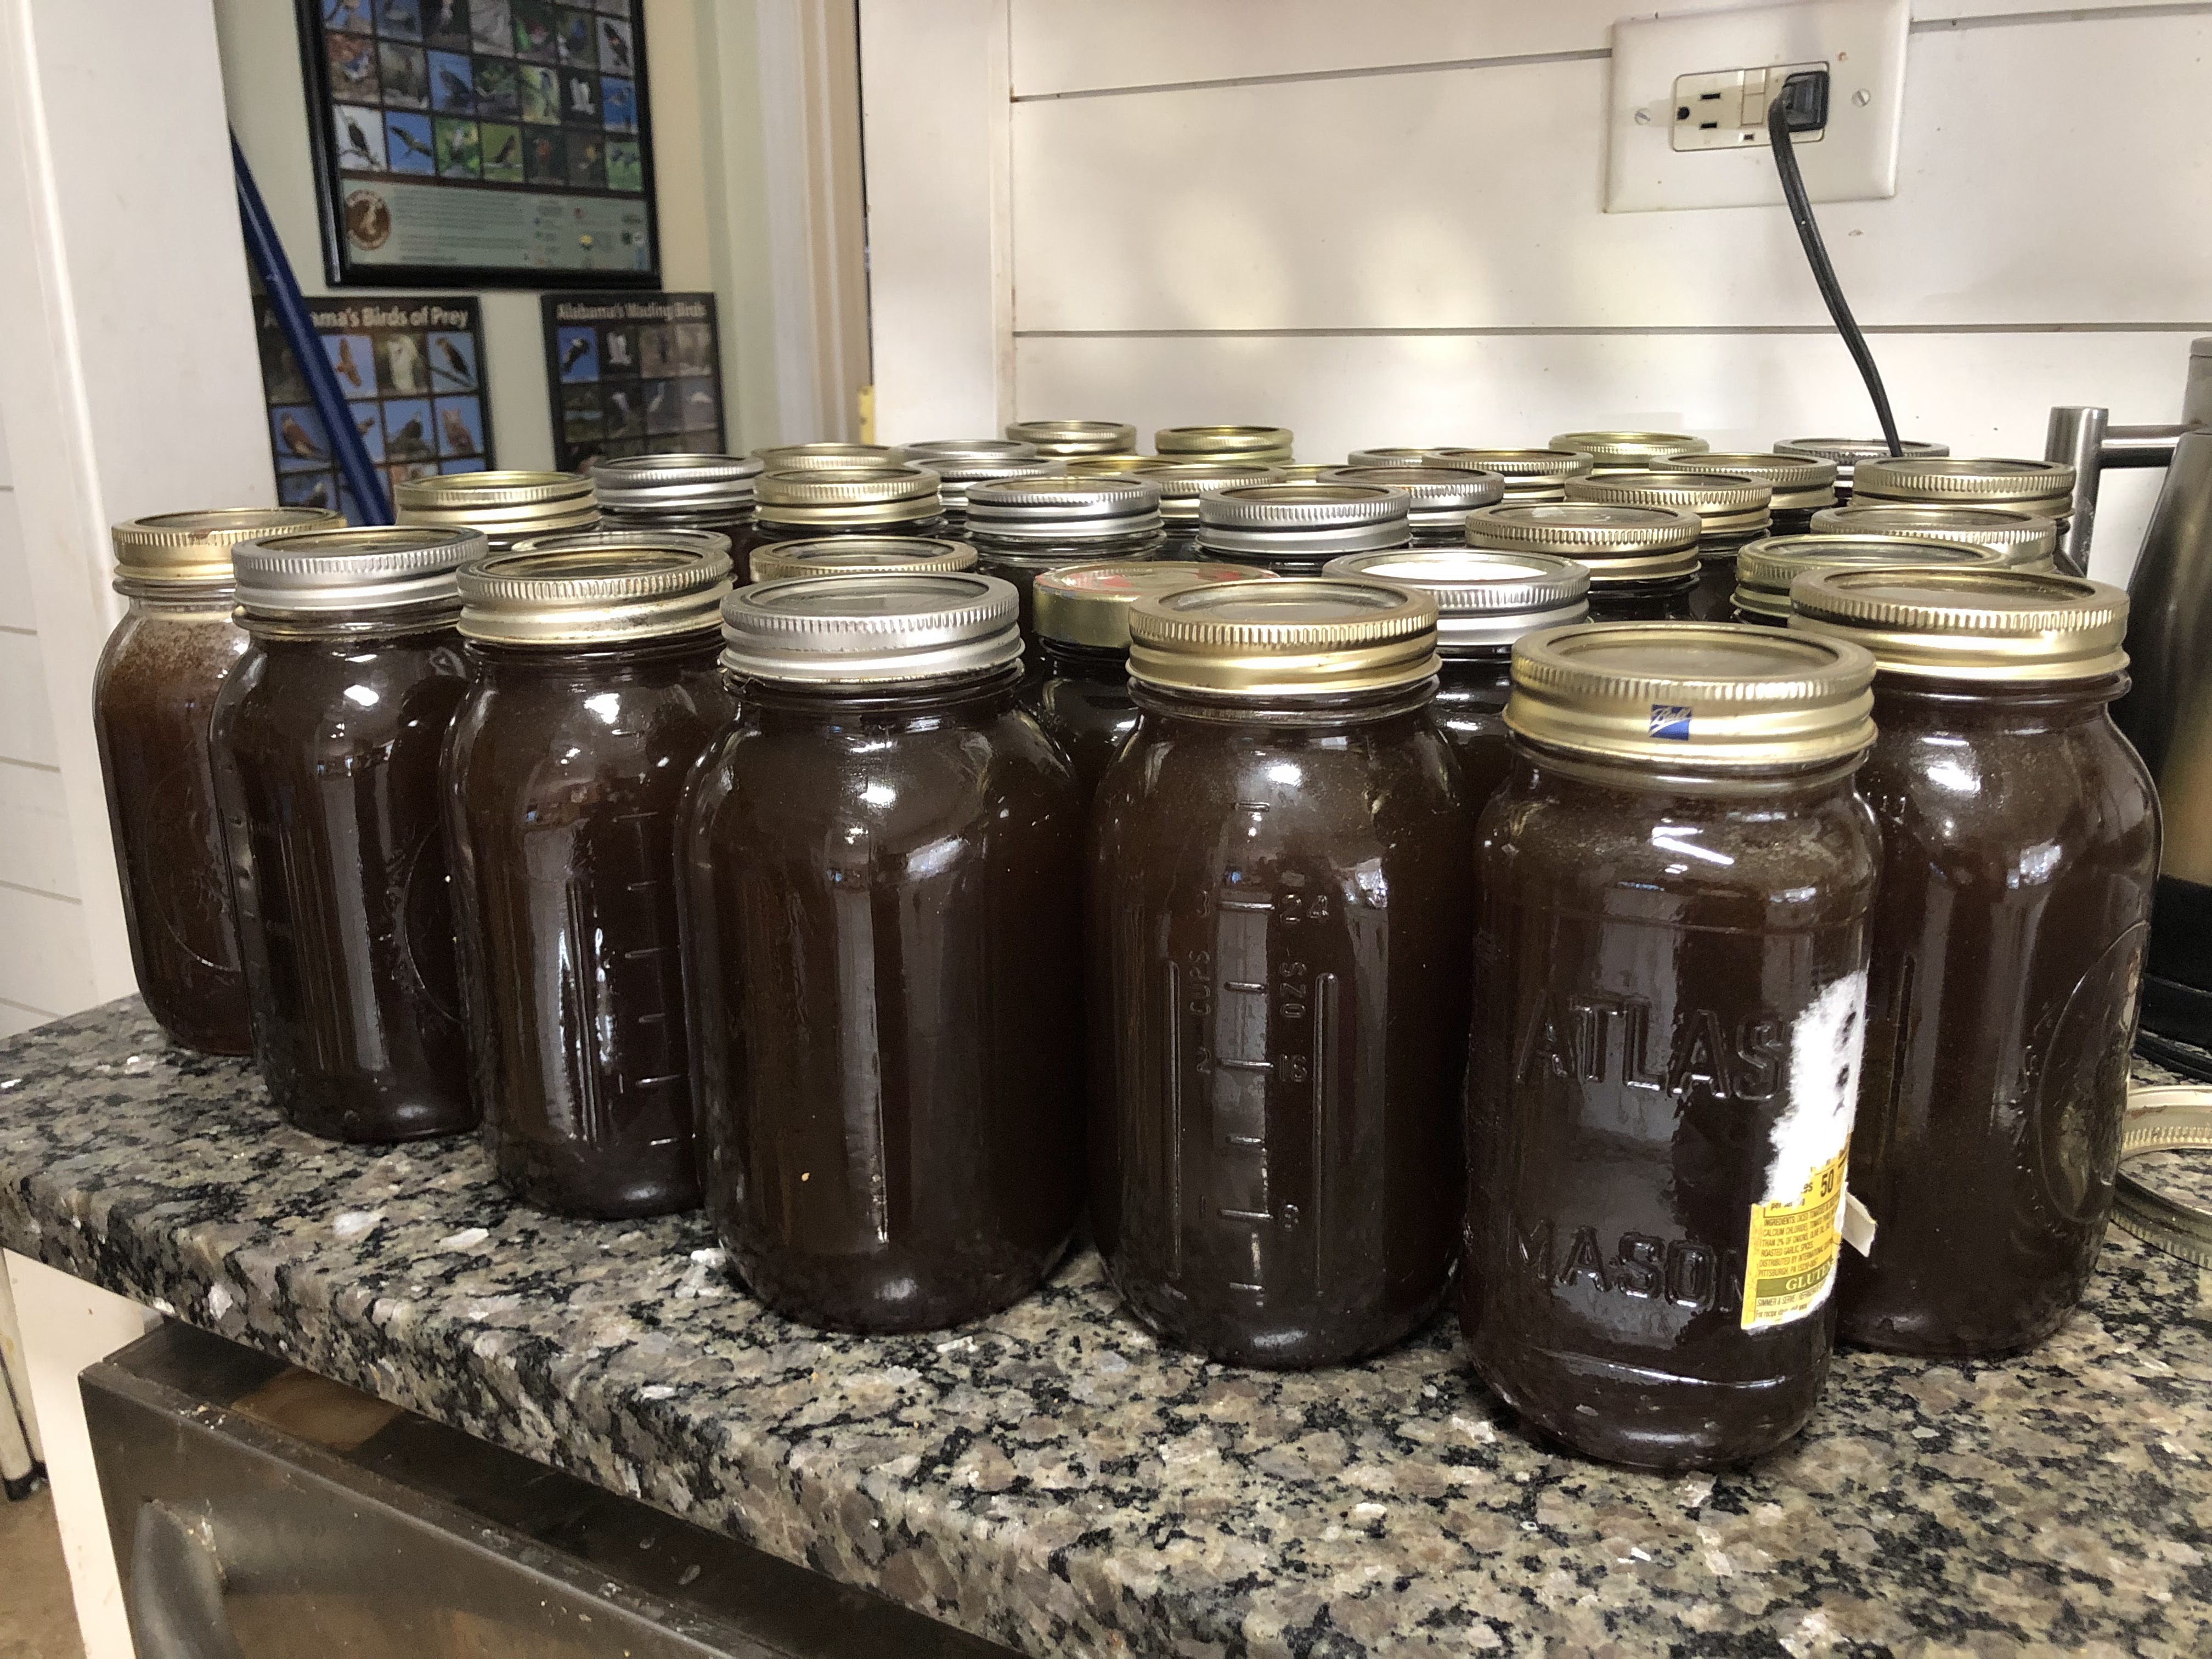
I was originally going to write this as two posts: slinging honey and how we don’t waste anything from that day. But I haven’t time to write the first post and there are many ways we don’t waste with our bees. Monday was Labor Day and that was the day that was set aside to sling honey with our dear friend, Mr. Hagan. He and my brother-in-law have been instrumental in the success of our bees this time around. We are so thankful for the countless hours Mr. Hagan has educated us and invited us to his property to learn. Back to Monday. Around 9:30 in the morning, Mr. Hagan came over to help us transport the frames to his house. This was our first experience slinging honey so we had no idea what to expect. We all loaded in the vehicle and headed to his house, 1.9 miles from our house. I’m going to let the pictures do most of the explaining.
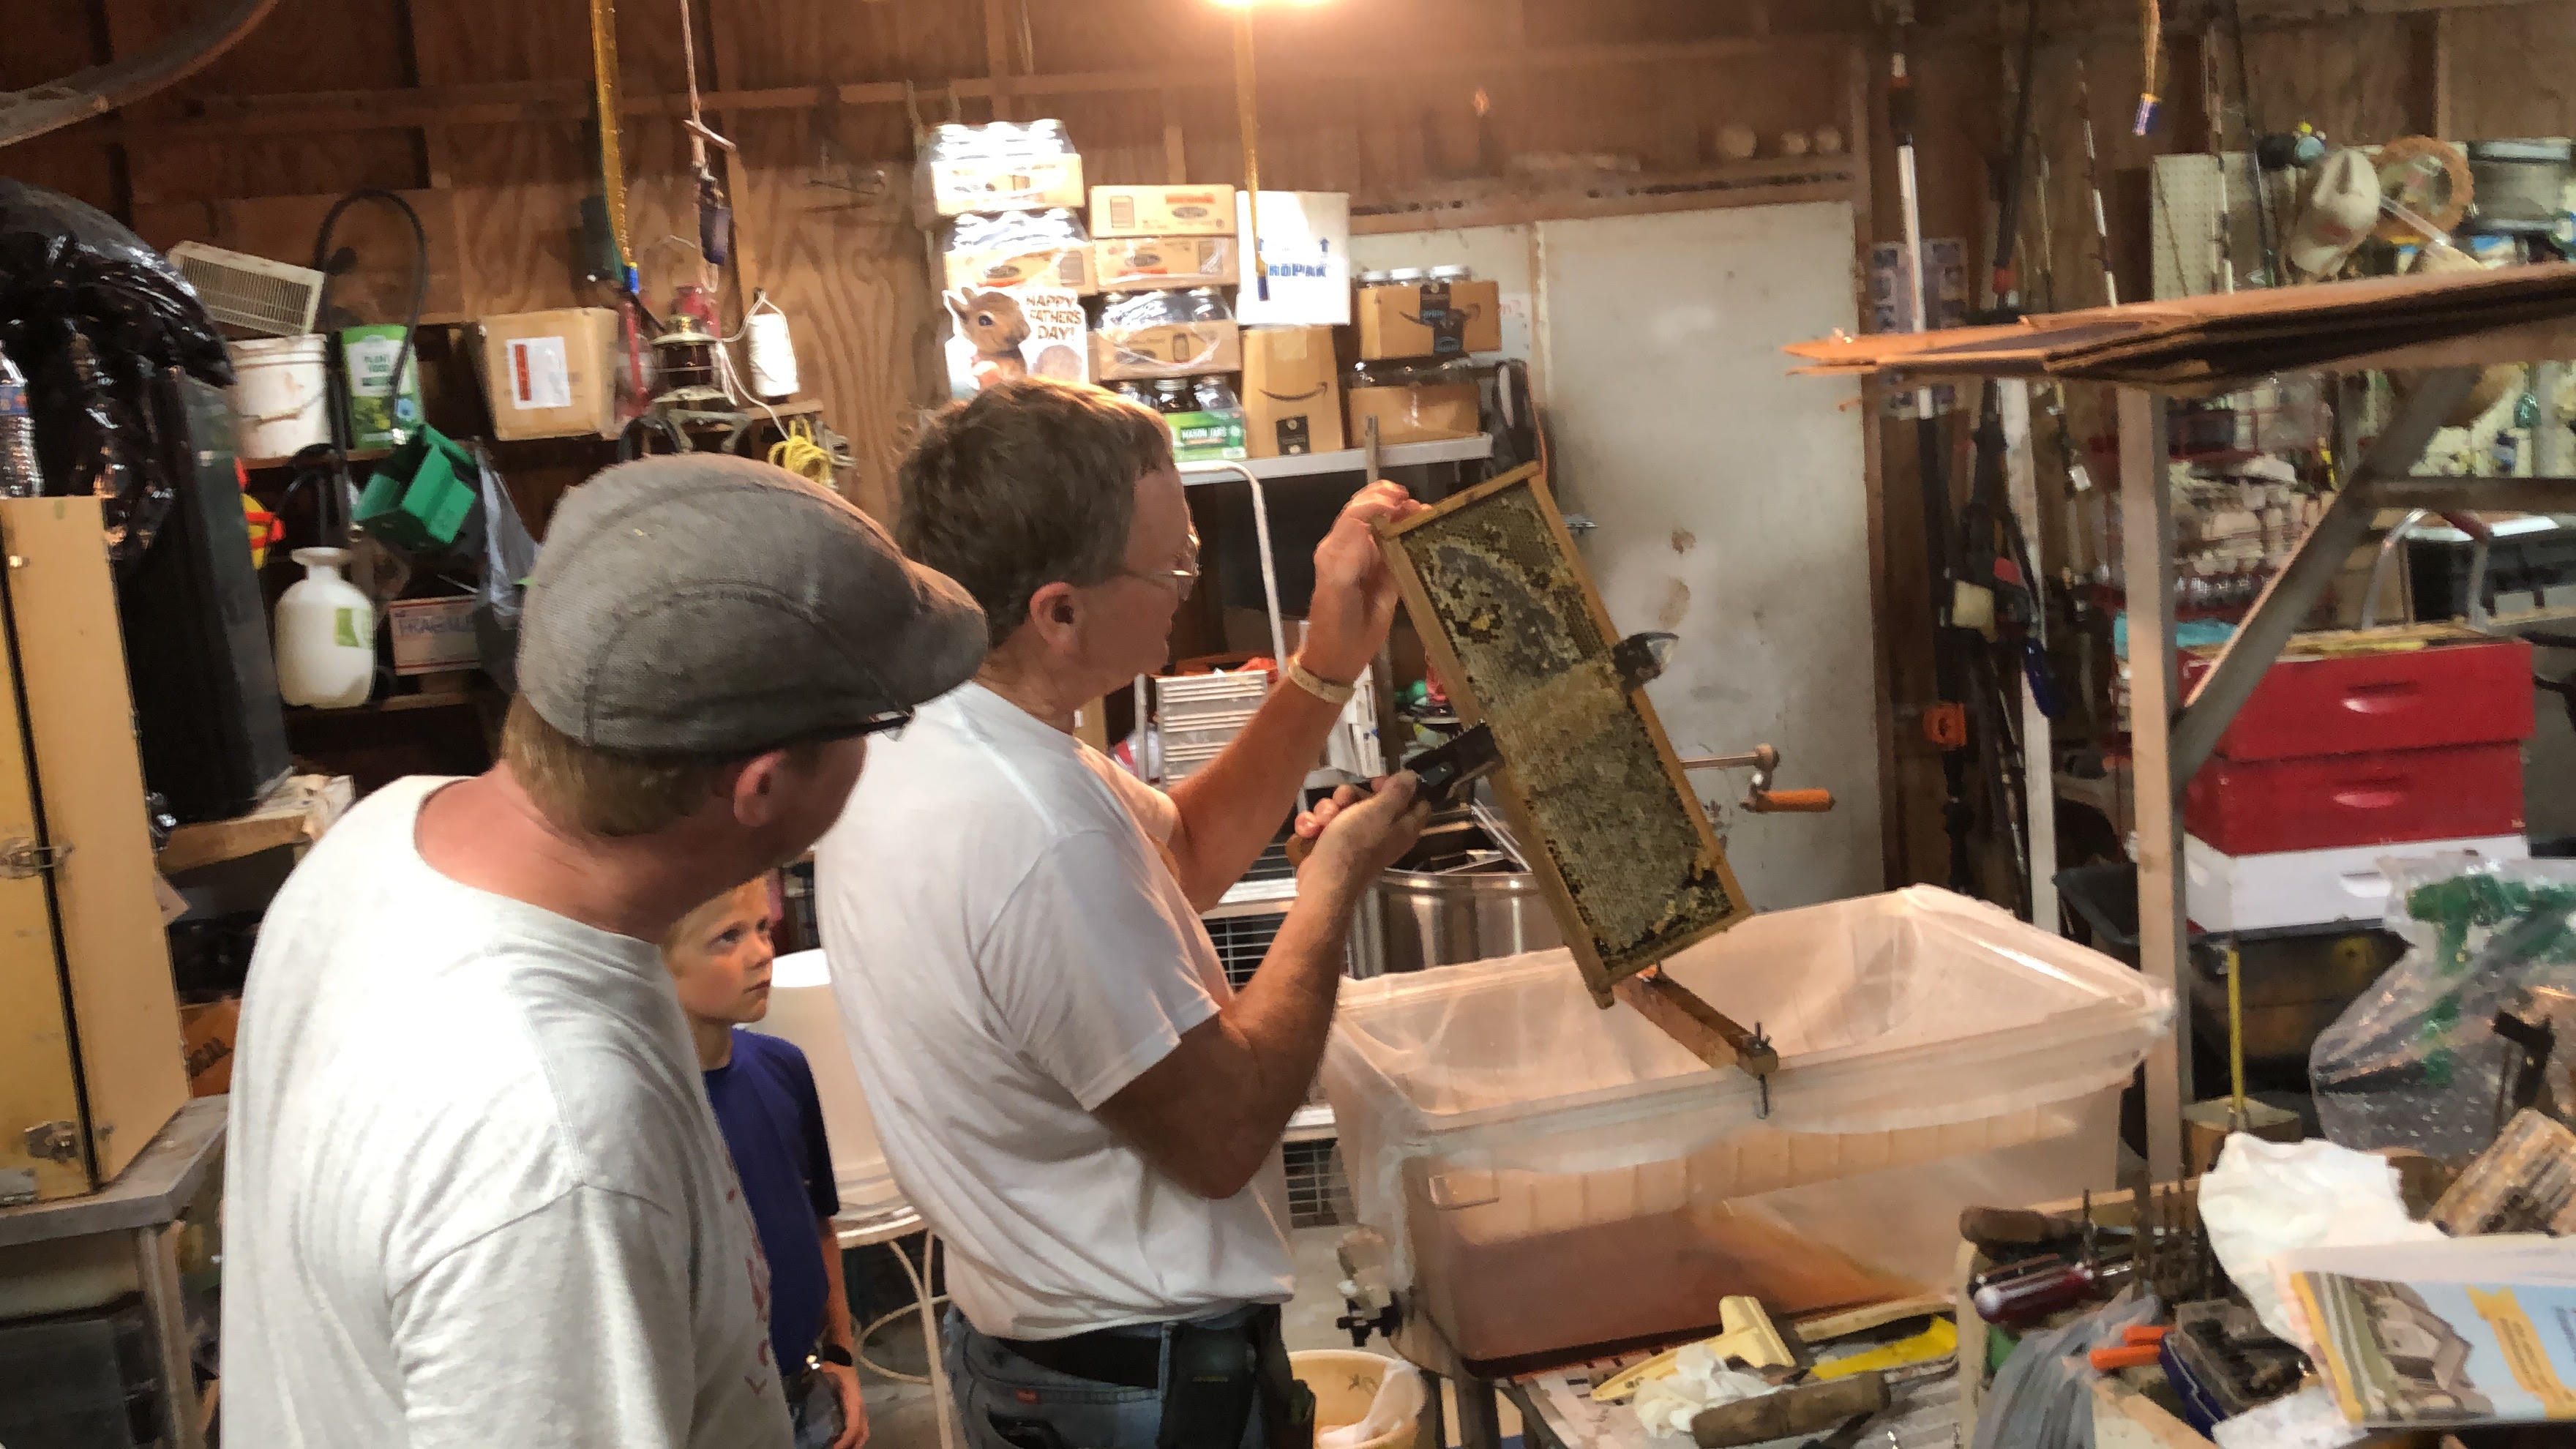
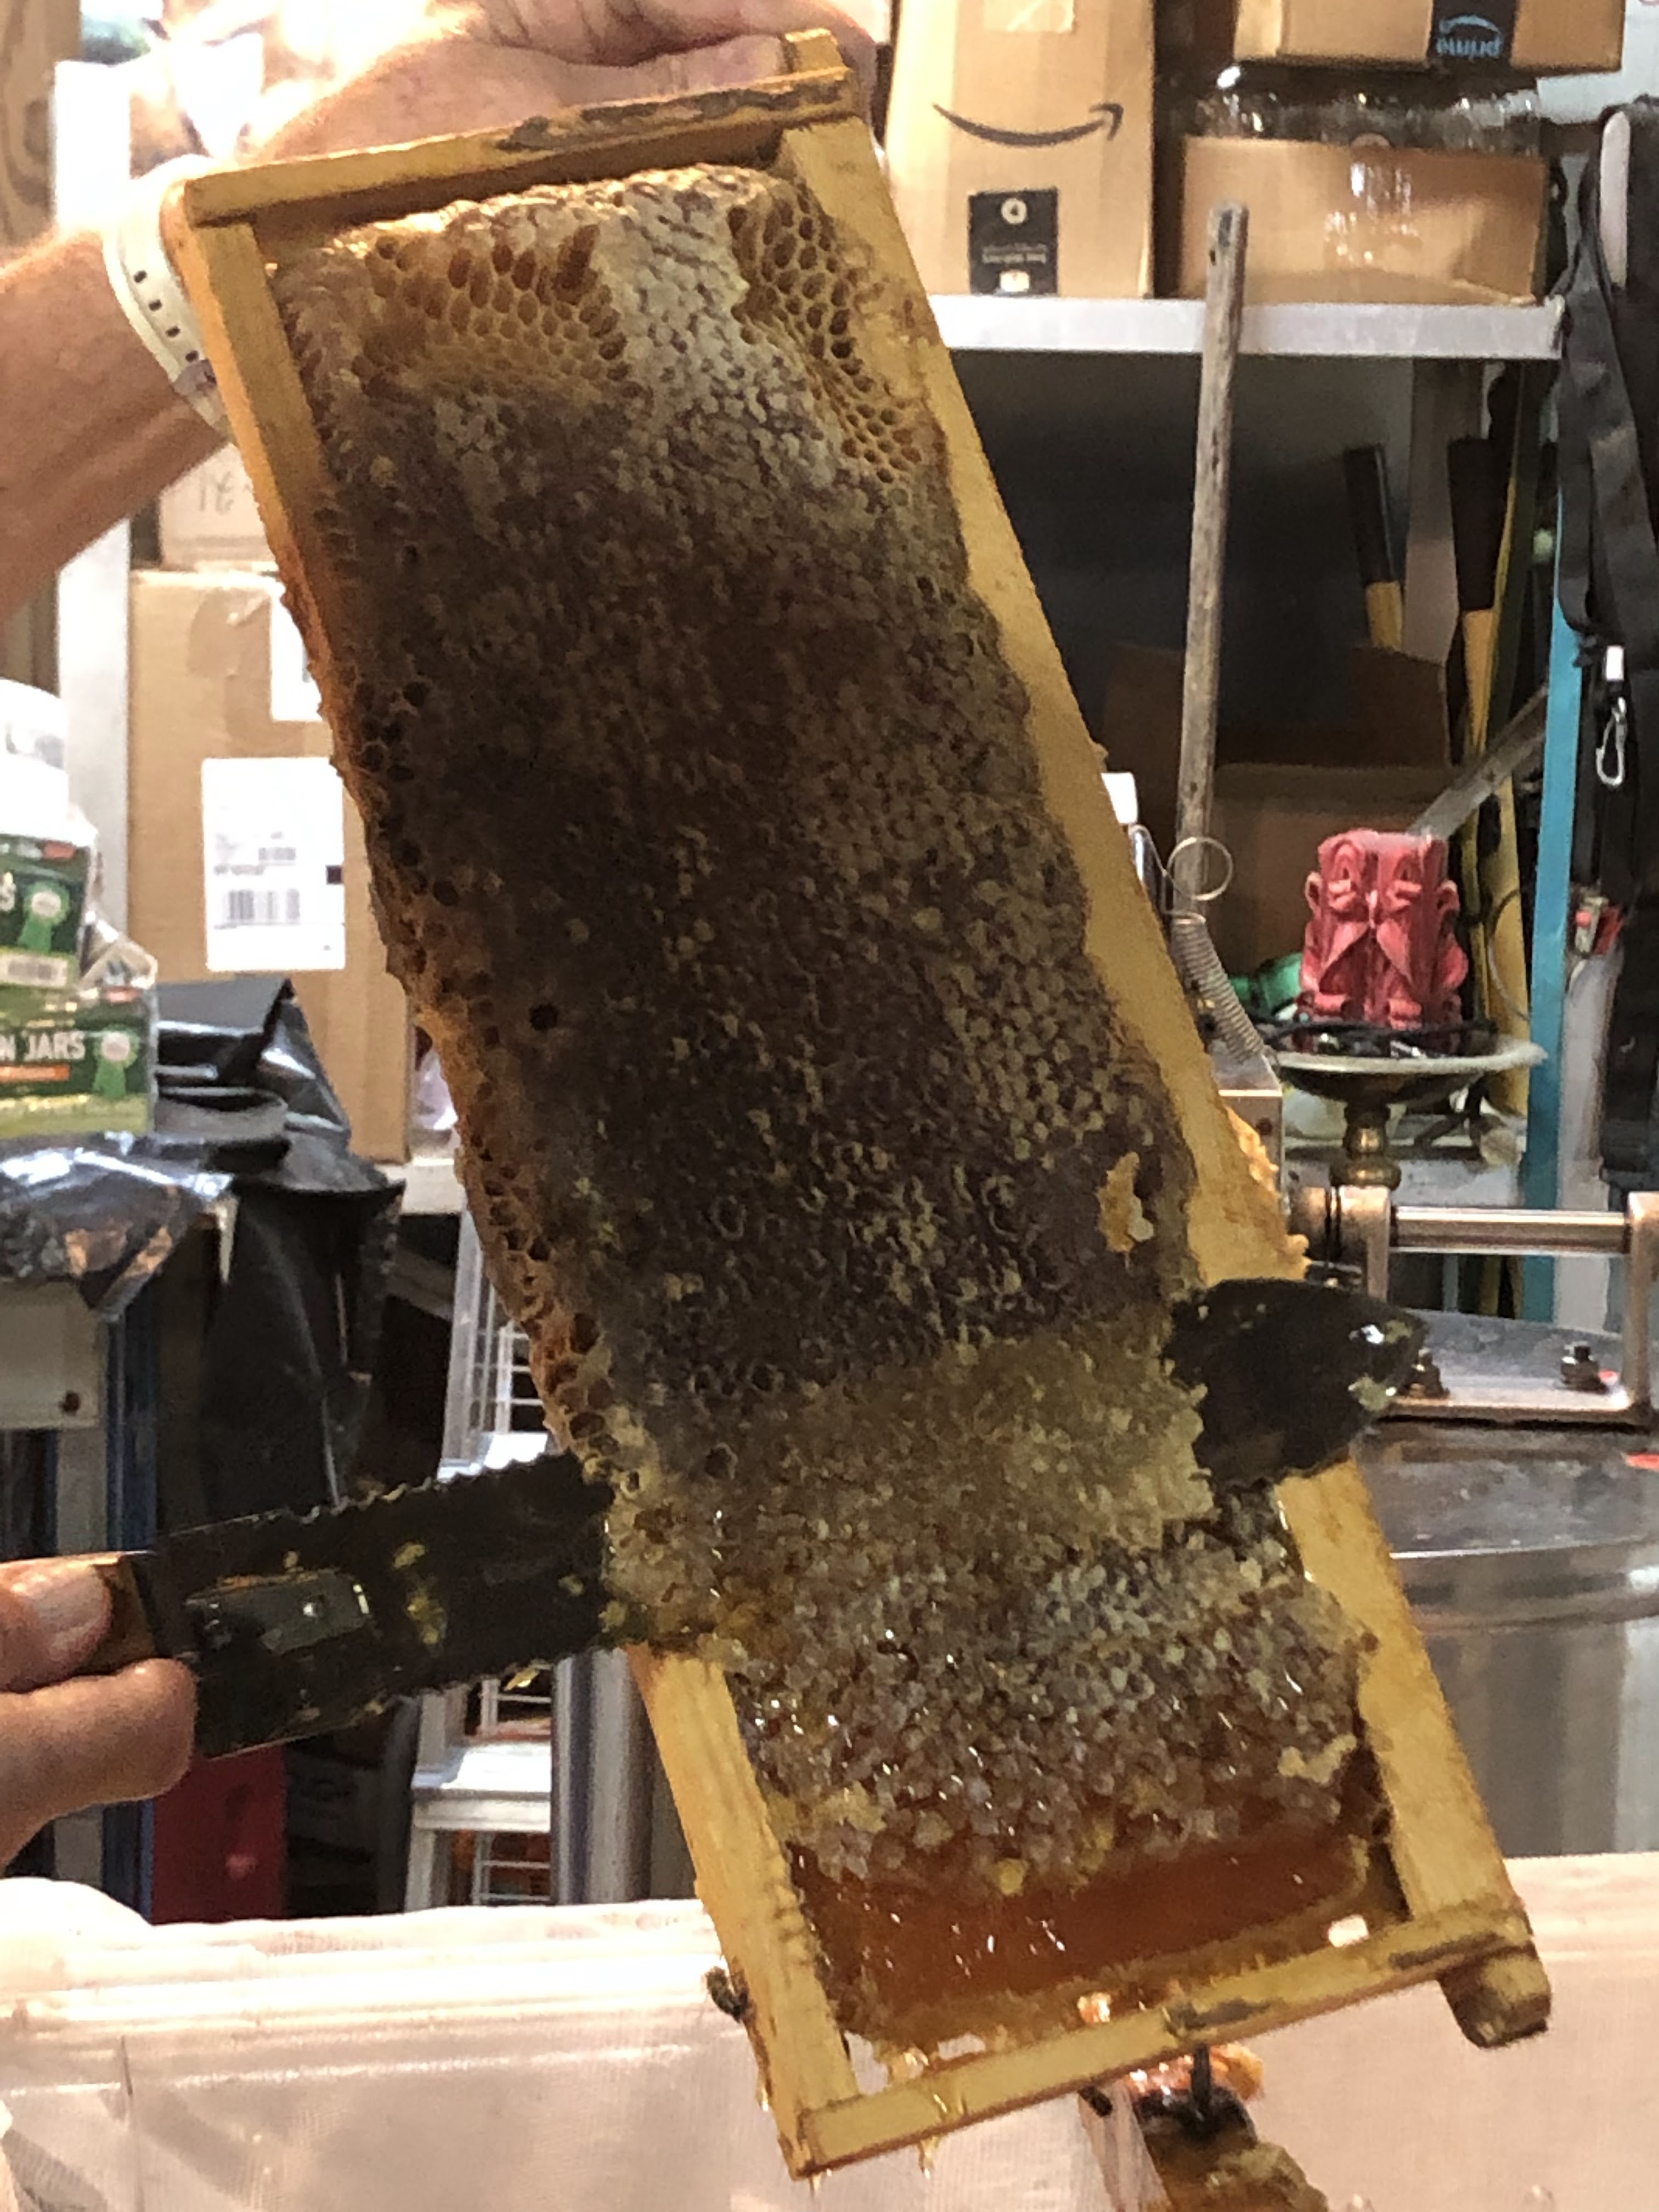
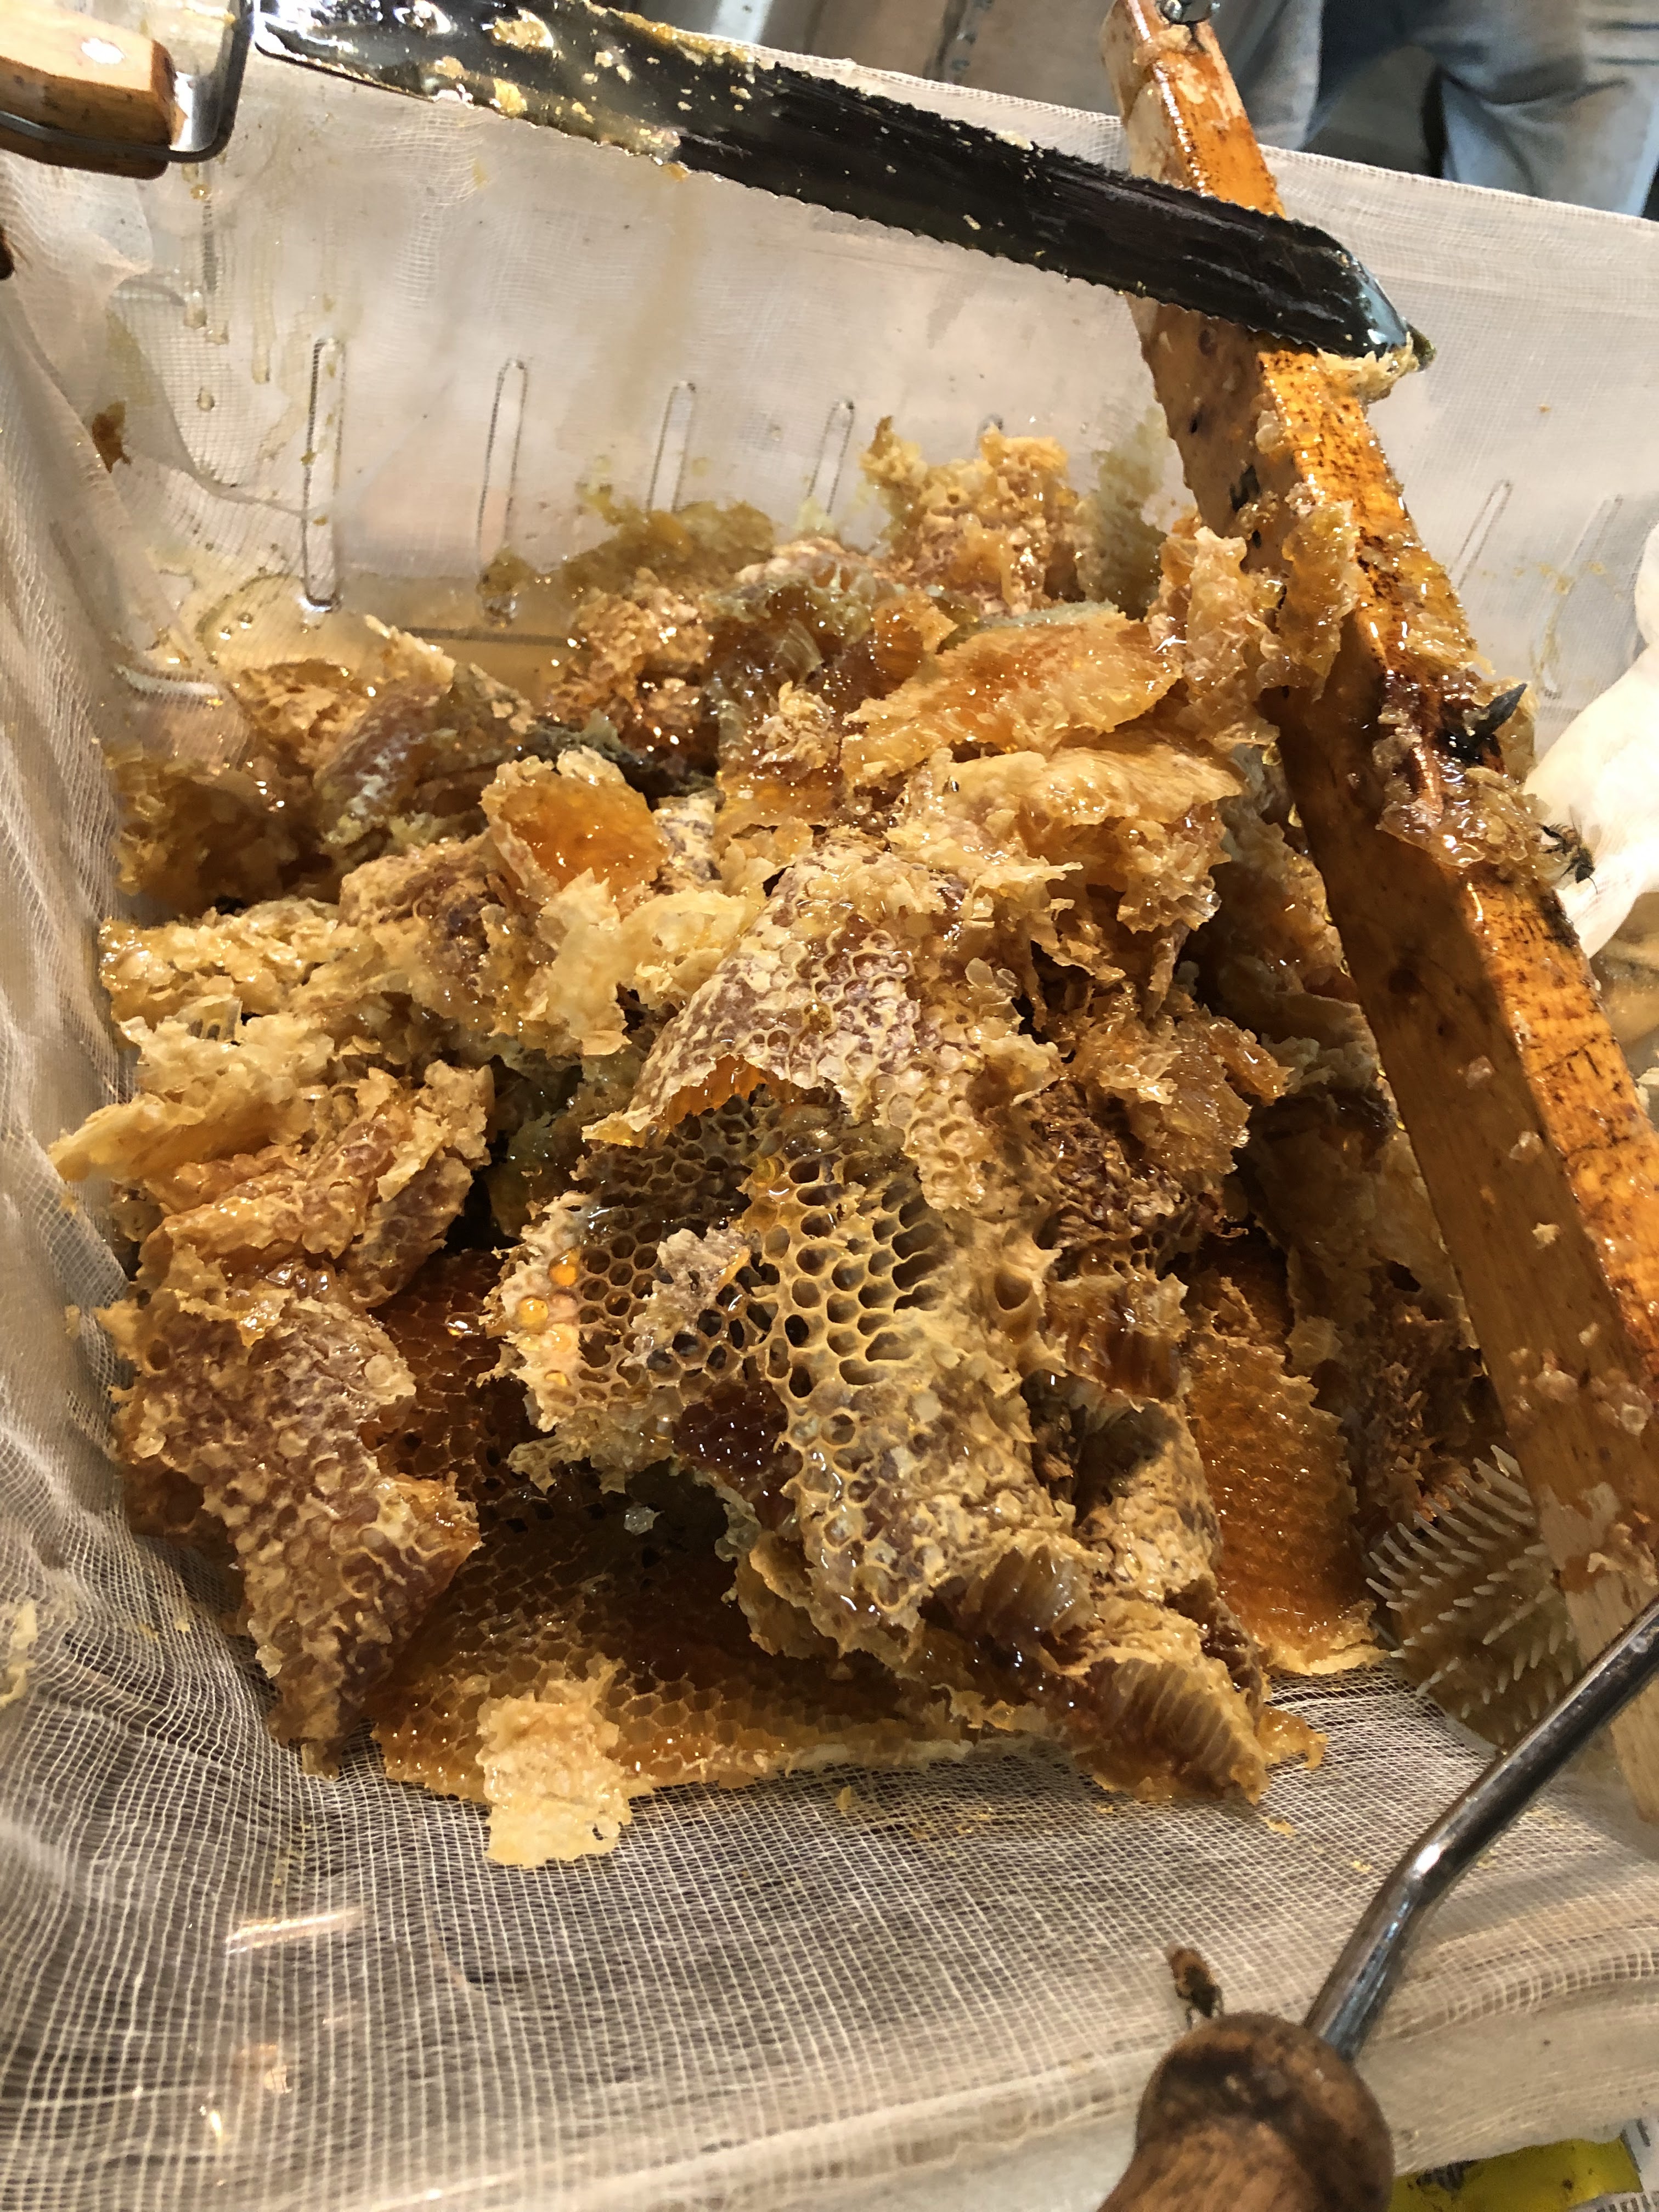
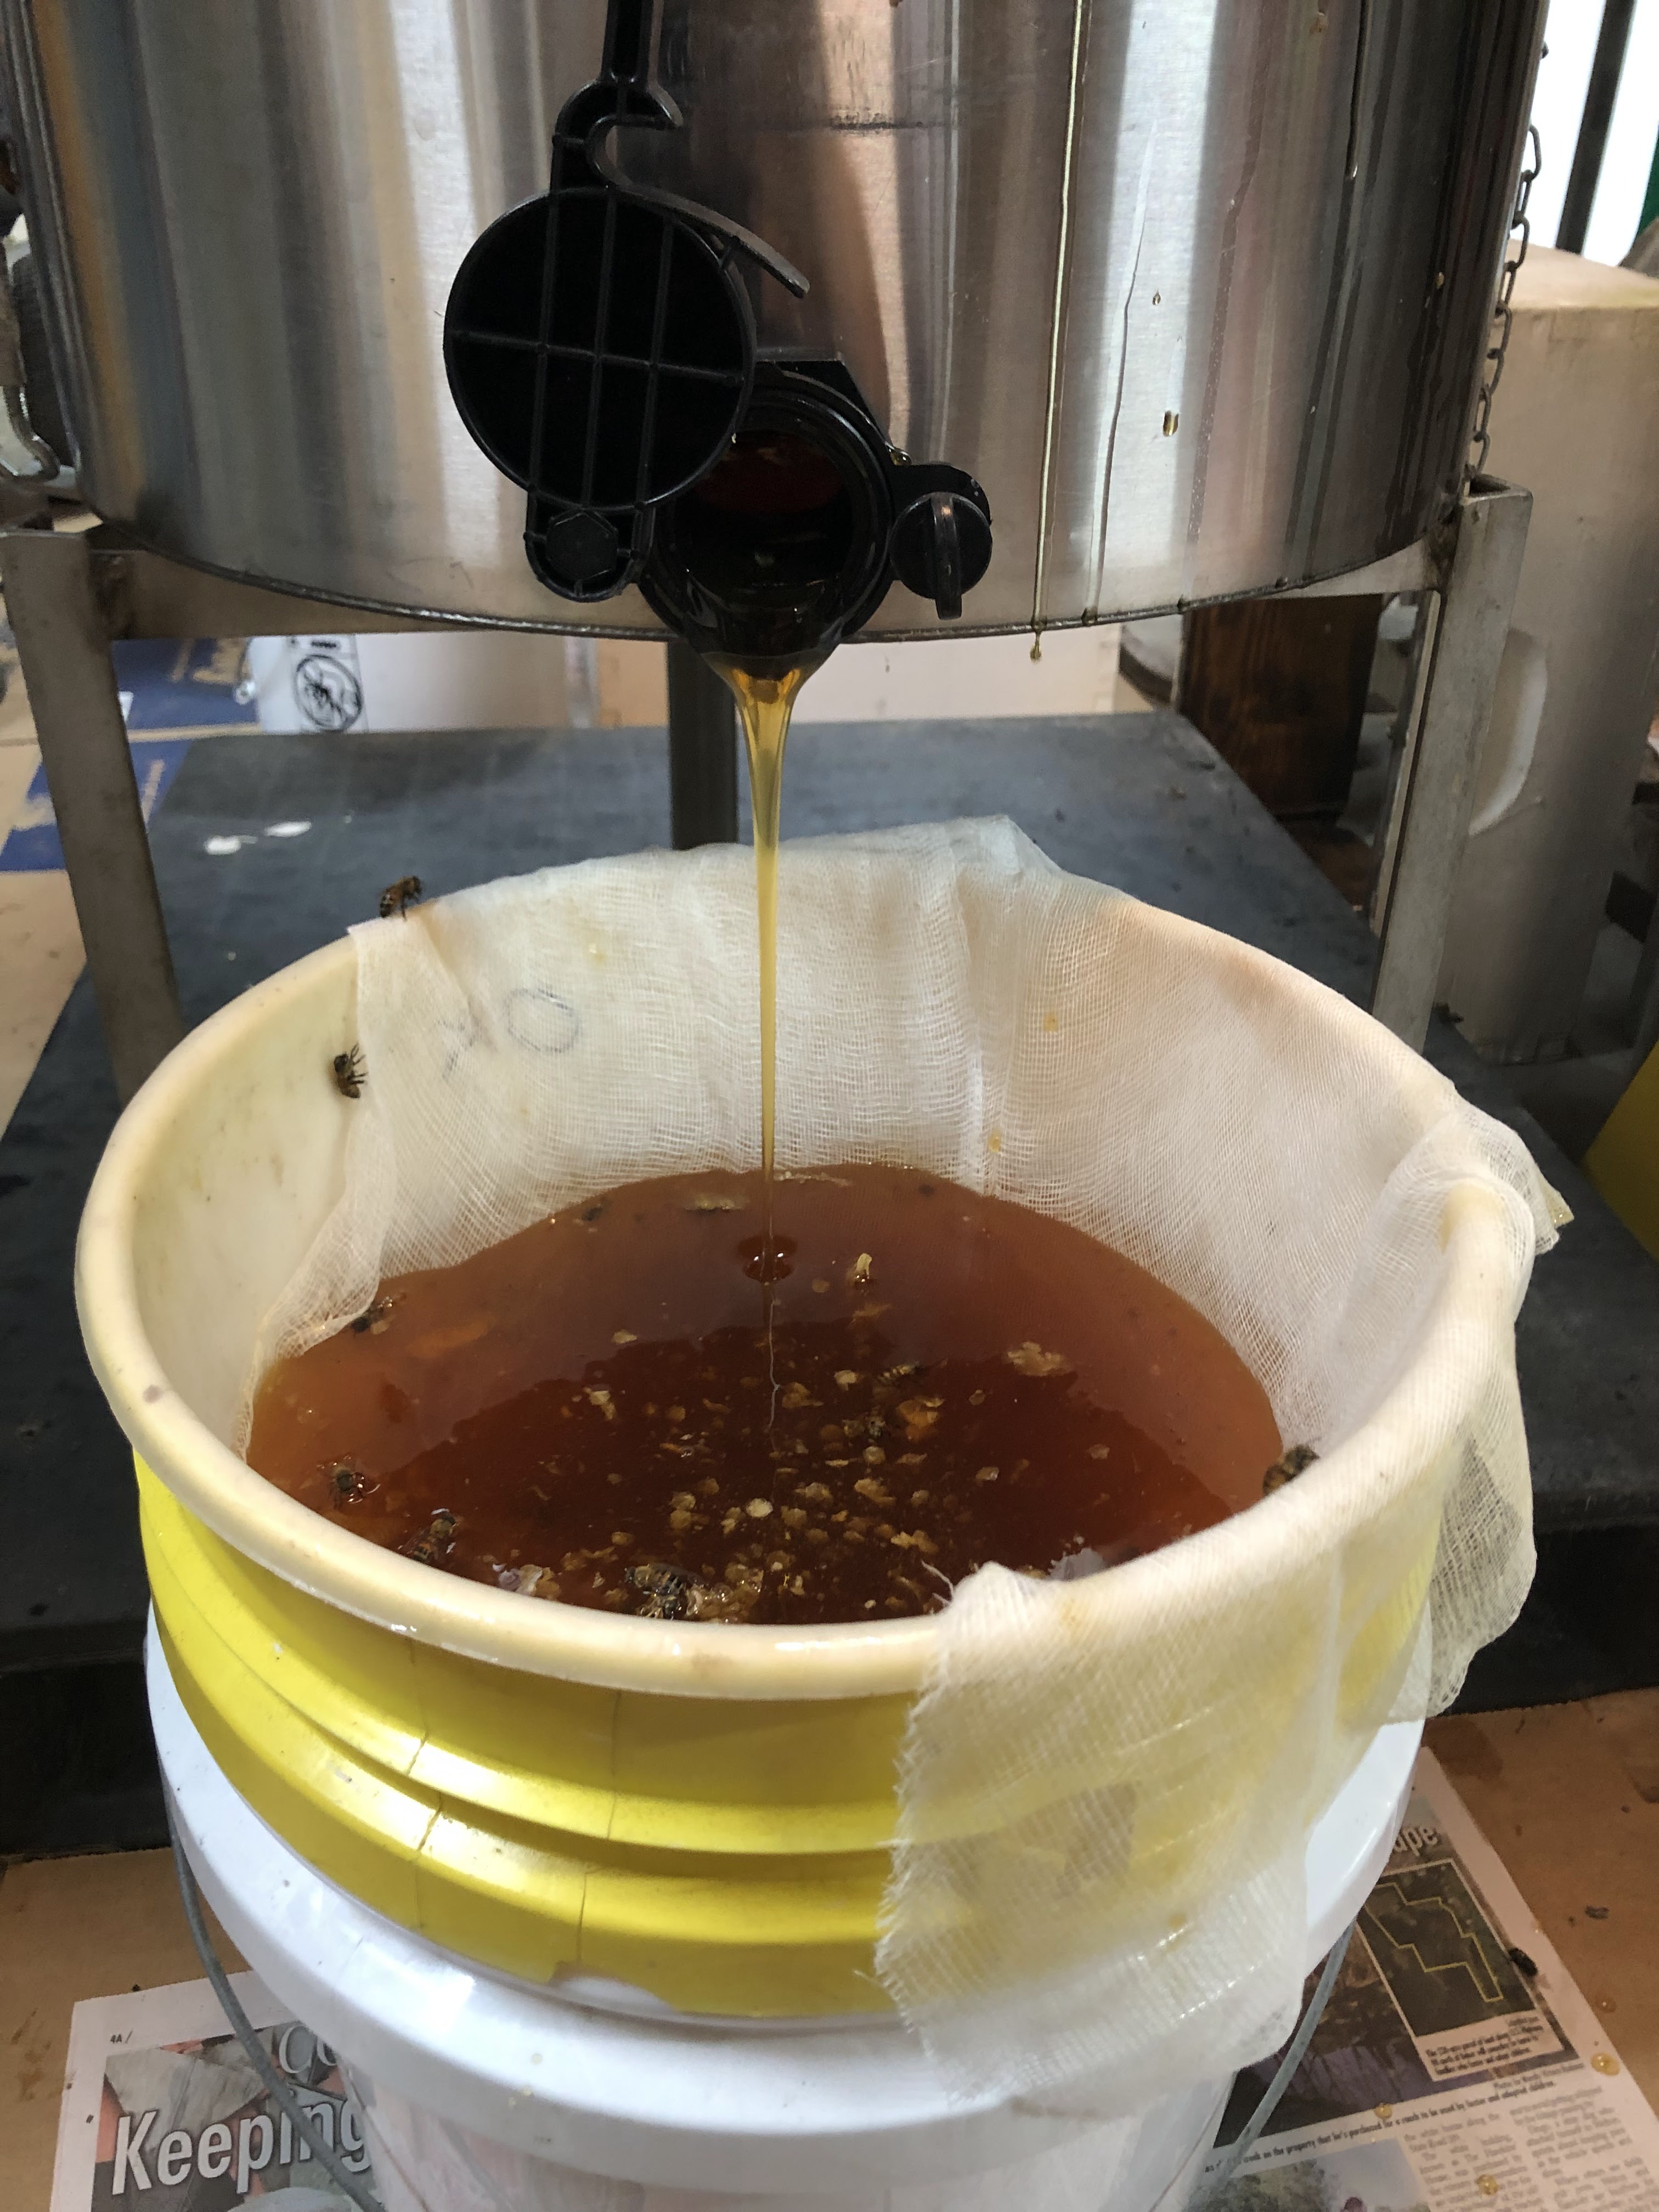
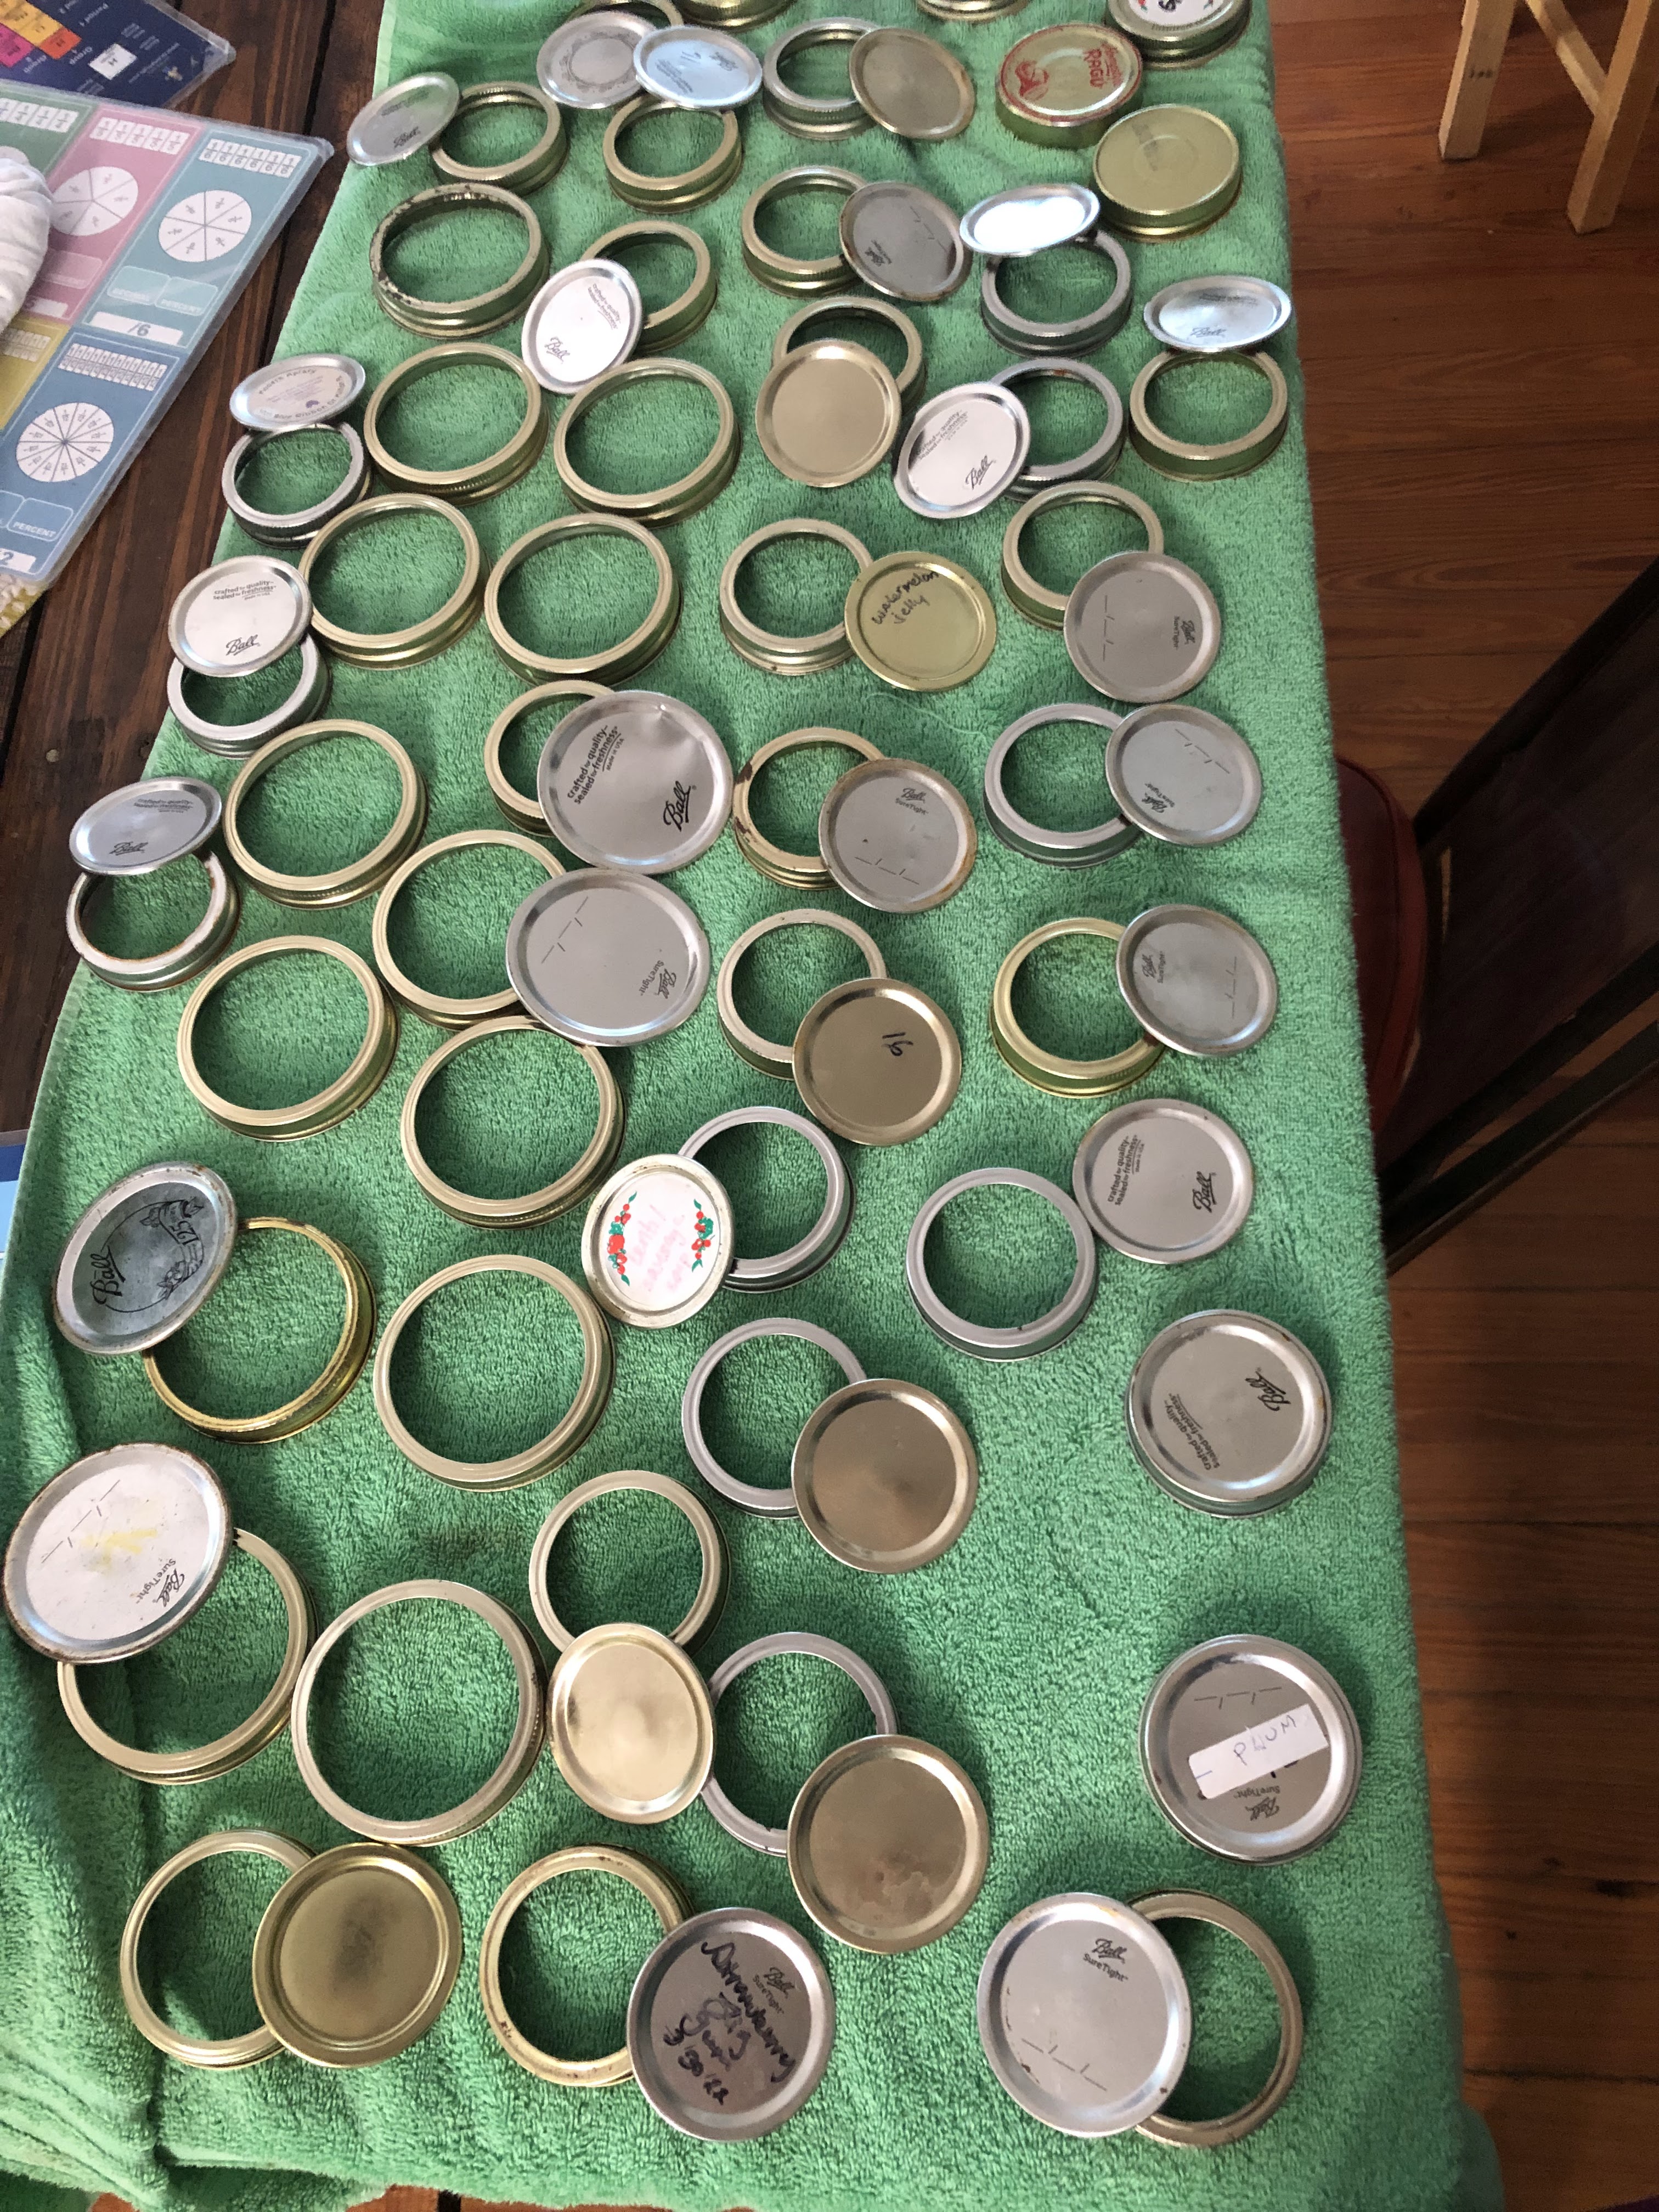
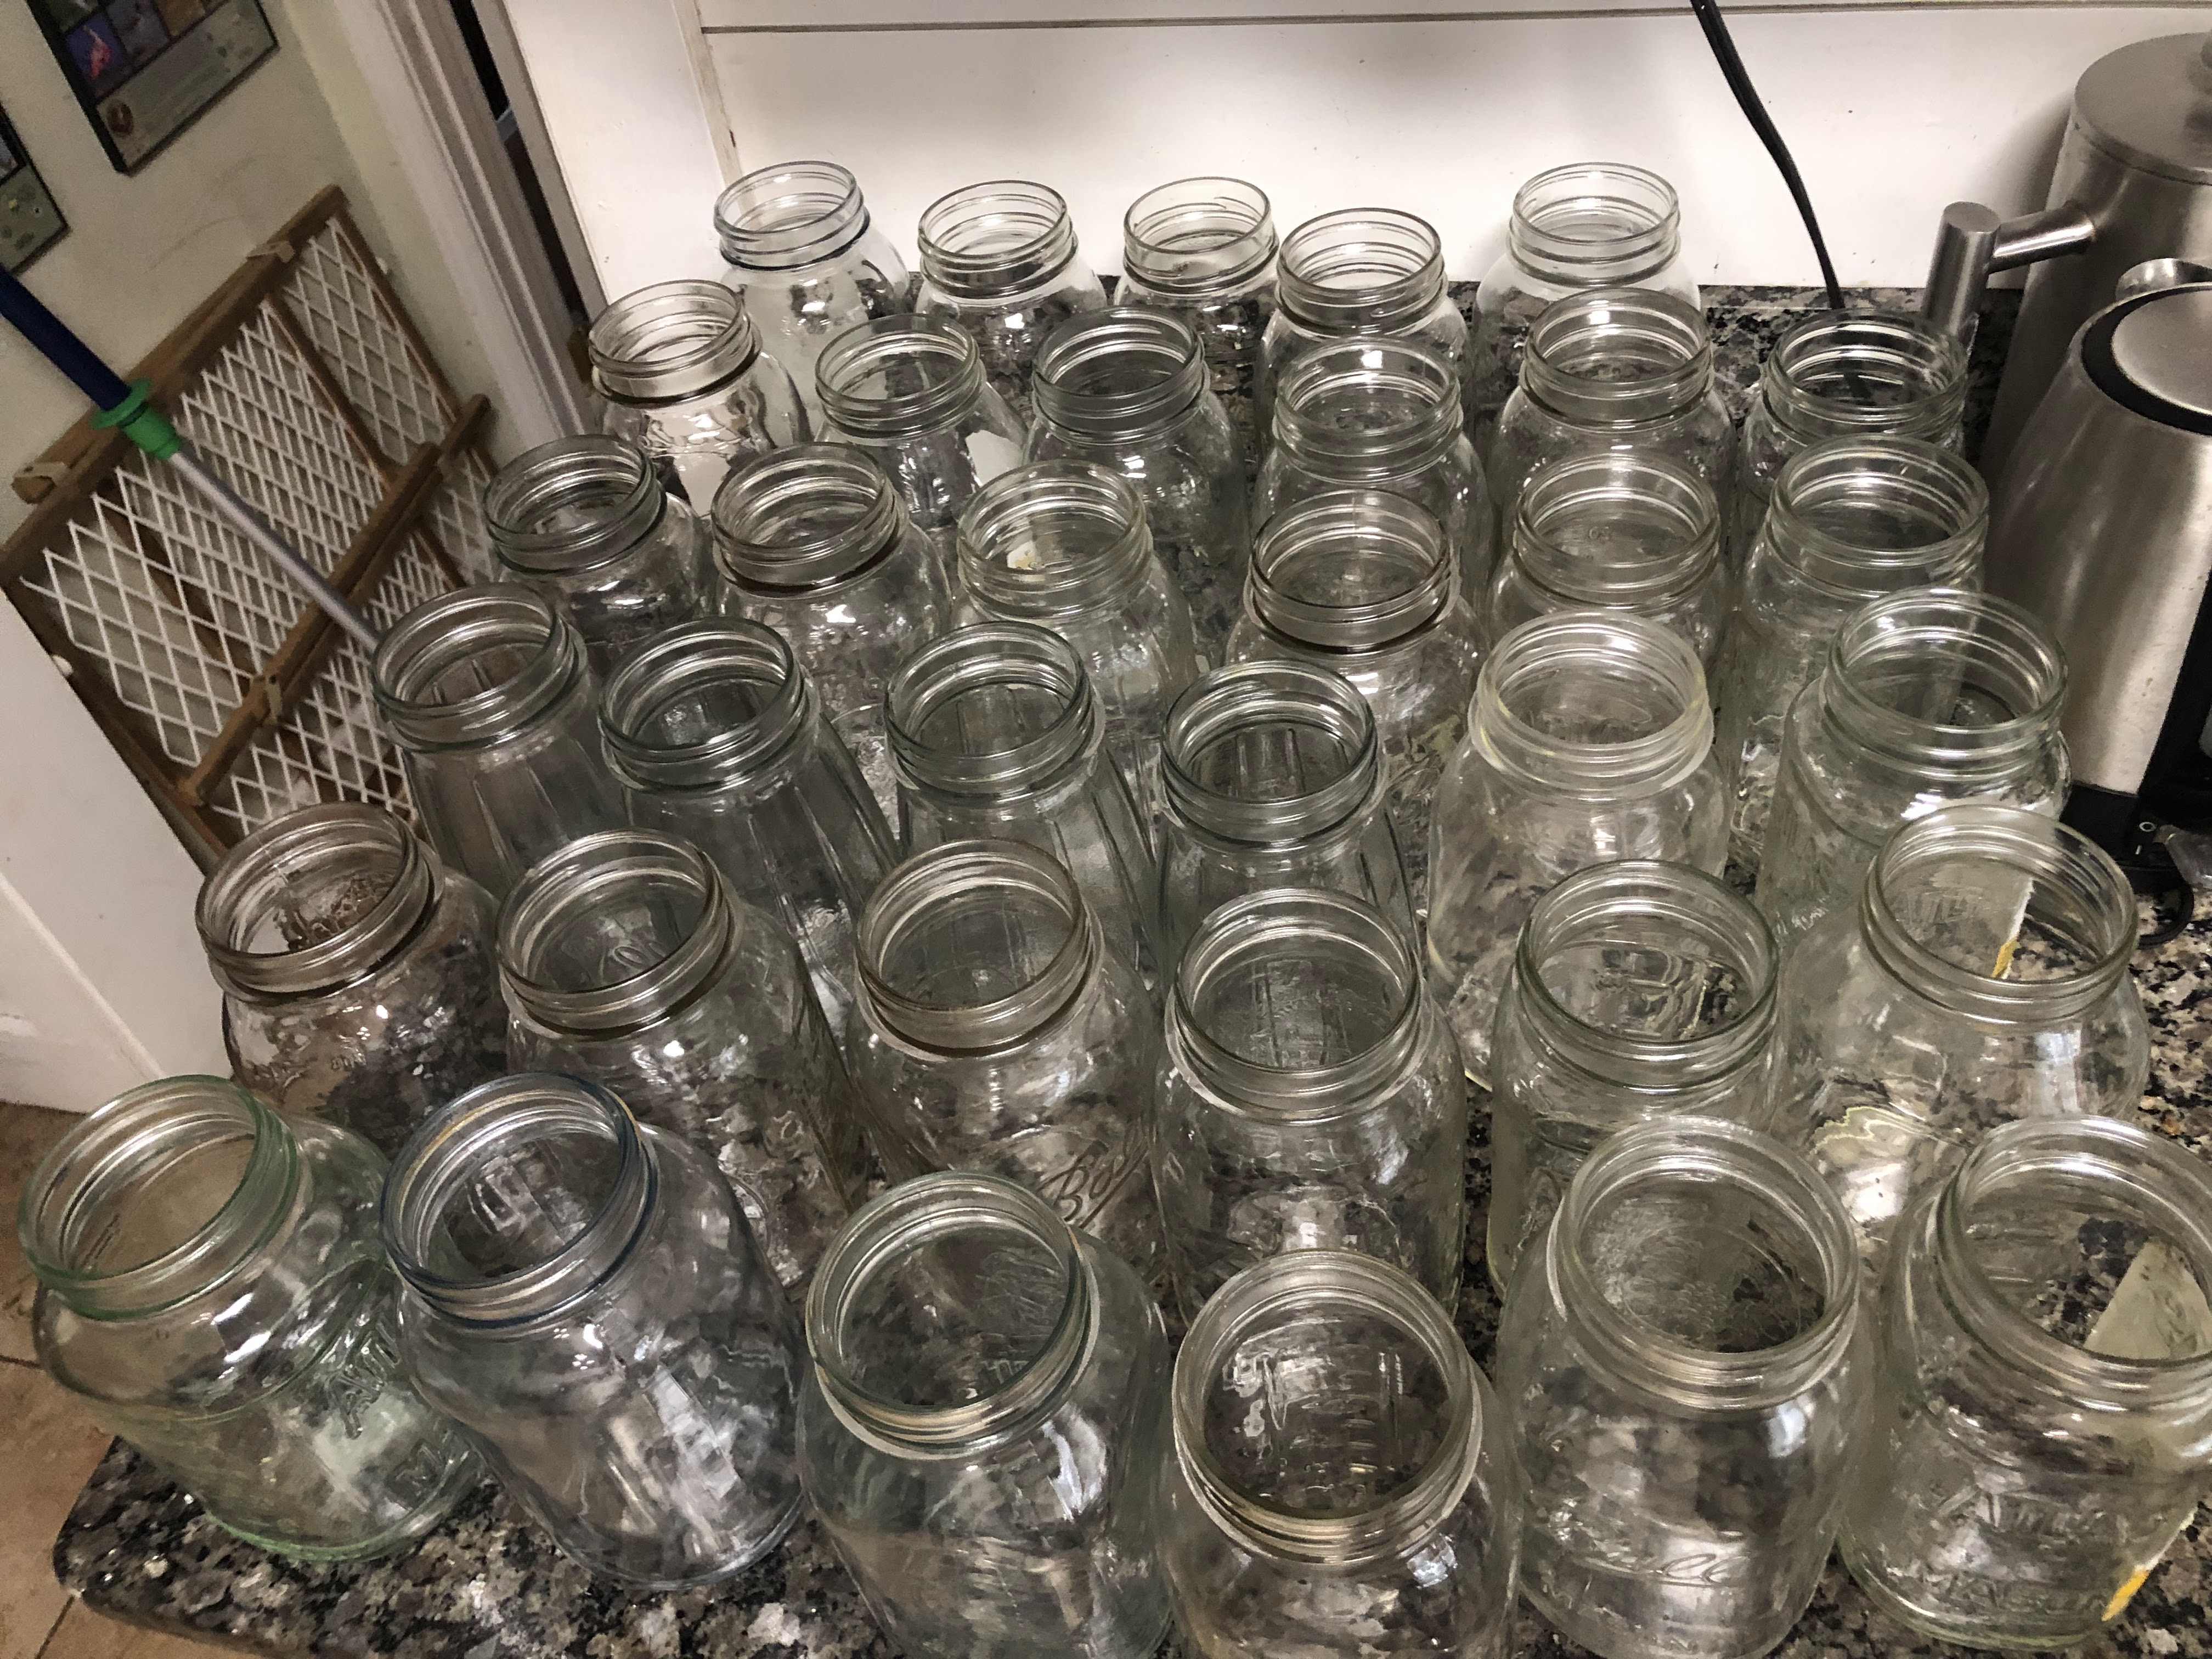
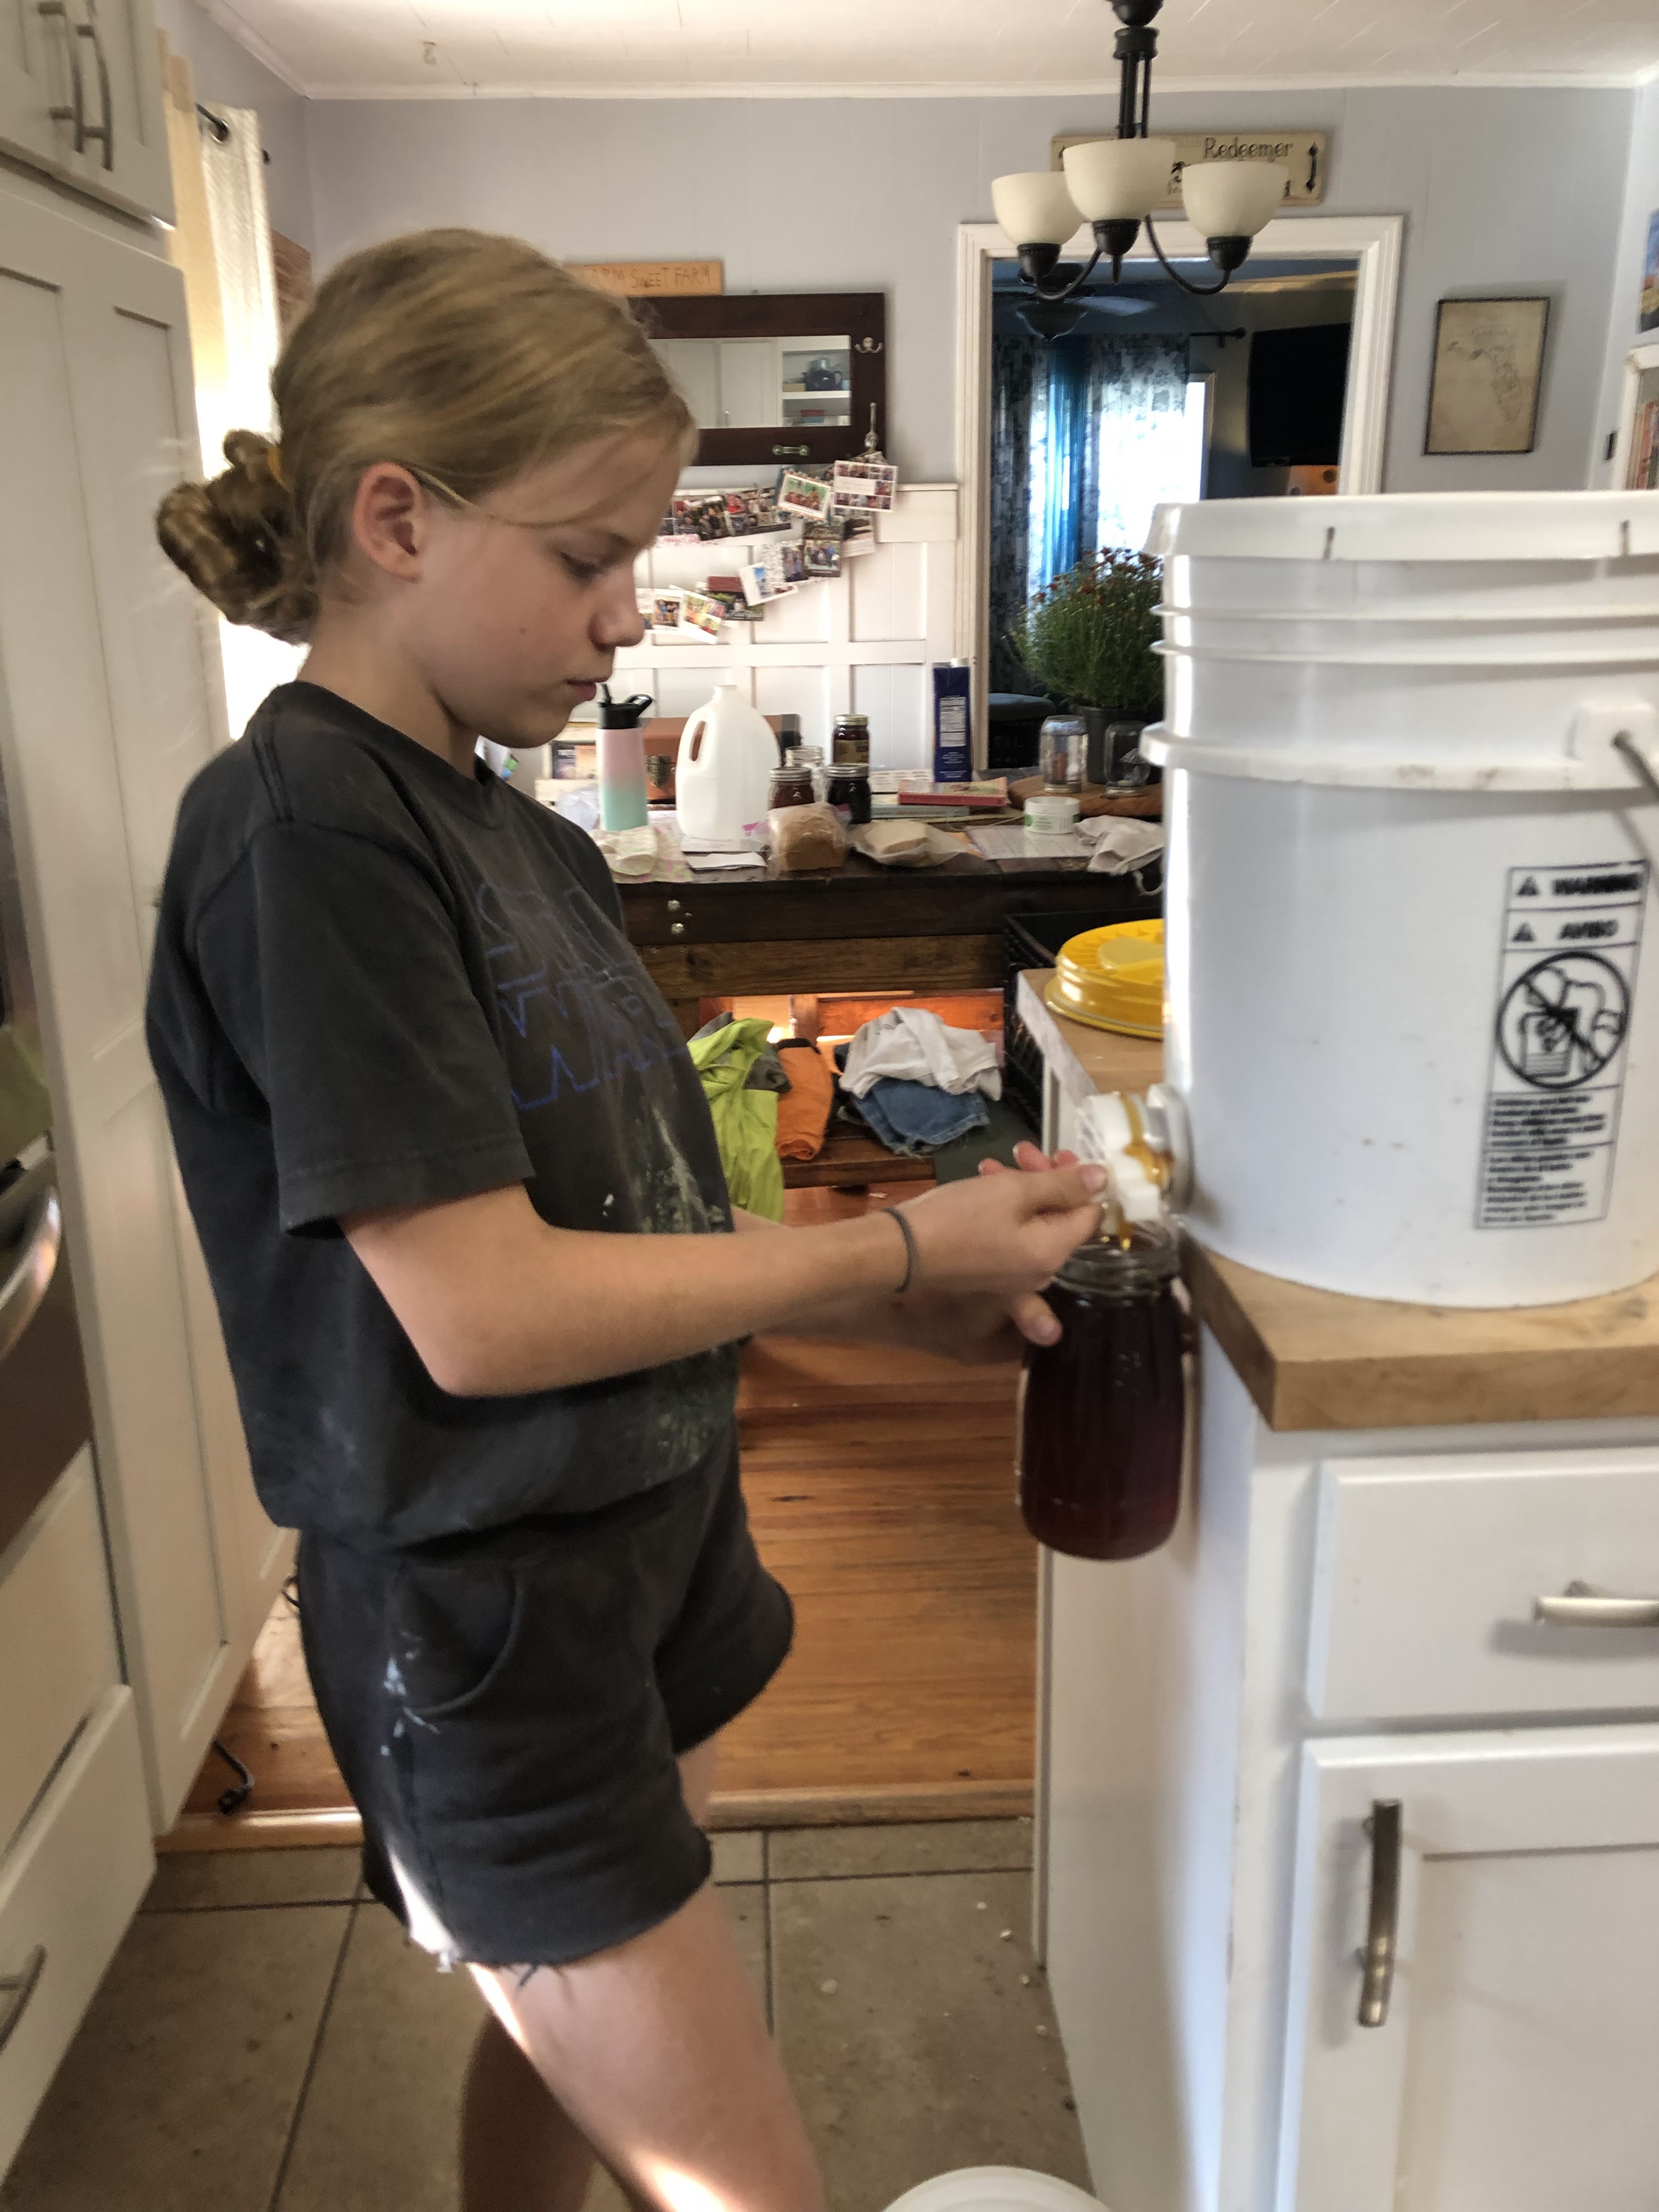
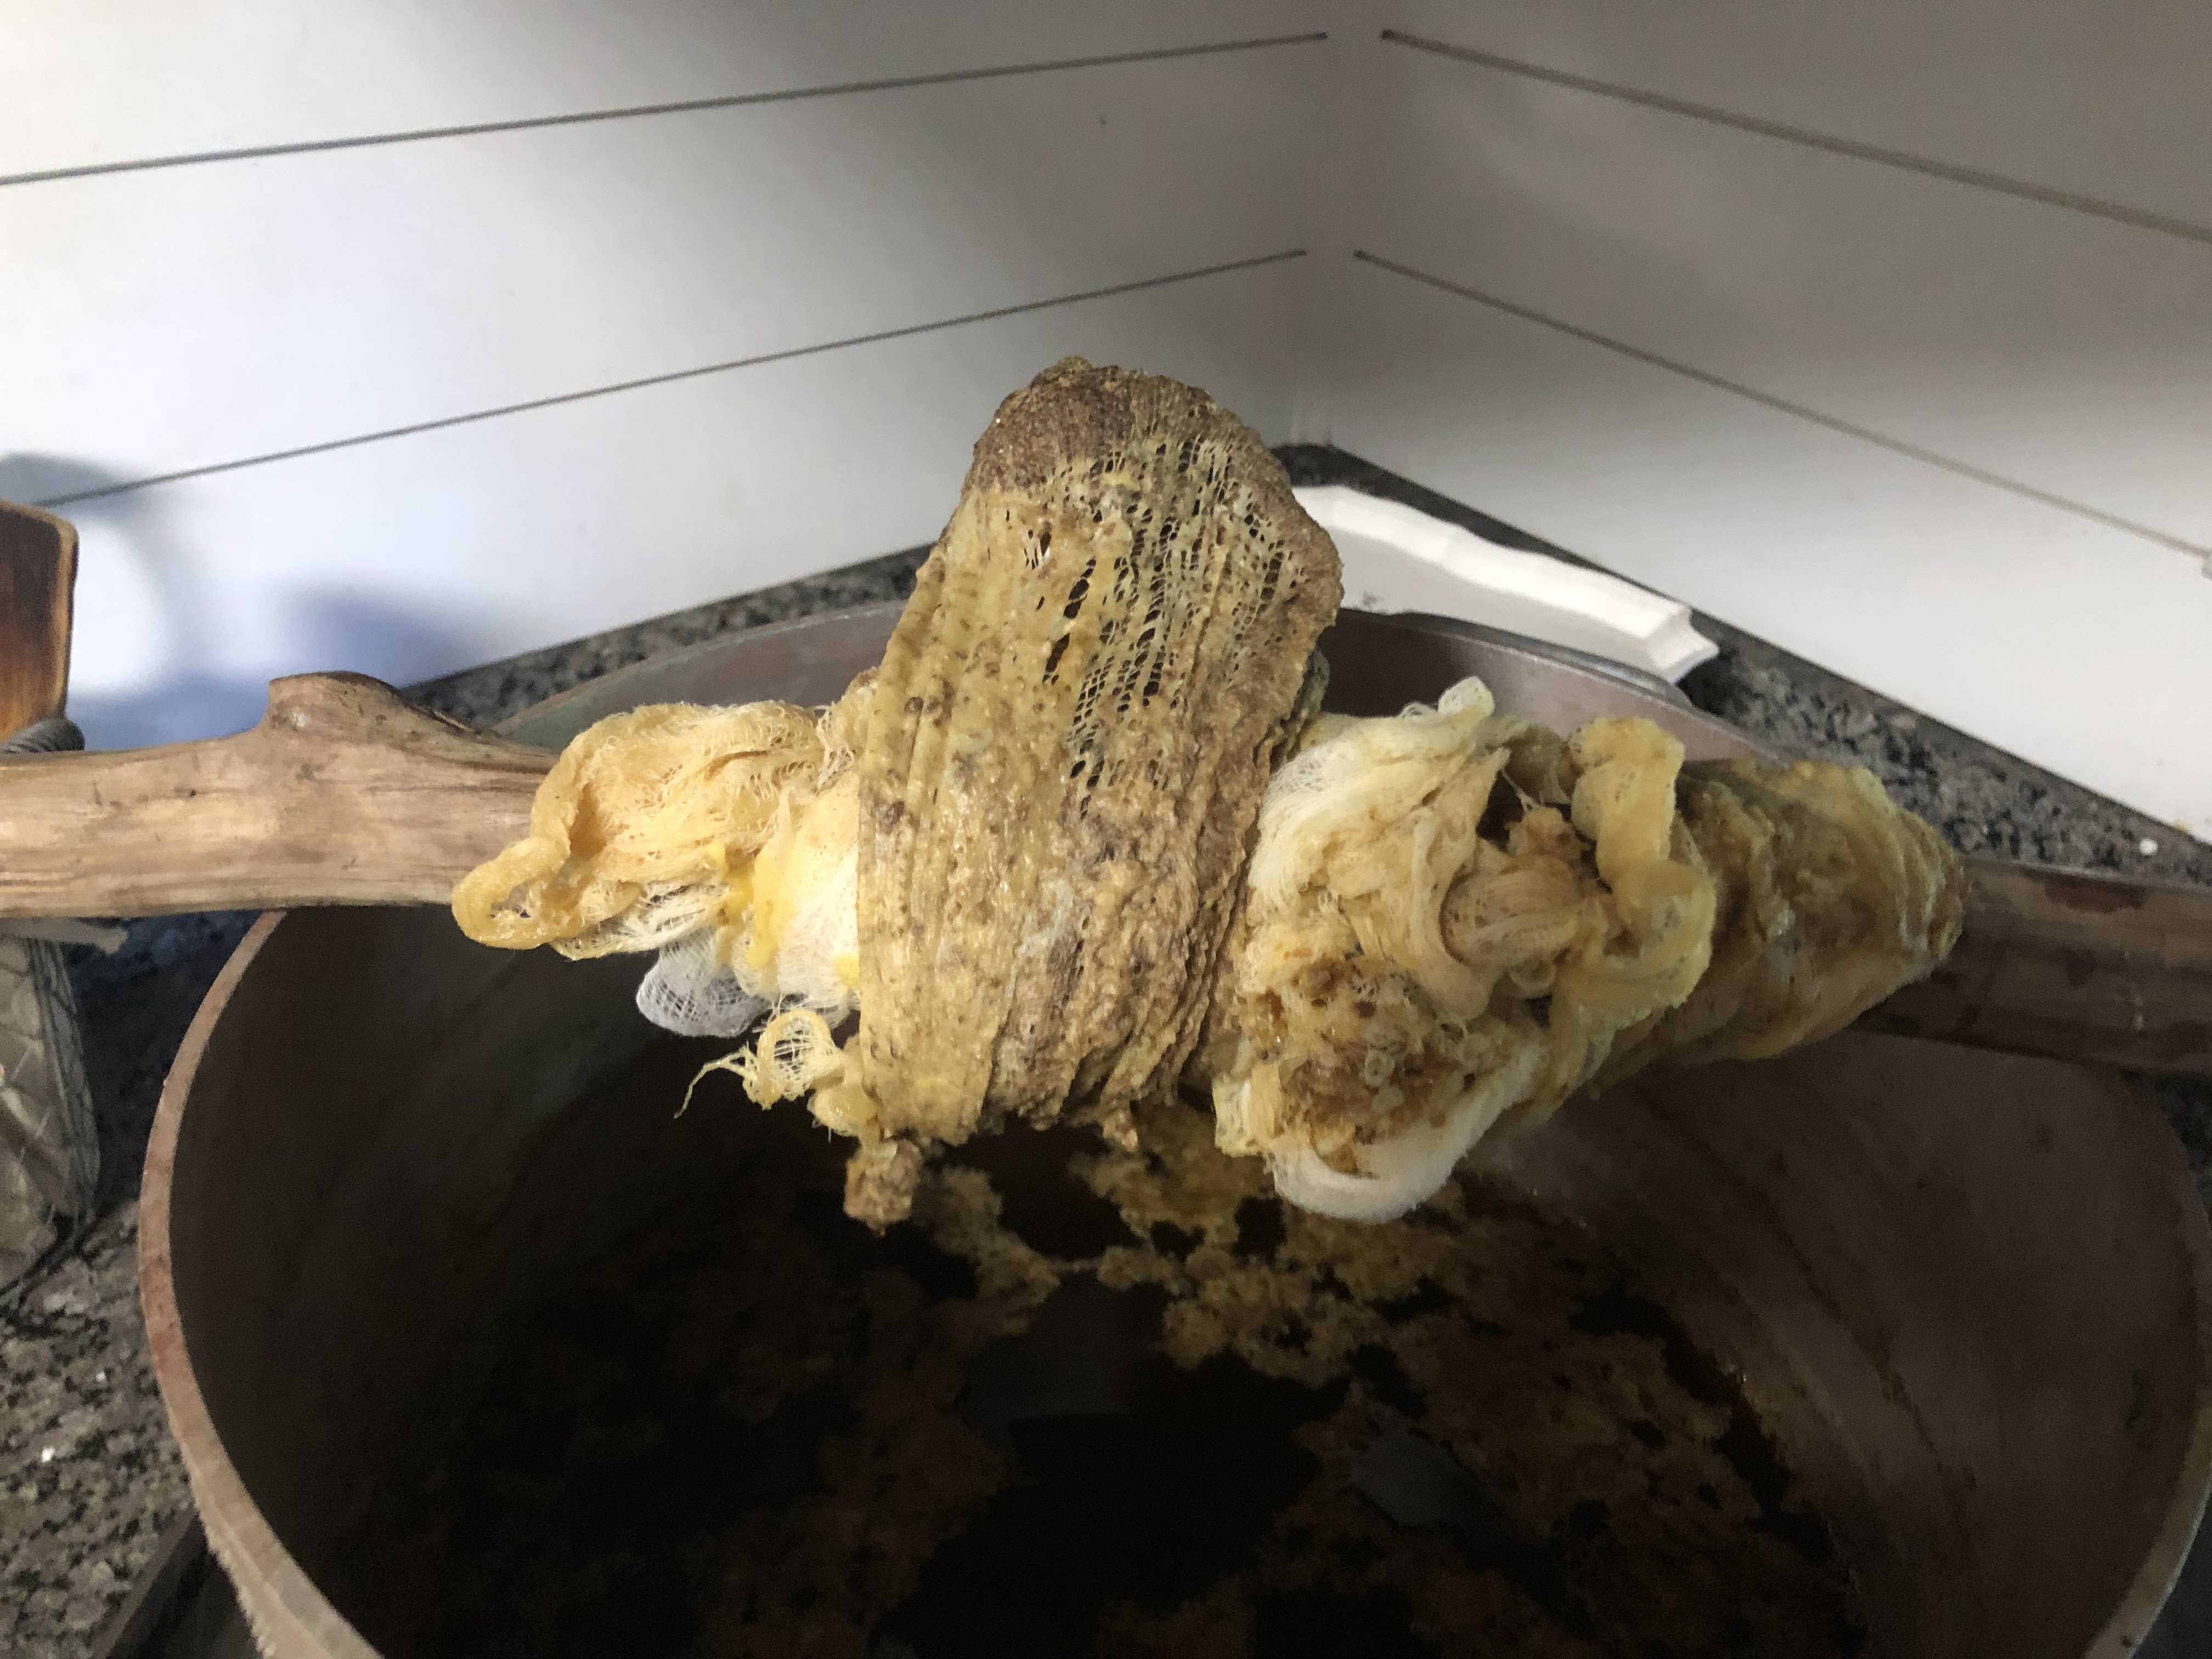
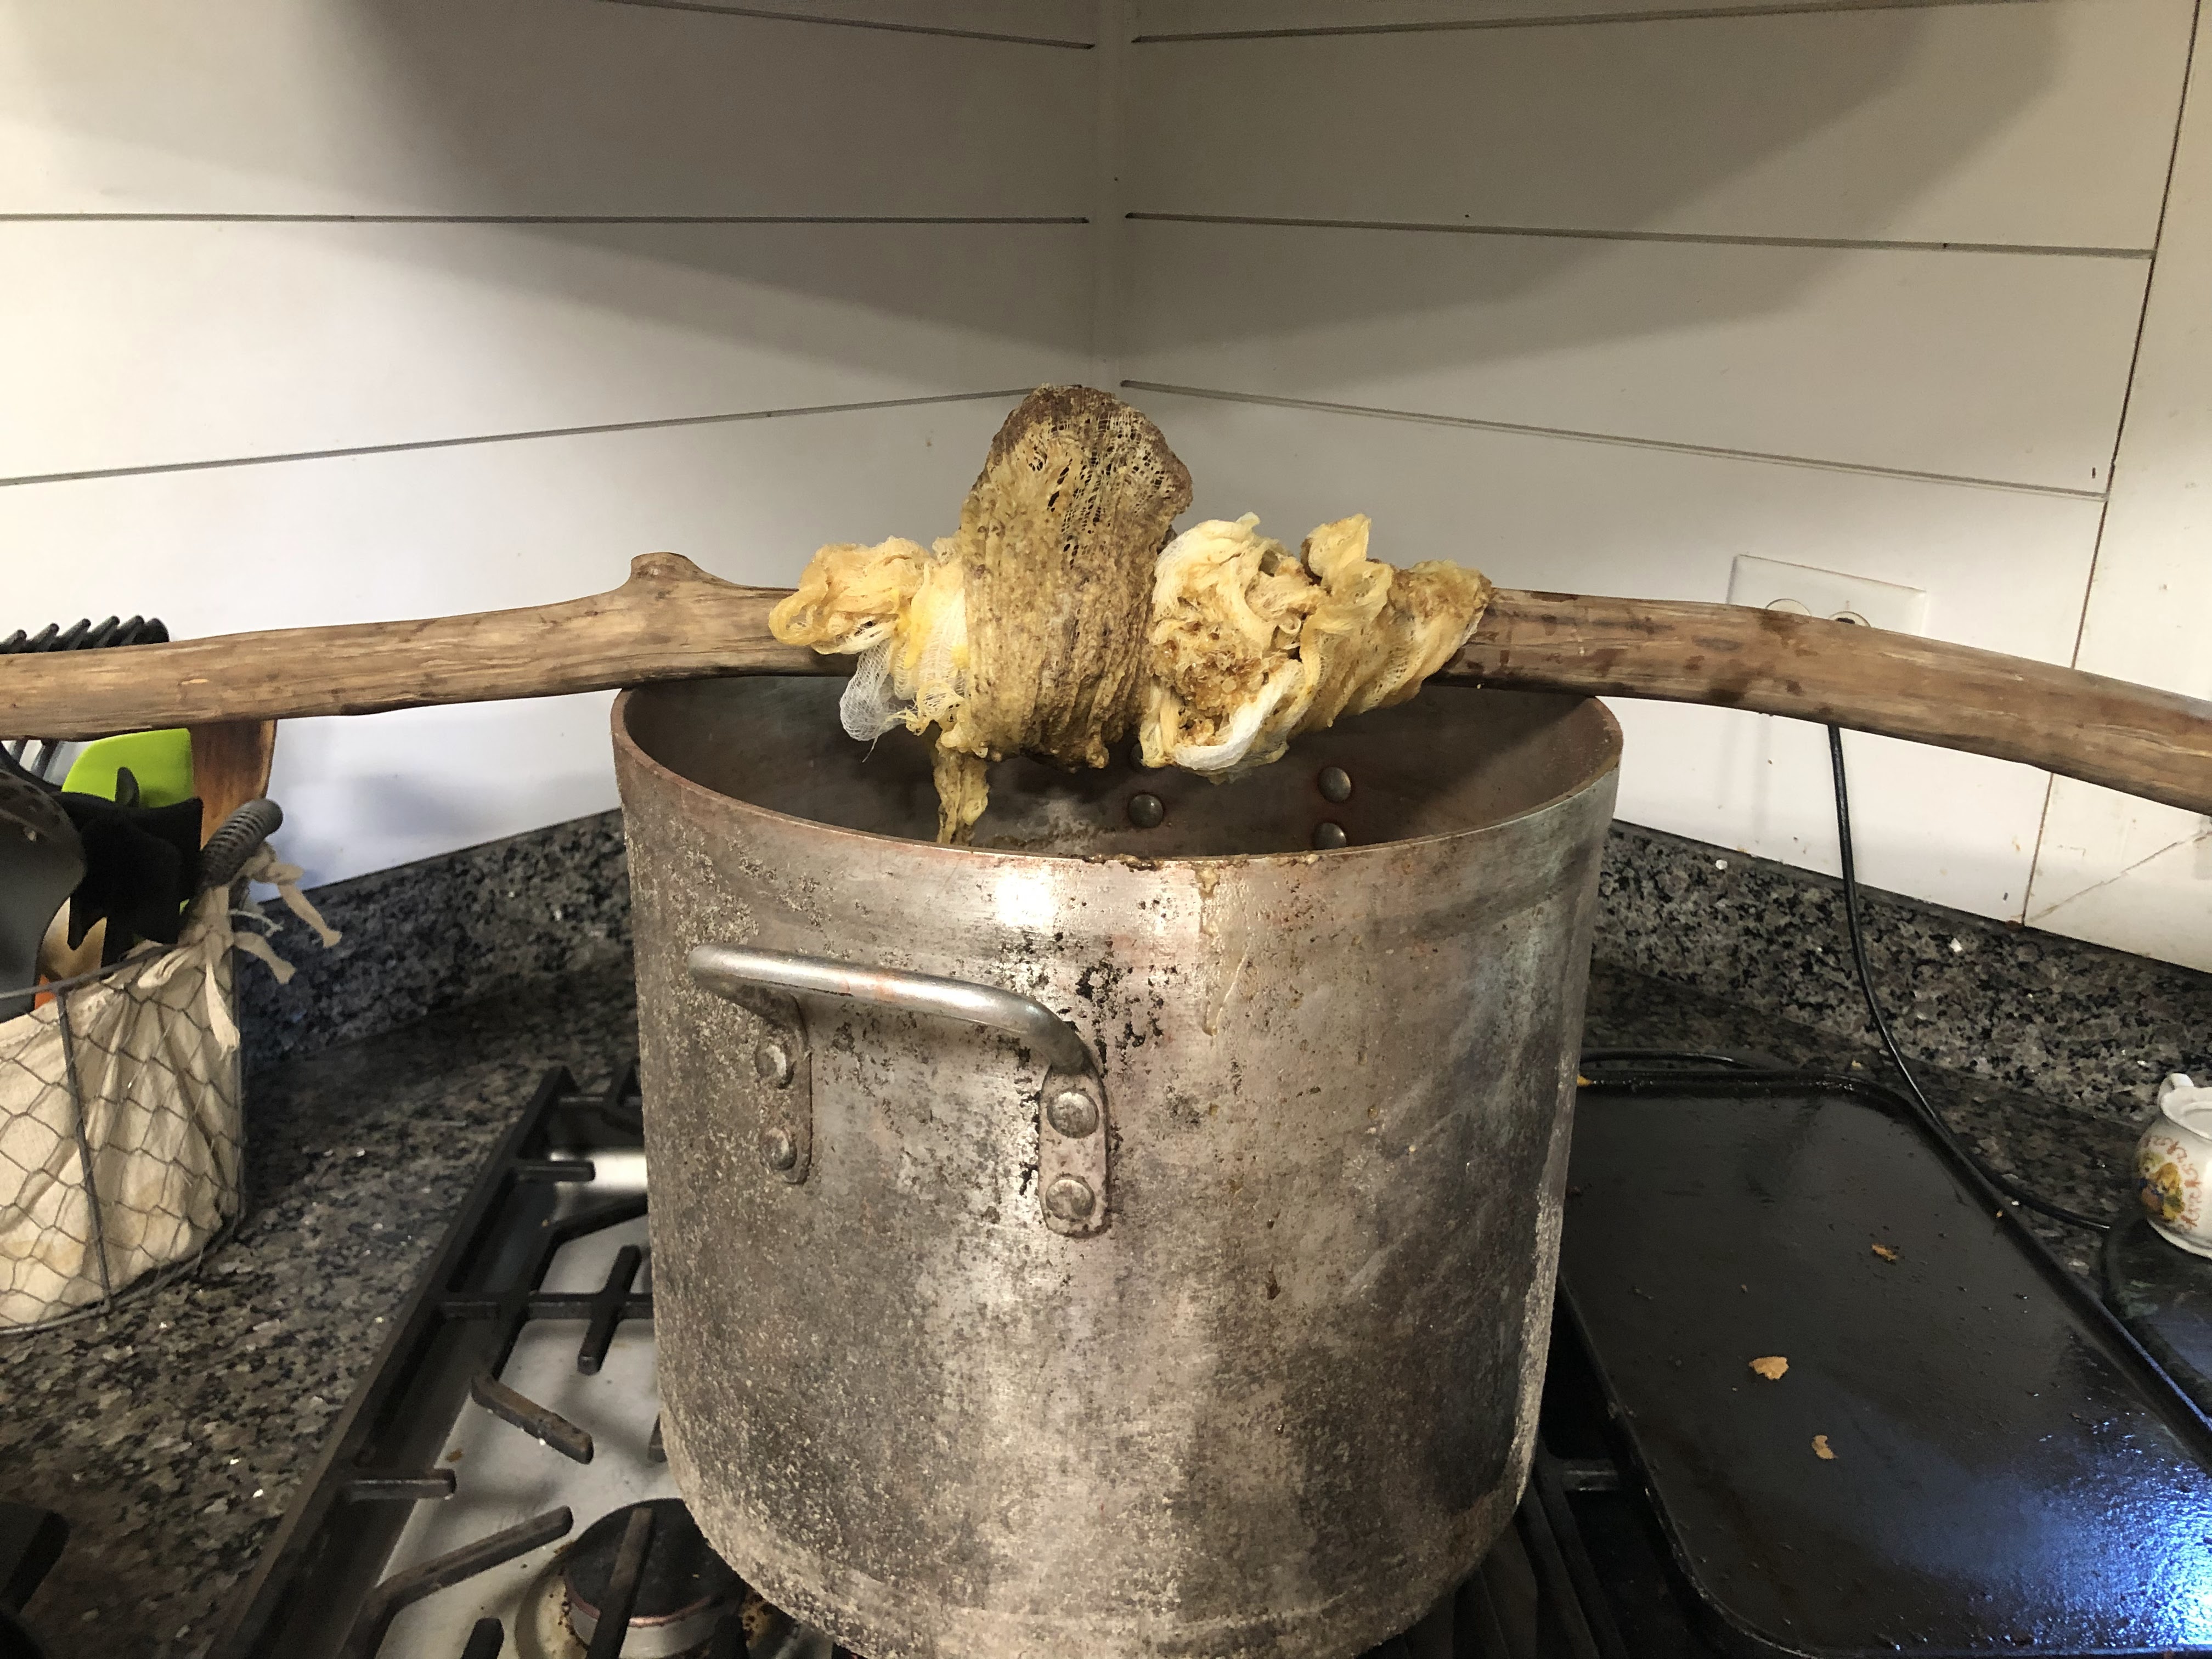
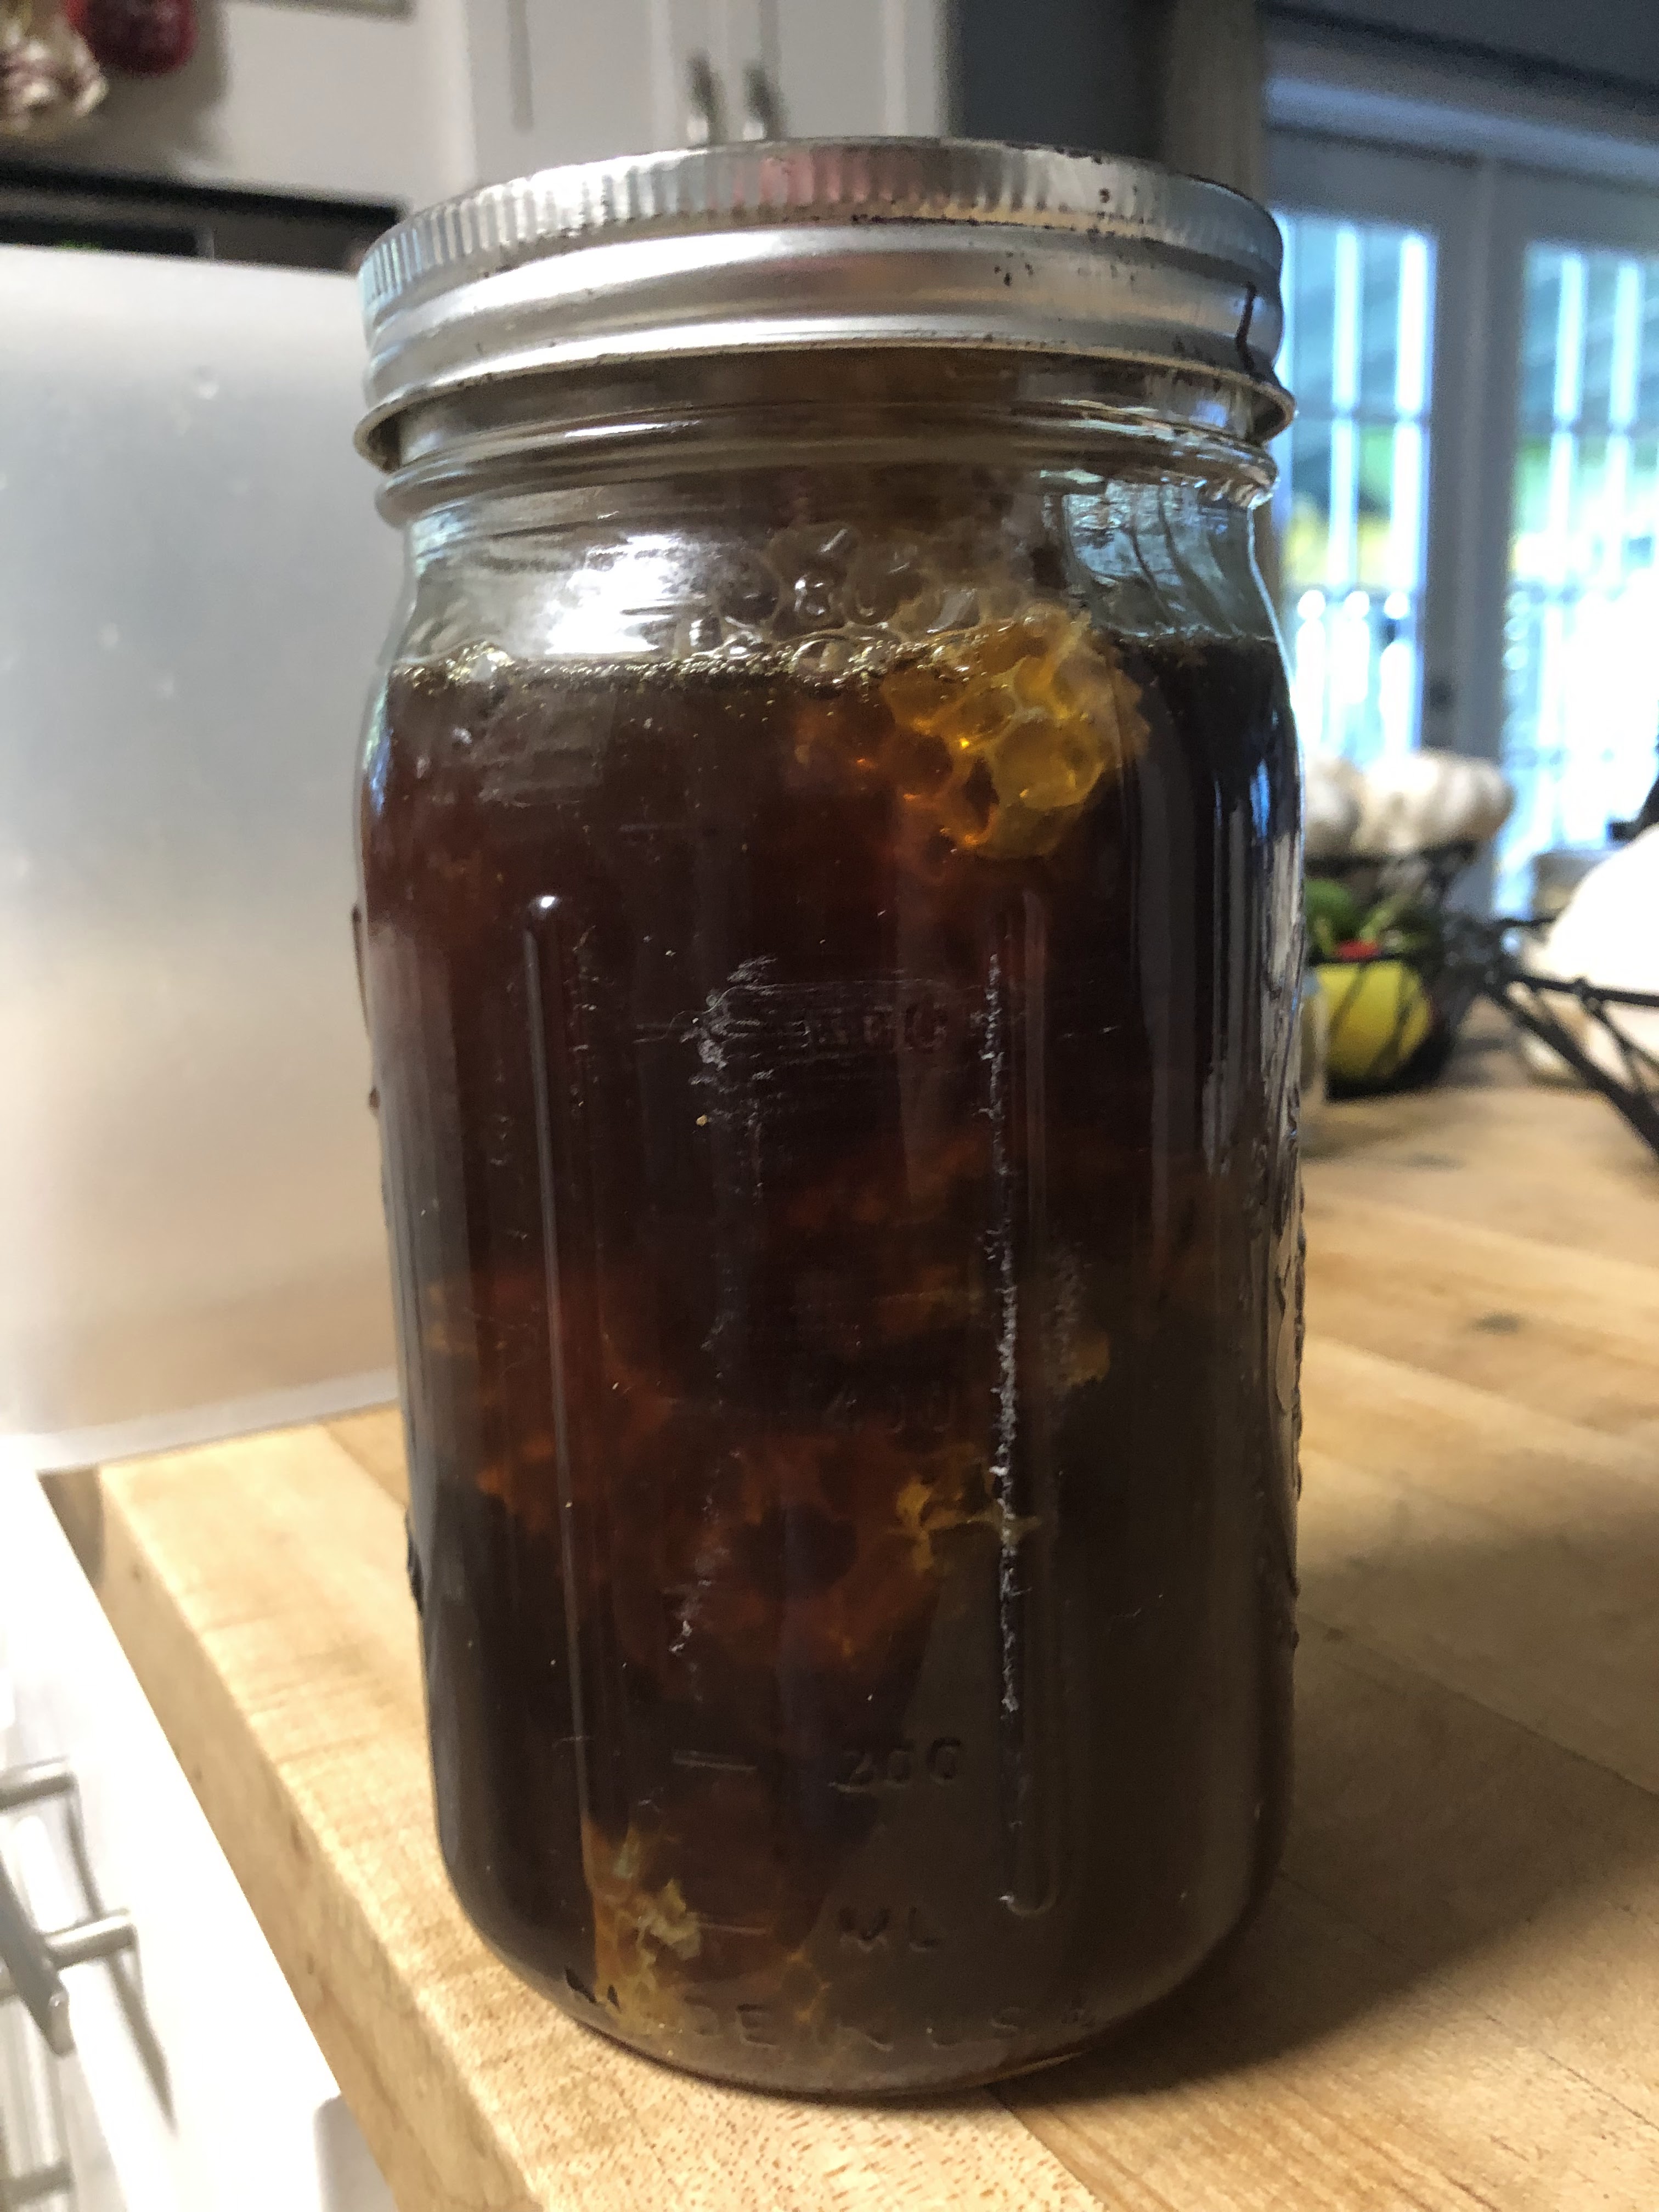
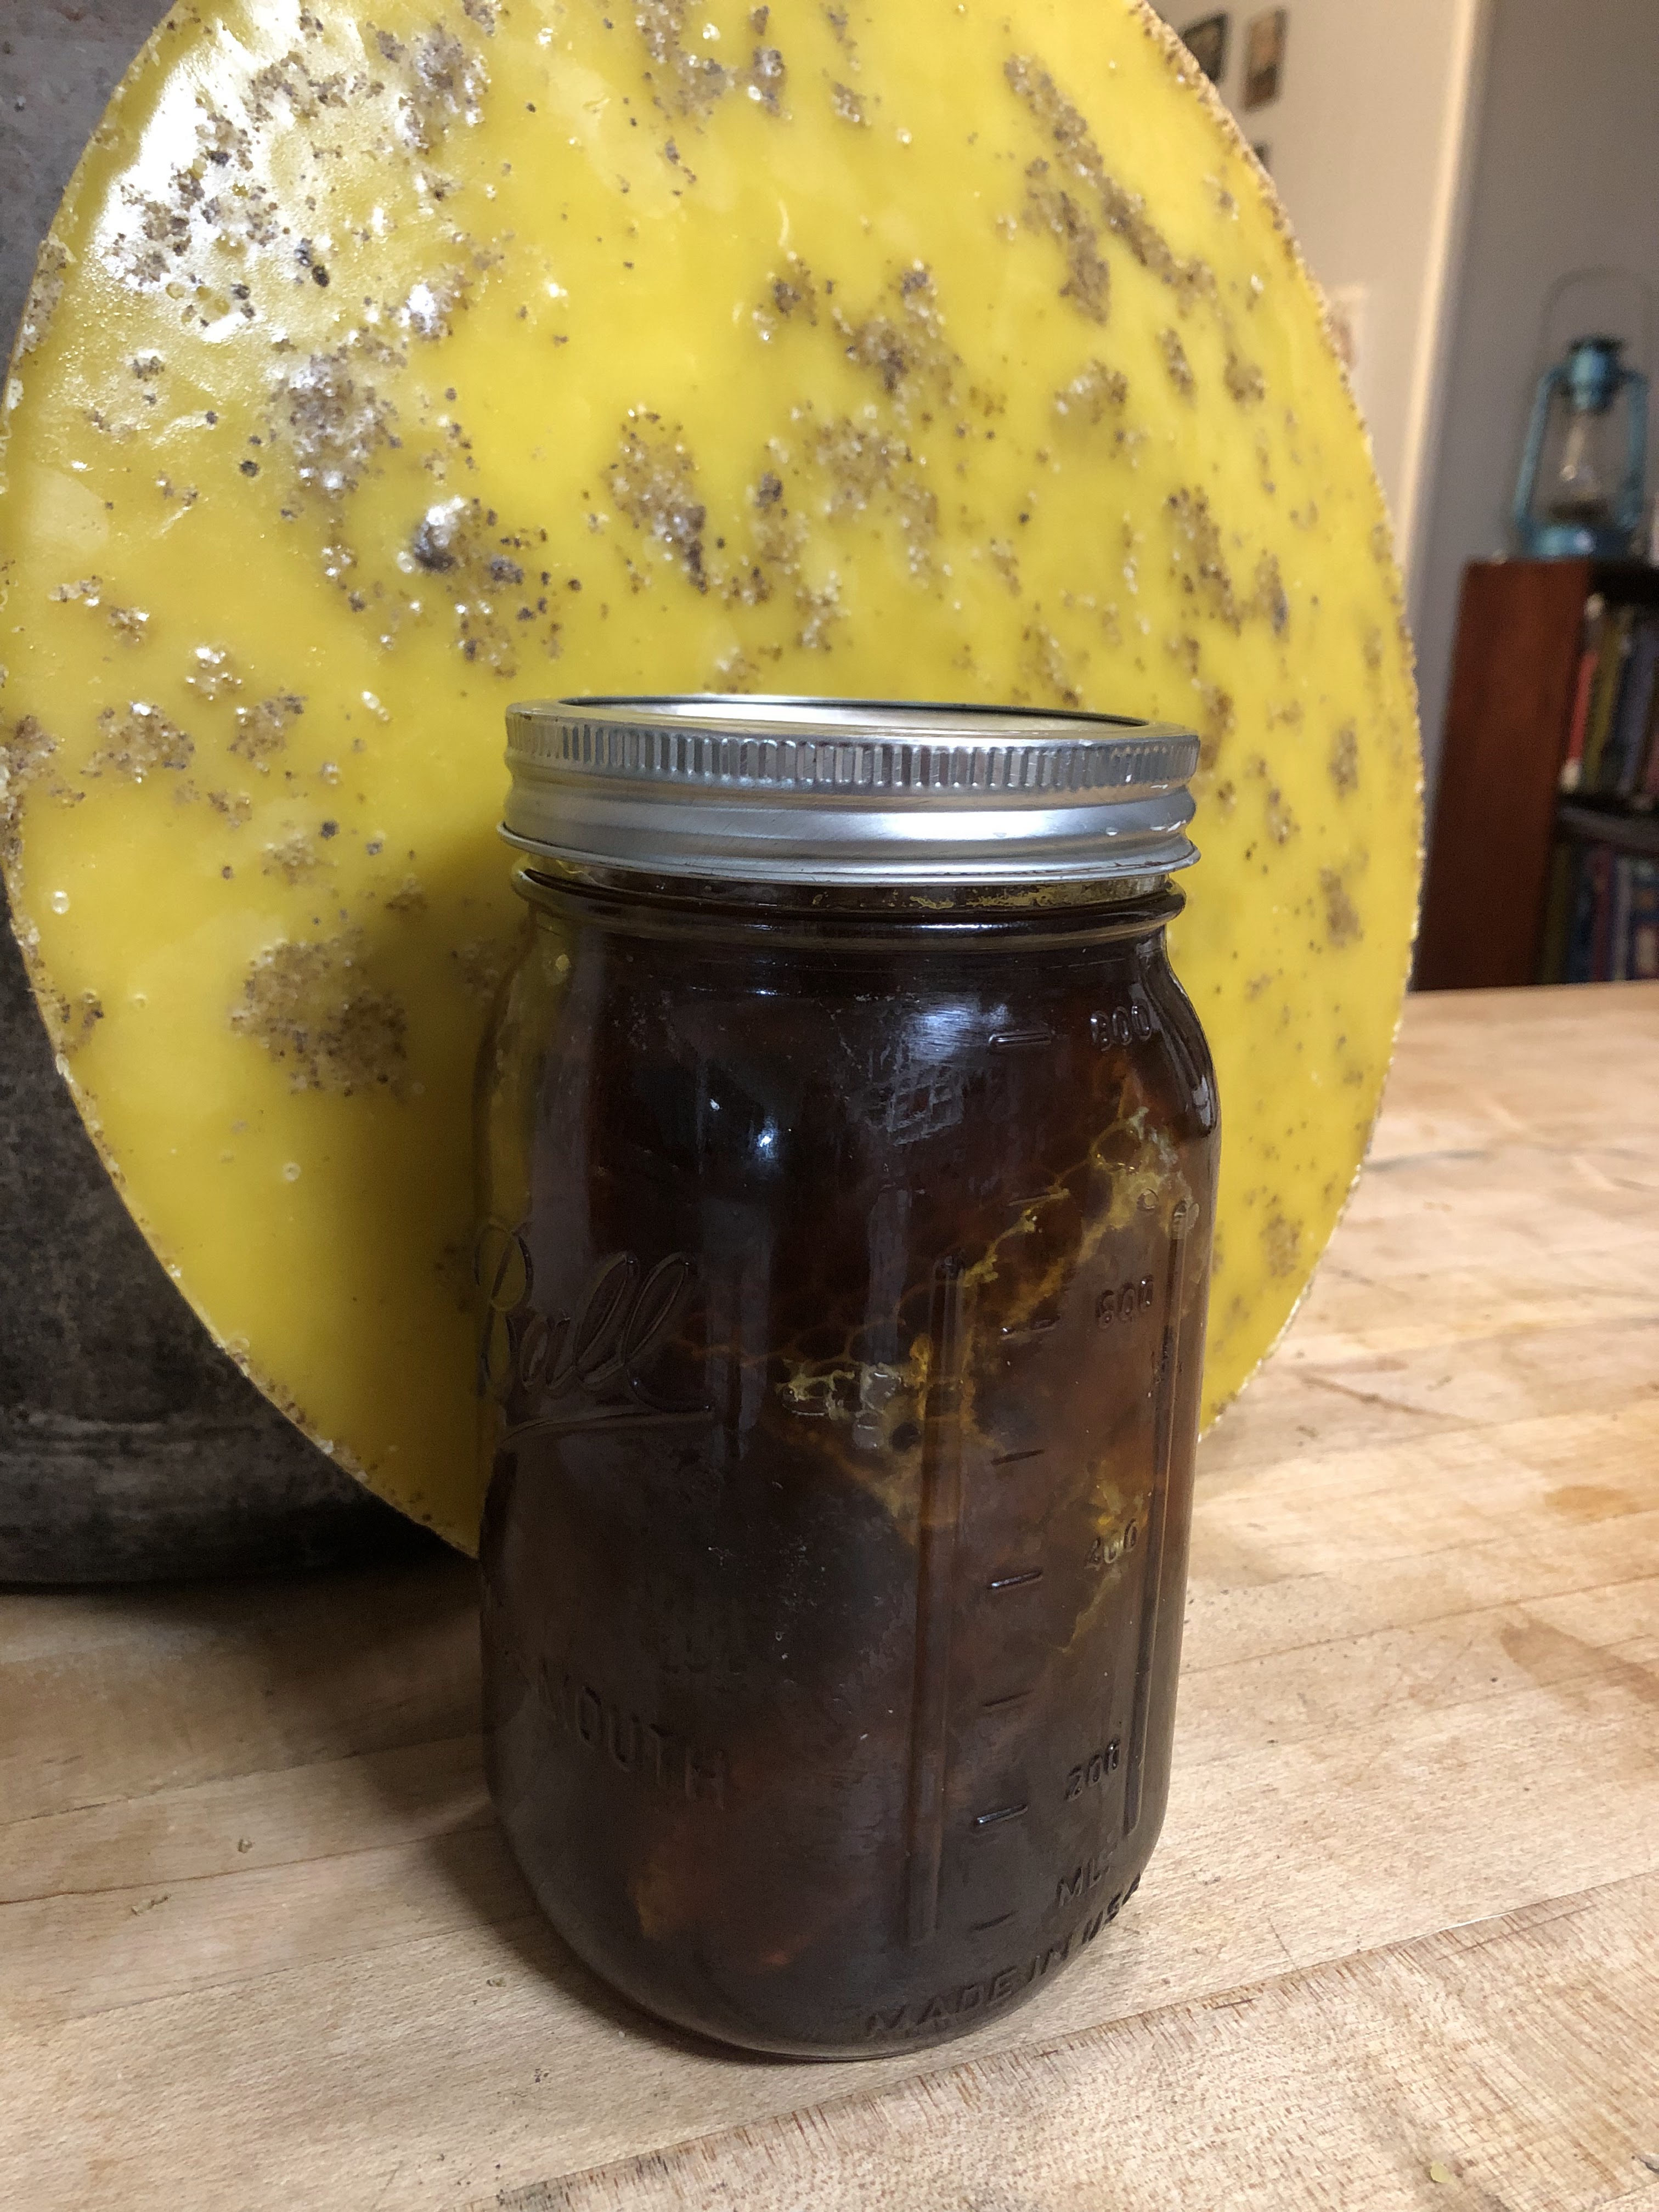
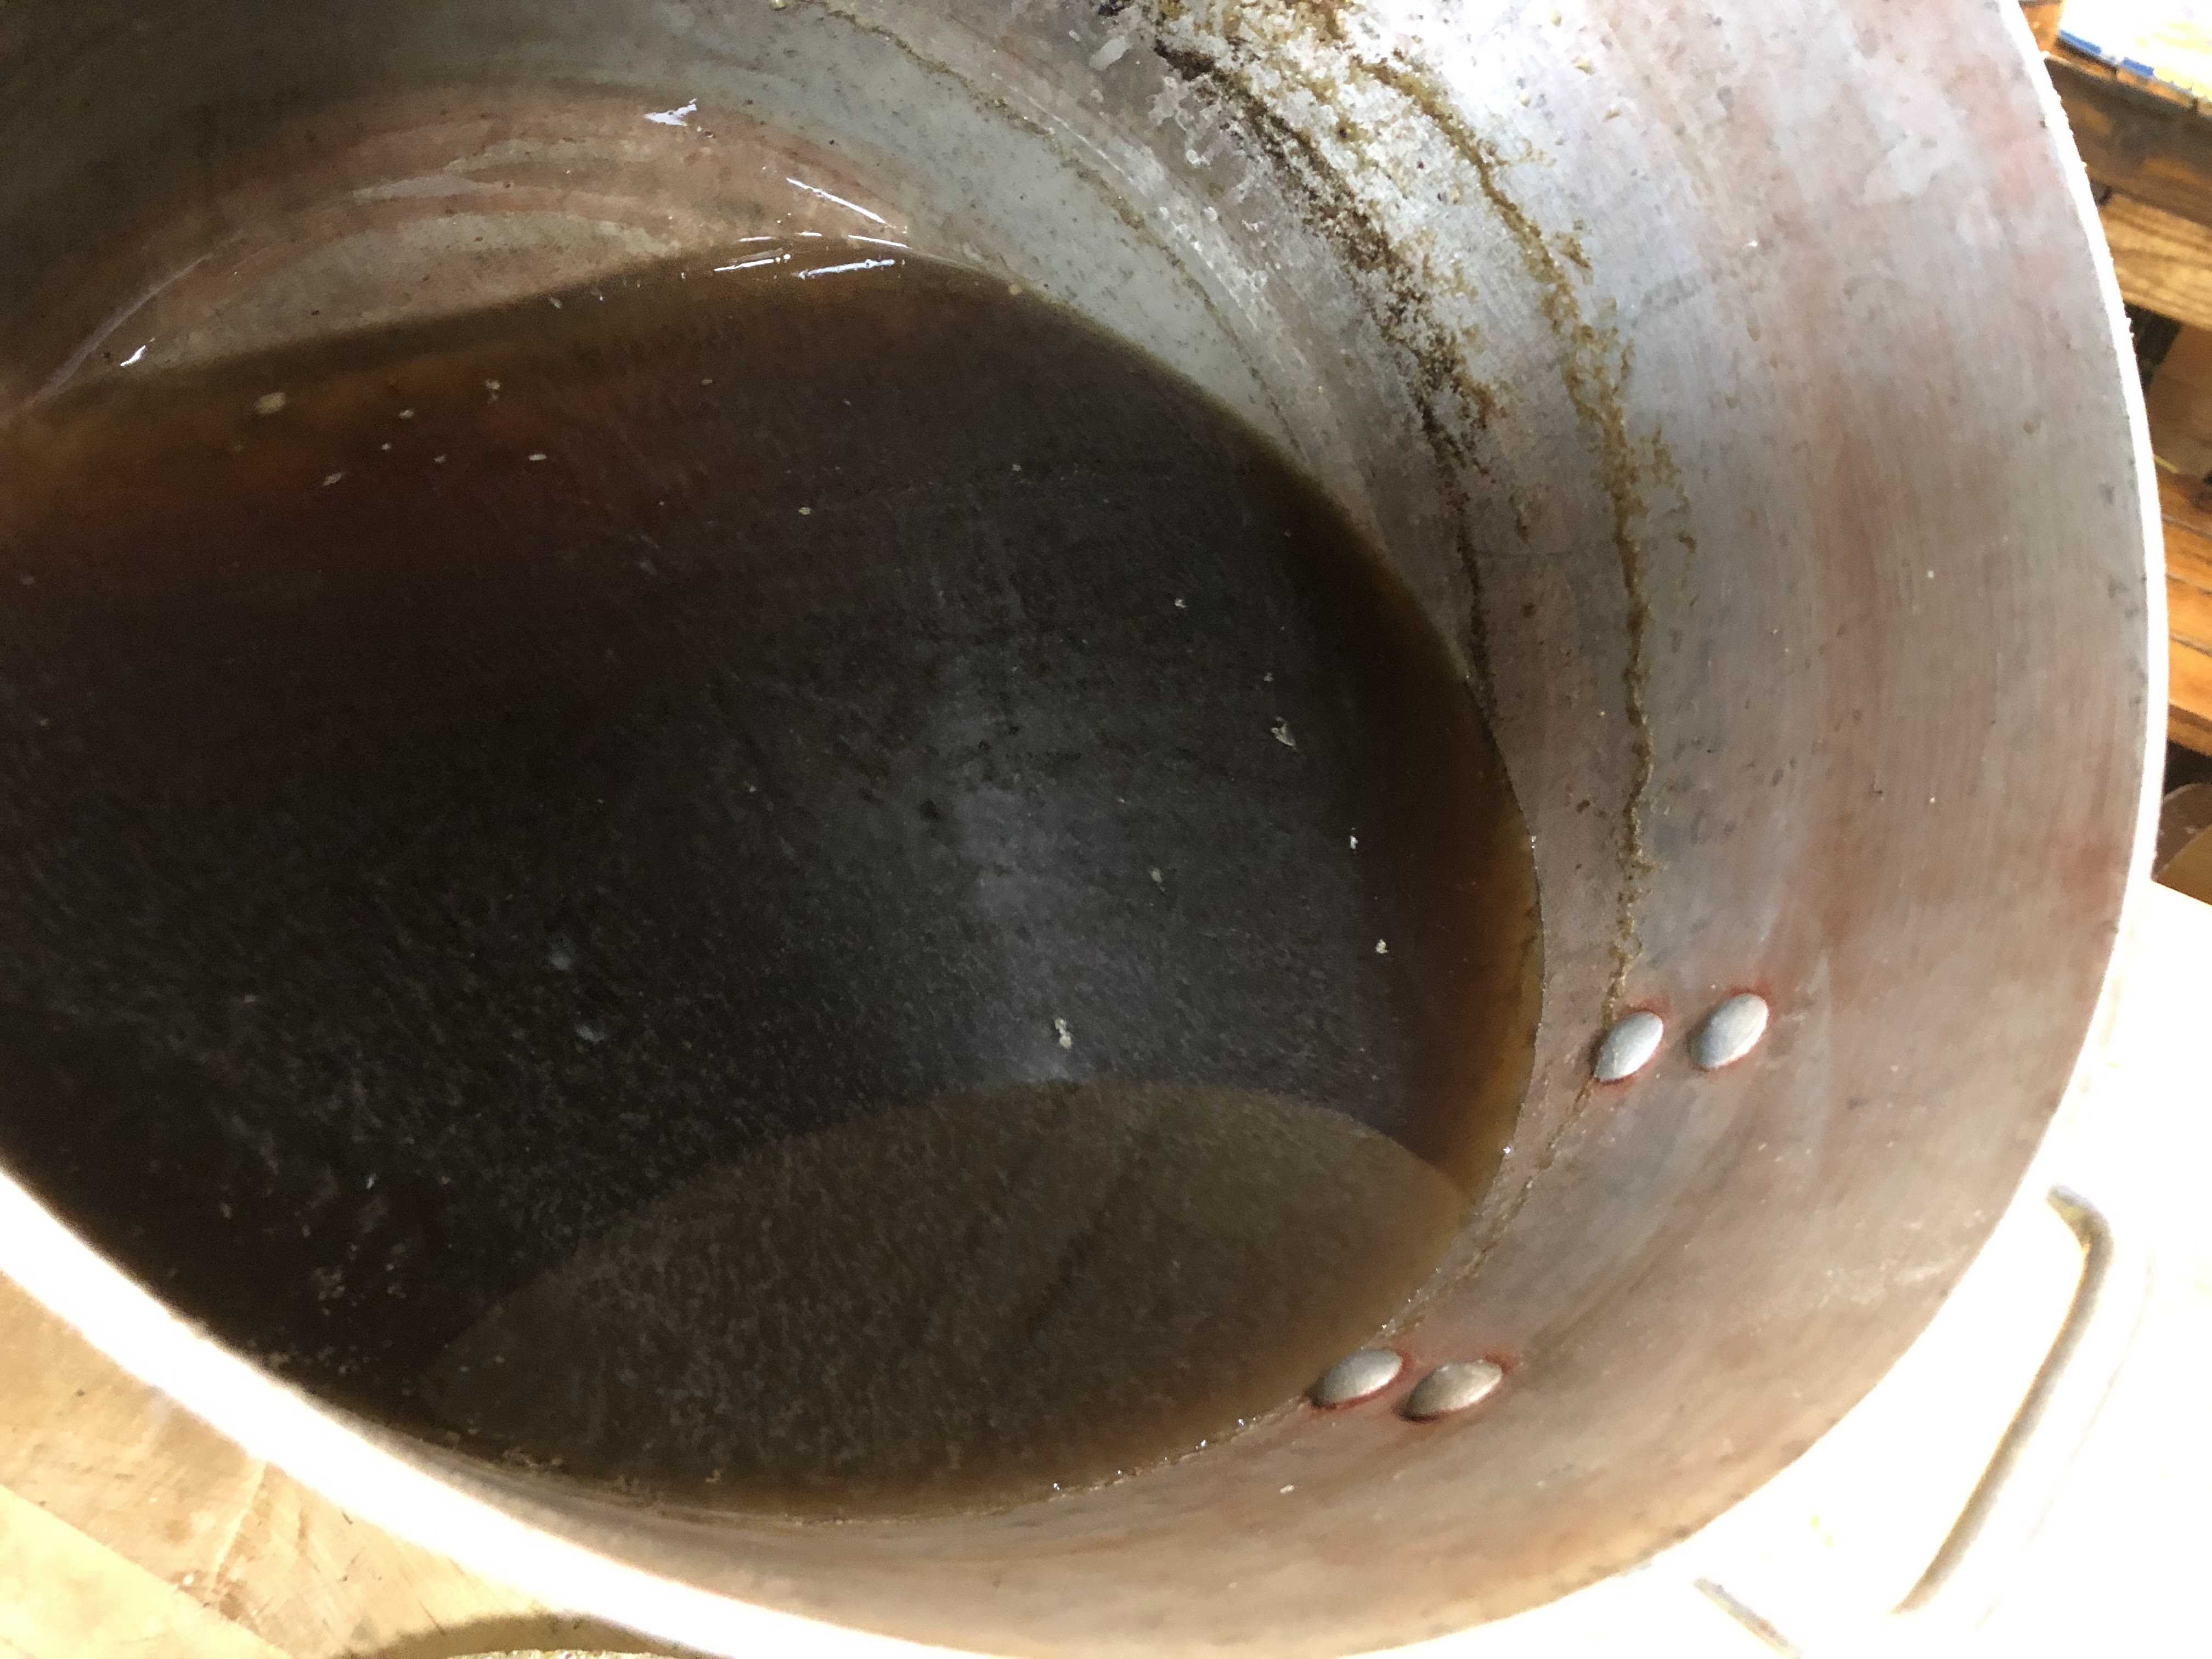
He taught us how to use the knife to scrape the waxIt’s very sharp!This is another toolAdam is a lefty so it took a little figuring out at firstSo beautiful!We will render the wax and turn it into candles and chapstick4 frames fit in the slingerAs it spins, the centrifugal force “slings” the honey against the side and the honey pours out through the spoutHave you seen anything more beautiful?He has turned in to such a hard worker!!When we got home around lunch, Kathryn and I prepped the jars and lidsThere can be no moisture in the jars This was Kathryn’s favorite part. She said it was very satisfyingWe ended up with 39 quart jars plus we filled 2 honey bears for the kitchenThe chickens got all of the dead bees and debris from the waxThis was our method for rendering wax: we hung the cheesecloth over a bucket overnight. We then transferred the stick to over the pot and the heat melted the wax into the pot of waterWe had 3 jars of beeswax with honeyThe color is so beautifulWe will clean the wax again as we use it but for now, it will get sealed in a bag until we set aside a day for chapstick and candlesThe leftover honey water. This gets fed to the goats and chickens. They love it! And it smells delightful
Kathryn and I finished jarring and cleaning the kitchen about 5pm Monday evening. Tuesday morning we rendered wax (we had to wait until the honey drained which took all night) and the animals are still getting honey water every day. Here is a recap of how every part of this process gets used for good without waste: 1. The wax is rendered for things like candles and chapstick 2. The chickens eat the dead bees and debris that is left from the wax 3. The chickens and goats drink the honey water that is left from rendering wax. It is a nutritious treat for them! 4. We used a spatula in every bucket to scrape every bit of honey and we rinsed each bucket and saved that water for the animals. 5. The boxes we removed from the hives (4 boxes total) were set on pasture for the bees to “clean up” for a few days.
It was such a wonderful family experience and we are all excited to split the hives in Spring and we look forward to slinging honey twice next year!
I follow many homesteads and I’m always inspired by the information they share. But for a long time I have felt that I don’t have an expertise that I can share to benefit others. We do many things on the homestead but I don’t feel like I do any of them well enough to teach others. Then it hit me the other day: I am really good at not wasting anything. I spoke to Kathryn and we decided to create No waste Wednesday. Each Wednesday I will share a way that we don’t waste. It might be related to food or things around the homestead. If you have any ideas or suggestions, I would love to hear it!!
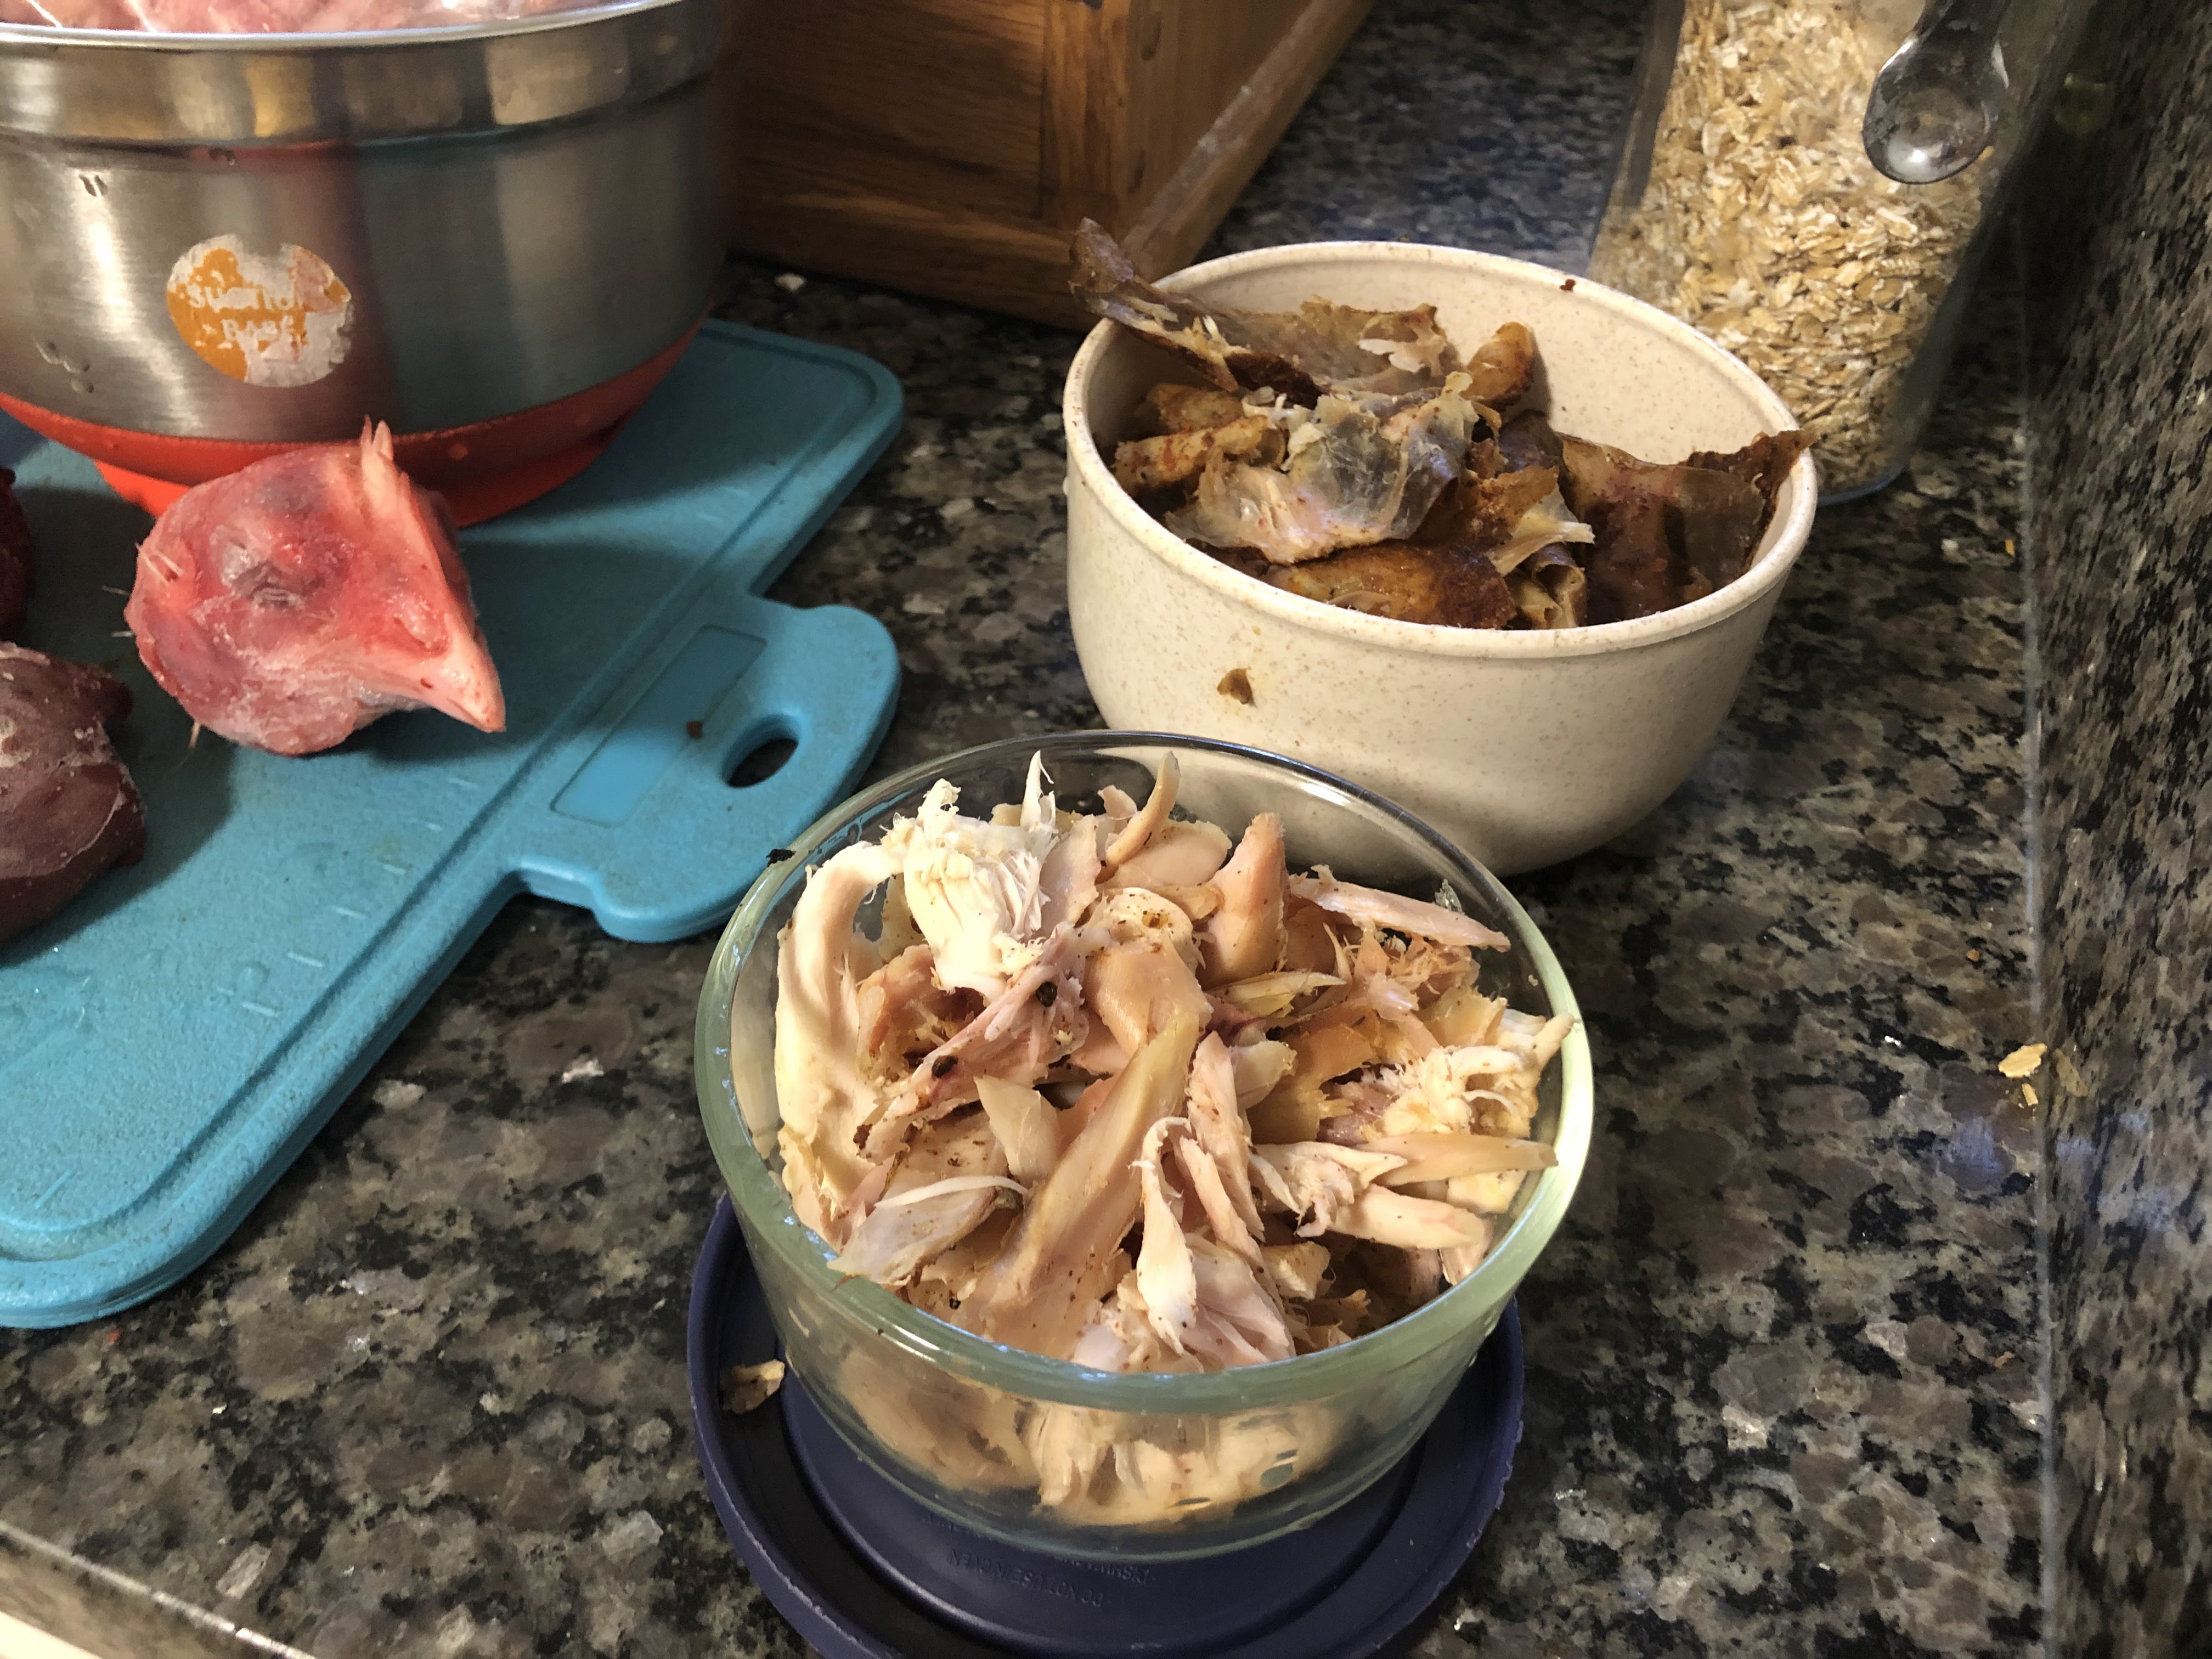
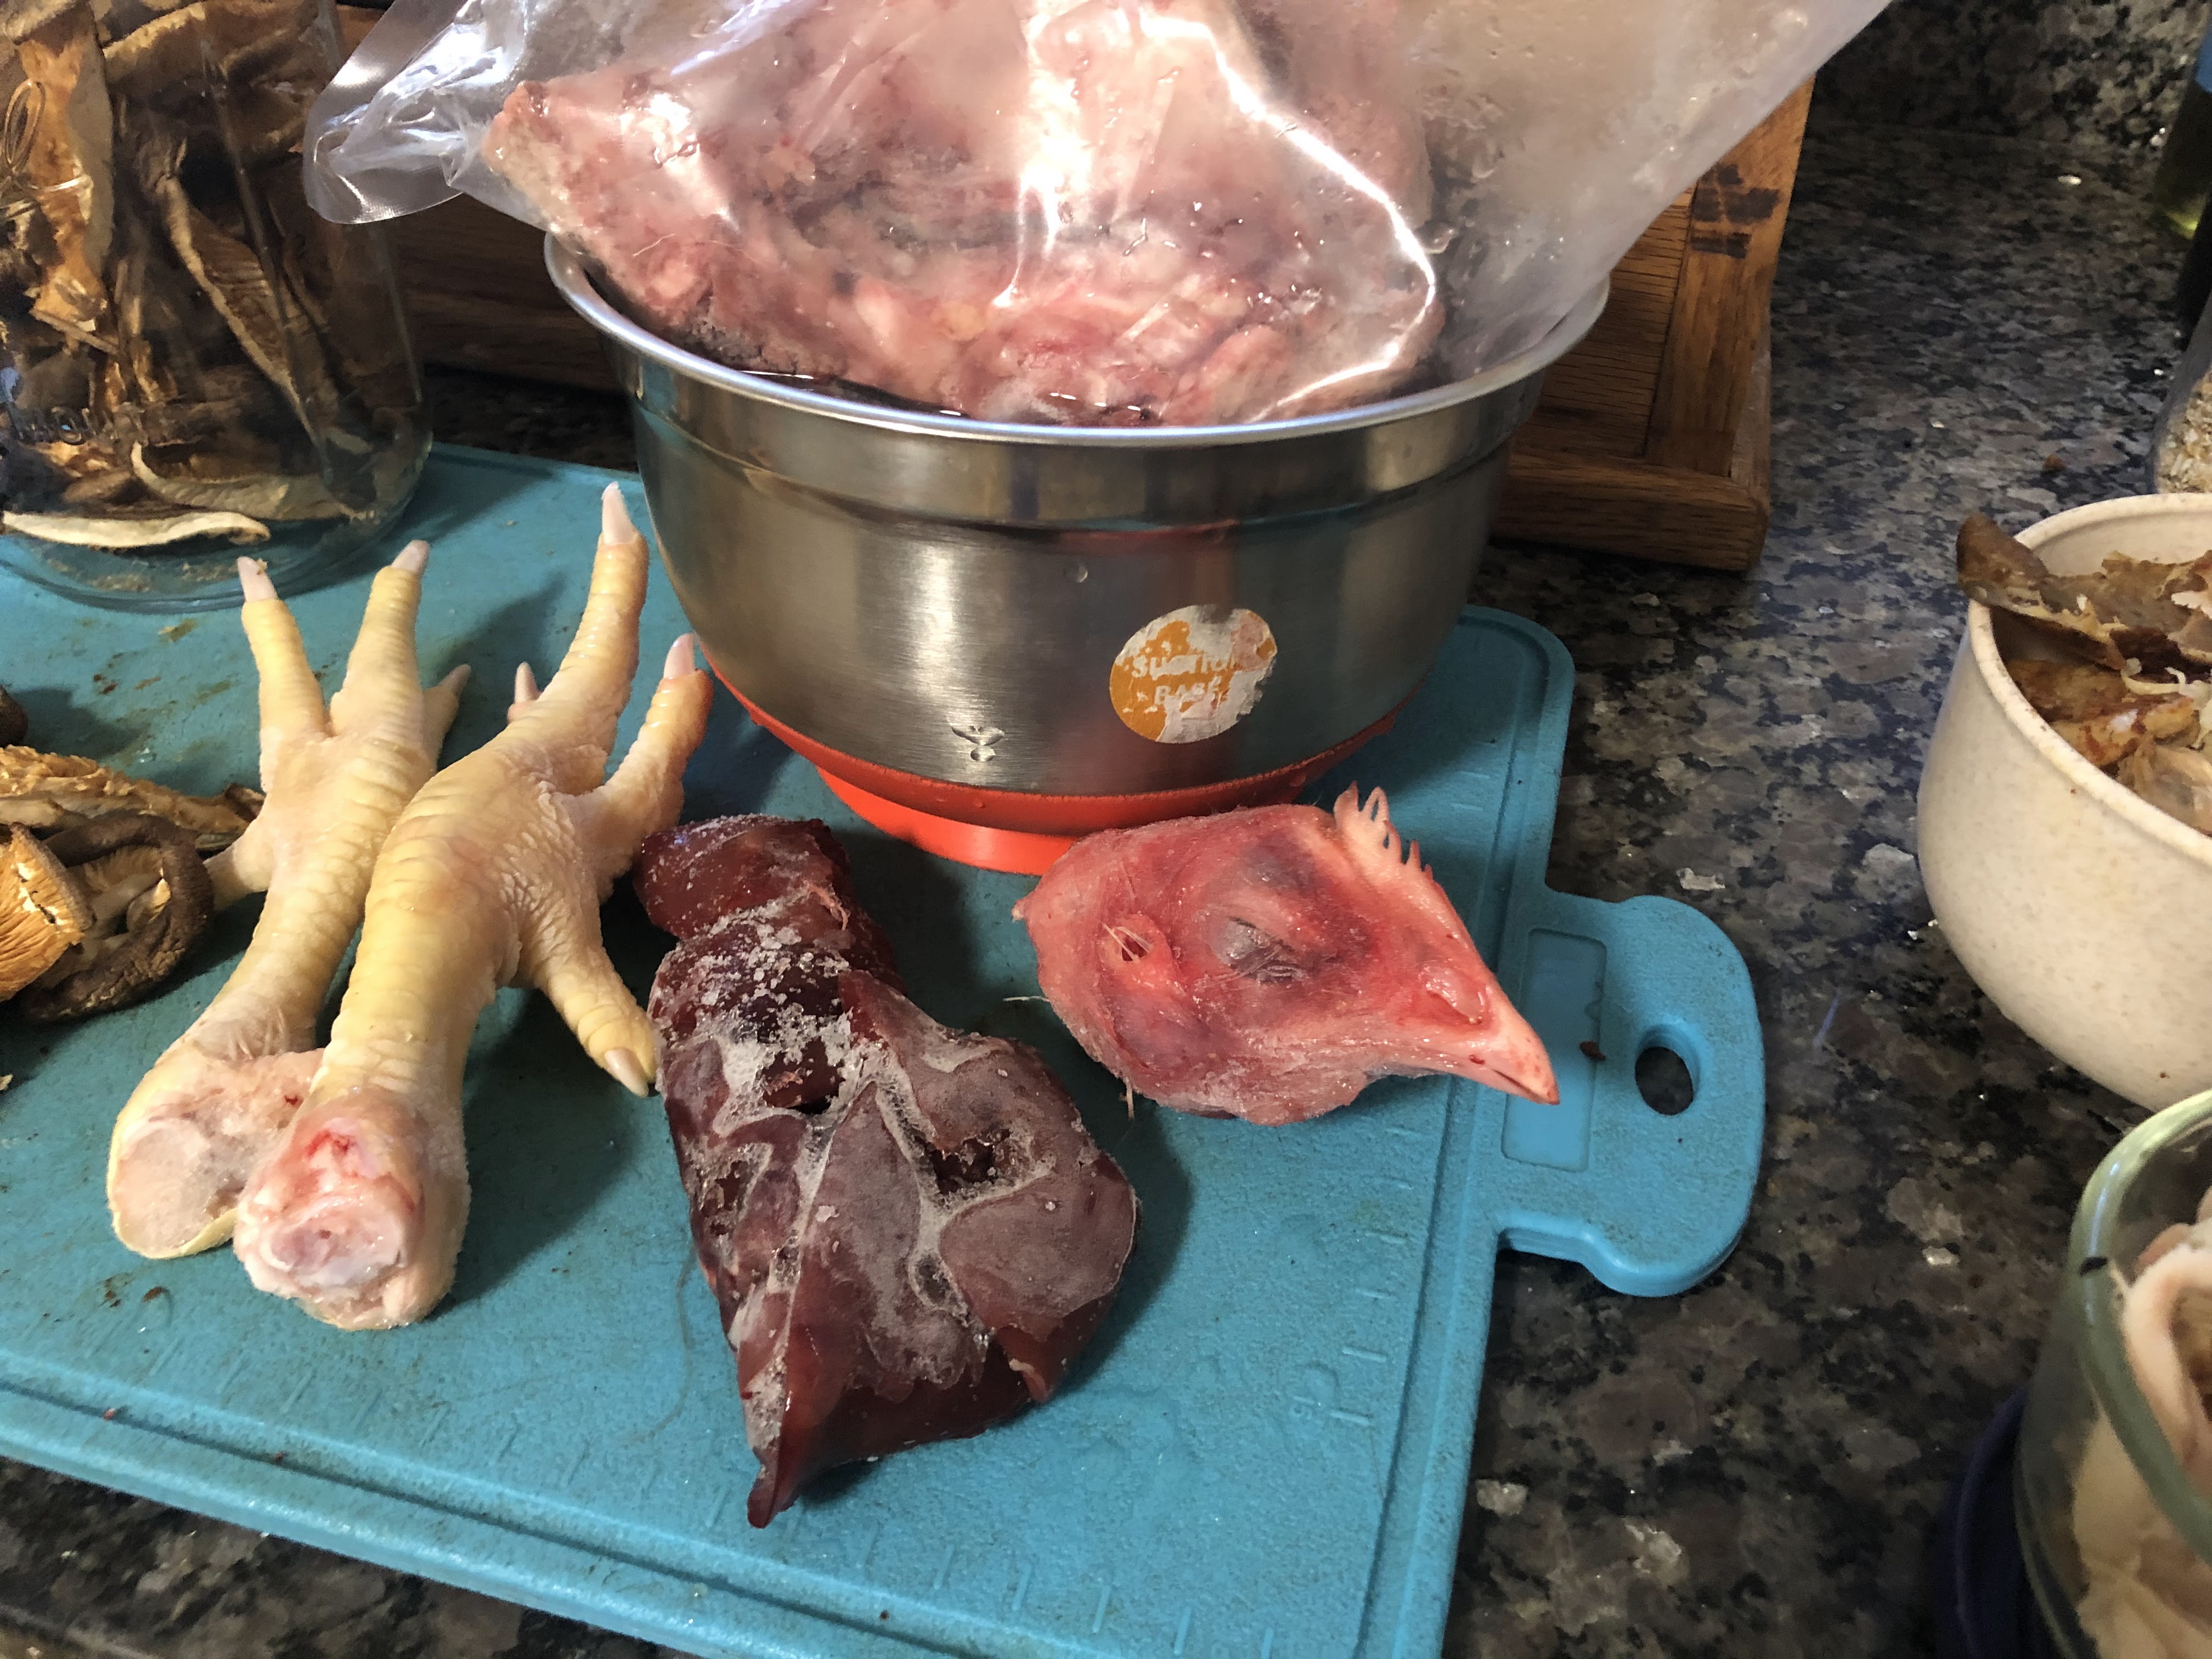
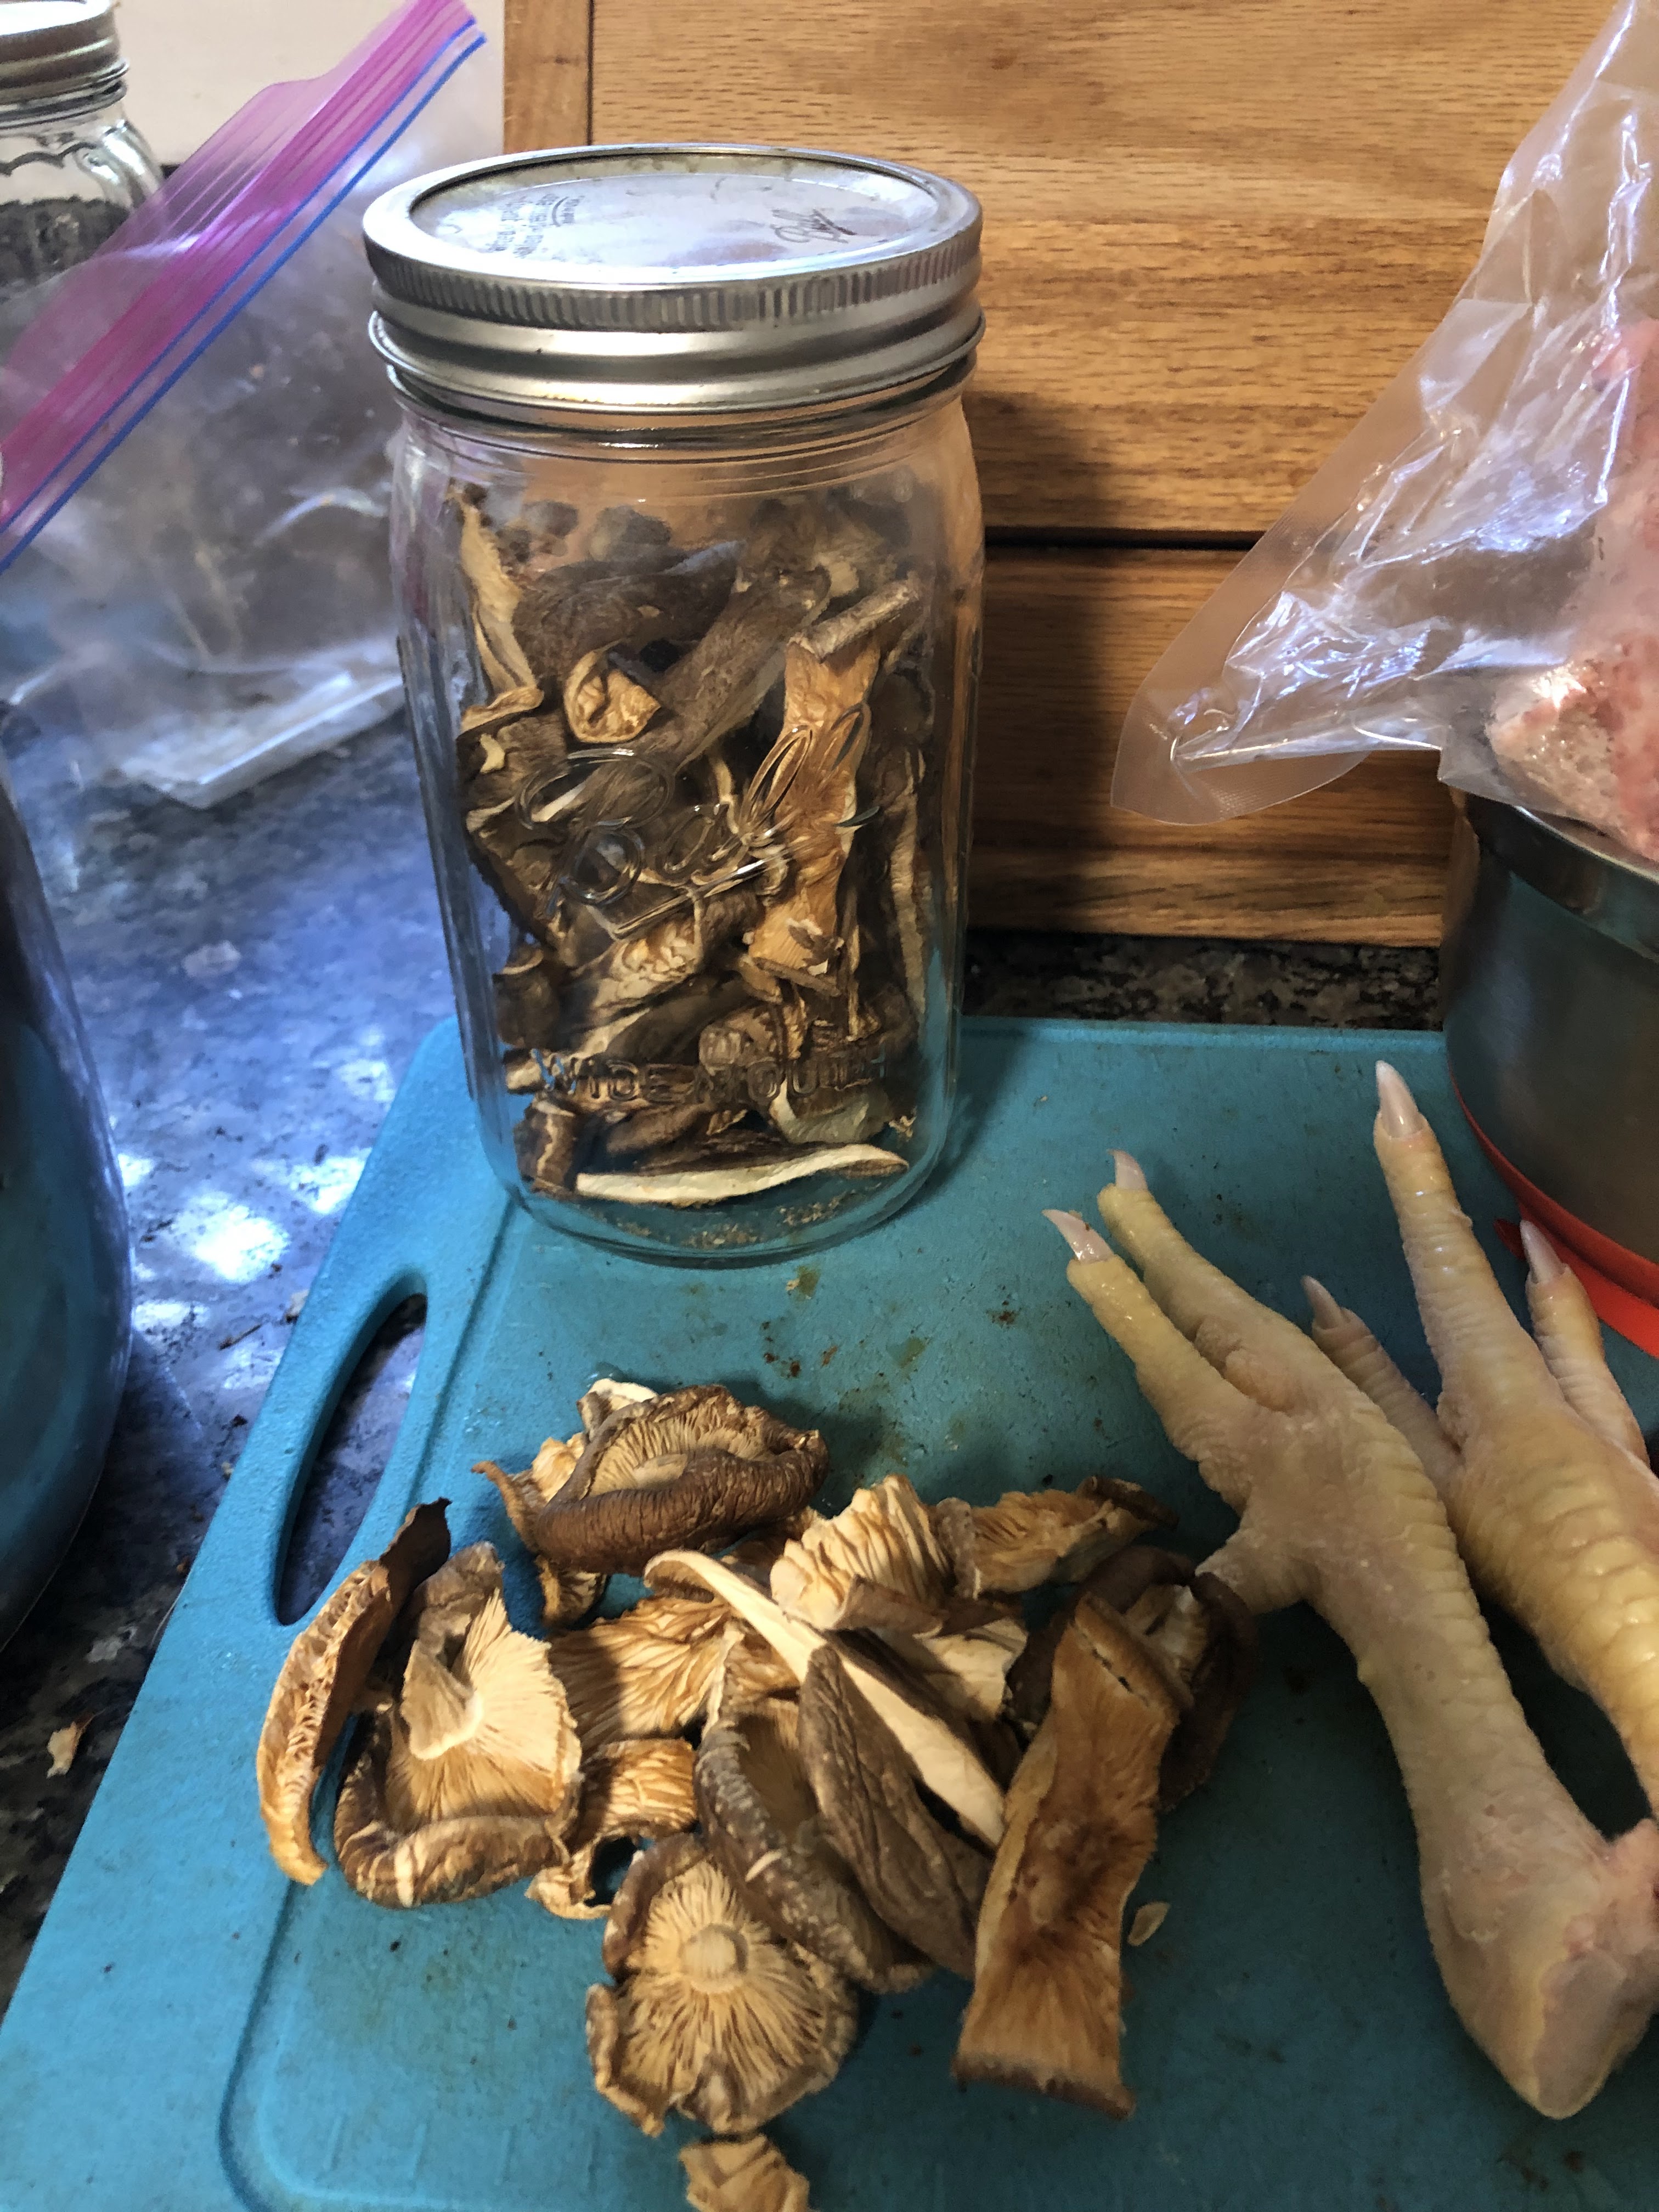
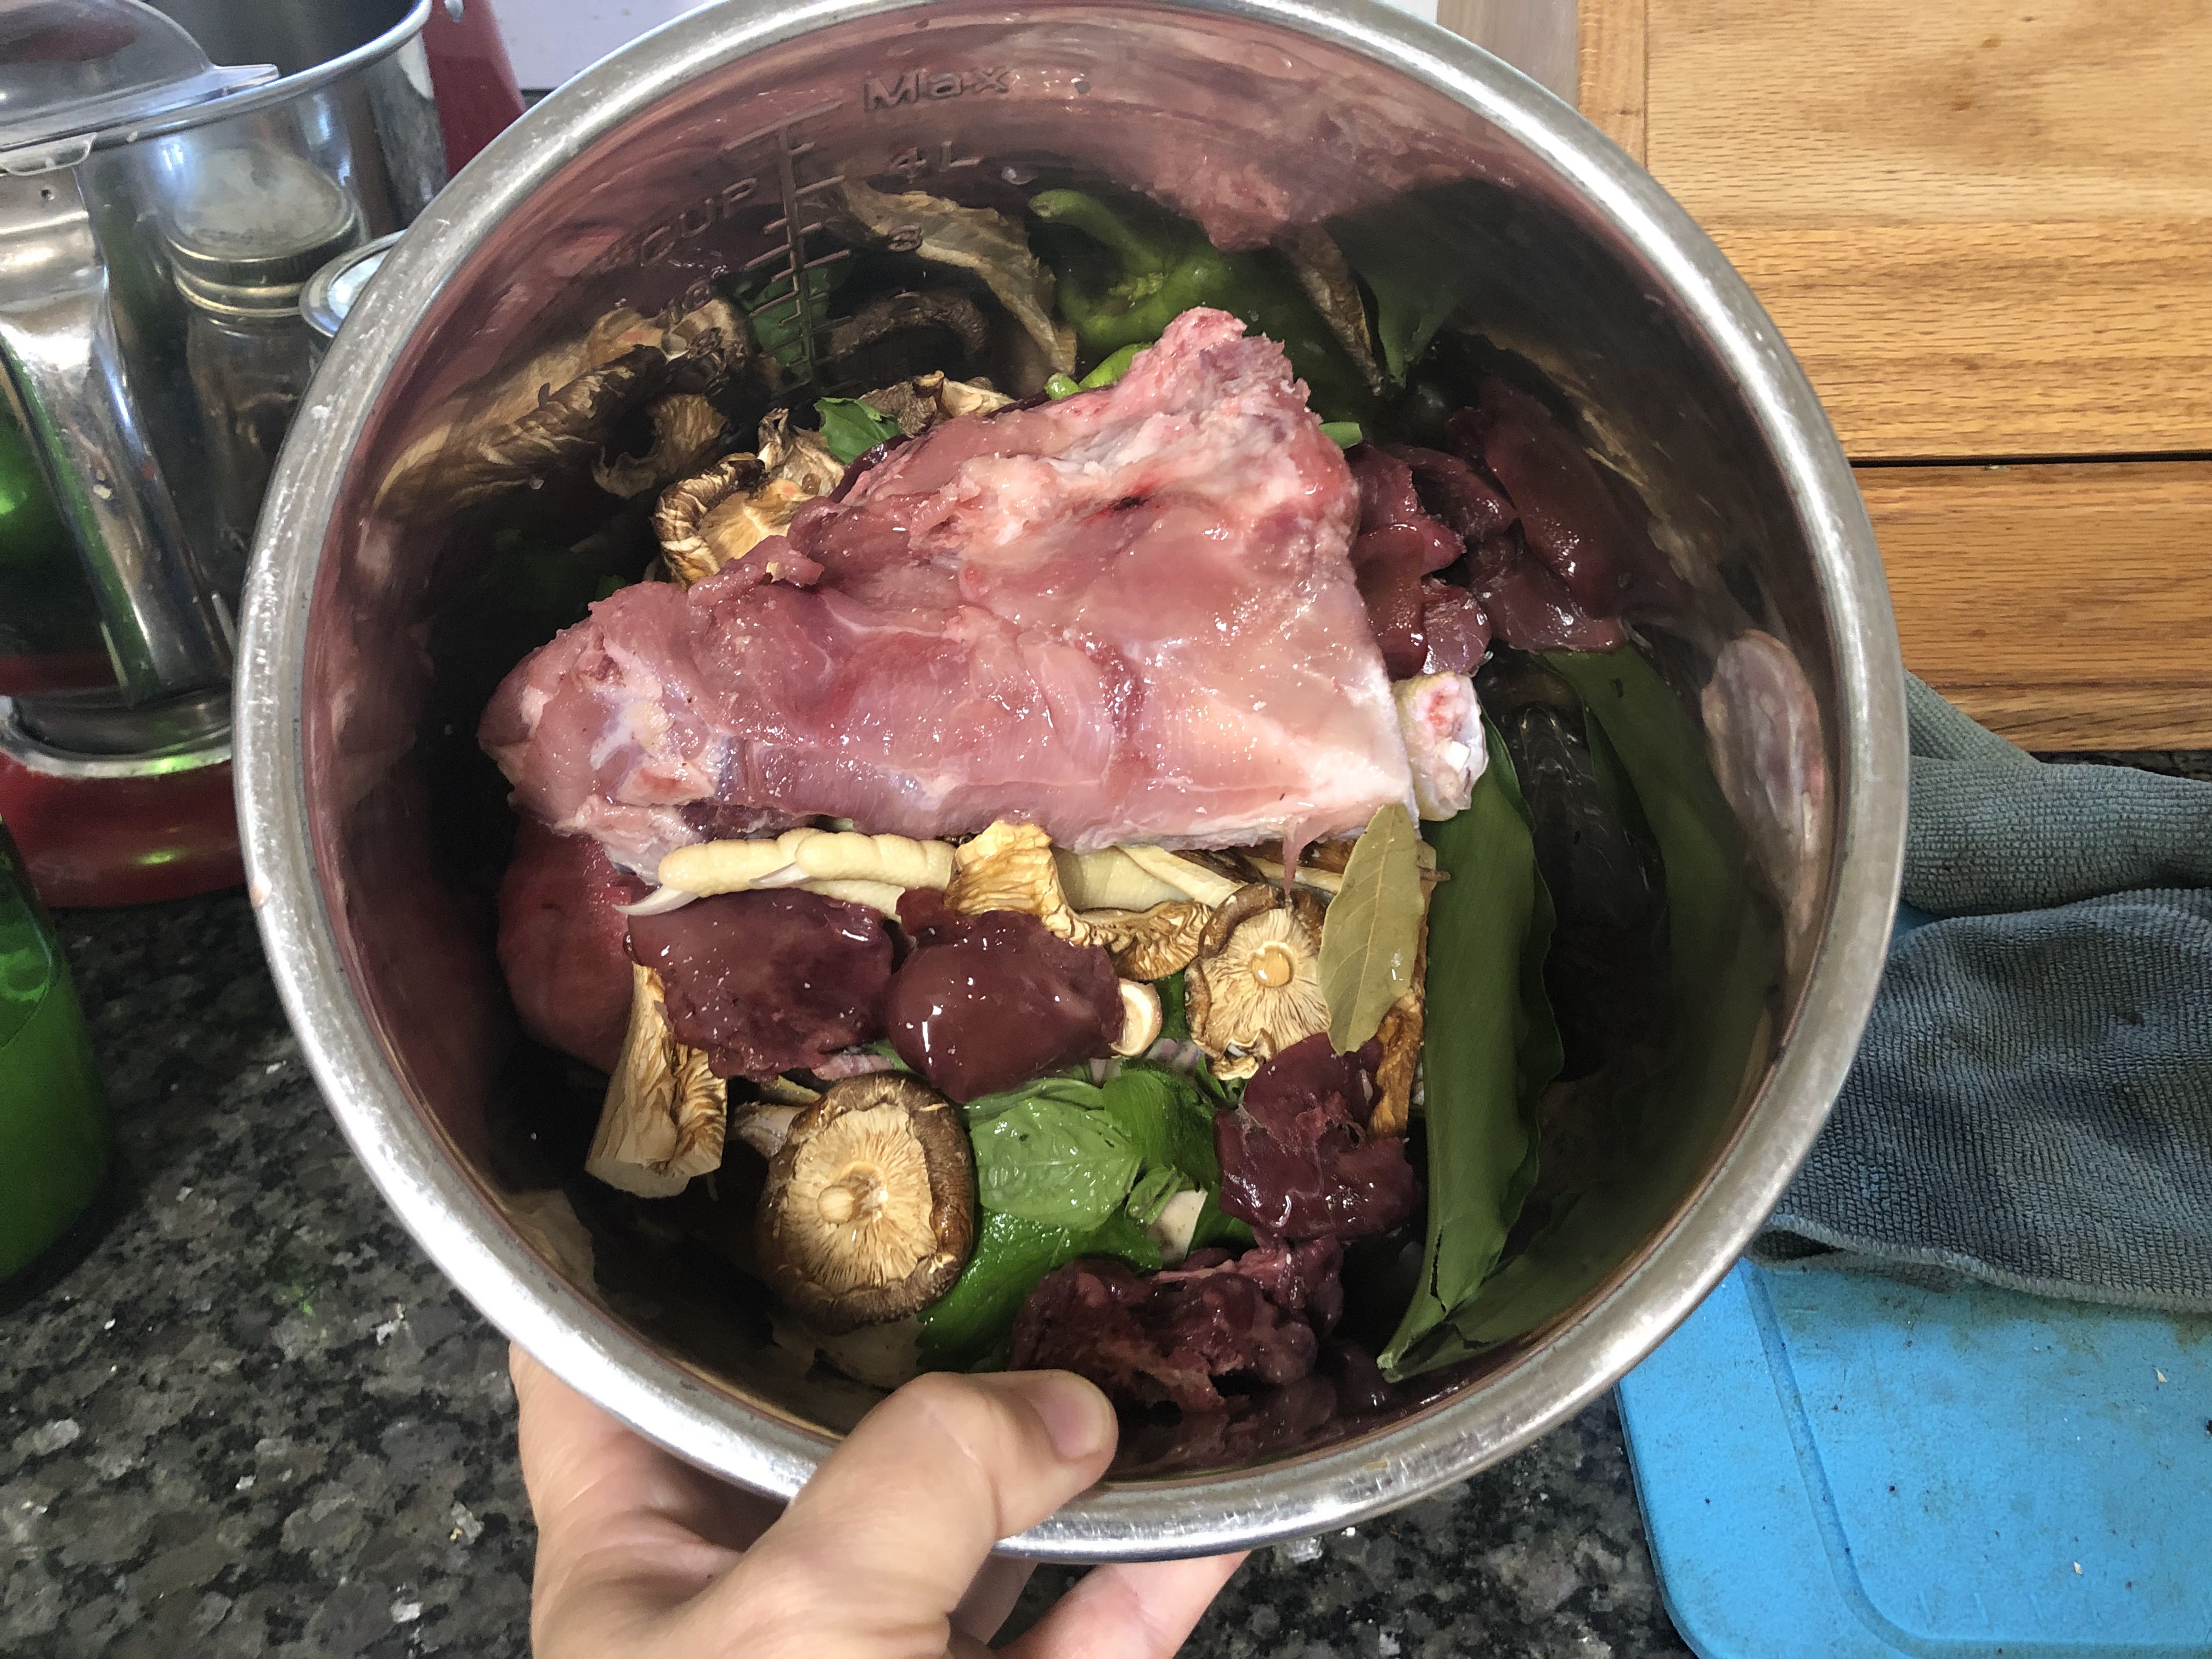
Front row: mushooms, chicken feet, chicken livers, chicken head, pulled chicken Back row: jar of mushrooms, pork bones, scraps for dogs
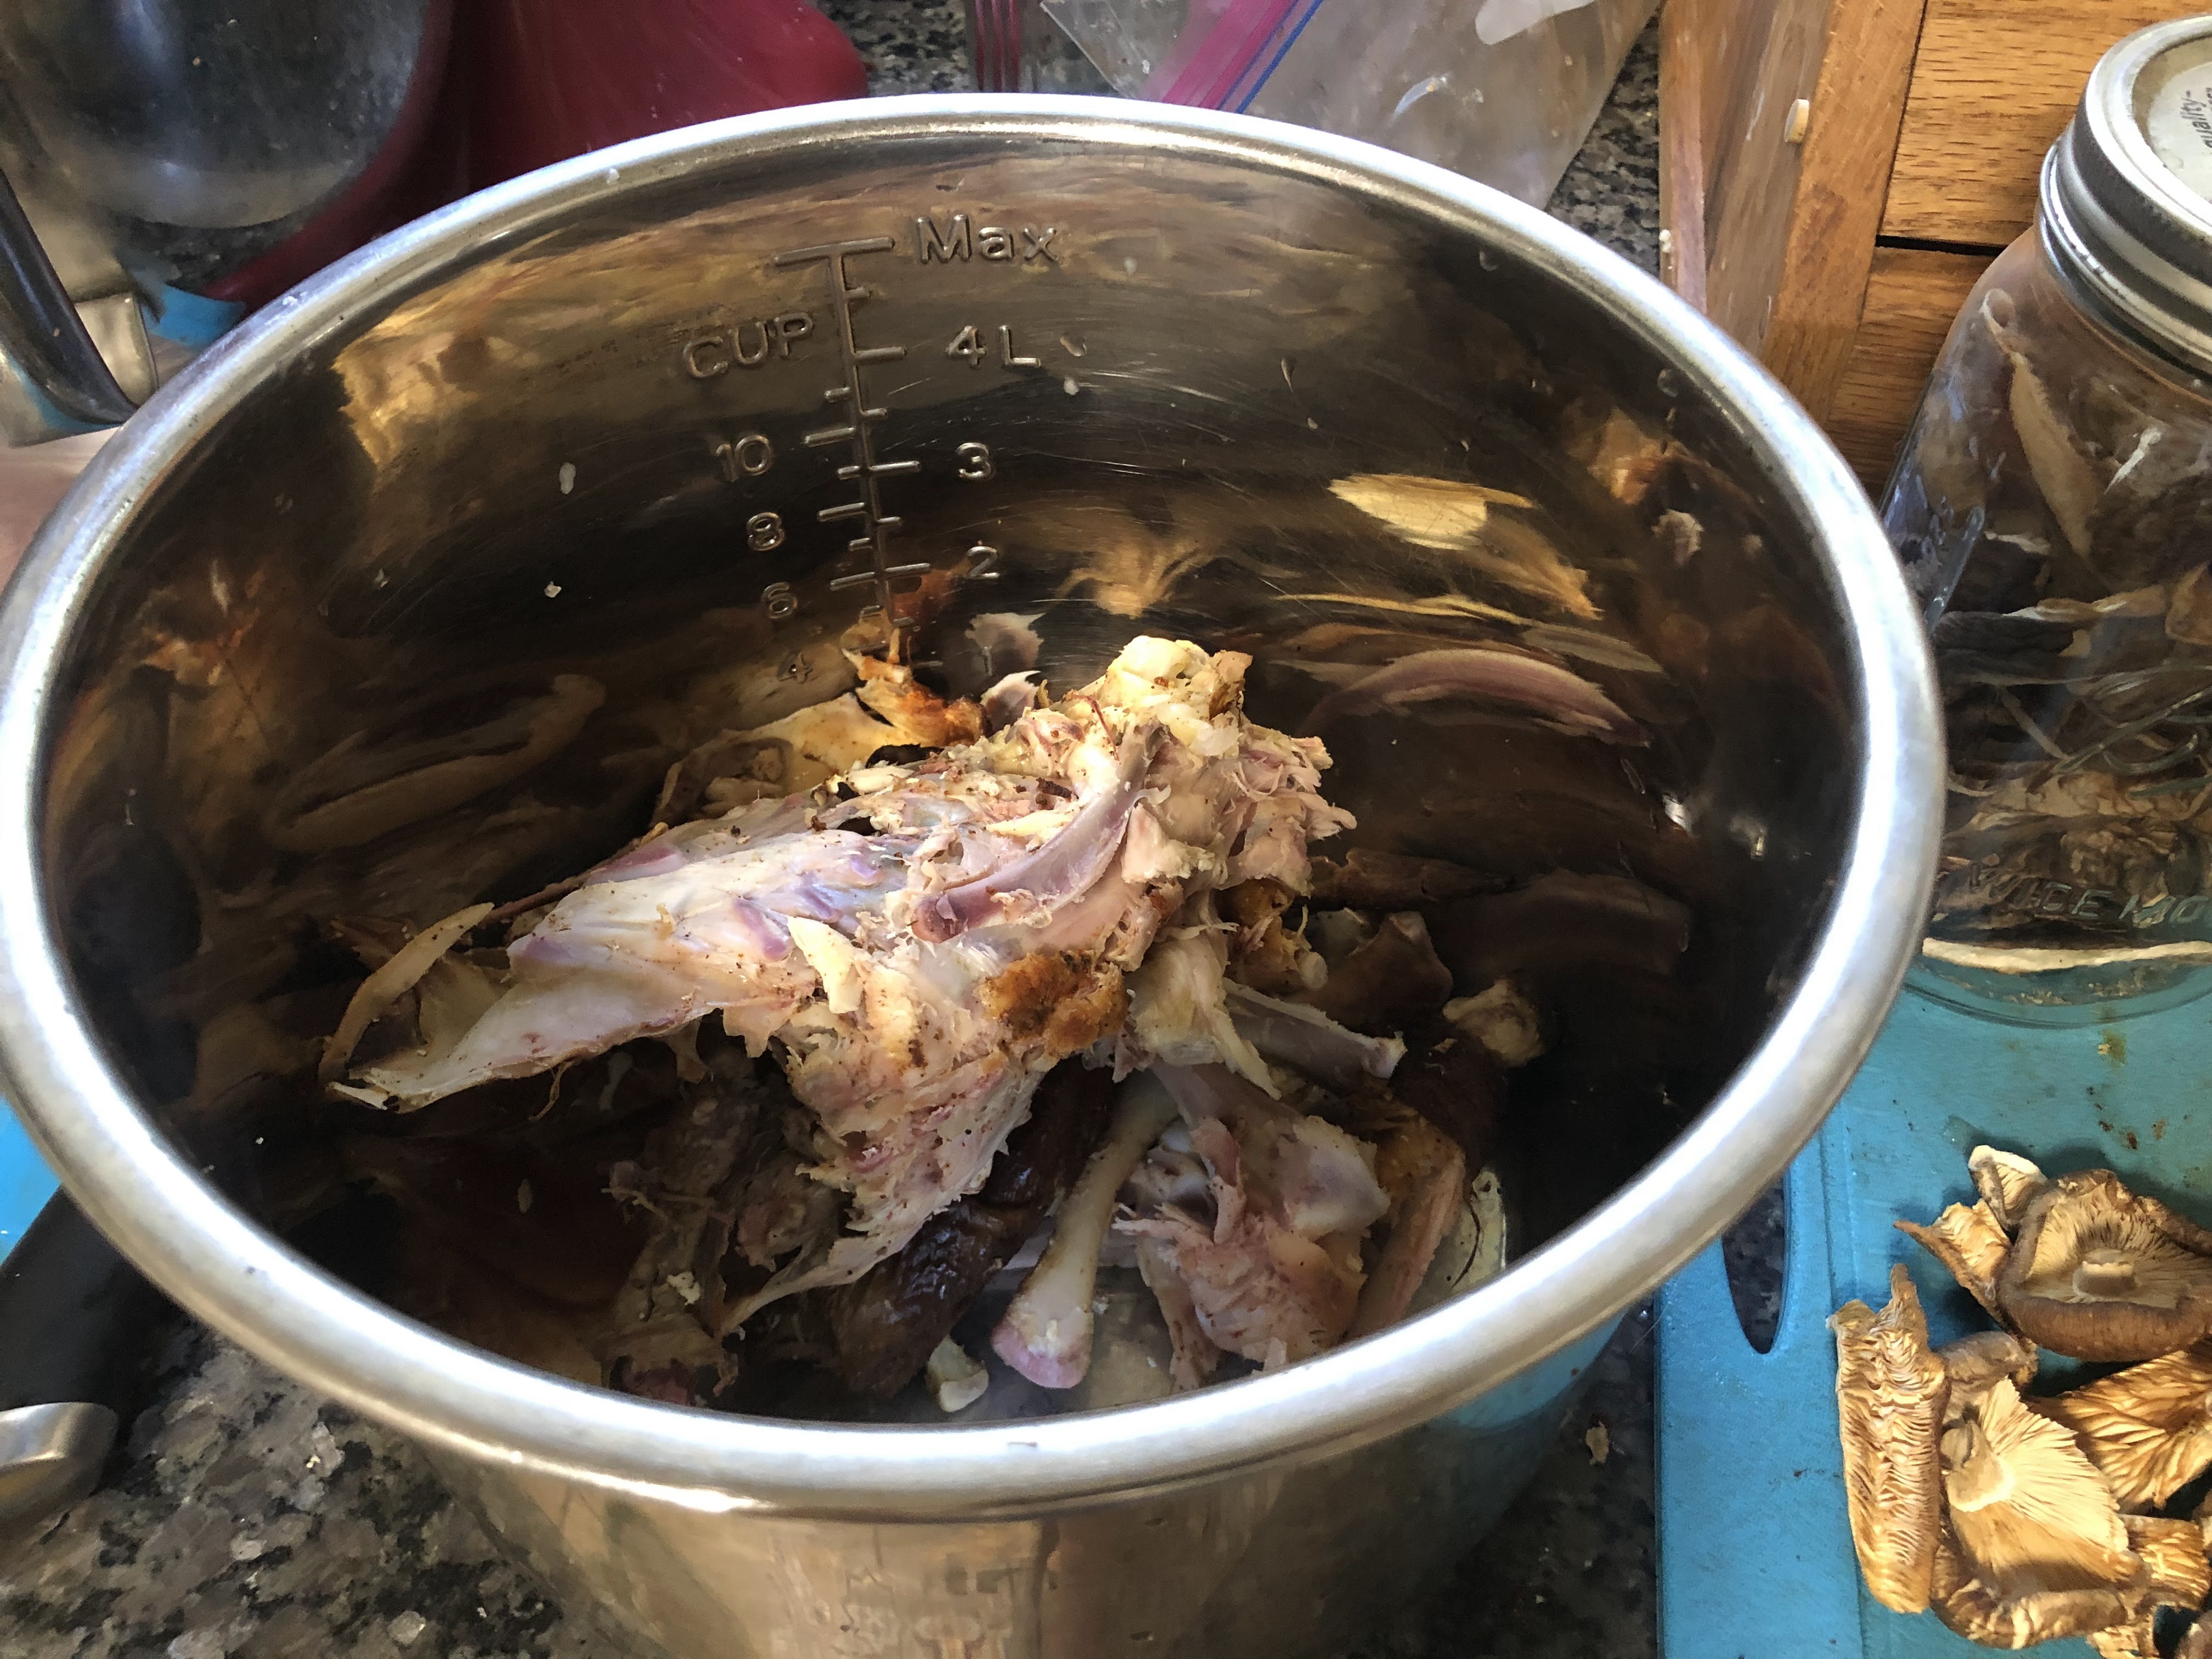
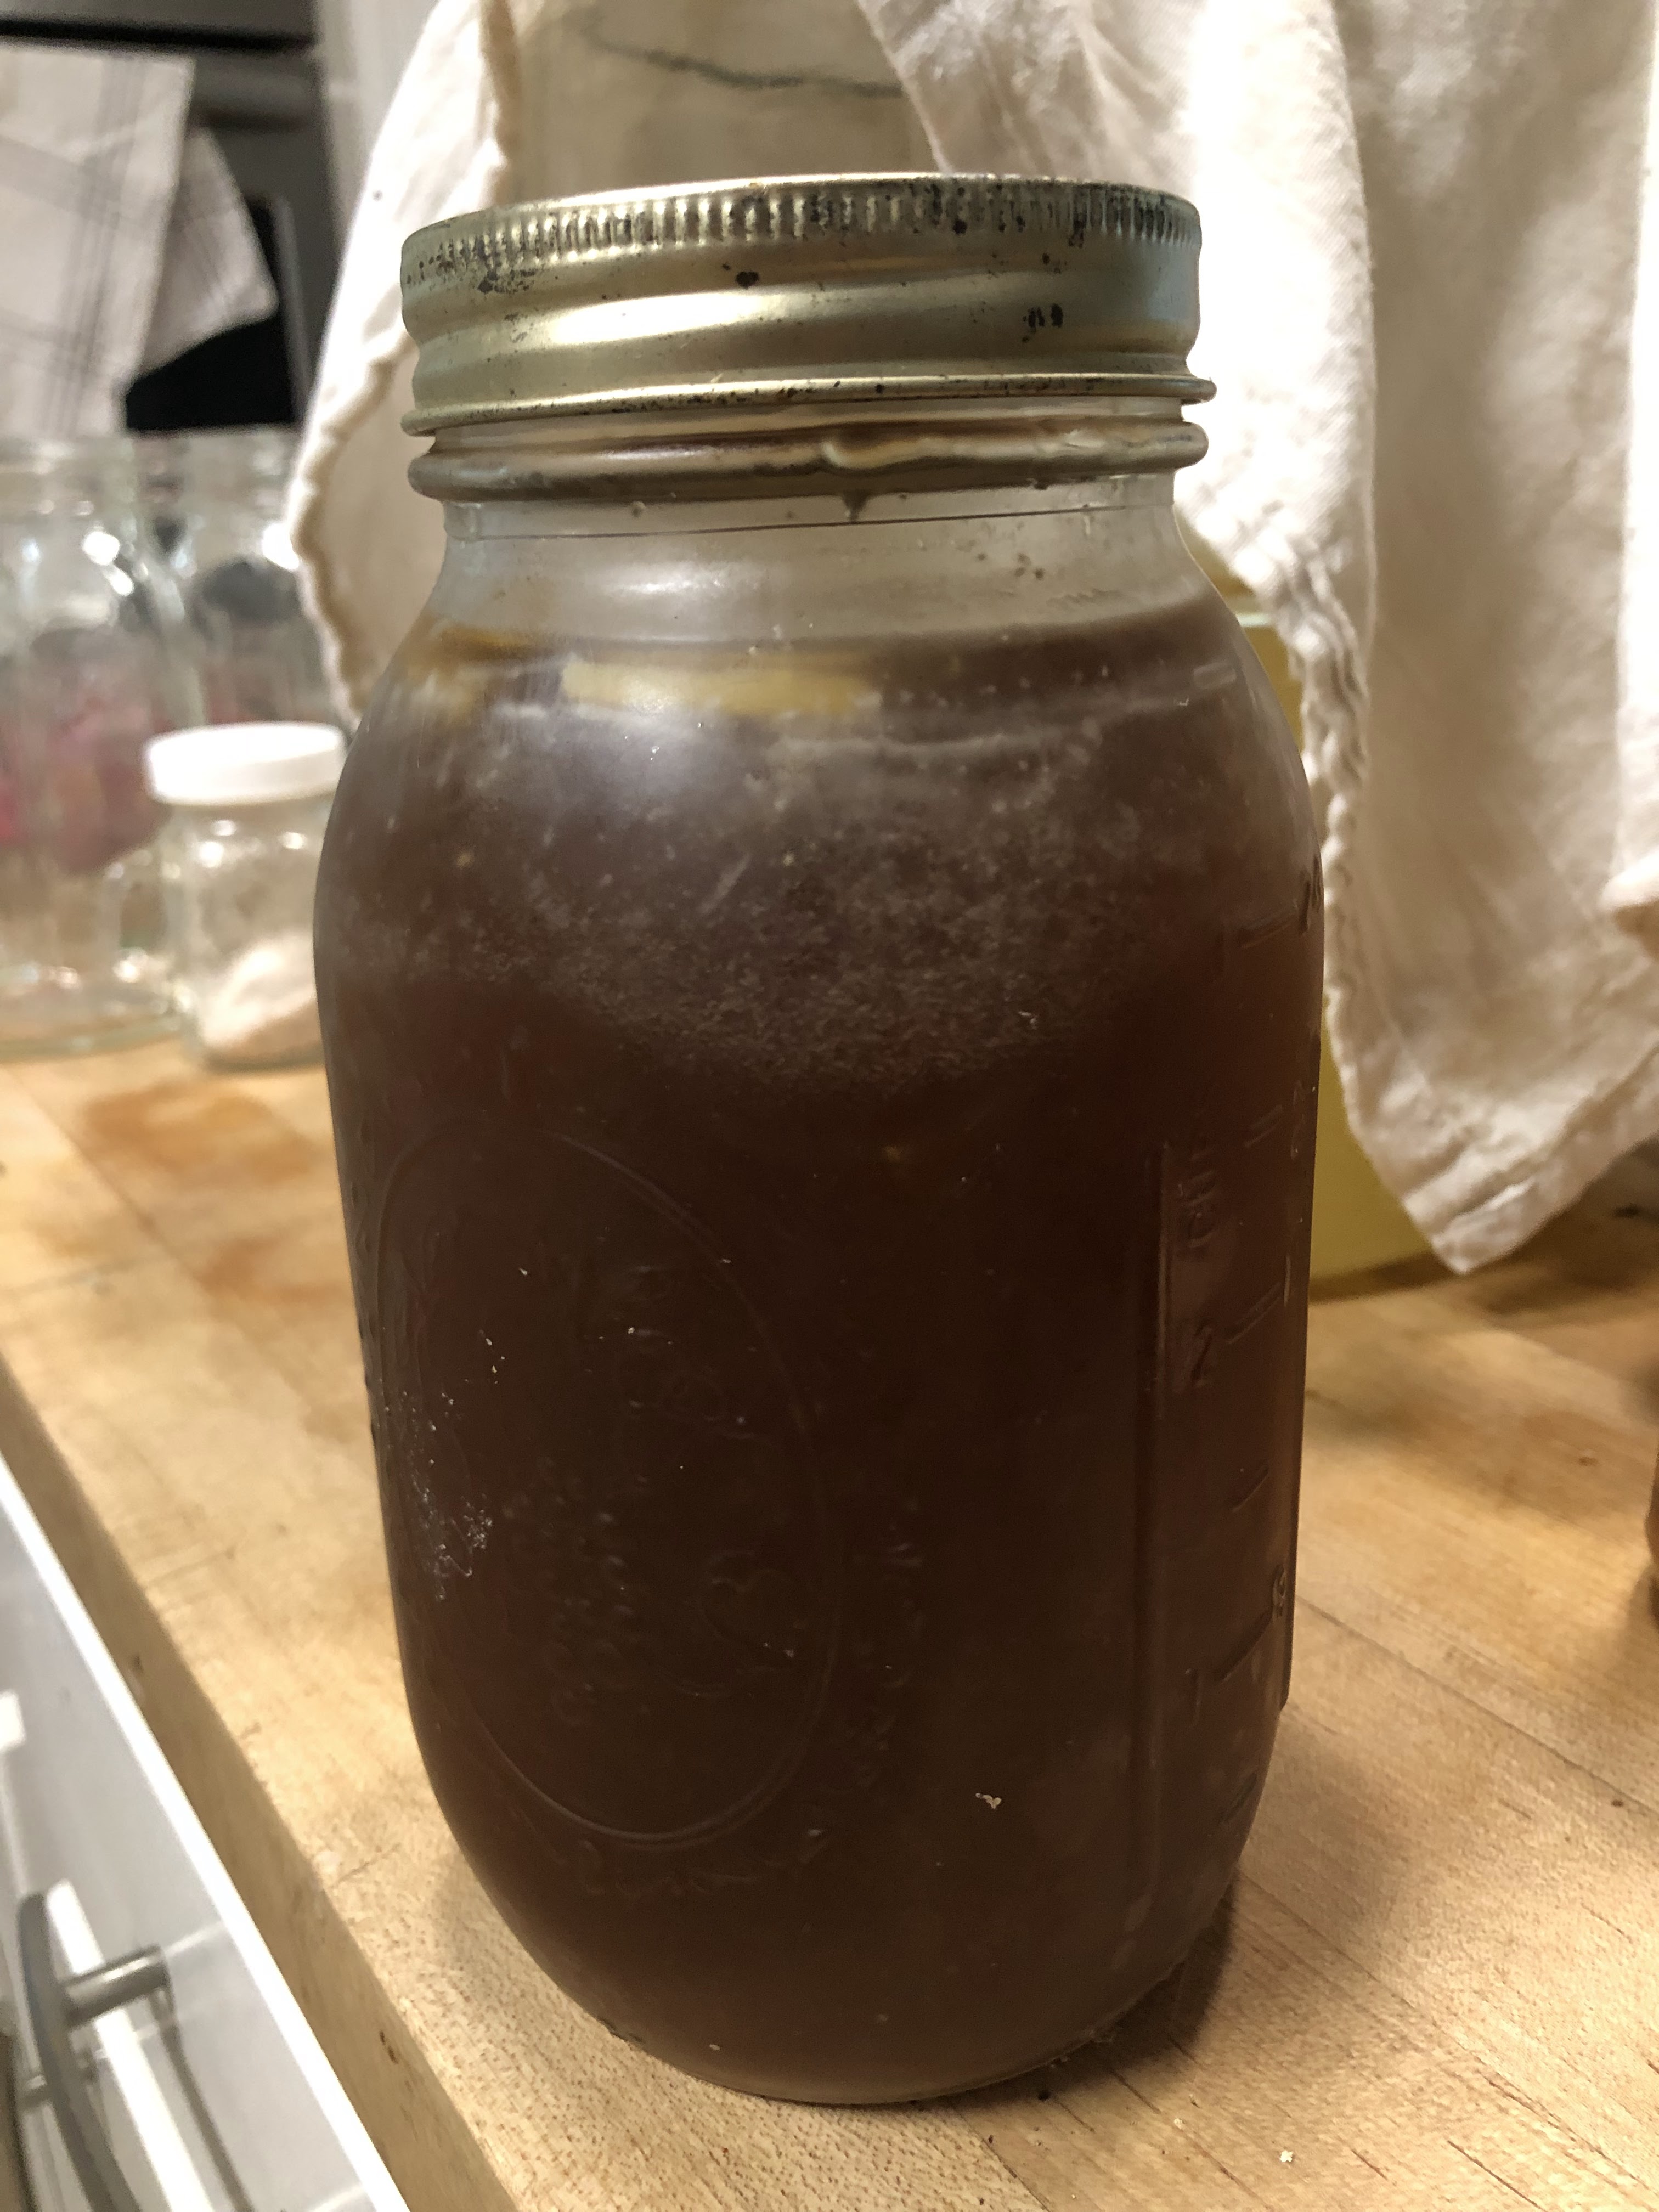
So first up is bone broth made from a chicken carcass. A little back story. We lived in Durham, NC for three years and I met a dear friend while we were there. We were both new Mom’s, each with a baby girl and we would have play dates often. I was at her house one day and our time together extended into lunch. She said “let me make broth real quick and then chicken soup for our lunch.” My mind was blown. I was raised in the suburbs and as far as I knew, broth came in a box or can from the grocery store. That day with Christine was my first introduction to homemade broth and it was the best chicken noodle soup I had tasted in my adult life. She used a chicken carcass from the store and some vegetable scraps and she made it look so easy! Fast forward to our homestead. One of the reasons we love raising our own meat is that we use every single part of the animal. On processing day, the dogs sit around the processing table waiting for the gizzards, lungs, blood and feathers. We set aside the livers, hearts, feet and heads to use inside and the other organs and scraps get buried in the garden. The blood goes in the compost and the feathers are scattered by the dogs. Adam cooked a whole chicken on Sunday for dinner Monday and today I had time to de-bone the carcass. I typically try to put a variety of bones in the bone broth. Today I pulled out pork neck bones from our pigs. I pulled out 4 bones: one for each dog, one for the broth and one to cook peas with tomorrow. I typically have veggie scraps in the freezer that I set aside for bone broth. But August is a pretty bare month for us with veggies. Instead I picked herbs from the garden, dehydrated mushrooms from our mushroom logs, and a lone pepper from the garden. I always add in two chicken feet, a chicken head and a few livers. We eat liver when we have ground meat or soup but we have an abundance of livers so I also add some in the broth. I am typically not a crafty or artistic person but I love making beautiful, nutritious food. Every batch of bone broth is different and I enjoy getting creative with what I add in. After everything is in the pot I add apple cider vinegar. It helps soften the bones and pull out the nutritious collagen from the bones. Everything goes in the Instantpot with water and I set the pressure on high for 2 hours. After the pressure releases, I simmer the broth on the crockpot setting for another 24 hours. I de-bone the carcass again and then the dogs get the carcass, organs, feet, heads and pork bones when it is finished. They look forward to the day after broth making!
My work of art that will nourish our family
We make bone broth at least once a week, sometimes more. A few helpful hints: when you eat ANY meat with bones, put the bones in a gallon size ziploc bag in the freezer. You can add to the bag until you have enough bones for a batch of broth. You can do the same thing with vegetables. When you peel and chop vegetables, save the scraps in the same bag with your bones. You can keep adding to the bag. Then when you feel you have enough for broth, just dump the contents of the bag directly into whatever pot you are using. You can use an Instantpot, a Crockpot or you can just simmer it on your stove. Get creative with what you put in the broth and have fun. You can substitute bone broth in place of water when you are cooking. We use it as a base for all soups, stews and rice. We don’t have a microwave so we heat up food on the stove. We add broth to the pan so the food doesn’t burn. Bone broth is a healing beverage and drinking it also an option! It is delicious and soothing and it gives your body the nutrients it needs and craves. Feel free to reach out with any questions and I would love to hear about your journey making bone broth!
This is the personal journal of Debo Bryson and is an experiment in being human, living for Jesus and loving others. I love my sweet Leah, and two kids. I'm addicted to great coffee, burgers and Jeep Grand Wagoneers.